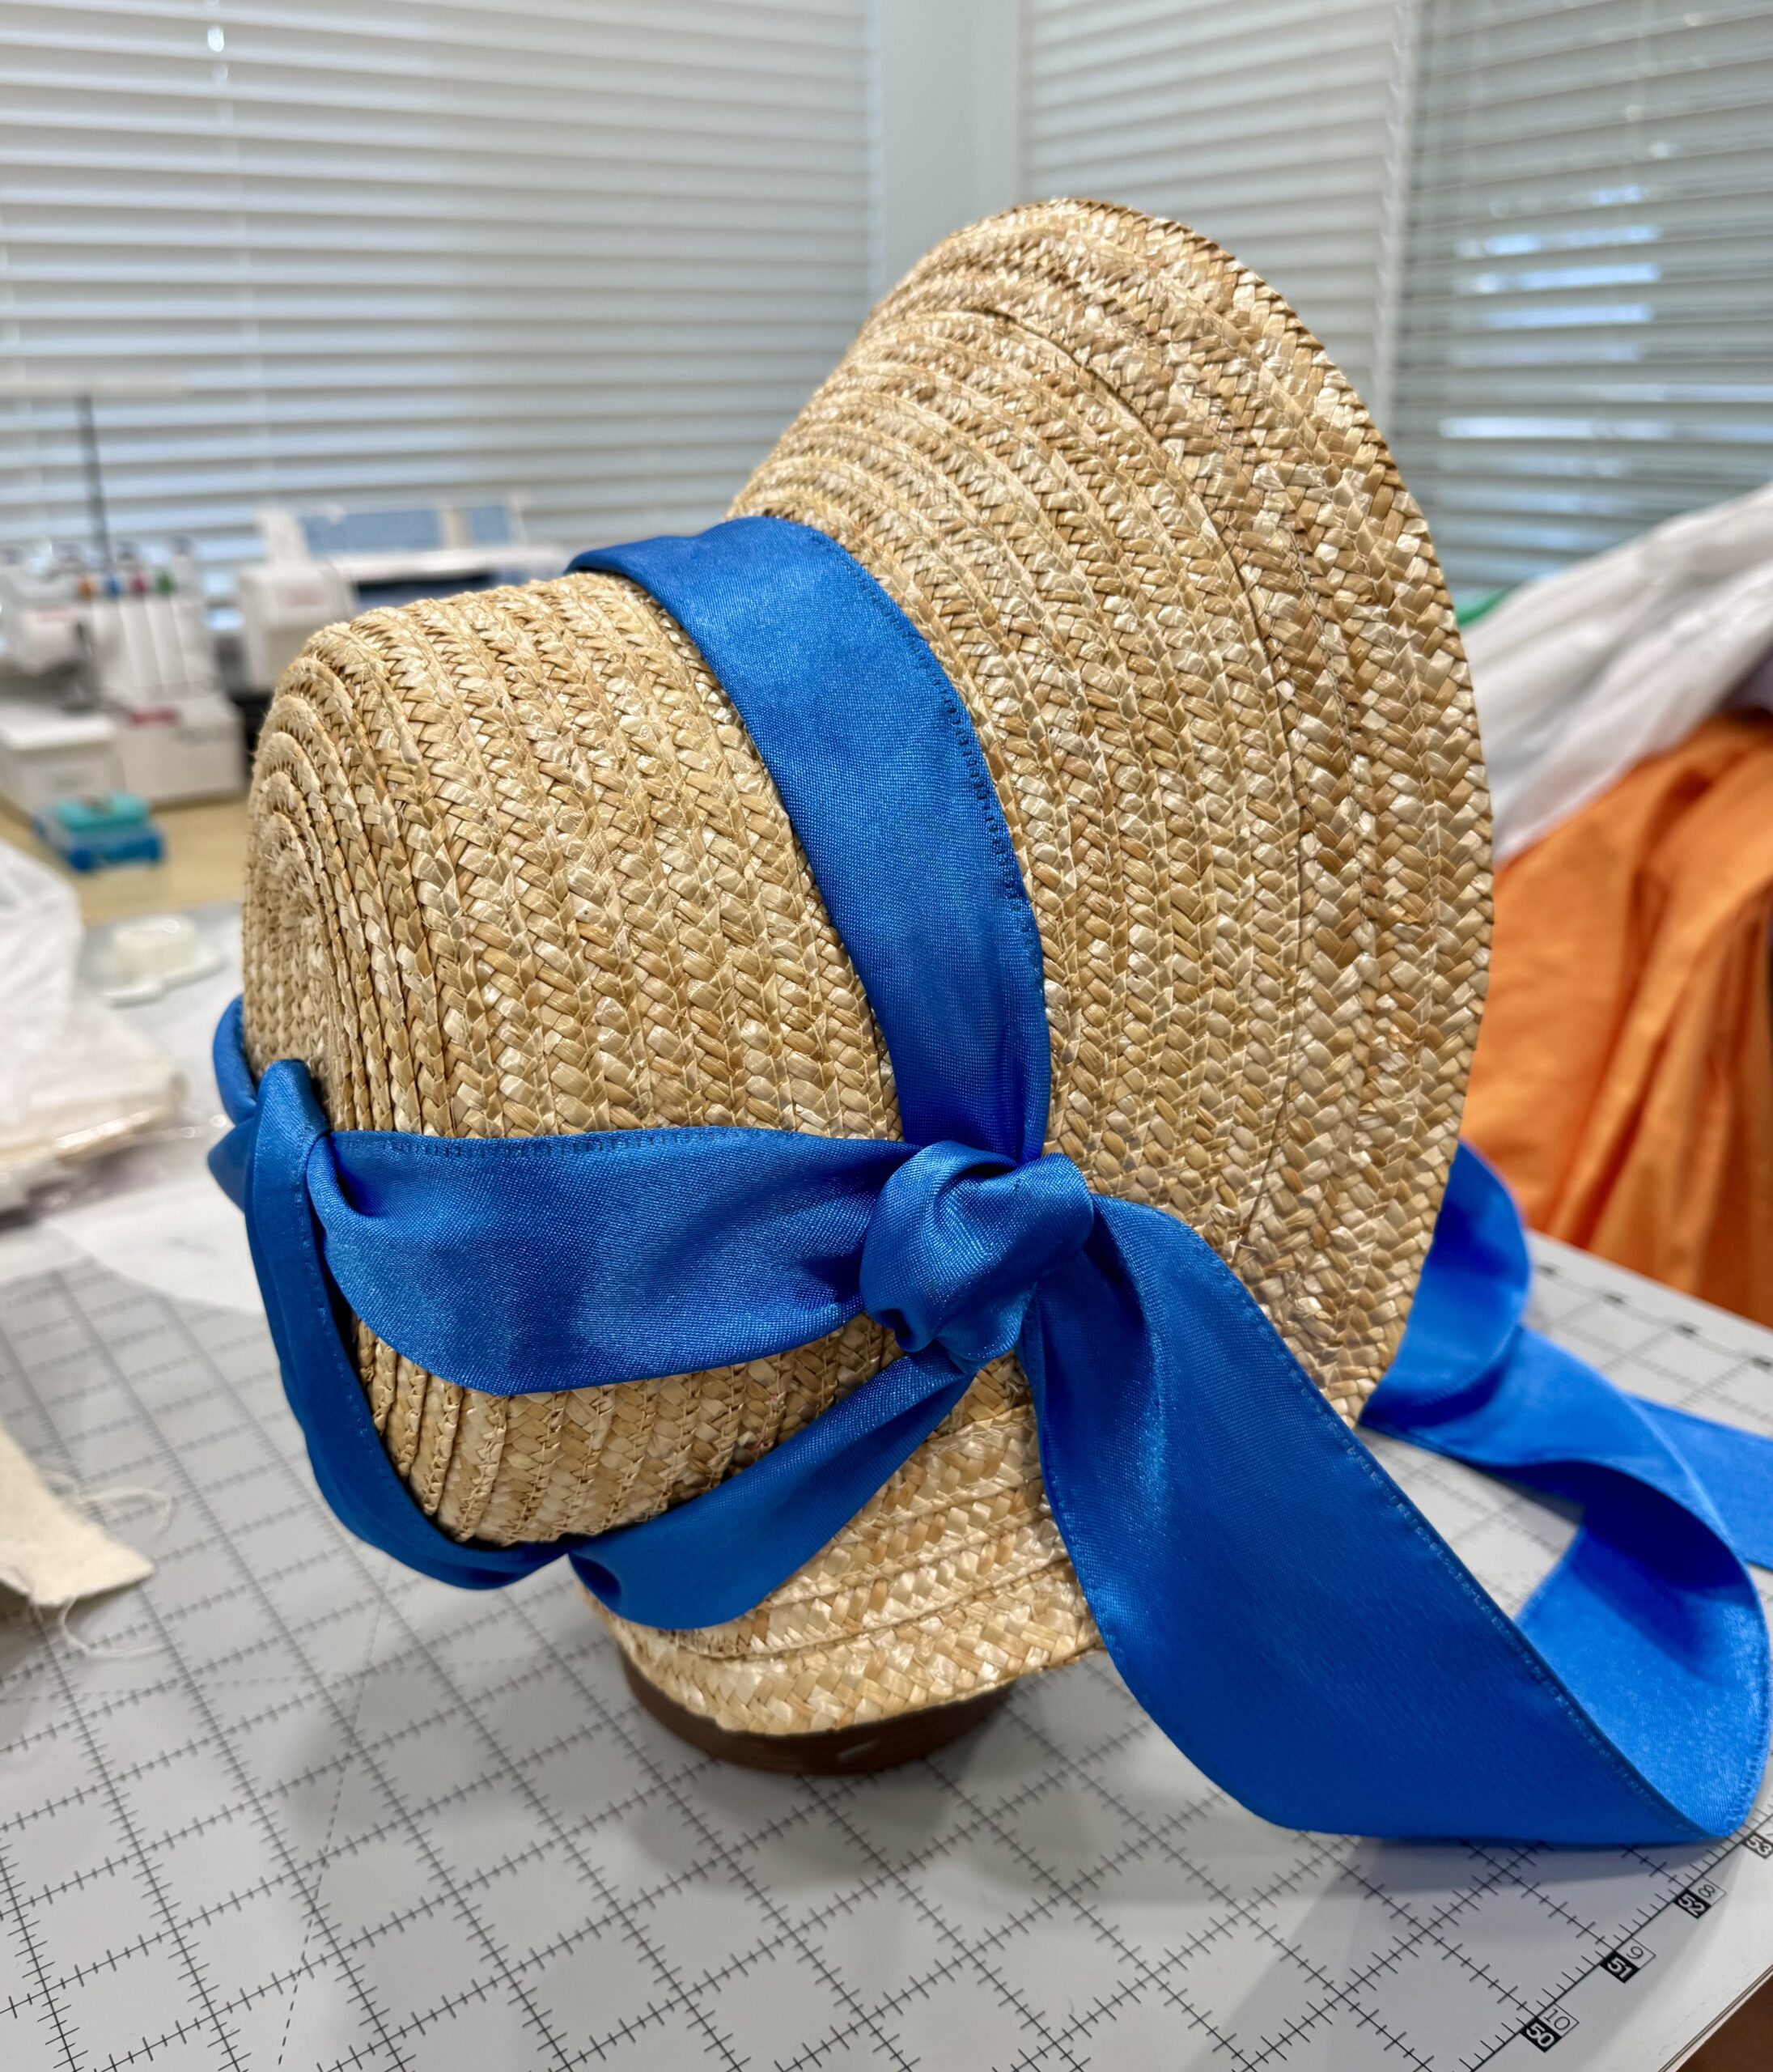
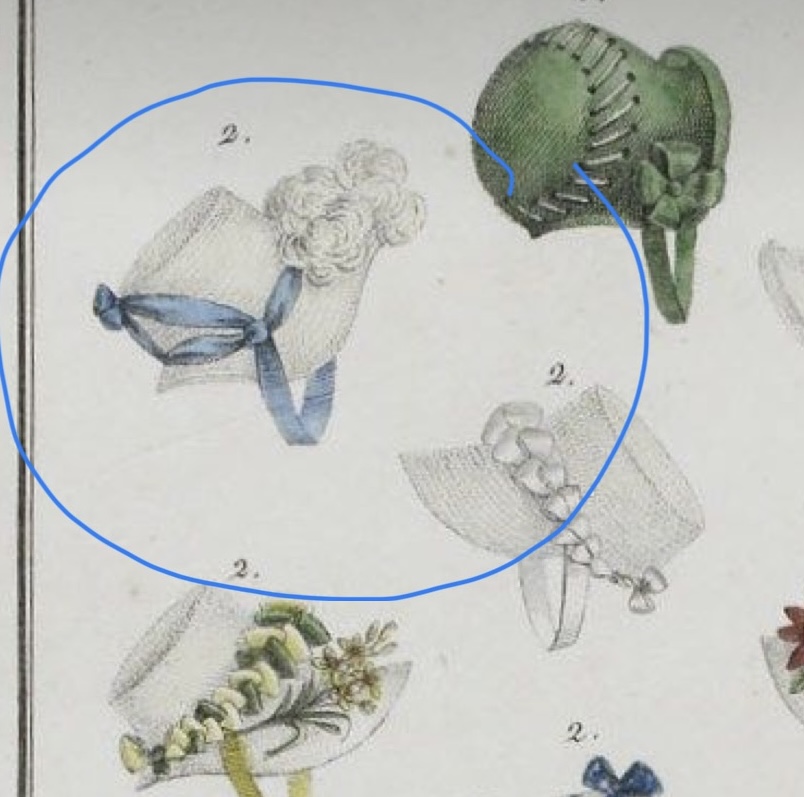
I’ve seen this variations on this hat in fashion plates dating from the end of the 1790s through to about 1810-ish, but there was one particular image from 1809 I really loved: sculptural and clean, with a twist of blue ribbon across the crown and a feathered plume at the top of the brim. I had recently thrifted a straw hat of pretty decent quality, so I decided to try it. No instruction, no drawings, just a notion in my head of where I wanted to go. Experimental straw millinery, here I go!
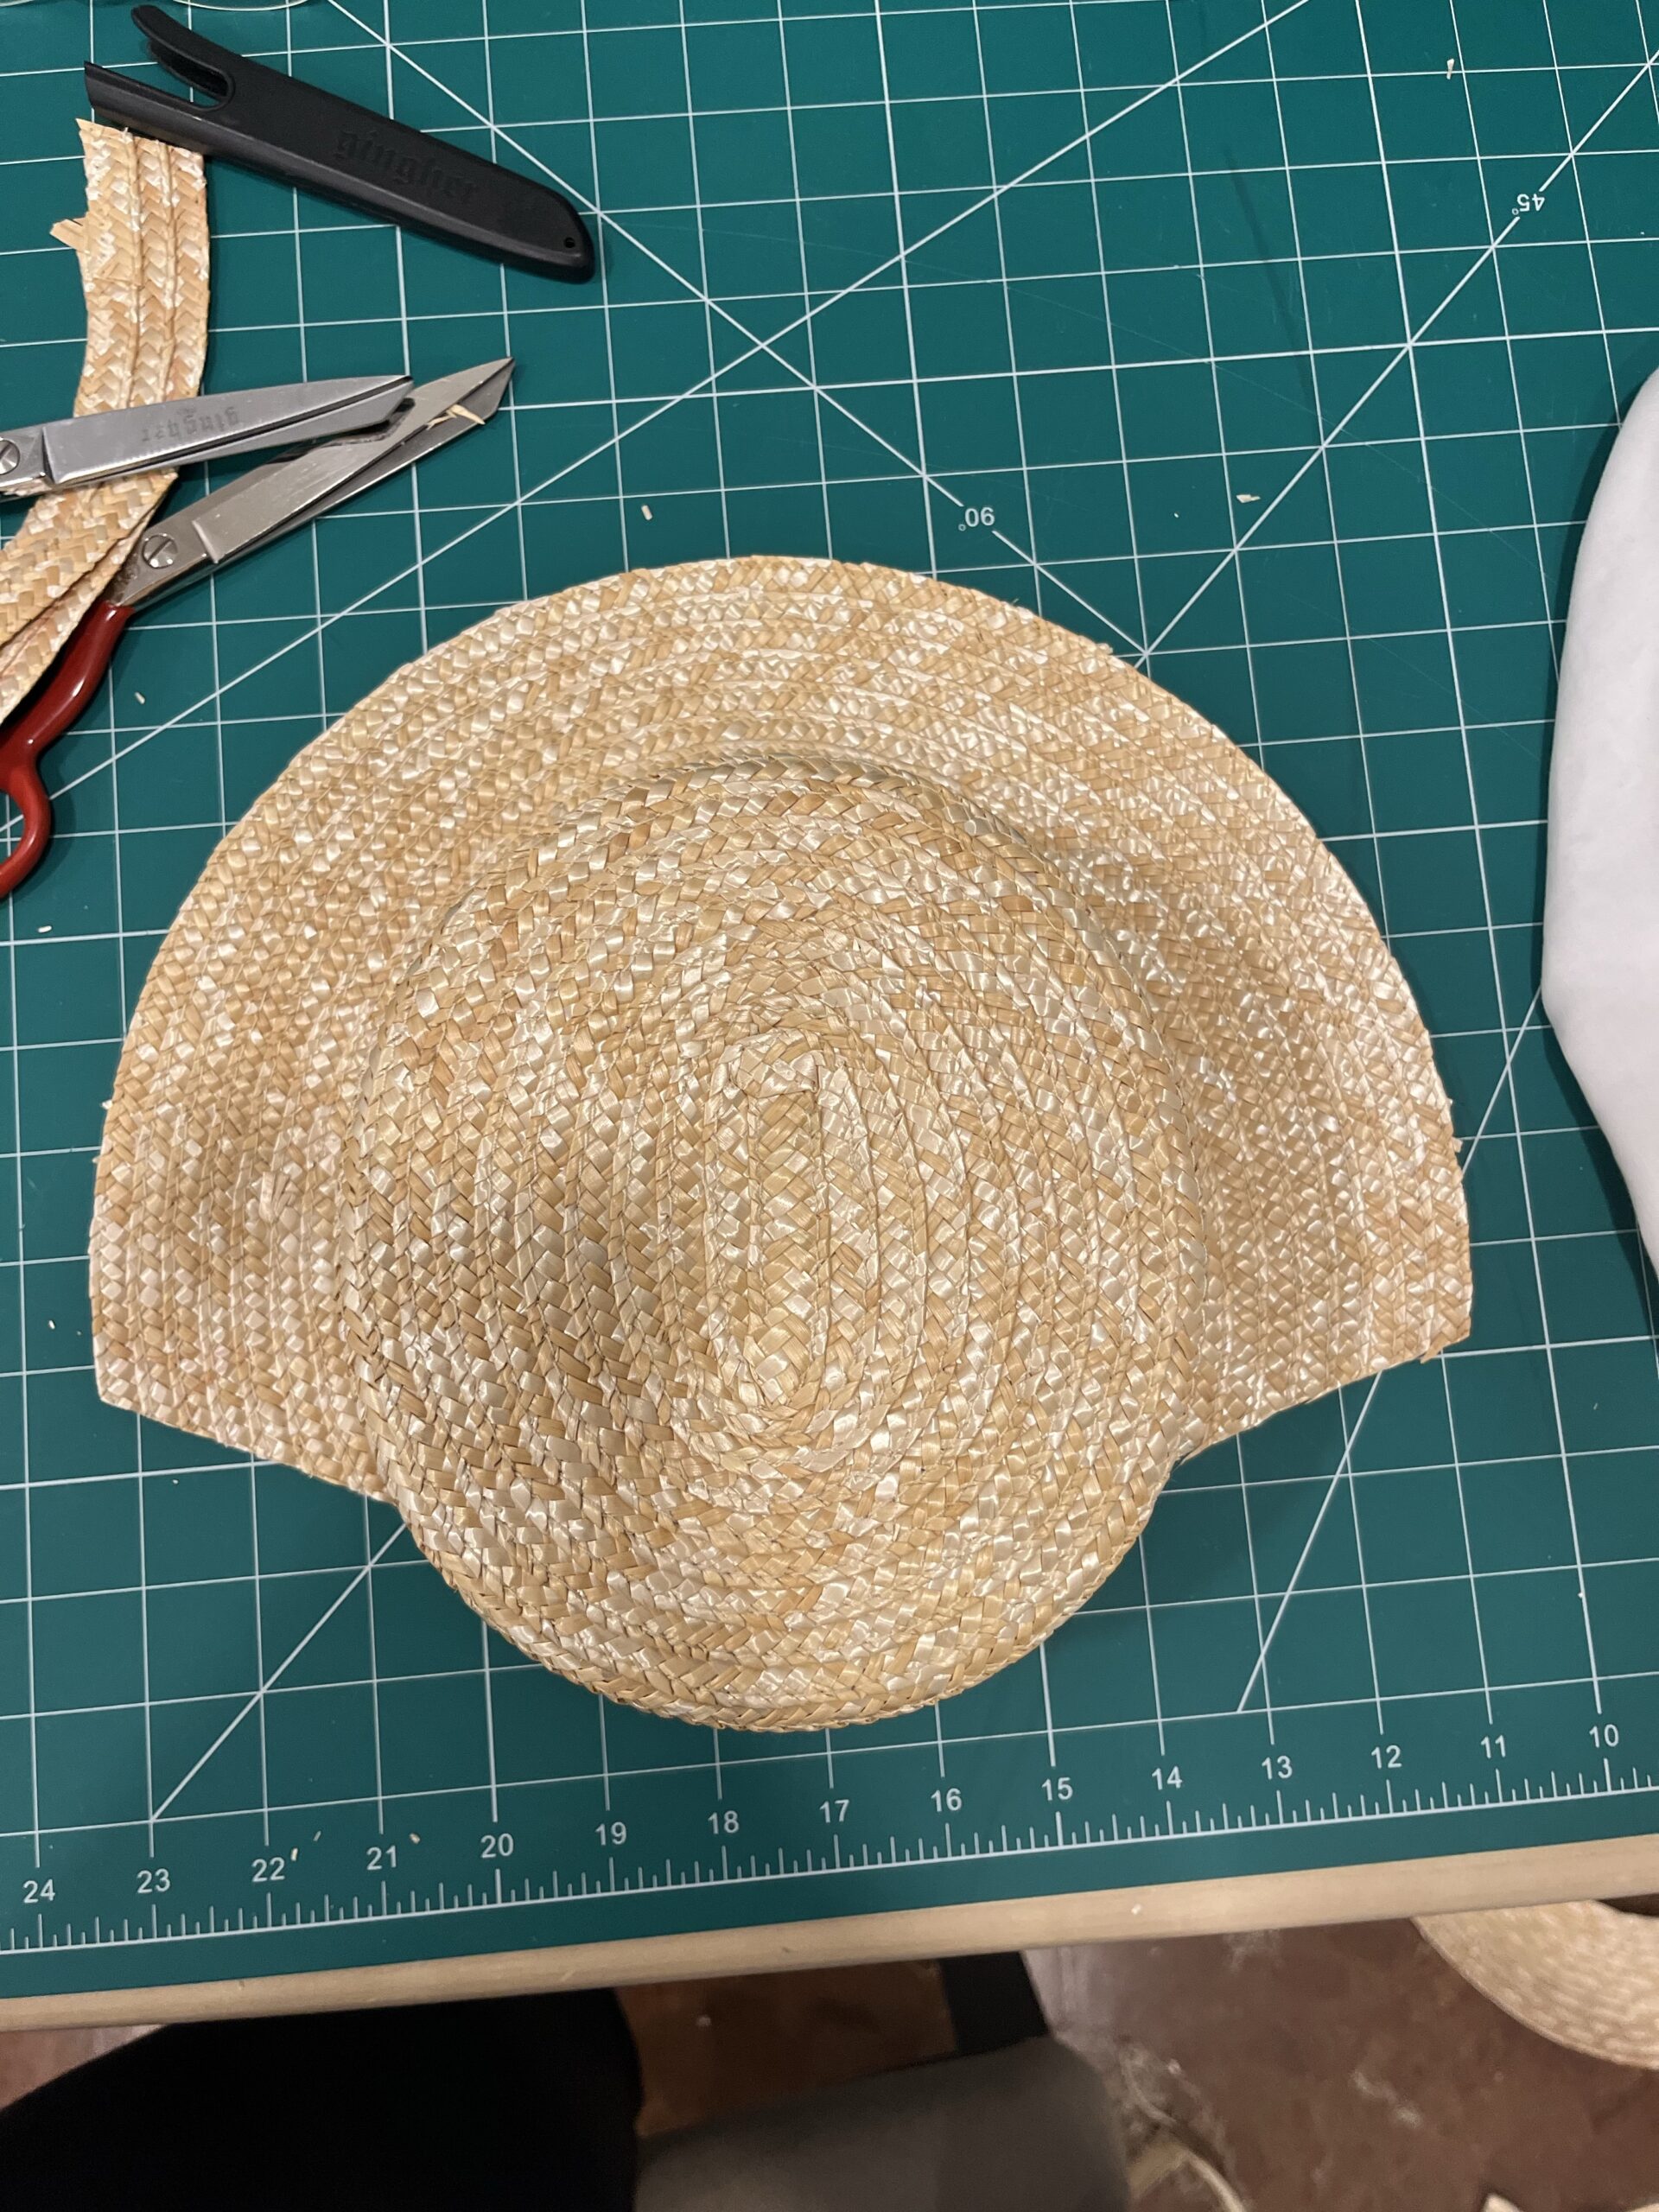
First, I unpicked about 3 rows off of the outside of the hat, and chopped a wedge out of the newly shortened brim. Removing the wedge loosened the stitches along the edges I’d cut and for my first learning curve, i found the hat peeling rapidly apart along all its cut seams.
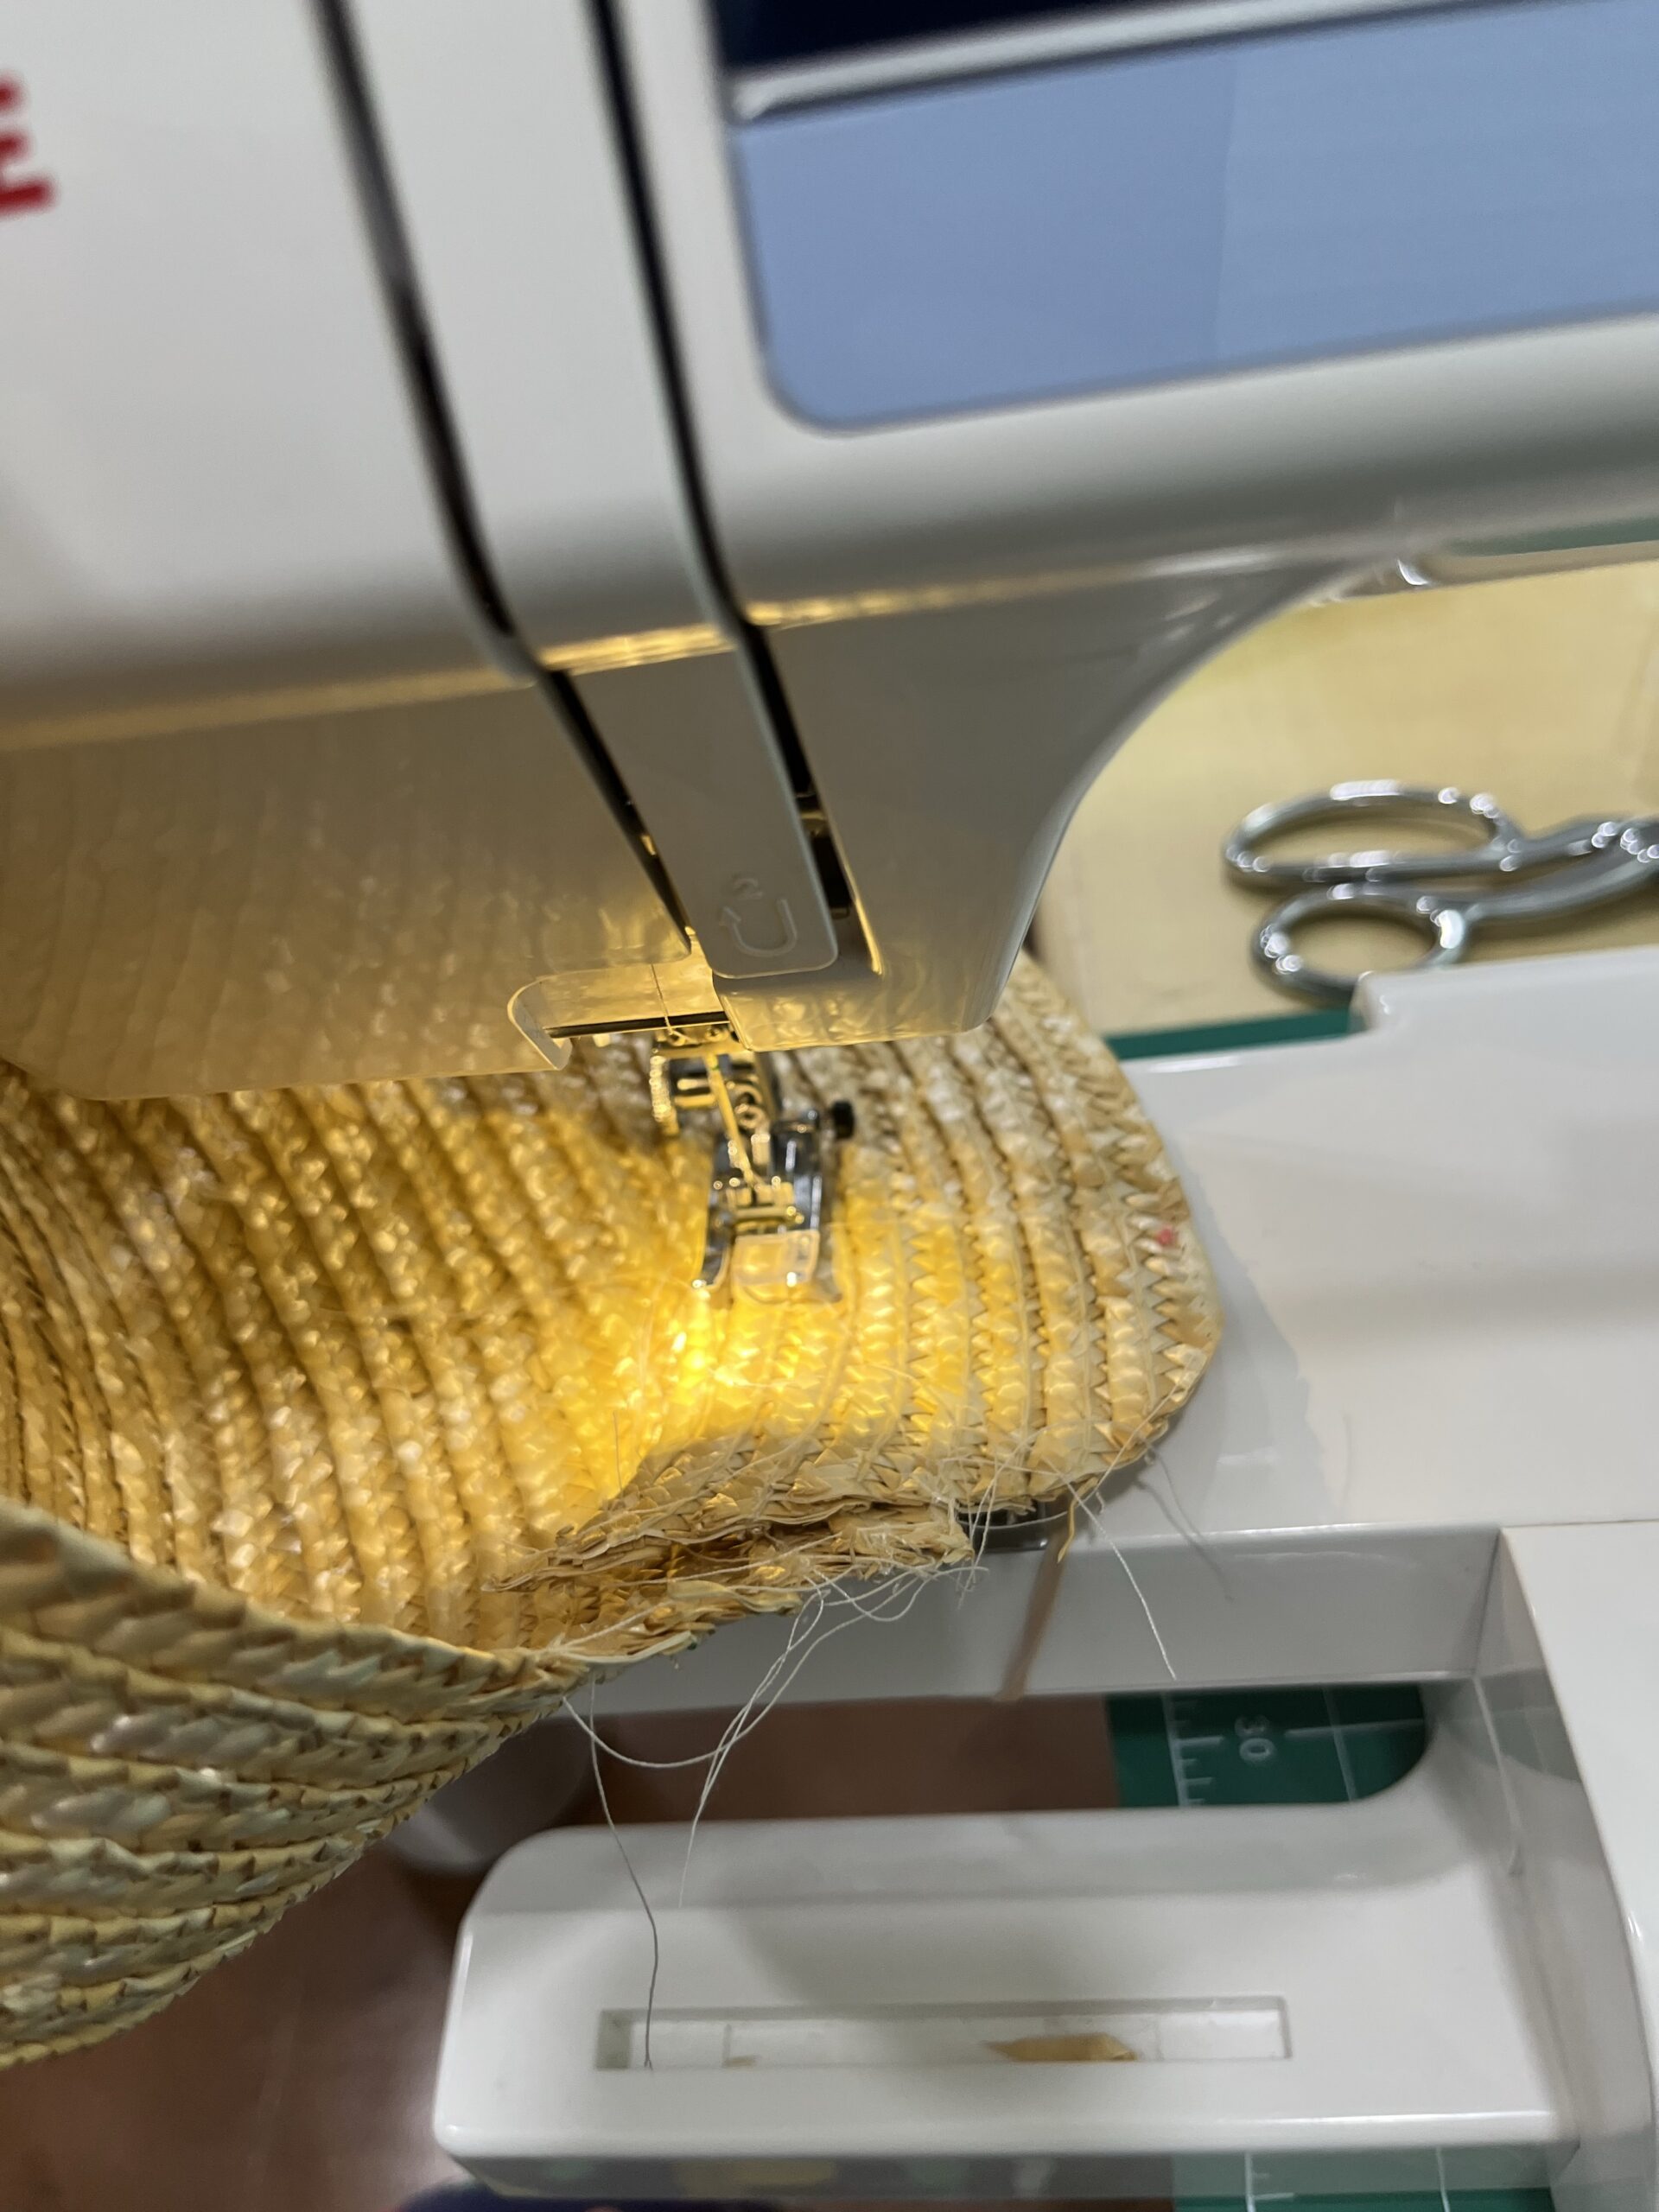
I shoved the straw hat into my sewing machine and stitched all the loose edges back down –
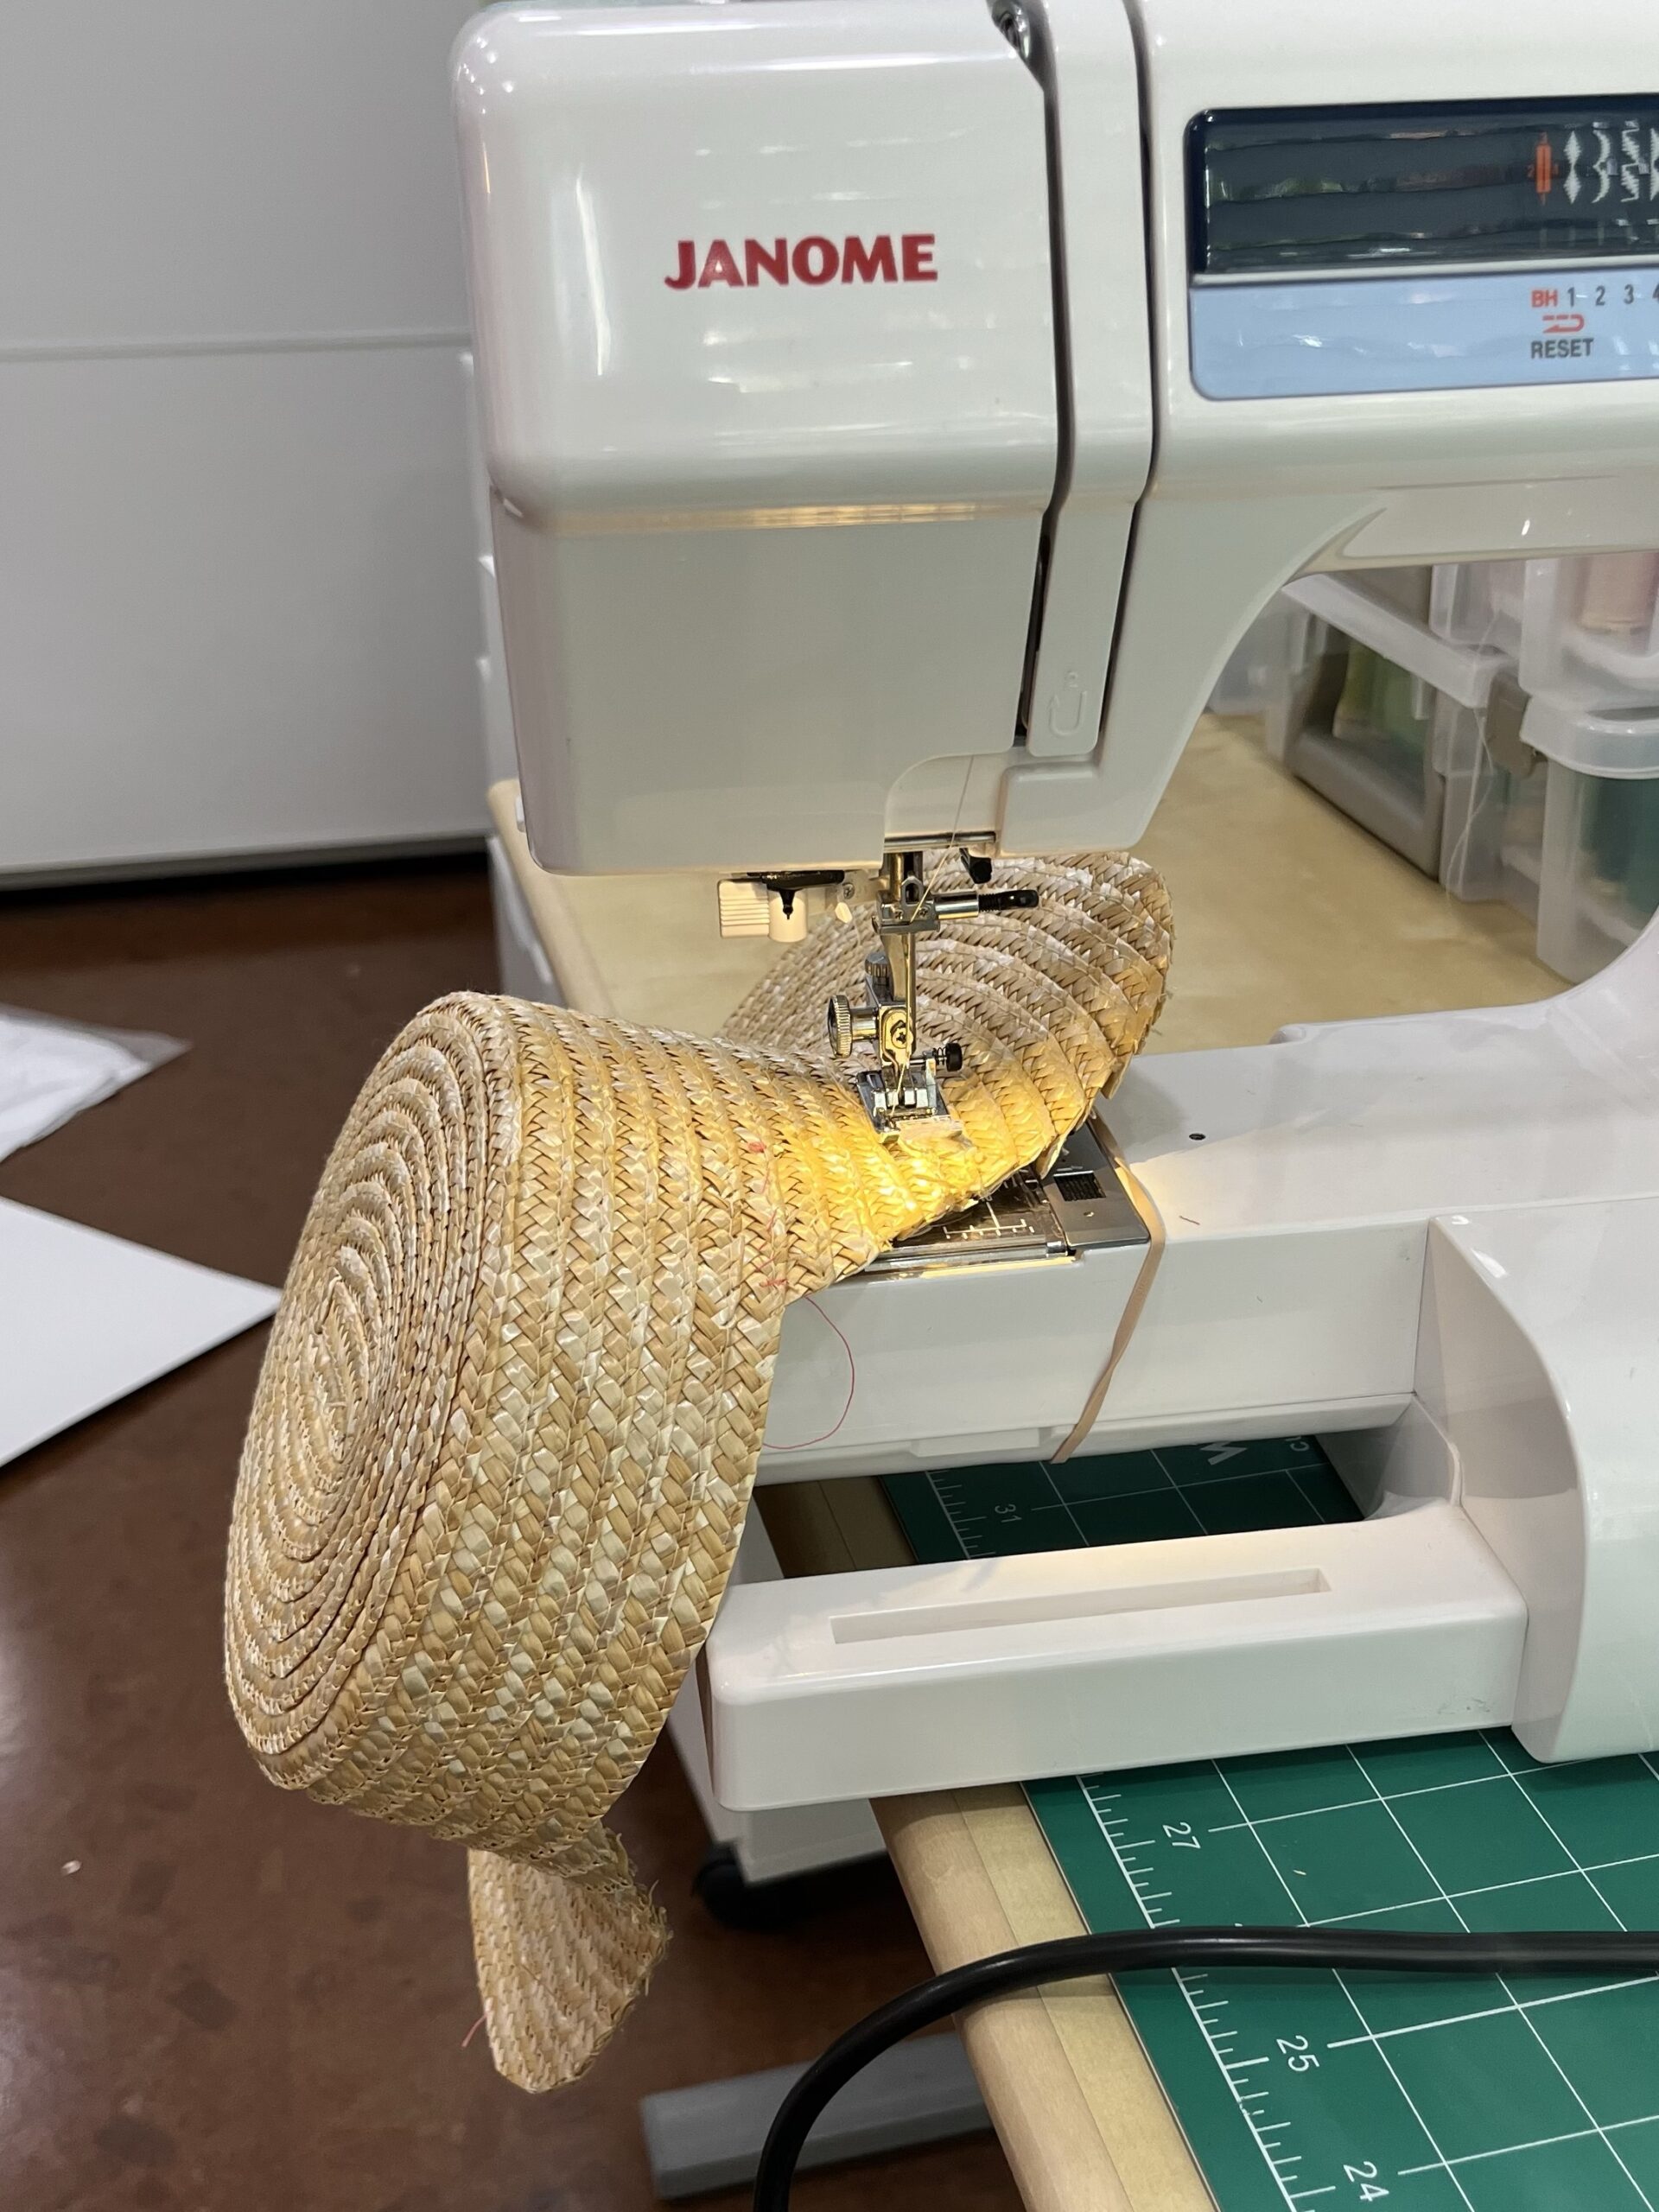
-except for the row at the point where the flat brim turns up vertically to become a crown. For that one, I unpicked a few more inches on both sides, and then I shoved the flapping bits underneath the crown, forcing the brim into a bonnet-like downward curve.
I pulled stitches and shoved until I had a curve that I liked, and then I stitched both sides down.
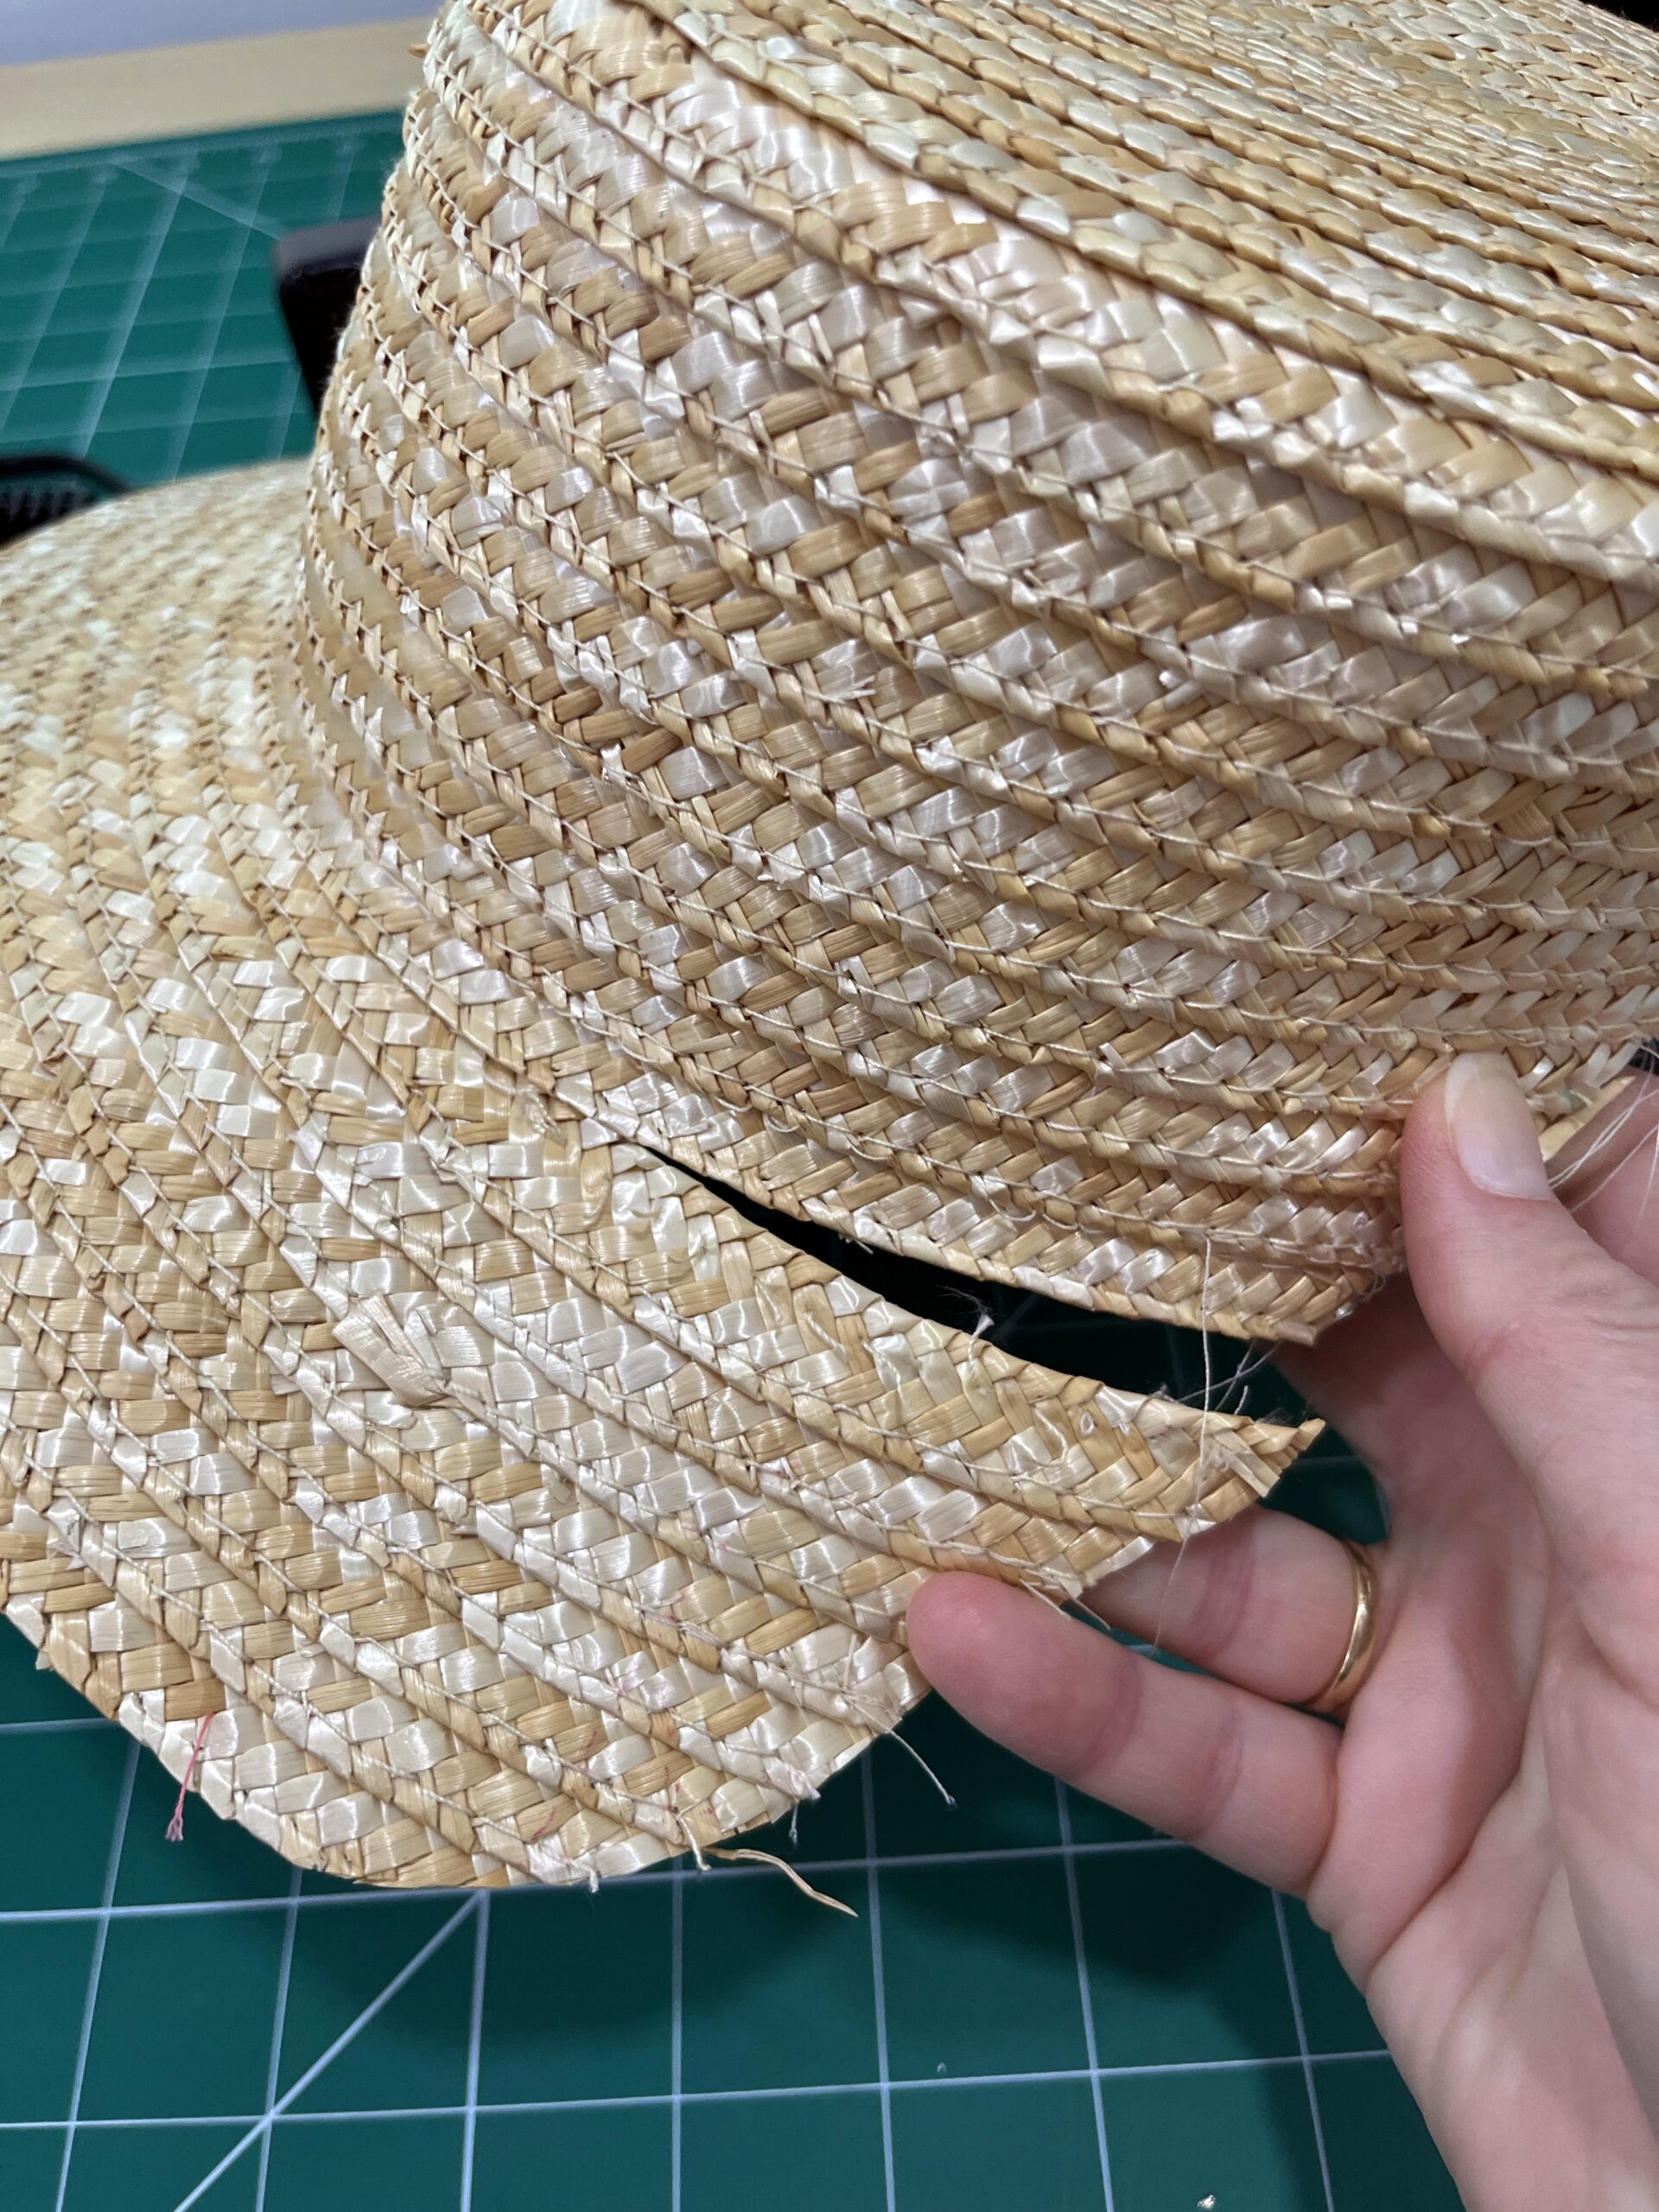
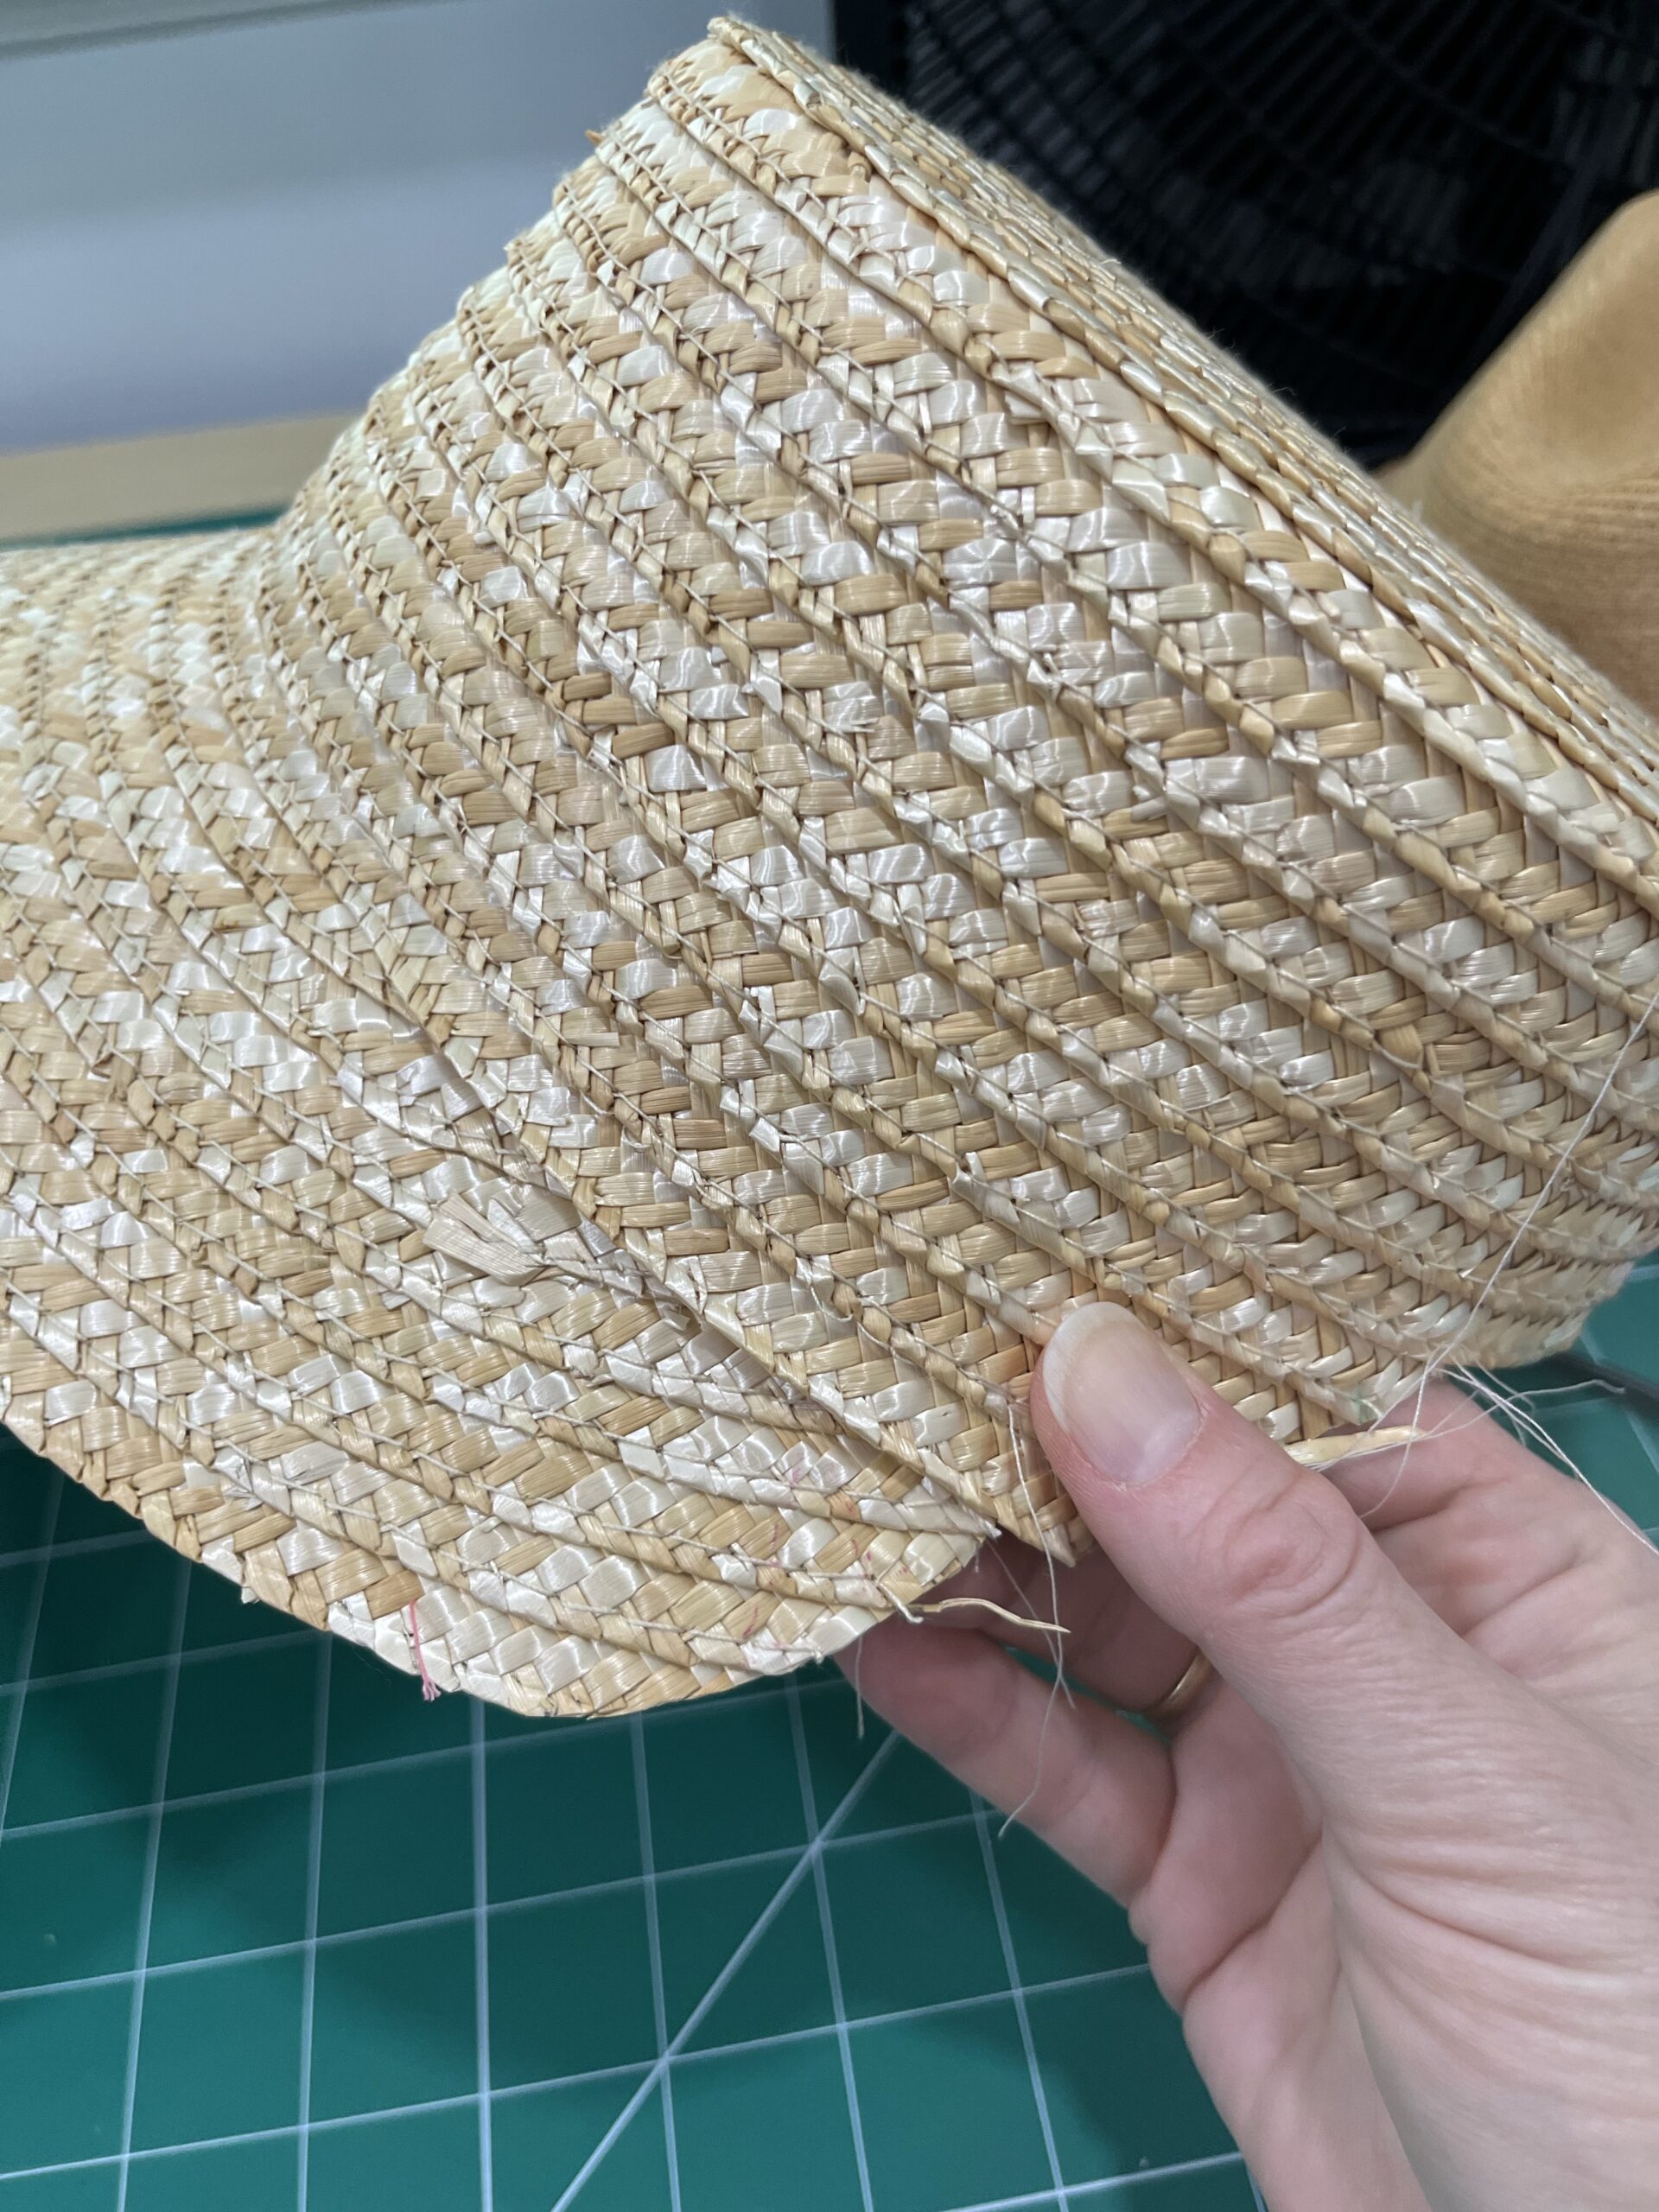
At this point, courtesy of some nasty grinding noises and an unexpected spray of straw, I began to suspect that that Janet, my Janome sewing machine, might not be up for this project. I thought about it for a minute and then carried on anyway.
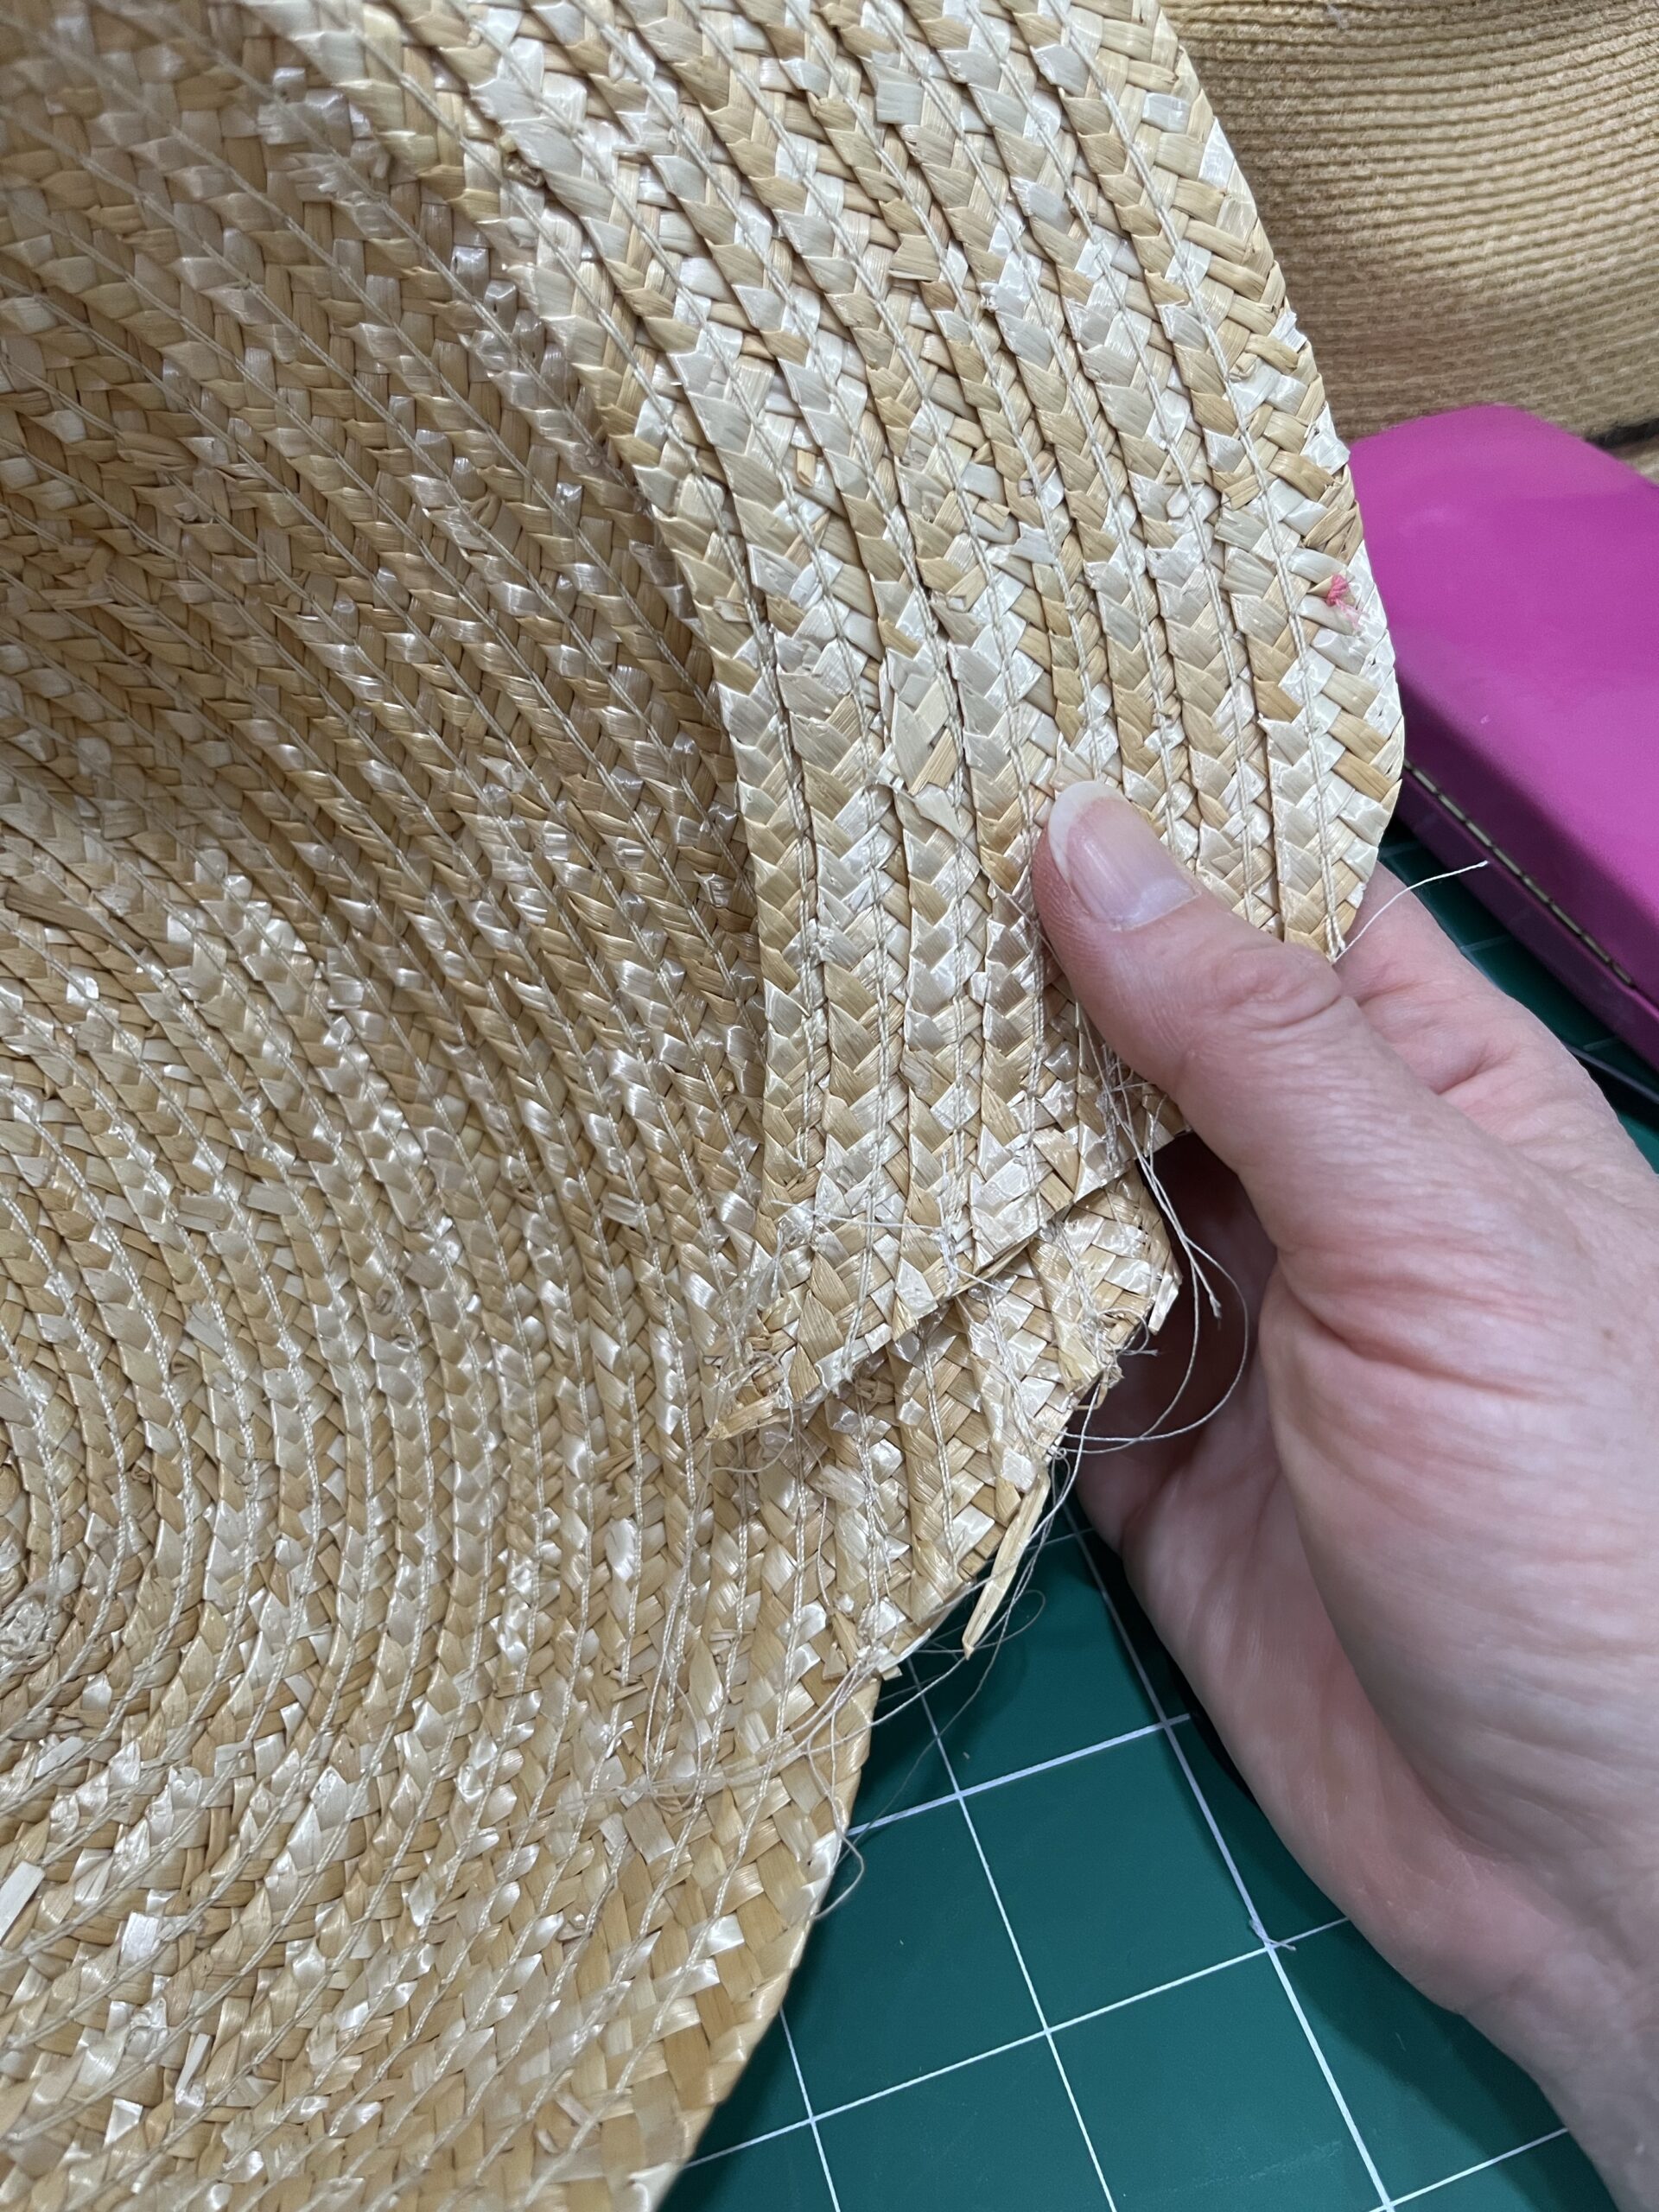
I deepened my chopped-out wedge further up the wall of the crown until the hat sat on my head as I wanted. Then I secured the edges of those chopped rows as well.
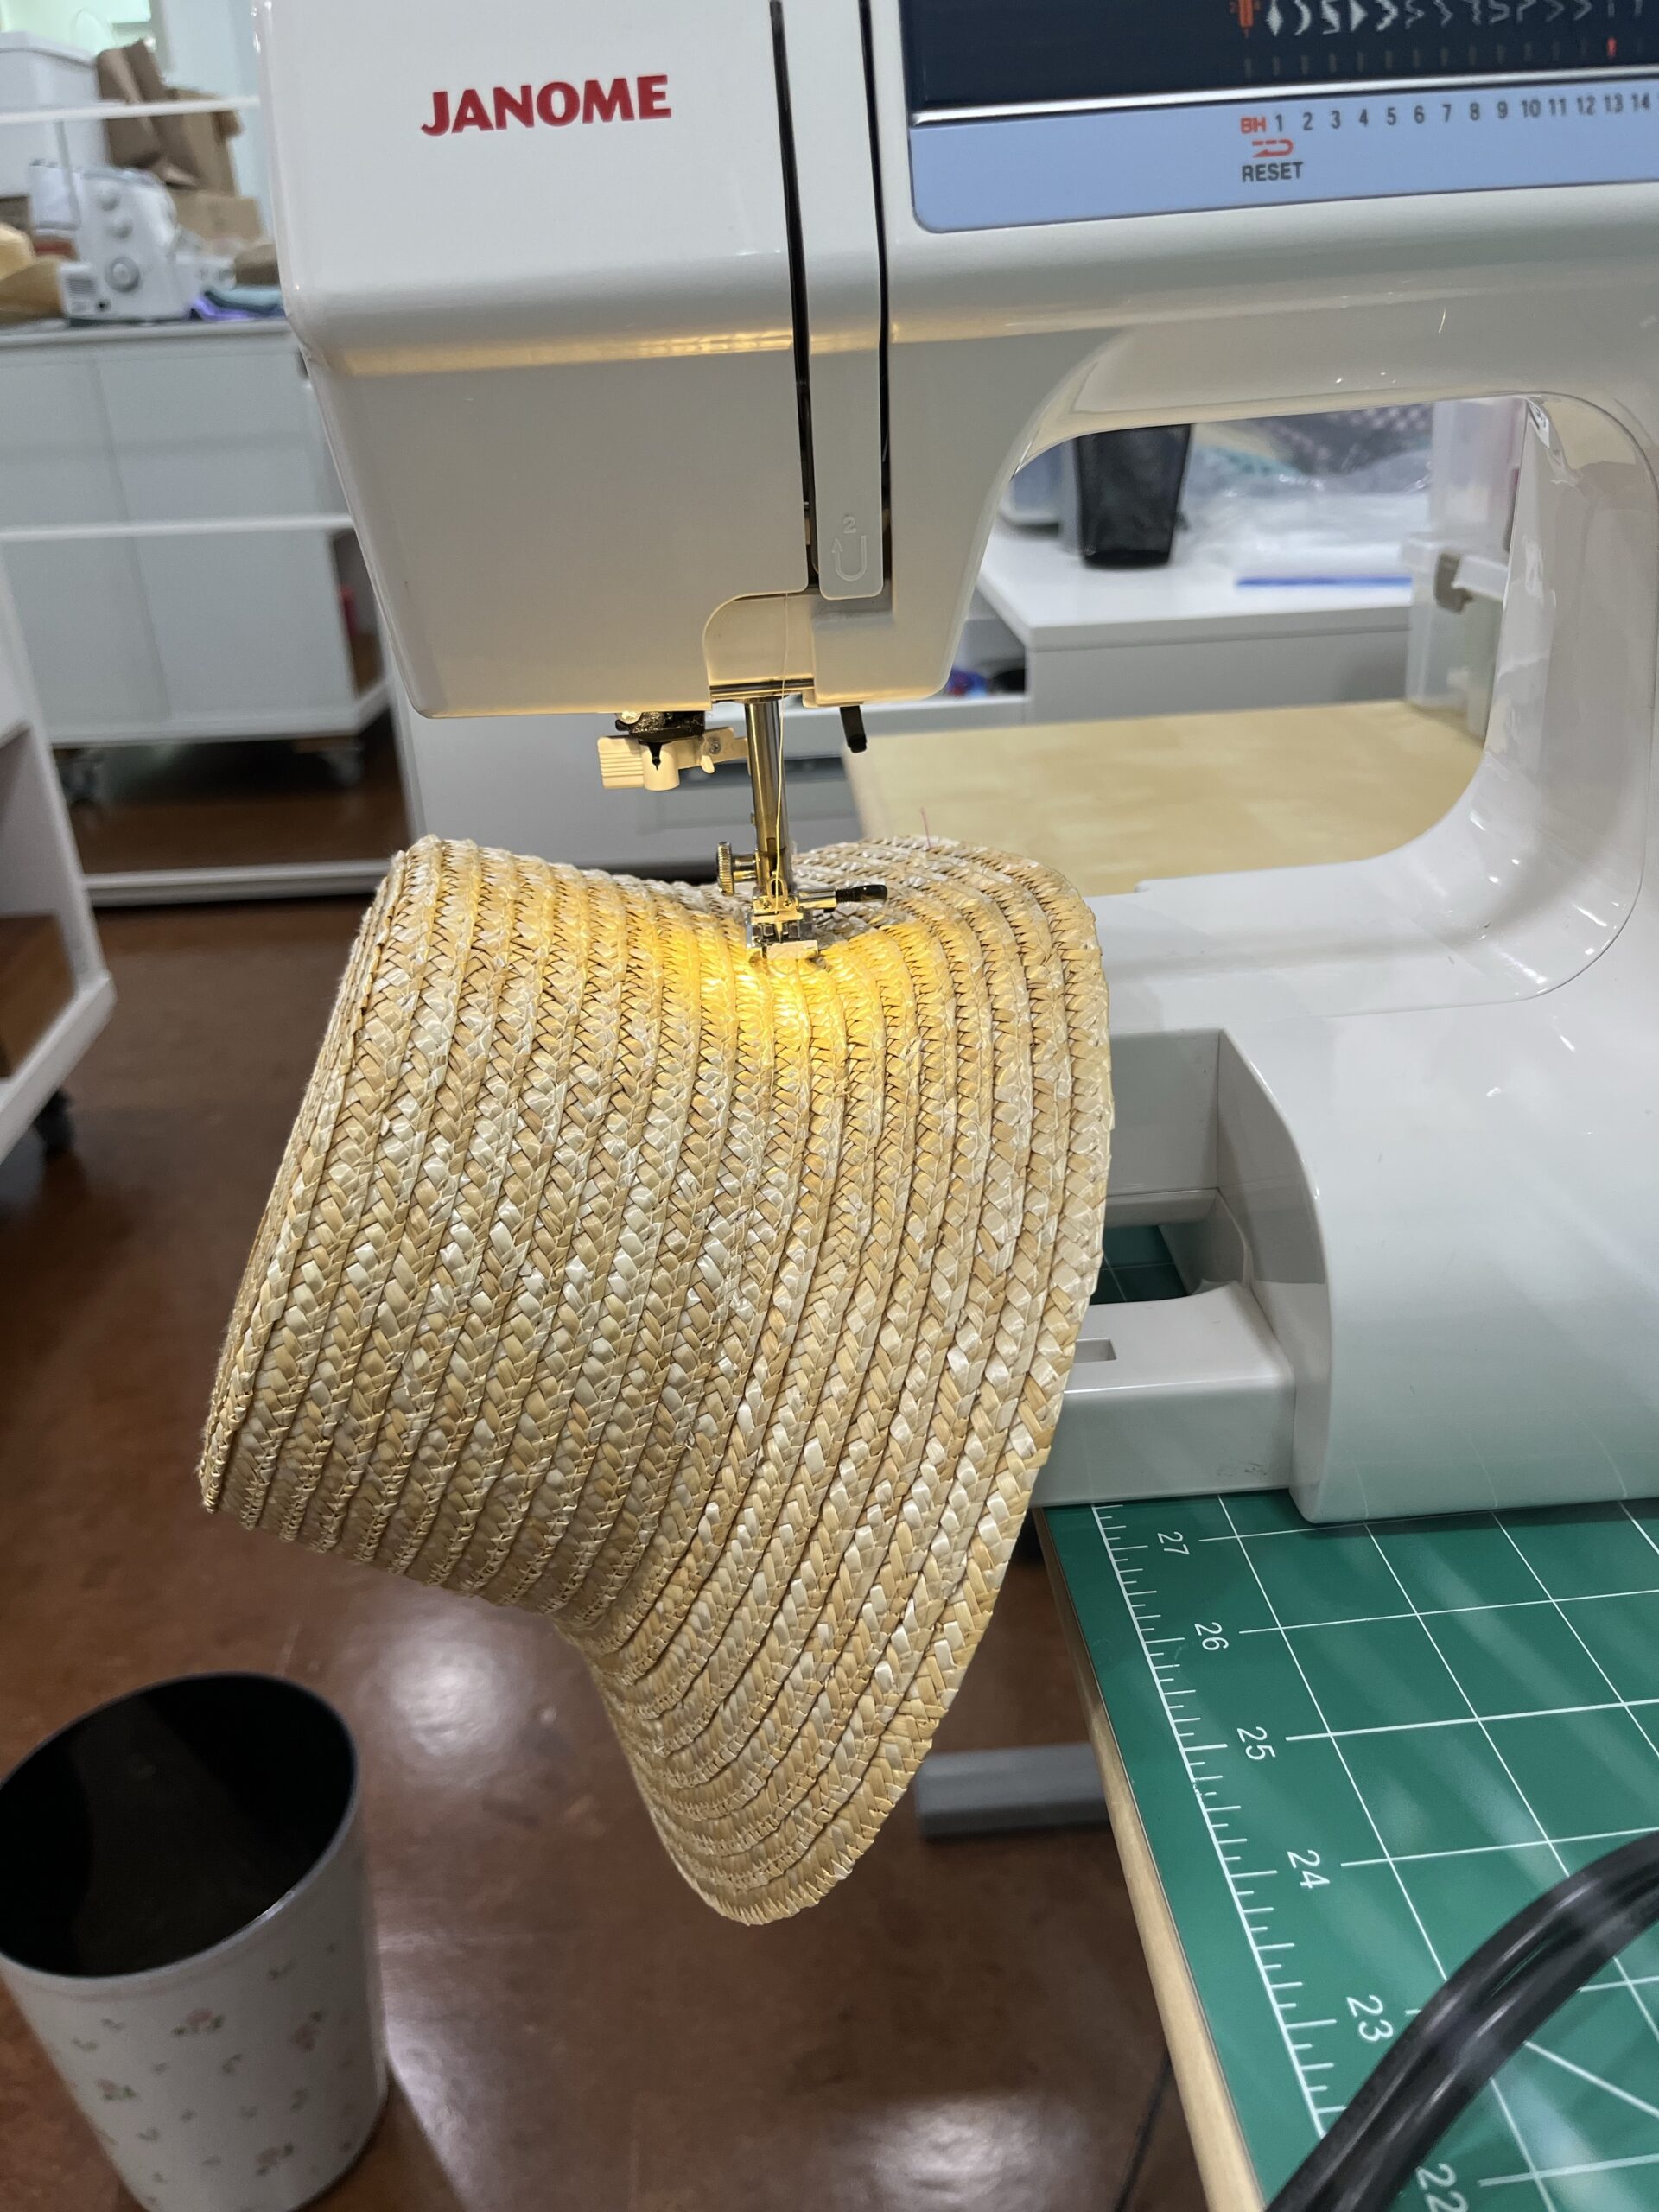
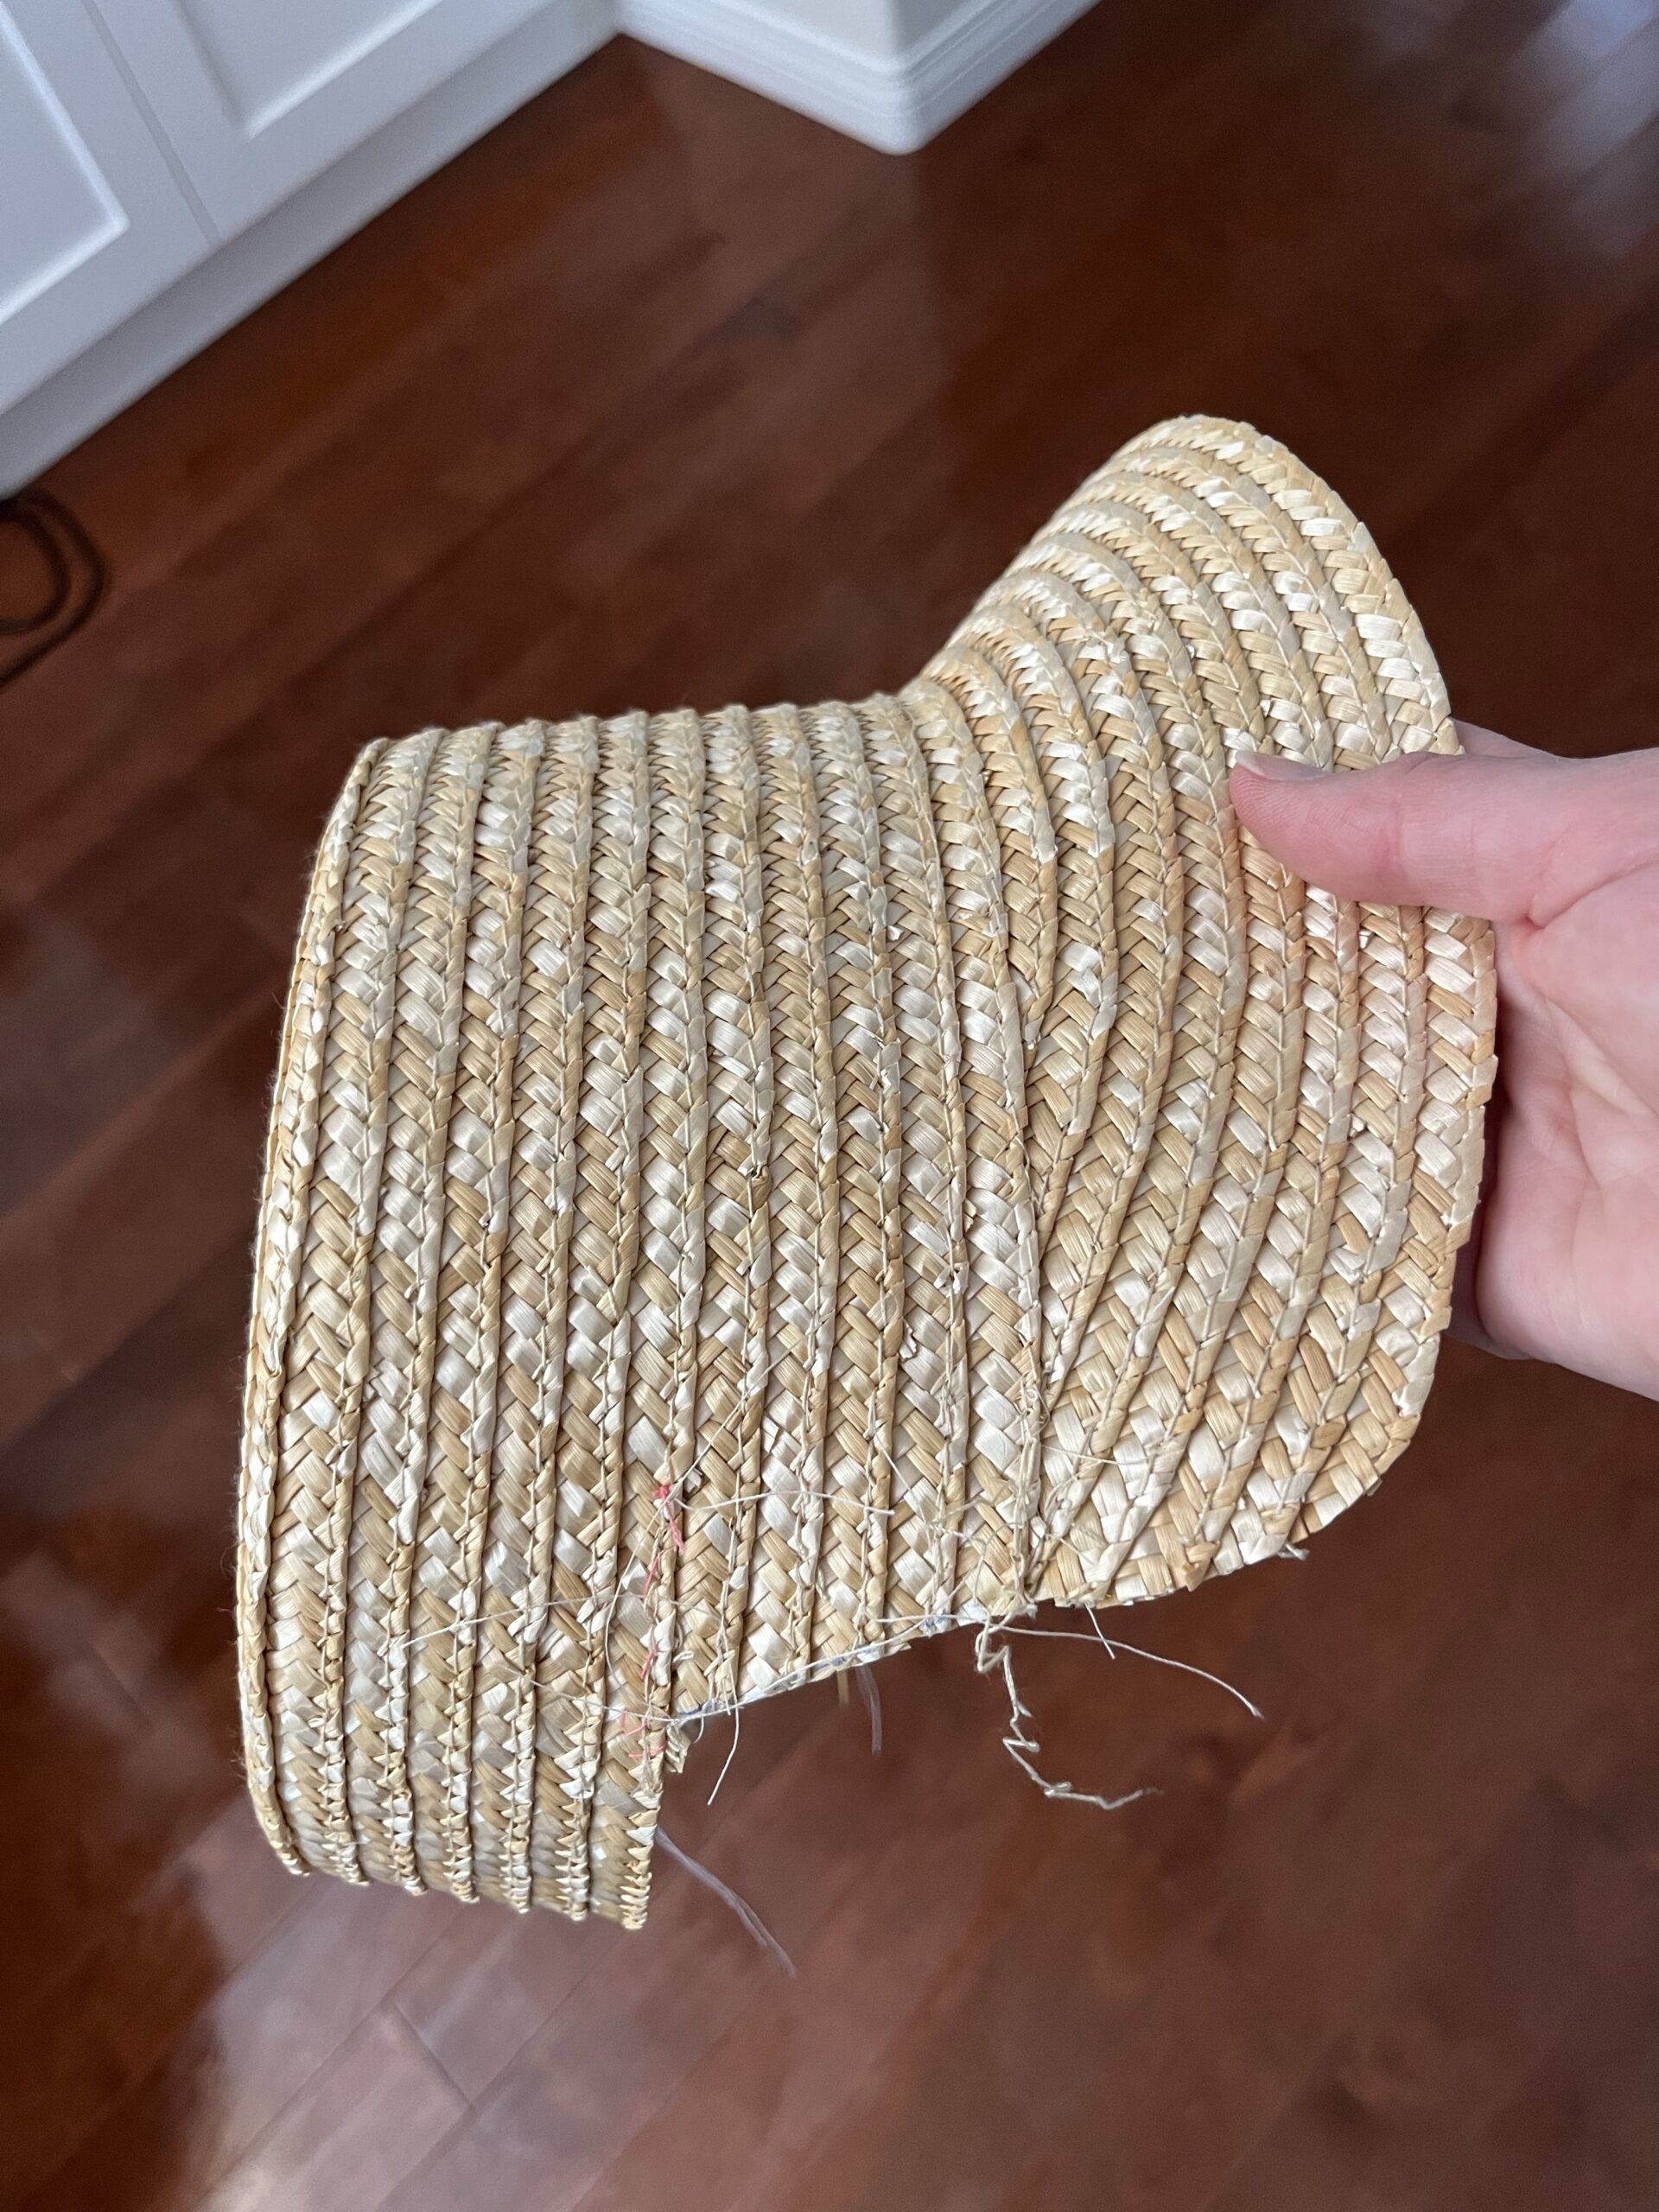
With all the raw straw ends, the inside of the hat was looking pretty dreadful. Janet continued to hate sewing it. We both soldiered on.
For the bavolet (or whatever you call the bit of hat that comes down the back of your neck) I used the rows of braid I had taken off the hat right at the beginning. Without straightening out their curves, I sewed them back together into a wide band.
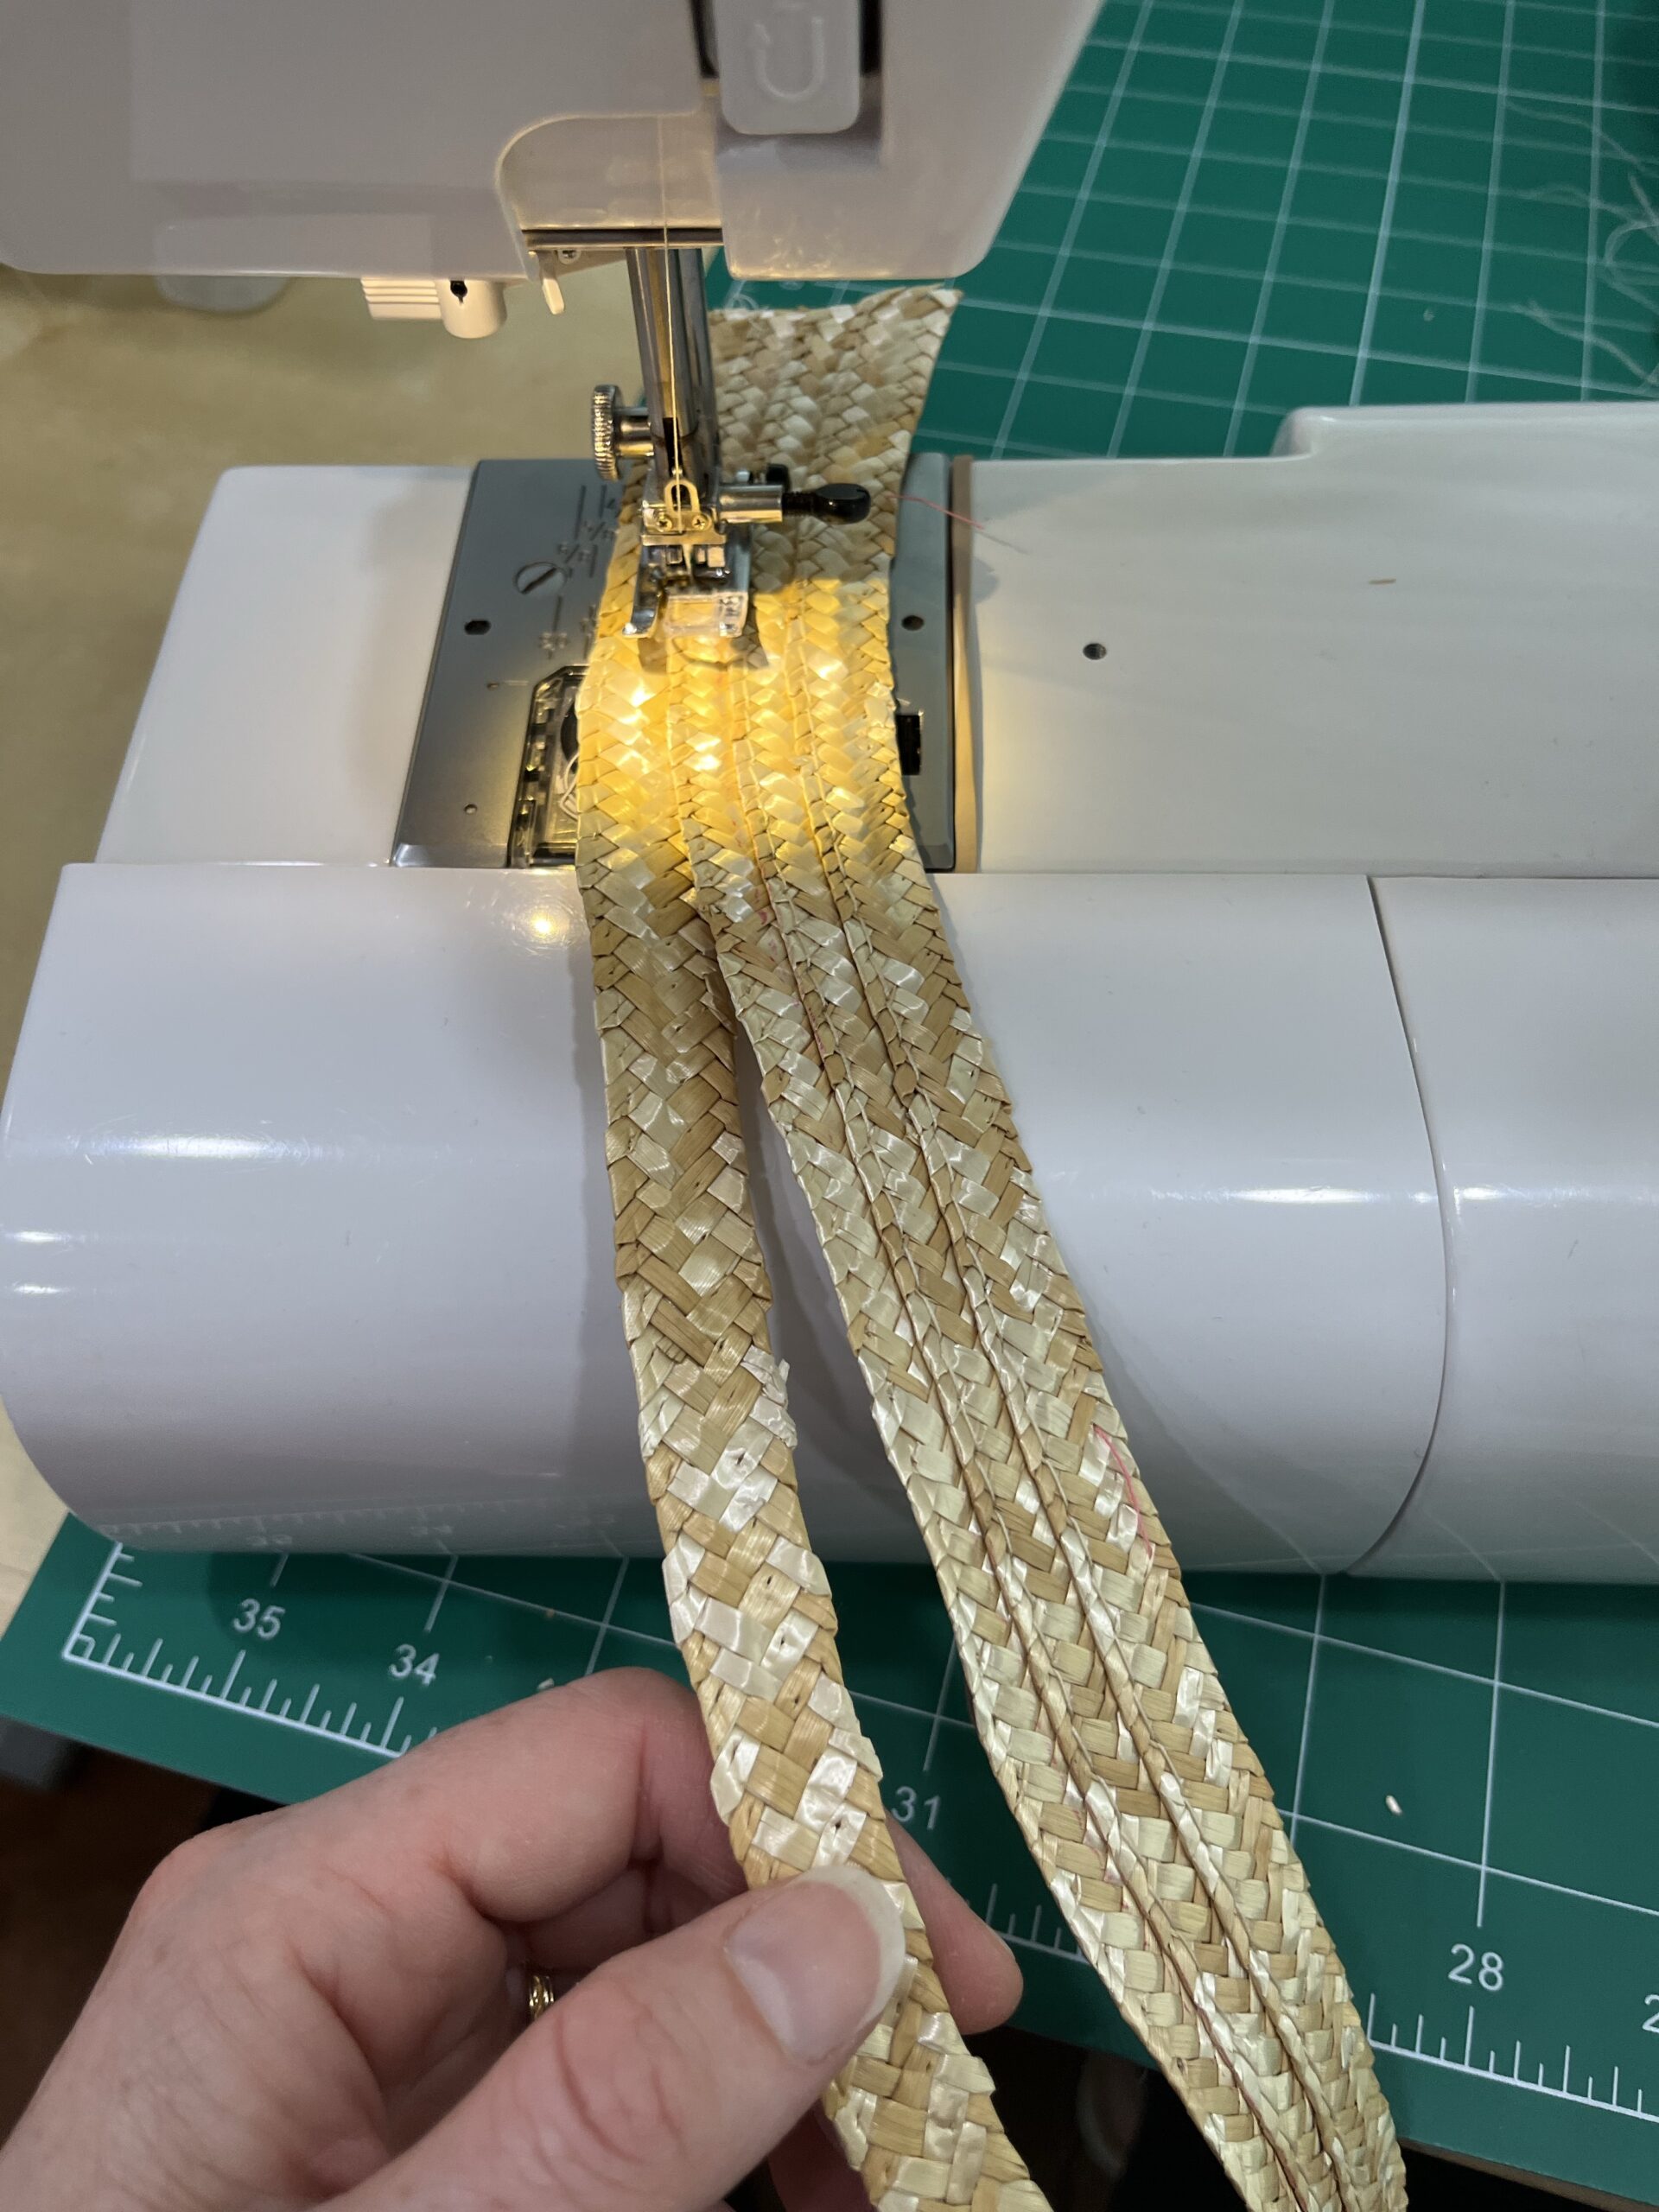
Then I sewed it onto the hat. There were quite a few layers to get through now. Janet was chomping and grinding, so I soaked the bavolet in the sink for a few minutes to give the straw some flexibility before I sewed it around the corners of the wedge. This should also have softened it enough to stop throwing the straw chunks that were gumming up Janet, but even so, the sewing was awful. Janet threw up her hands and quit, and I had to pull chains of bogged-up machine stitching out of her innards, and then I started over again, by hand.
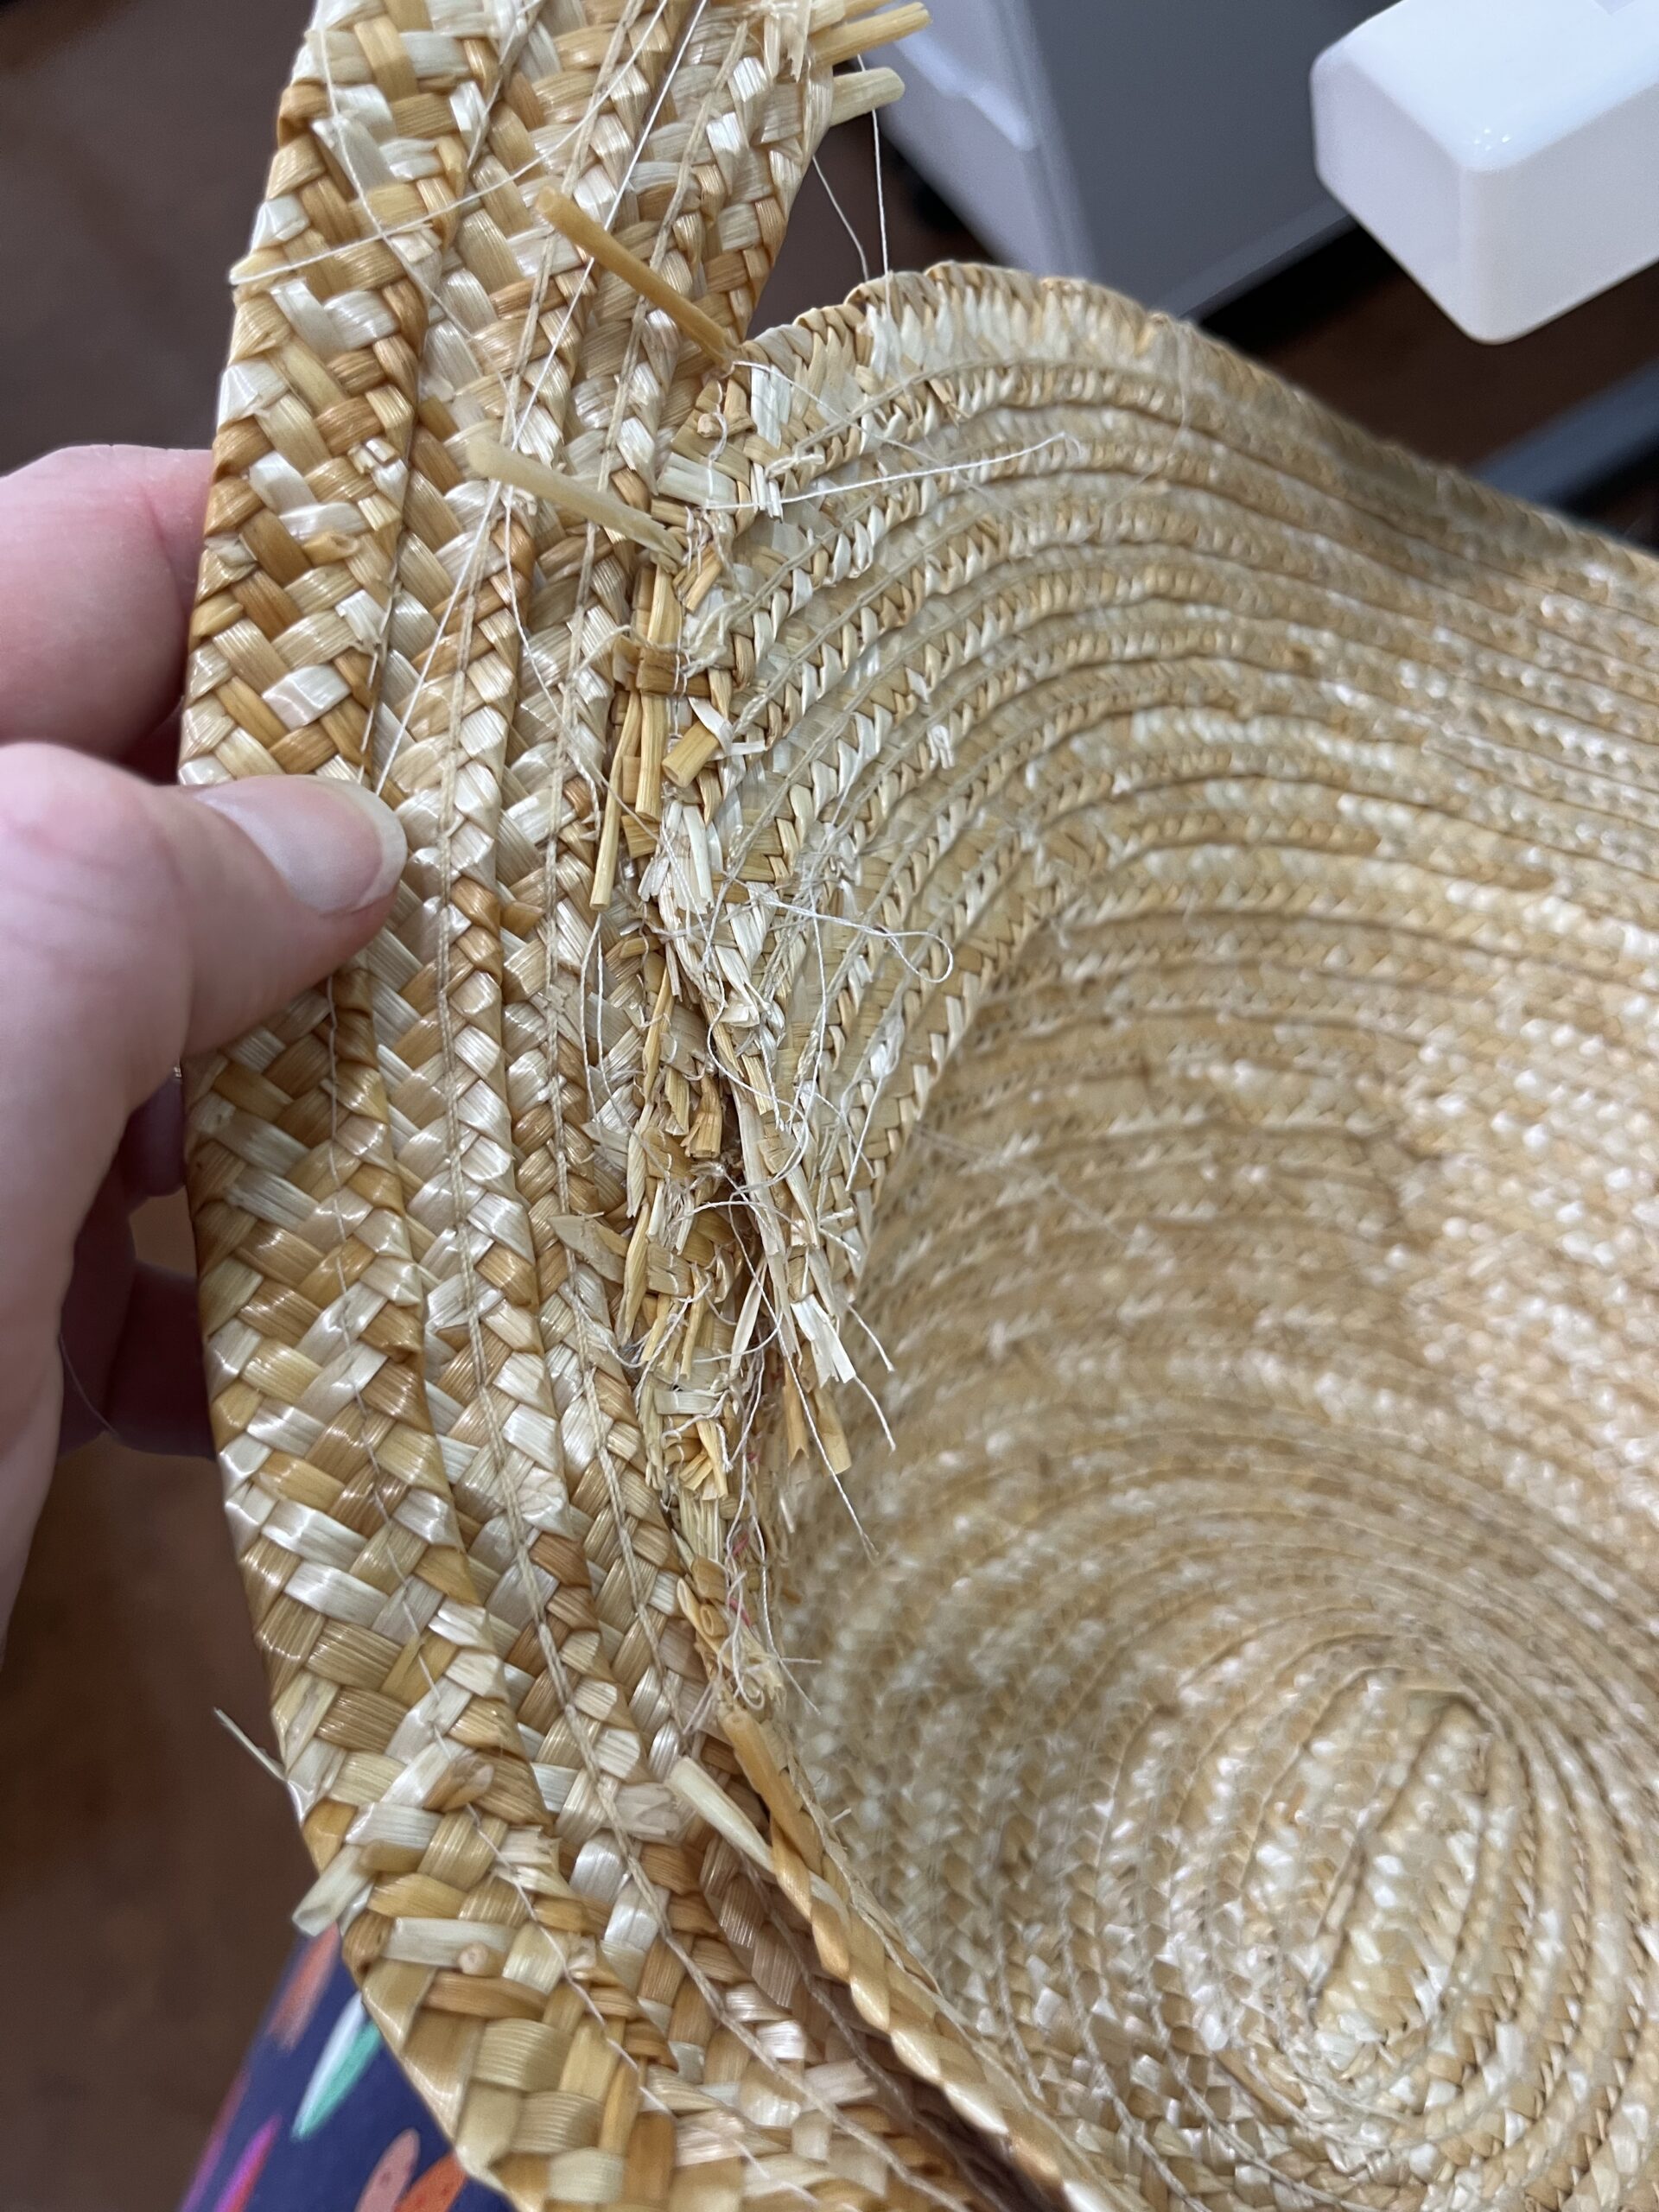
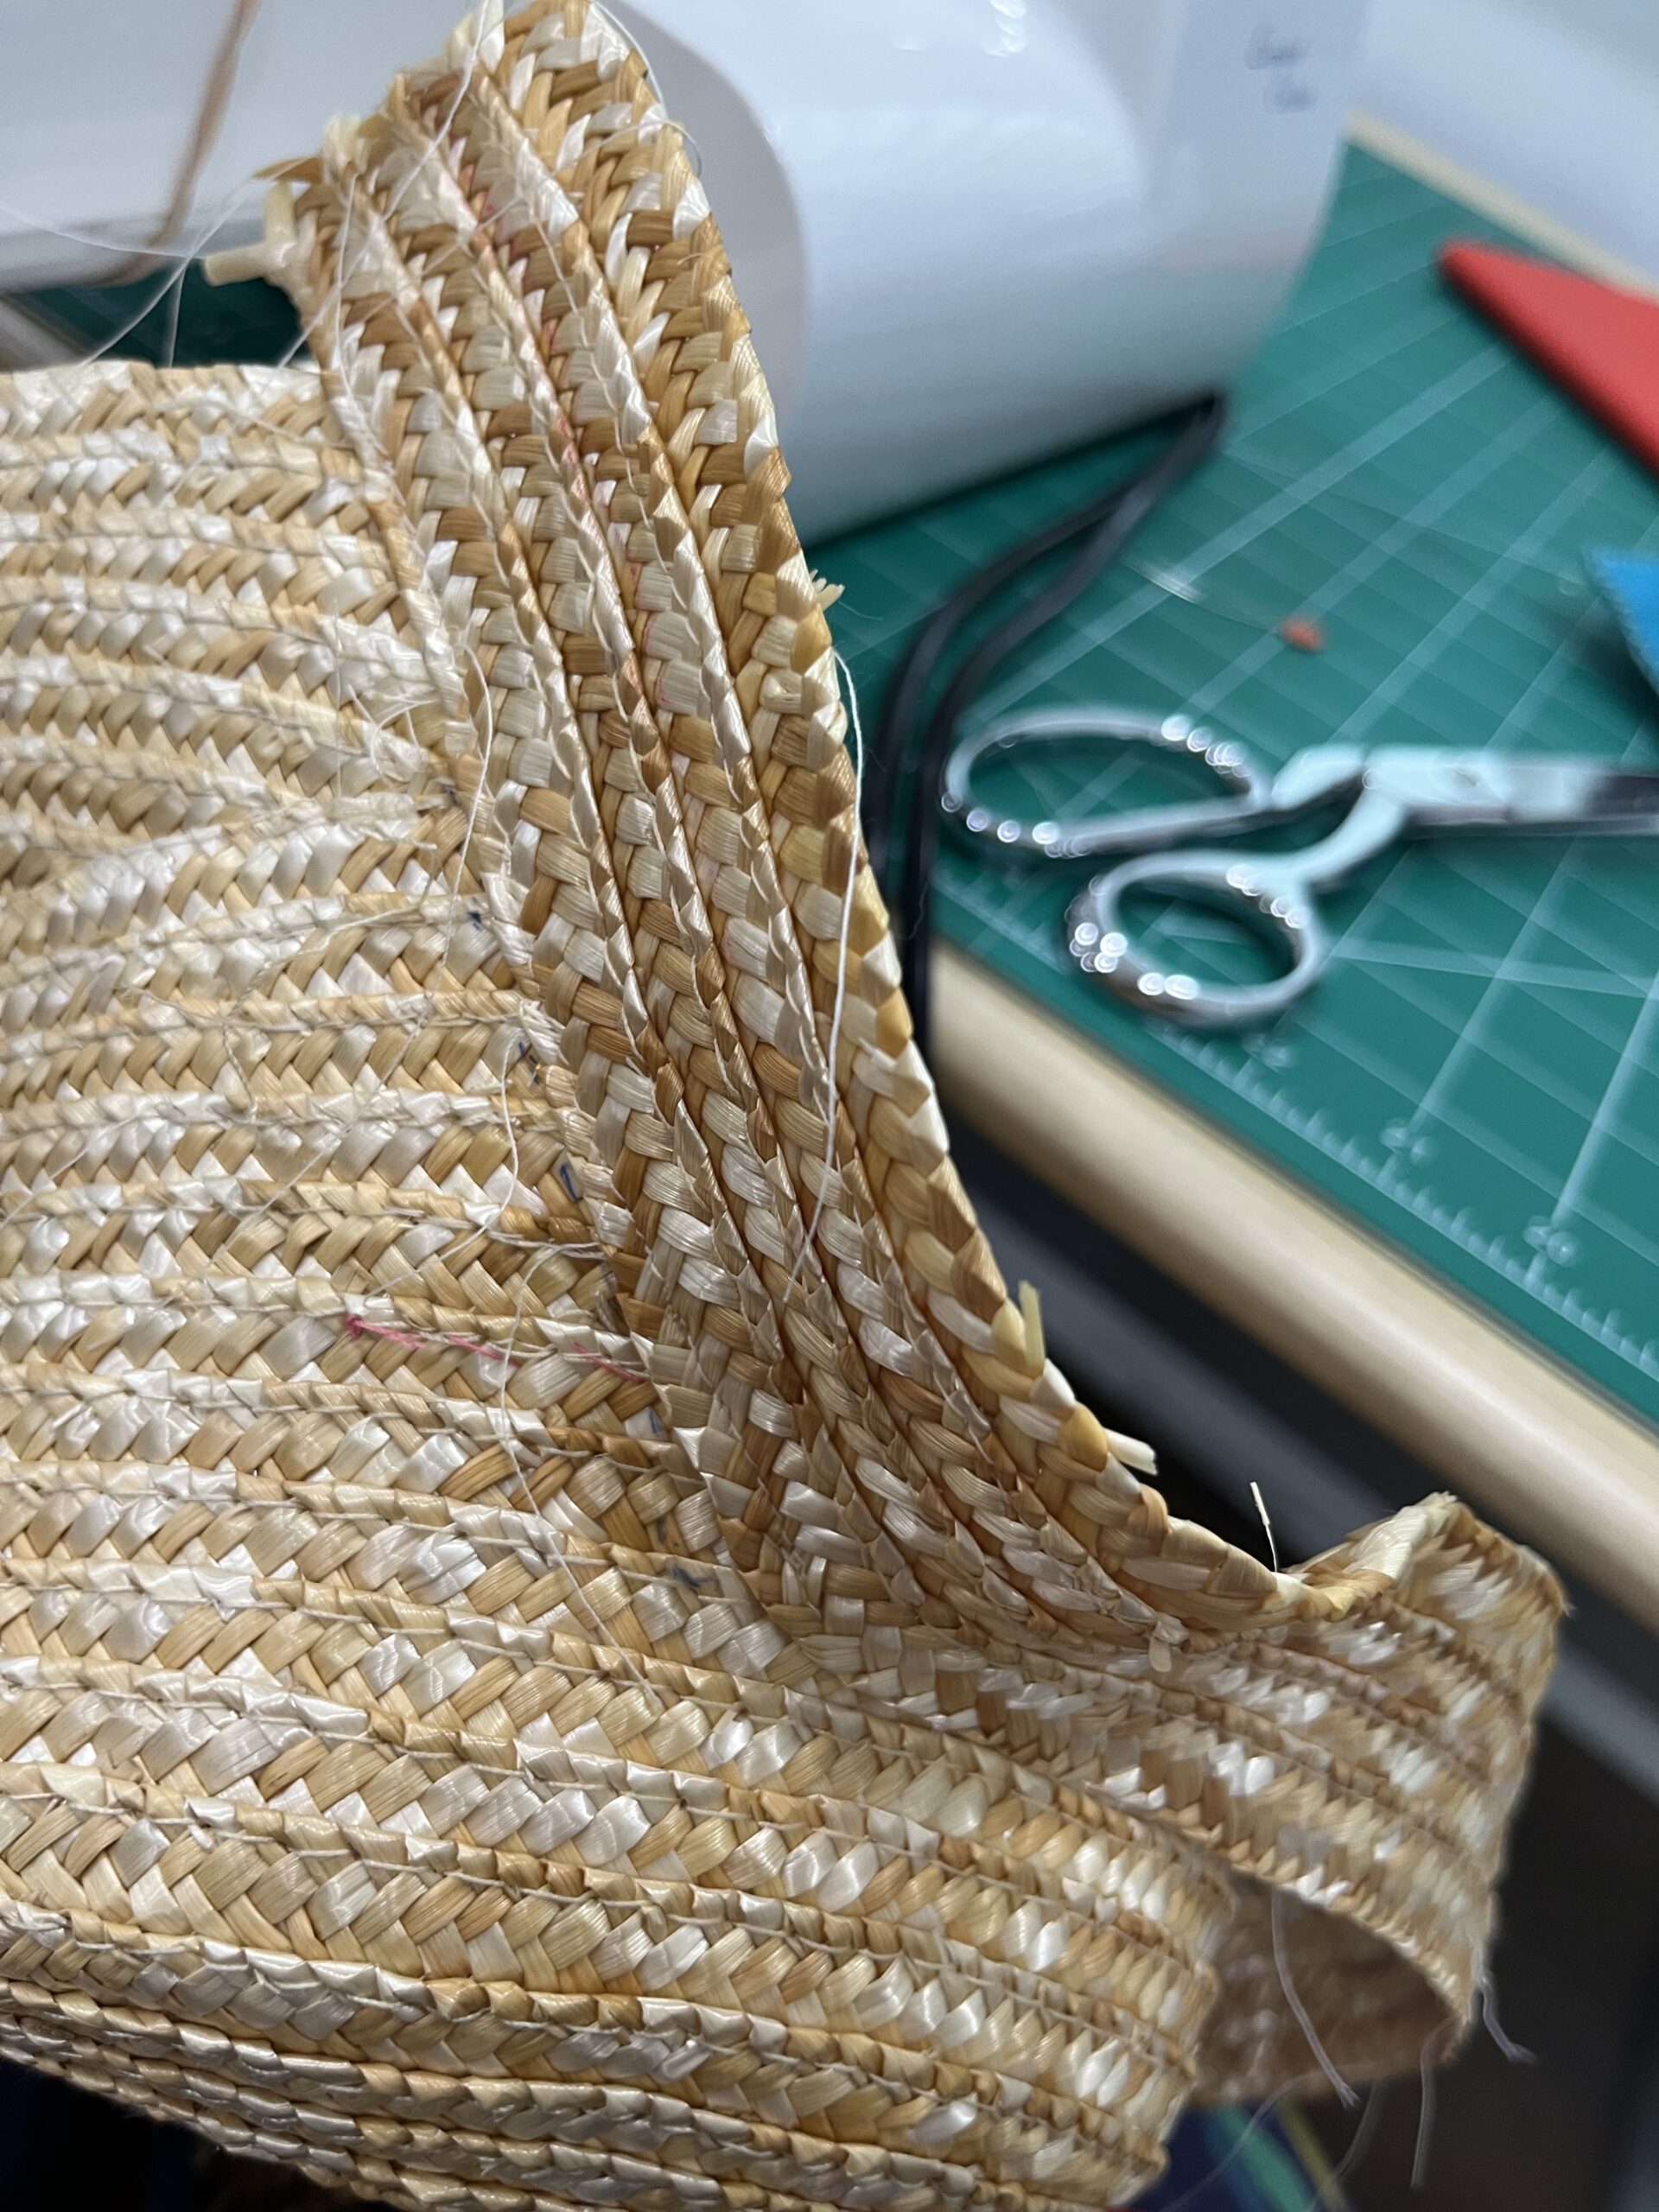
To tidy up the edges of the hat, I soaked some more of my straw braid and sewed it on in a single row all the way around the hat’s edge. Thankfully, I was back to sewing single rows of braid again, and after a thorough cleaning-out of her insides, Janet agreed to give me another chance.
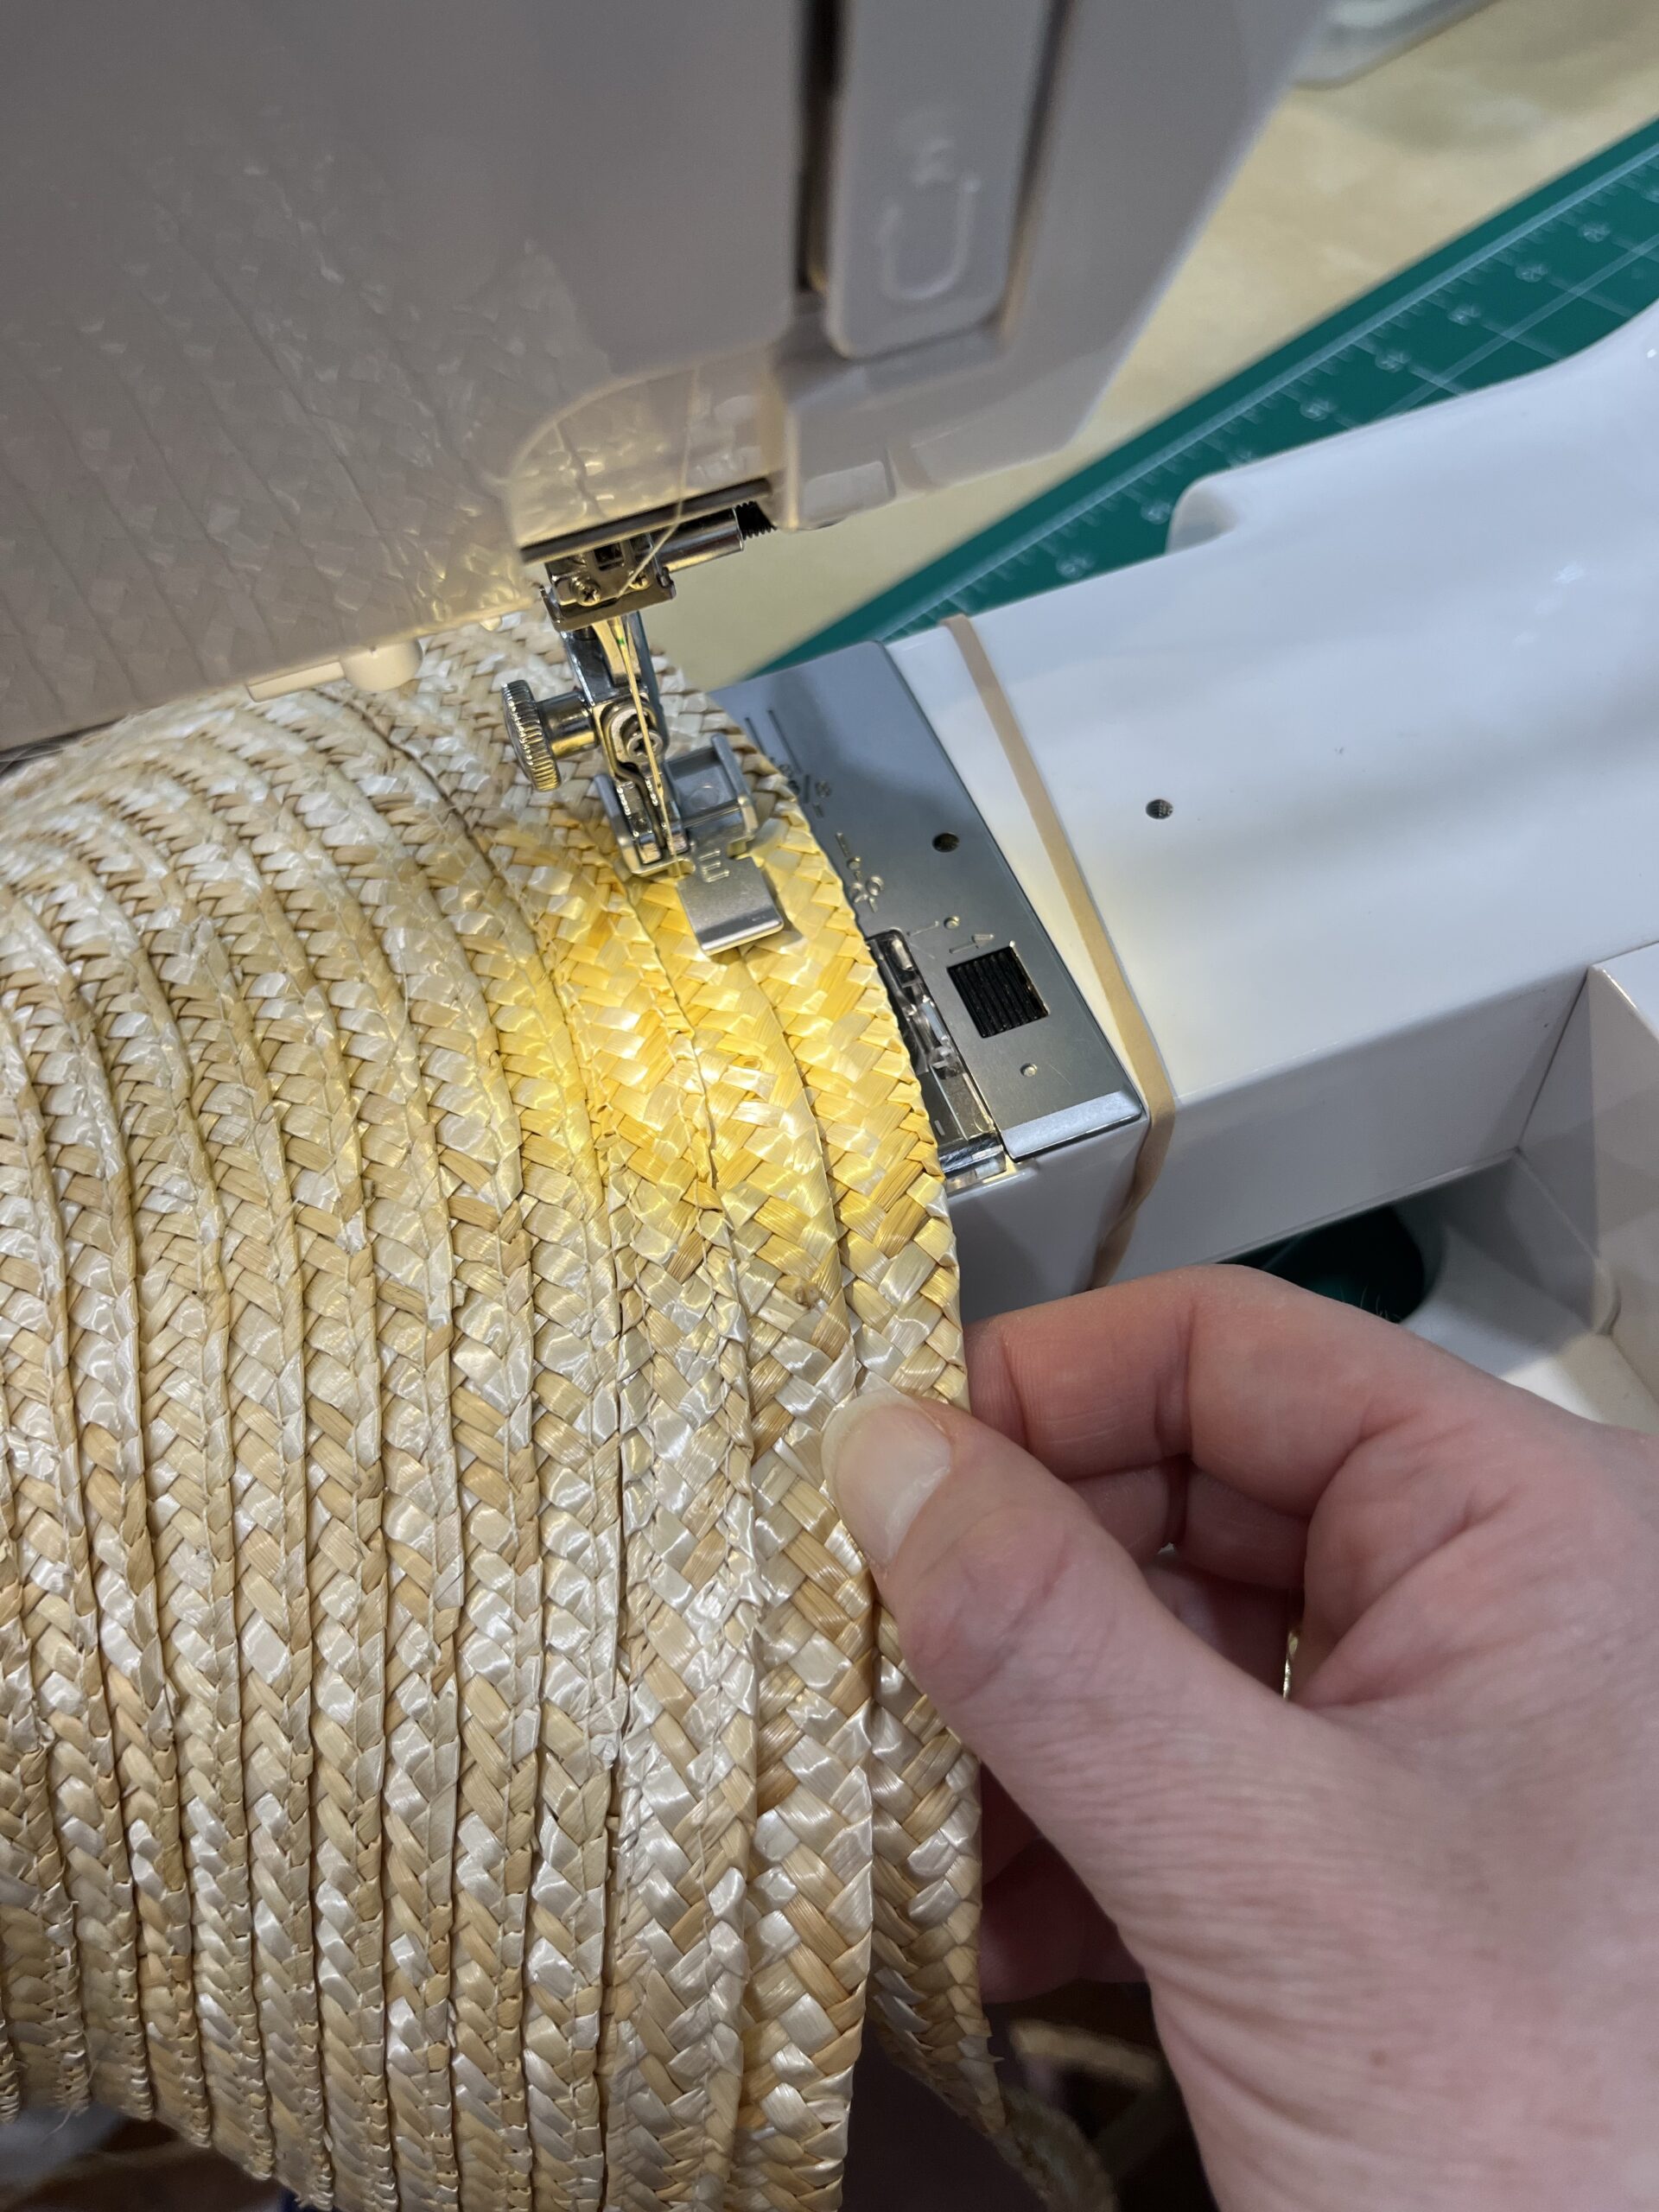
Looking at my new hat, it was clear that the brim was too short in the front, so I added two more rows of damp straw braid, running them from the front edge of the bavolet, up and around the brim and down to the other edge of the bavolet again. (I didn’t get any photos of this step.)
At this point, the inside of the hat was really ugly. After trimming off as much of the ragged straw ends as I could, I soaked my leftover braid, this time until it was wholly sogged. Janet gave me a look of utter incredulity, so I didn’t even try. I picked up a my needle and a pair of pliers, and bending and folding the soft wet straw, I bound the raw inside edge where the edge of the original hat met all of the nasty splintery new stuff. And then I was really done. (Or of this step.)
I had a hat!
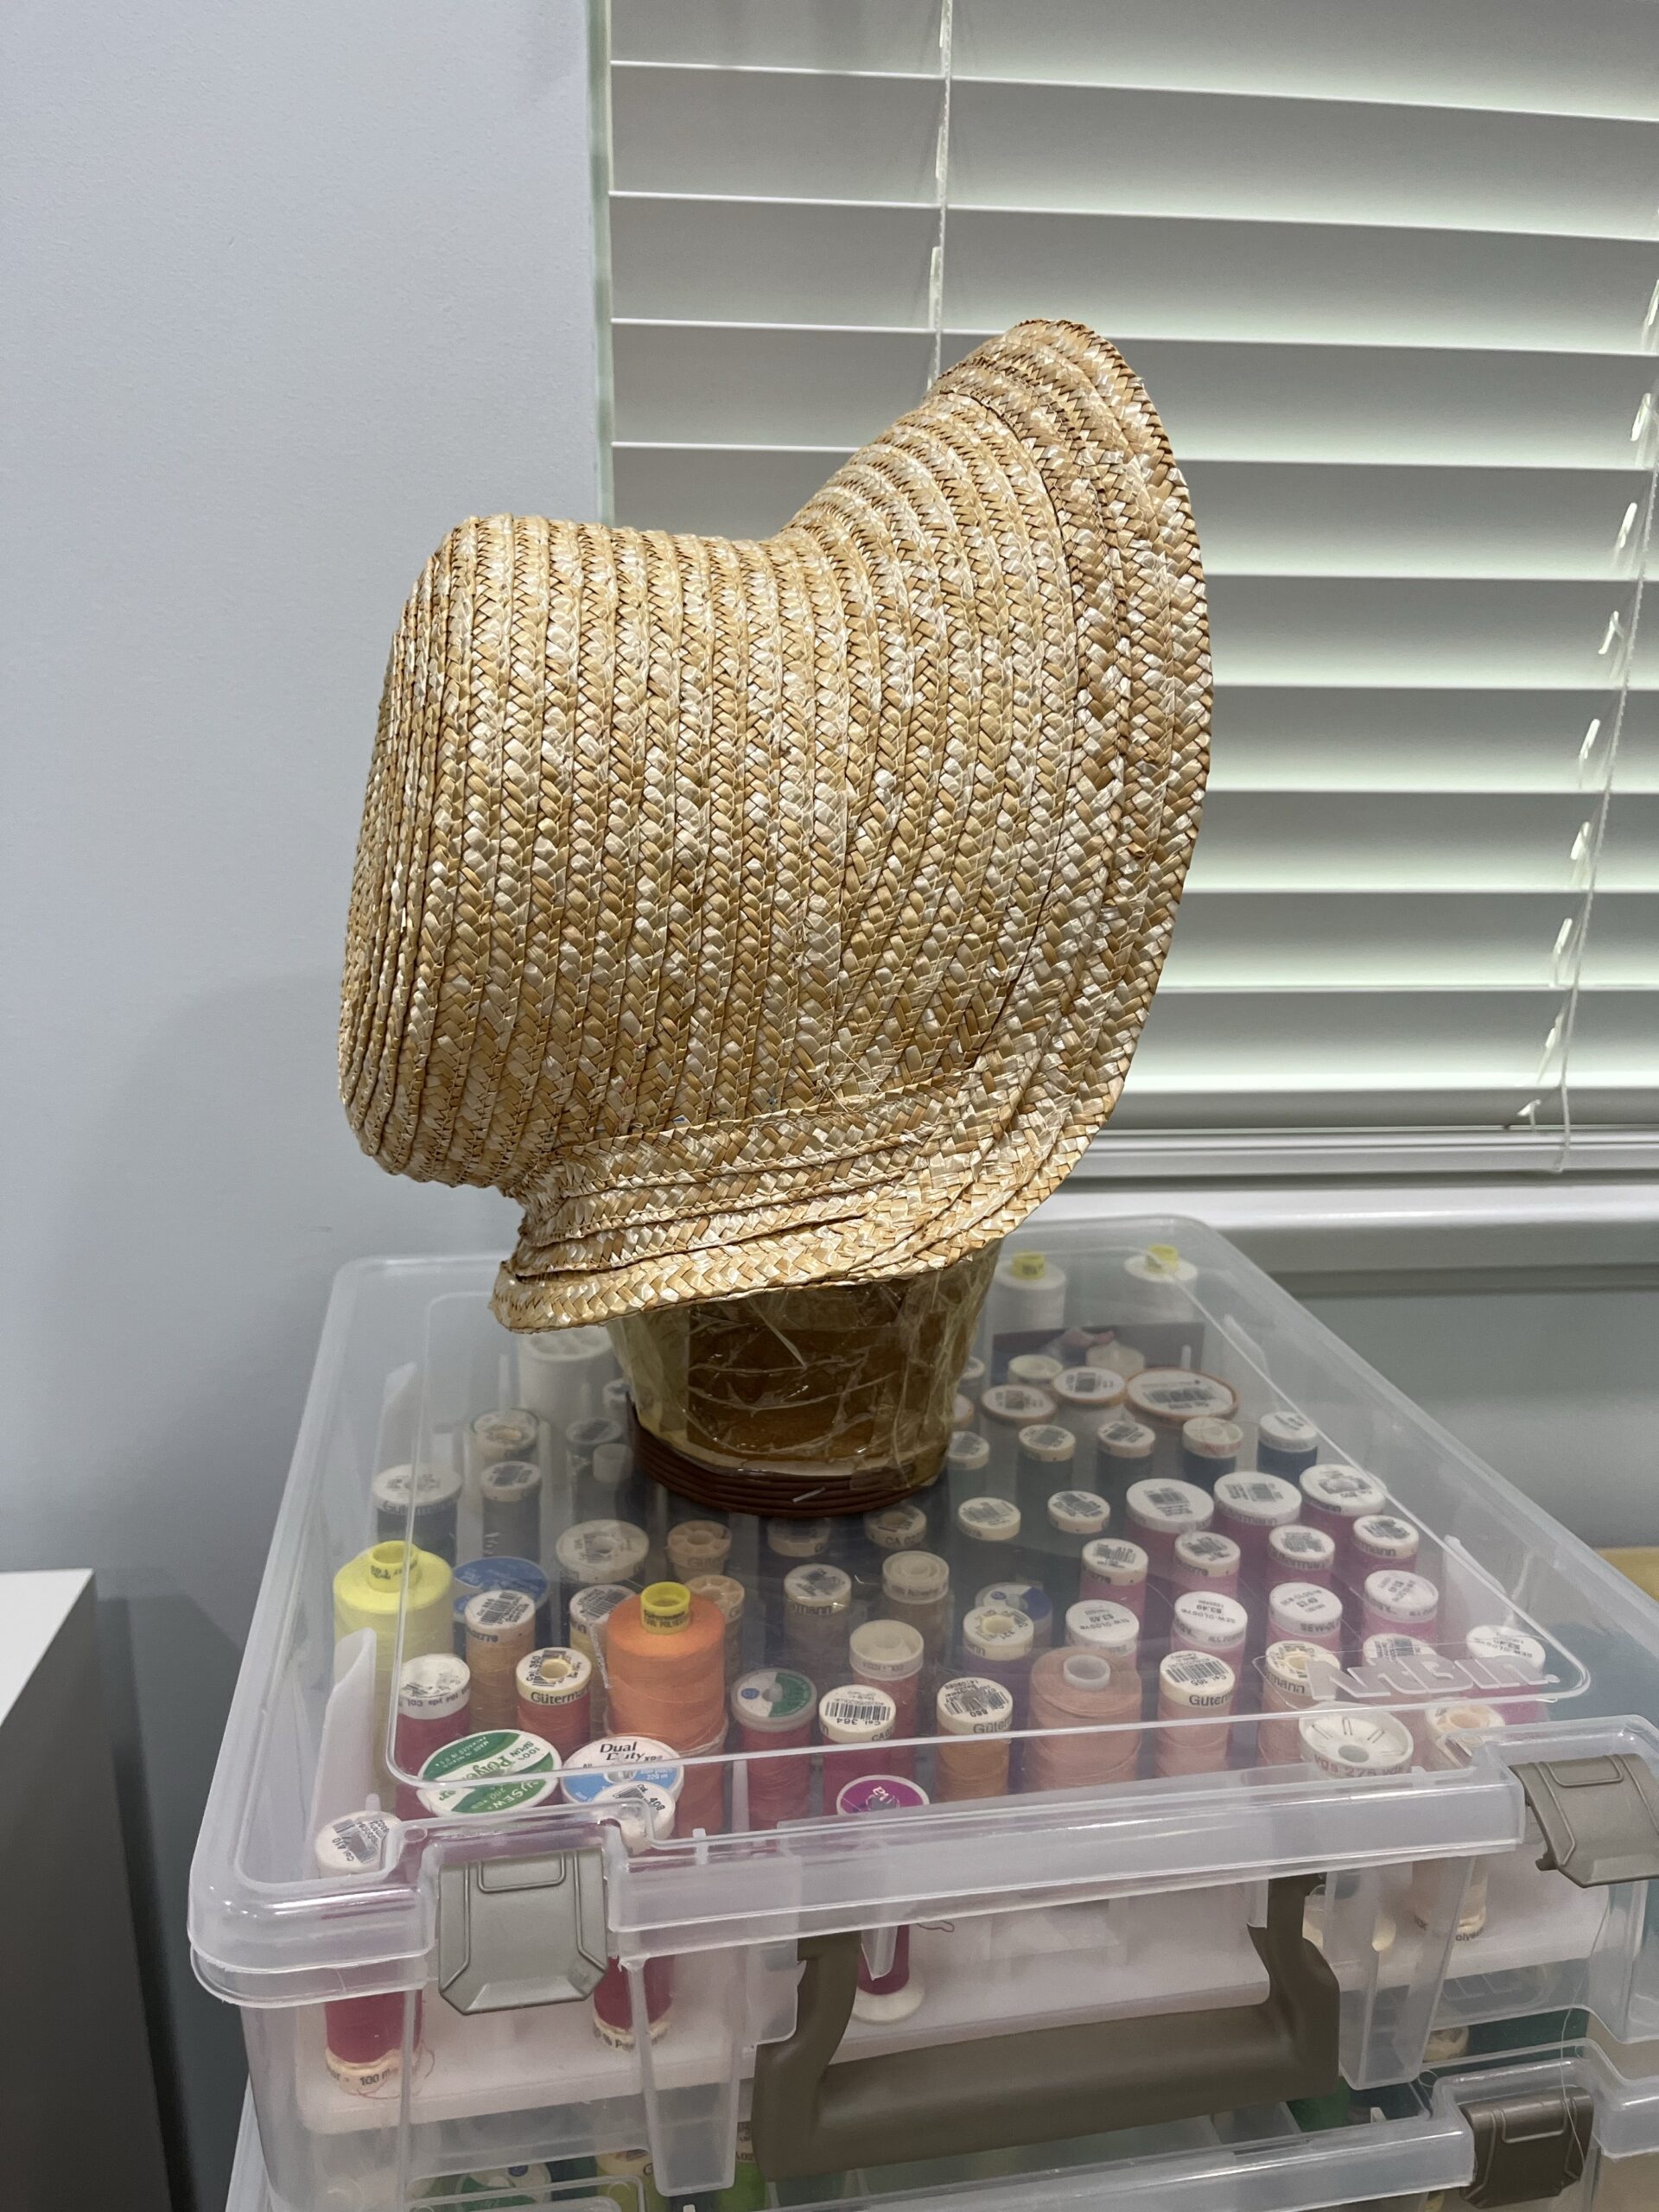
I held it in my hands and turned it this way and that, admiring. This admiring phase lasted for about four minutes, right up to the moment where I realized that somehow I had sewed a hat whose left side was a completely different shape from the right one.
Well DANG.
A supportive friend pointed out that while each side was different, each side was nevertheless correct, and that unless I intended to pose for a surrealist portrait, no one was going to view me from both sides at once, so it wasn’t really an issue, was it?
The friend had a point. I gave the hat a final shaping steam over a pot of hot water, and painted on some gelatin to stiffen it up.
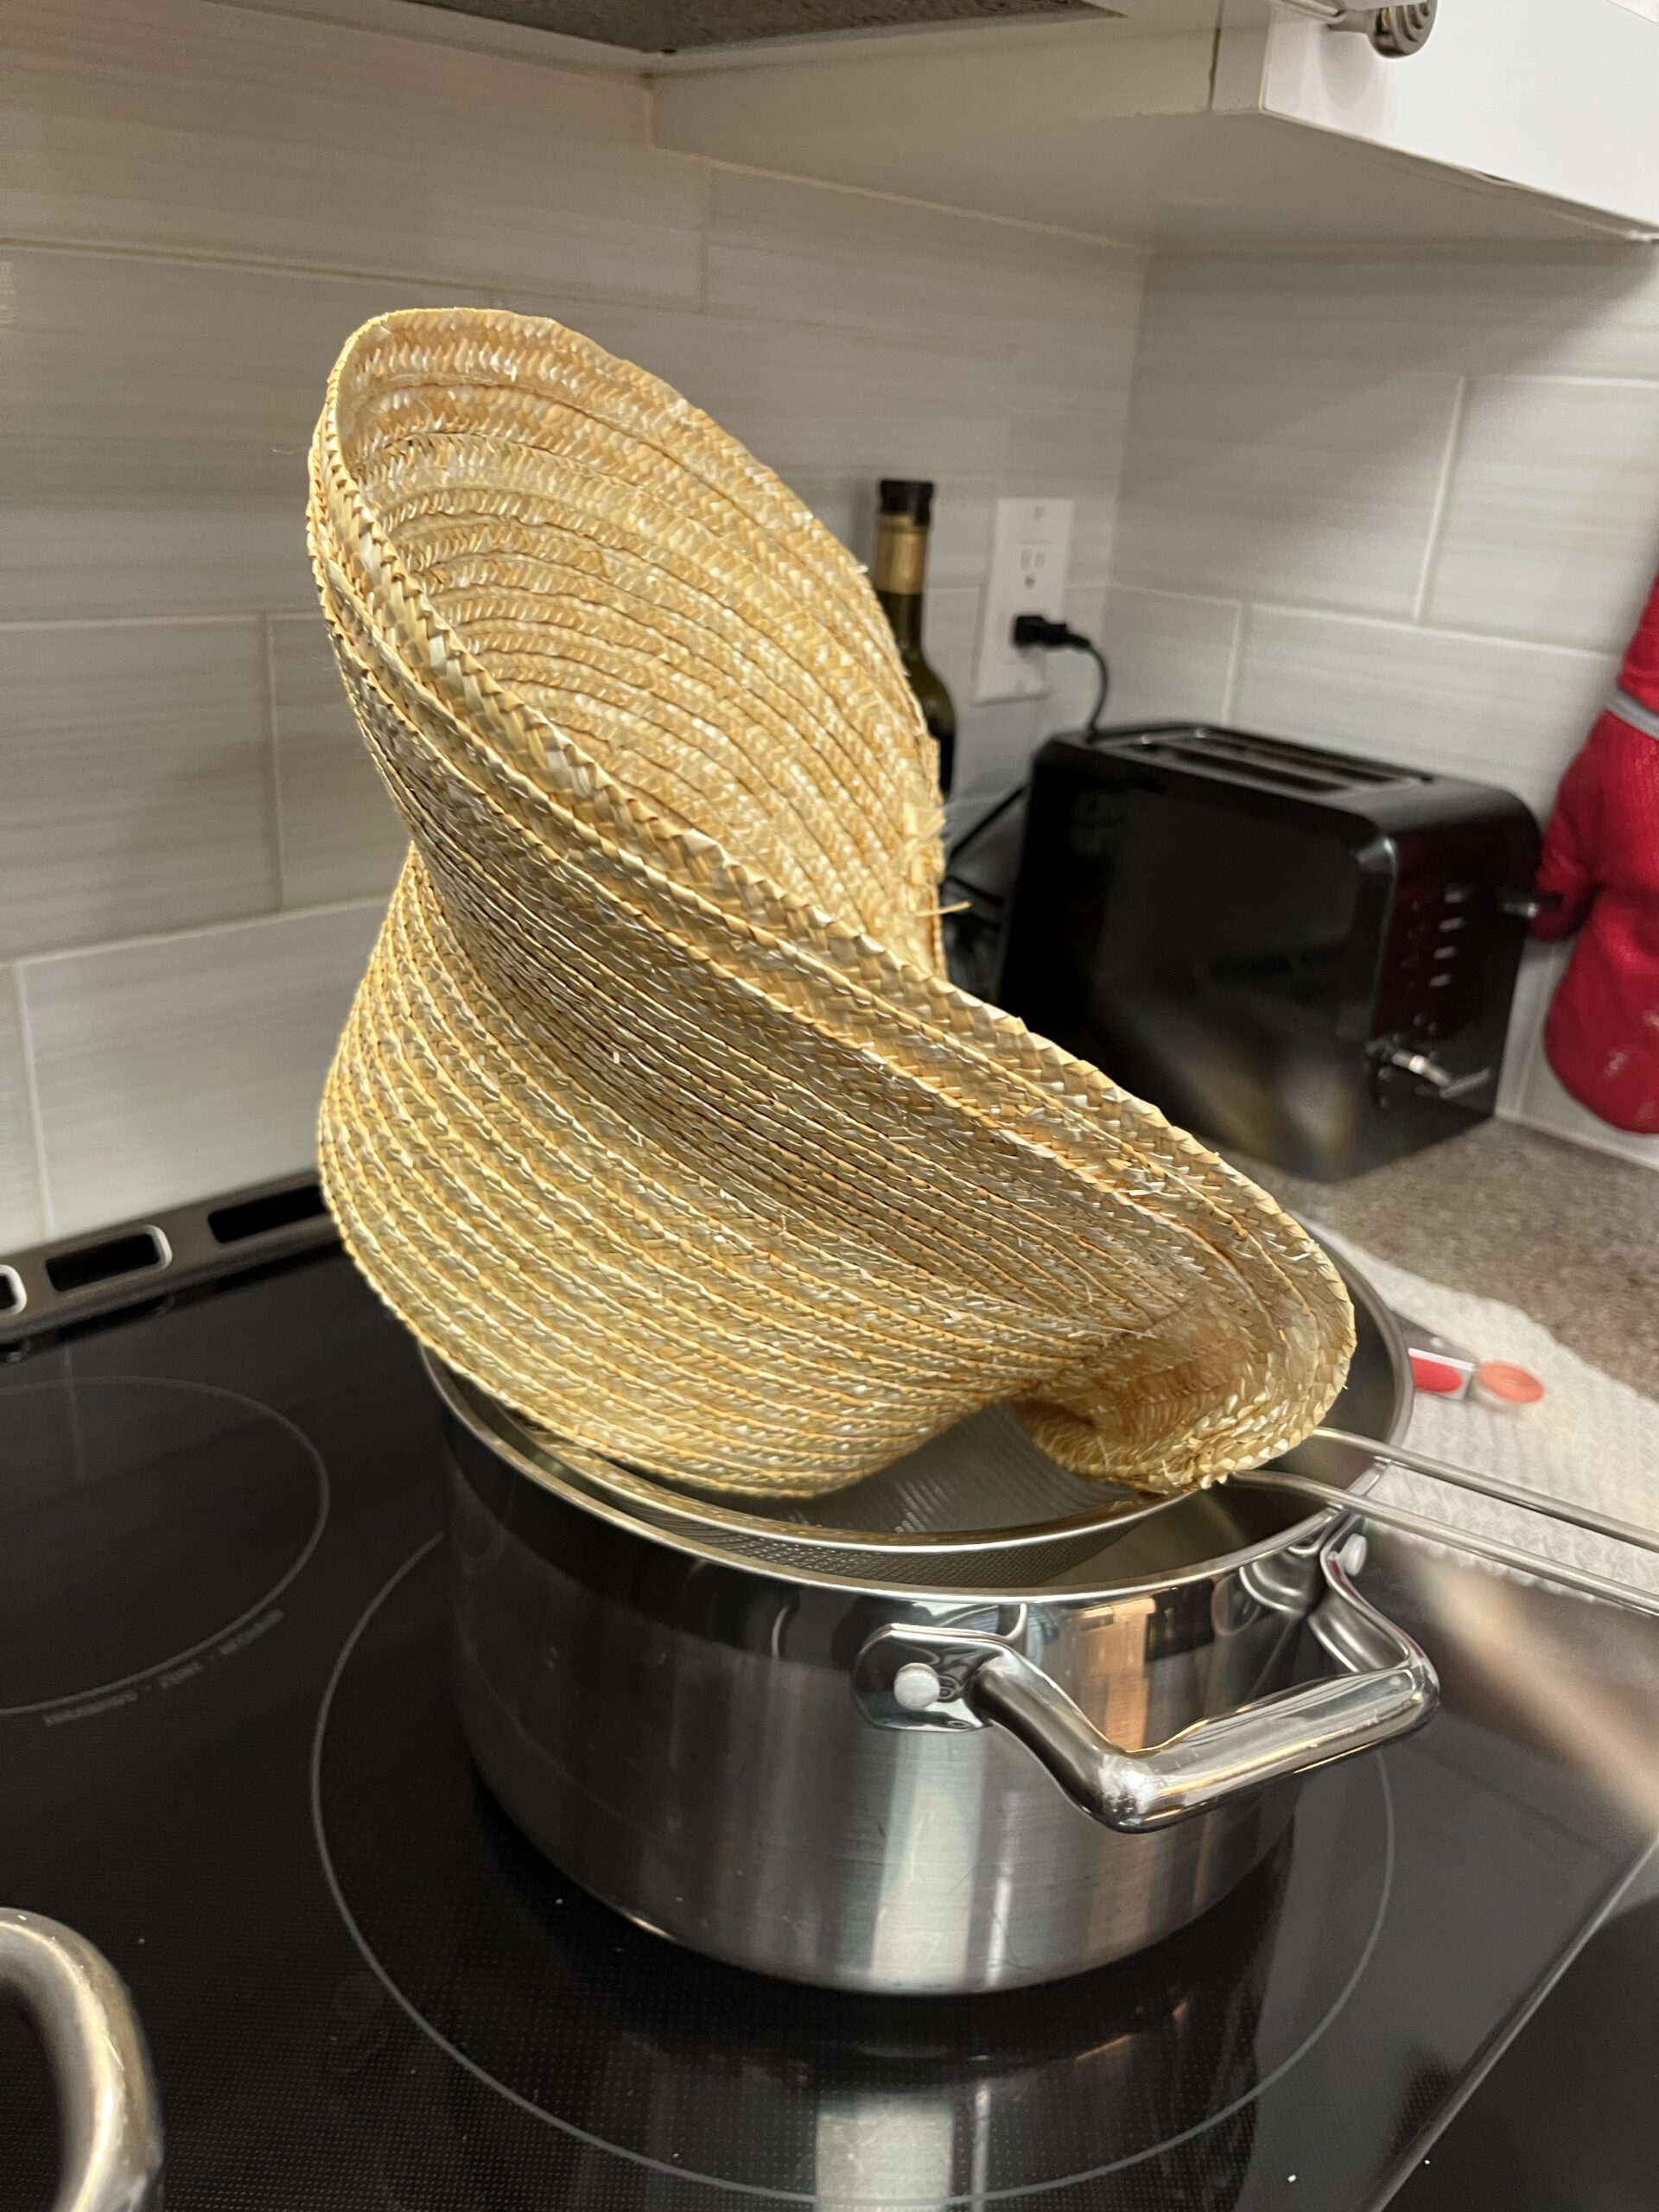
(Note: I steamed the curve in the bottom of the brim flat right after i took this photo)
Then I lined my new bonnet, by the rather relaxed method of dropping a piece of blue bemsilk over the open crown, stitching it down into the base of the crown, then pulling it up tight and stitching it to where the crown met the brim, making sure to cover the nasty, raggedy splintery bits in the elbows. My supportive friend had some matching blue bias binding in her stash, and I covered the raw edge of the bemsilk lining with that.
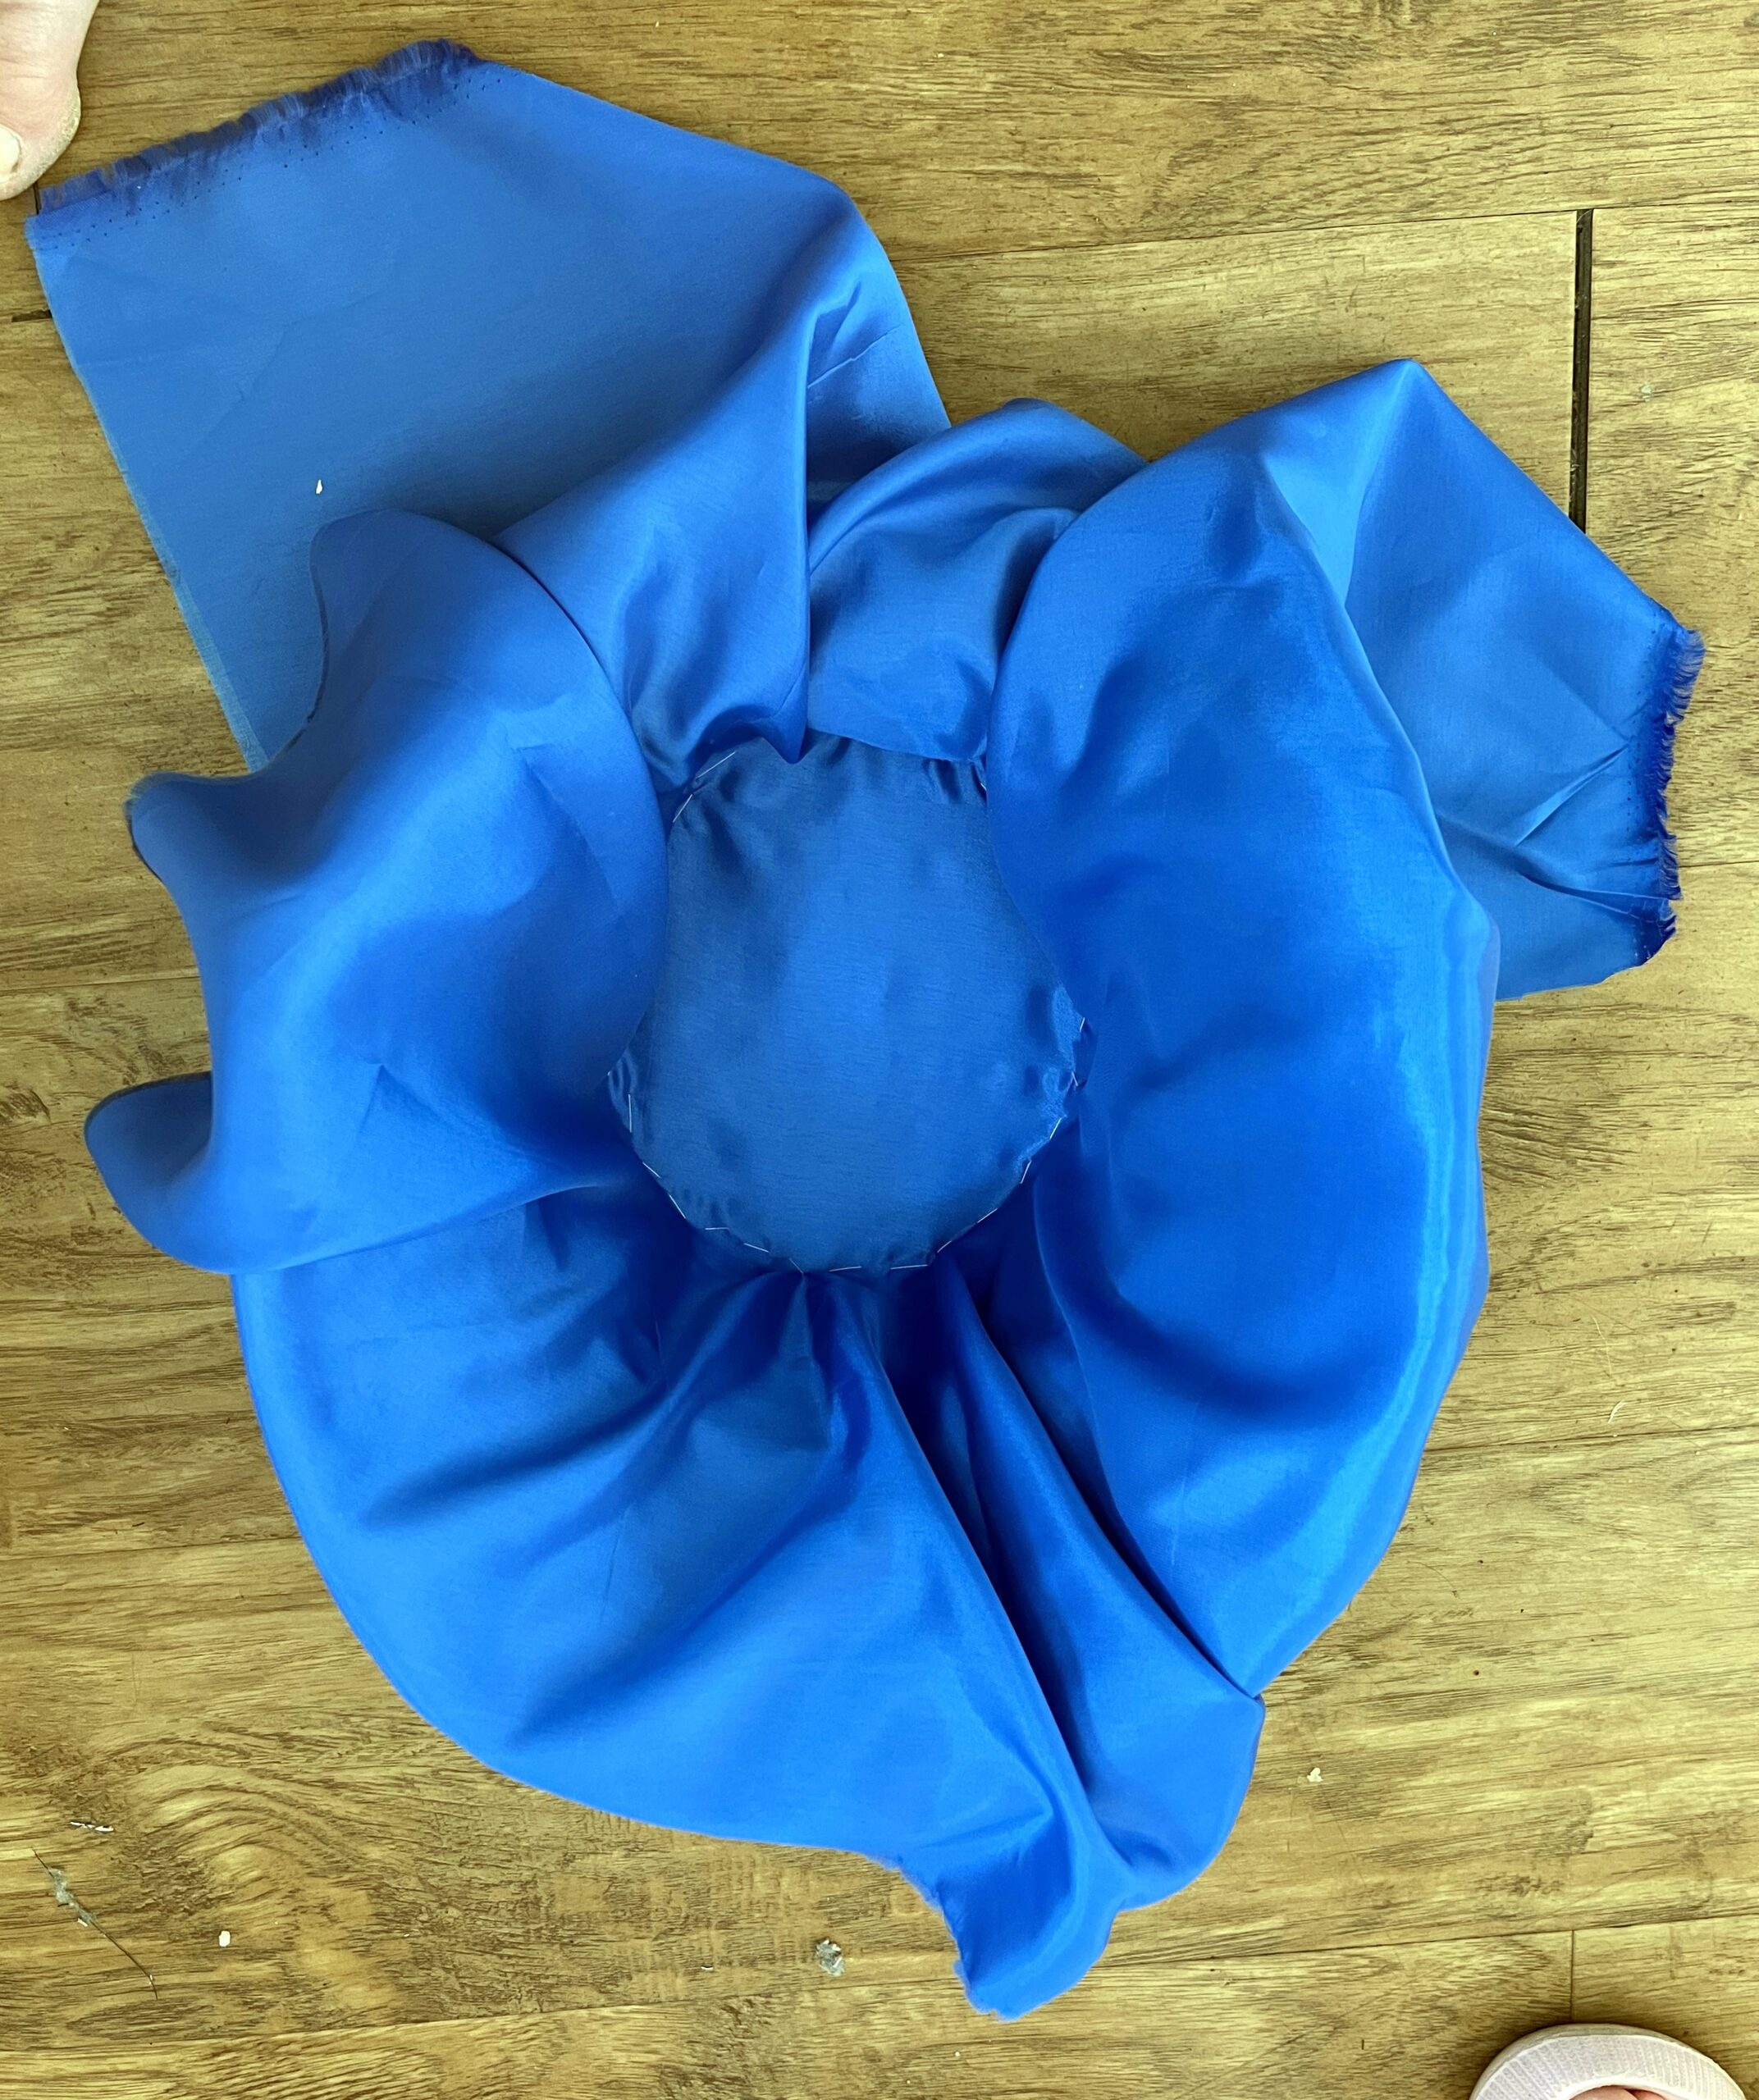
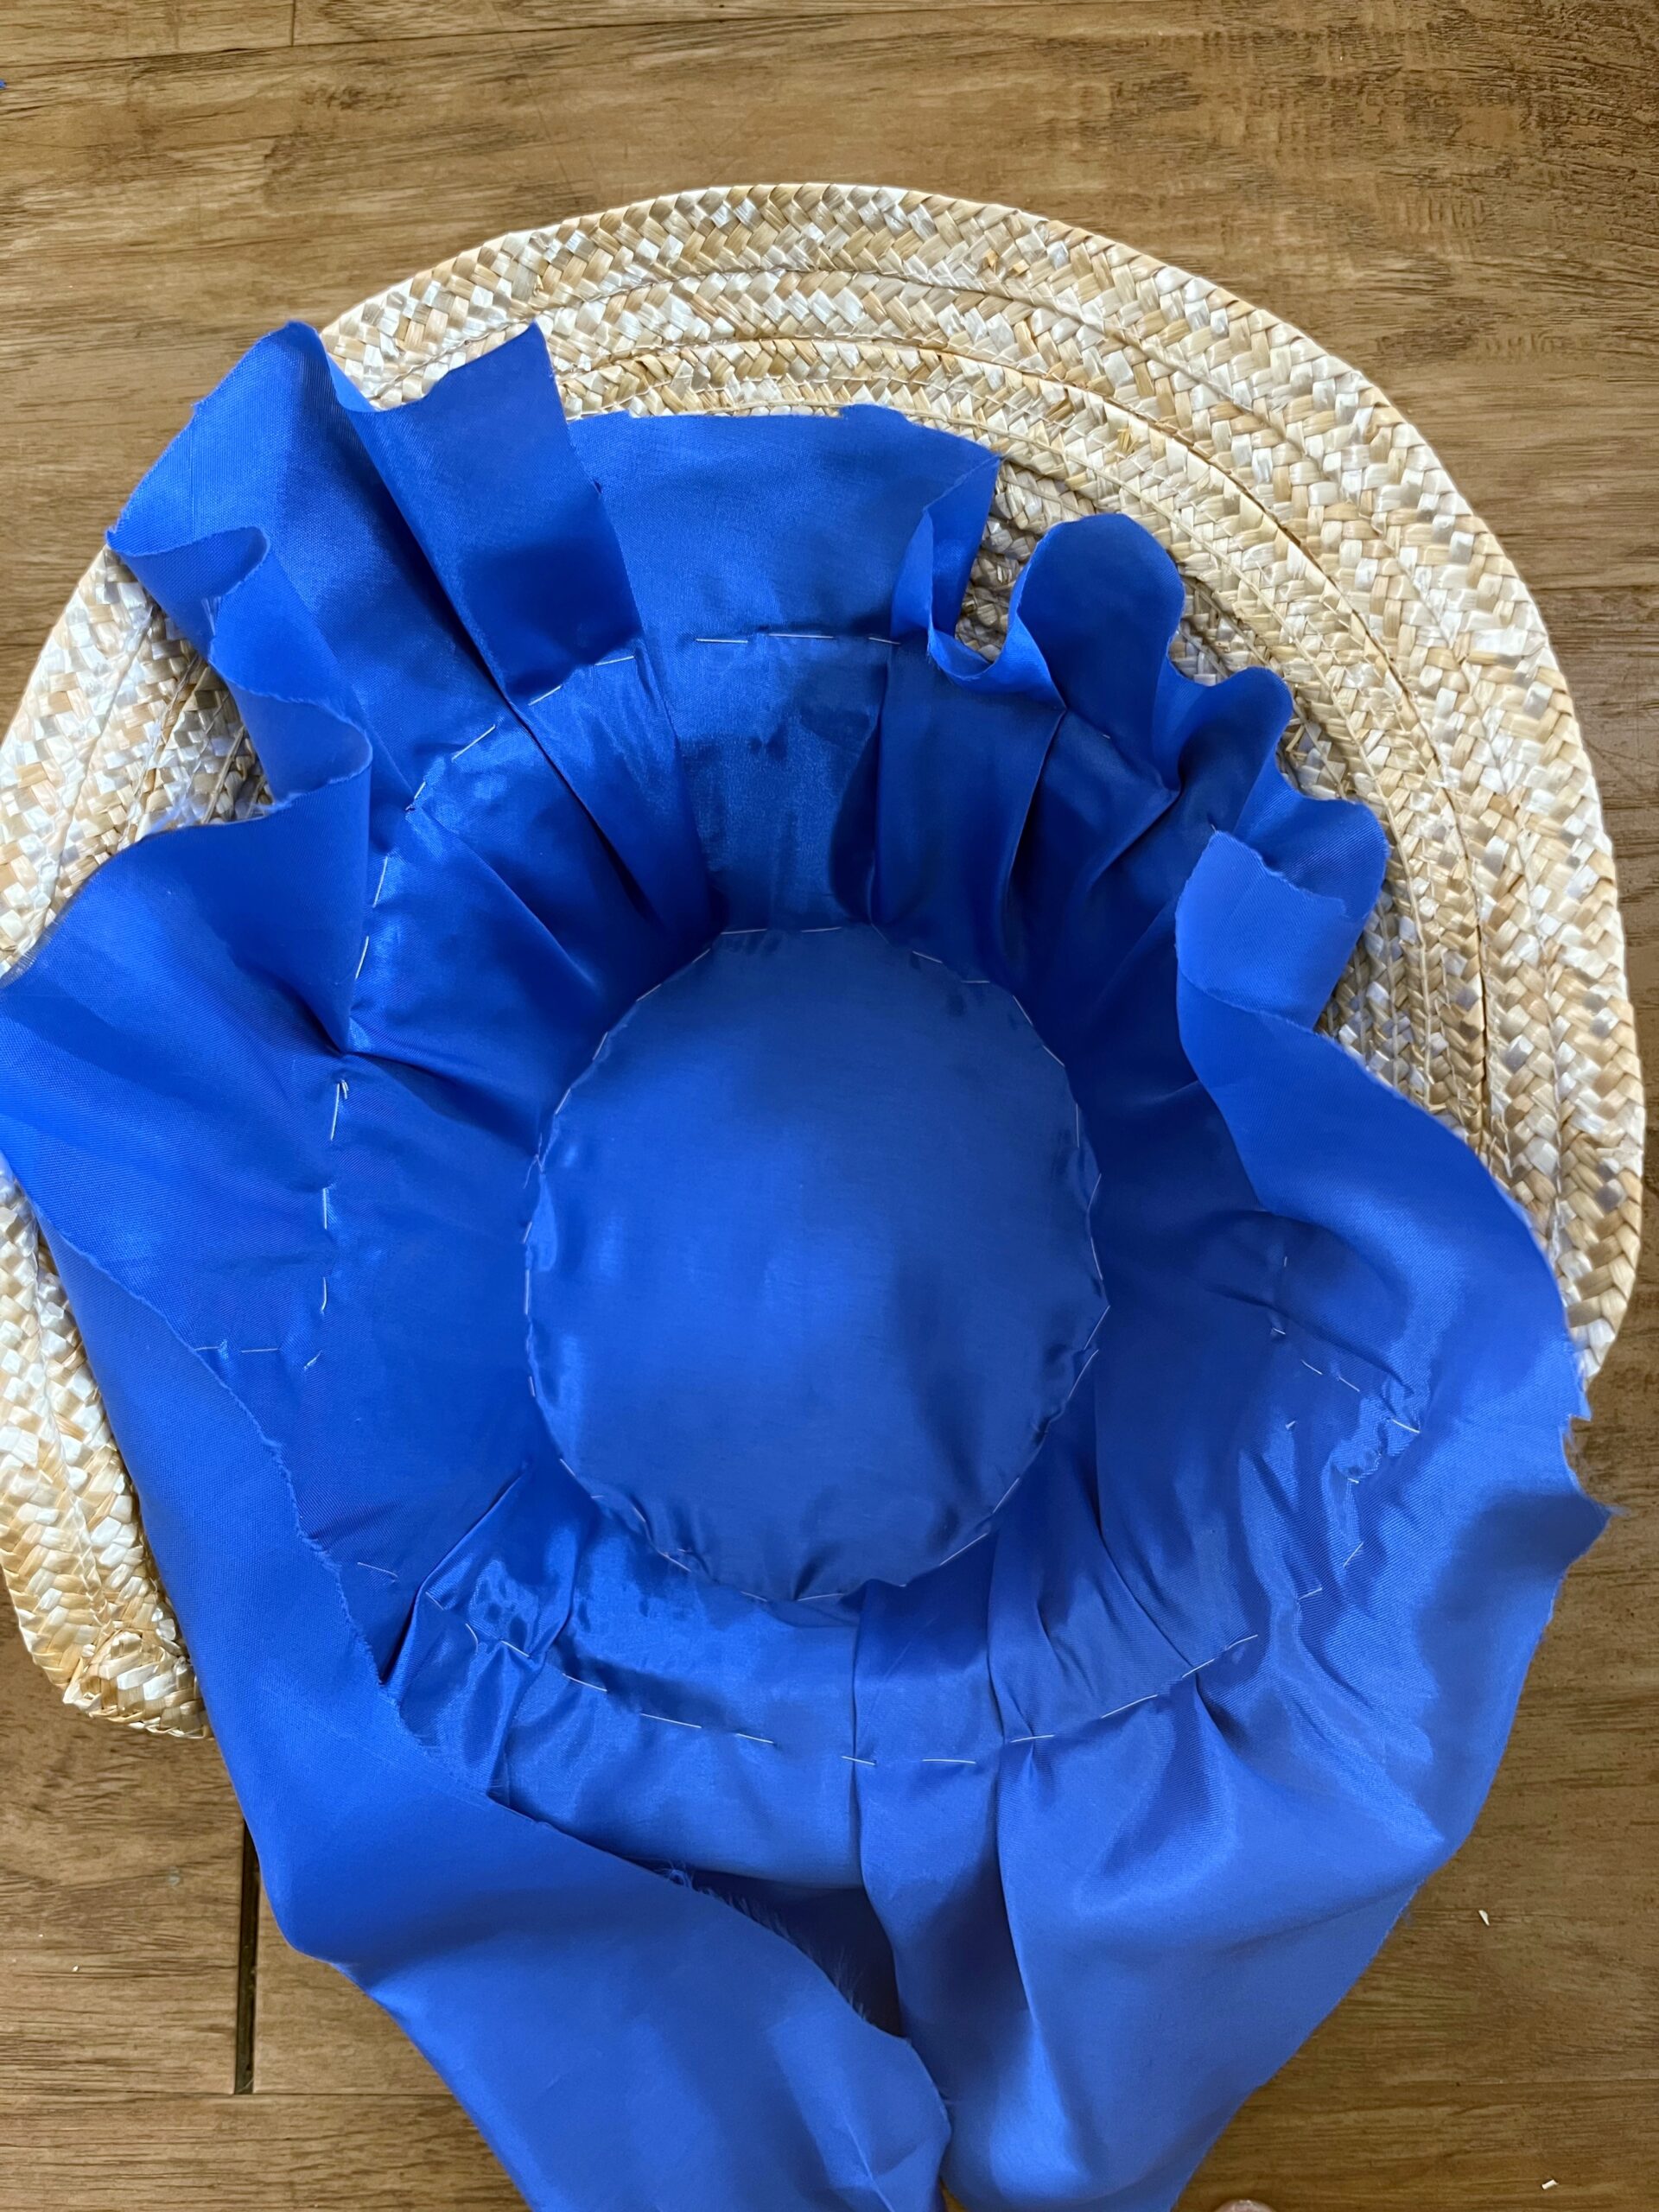
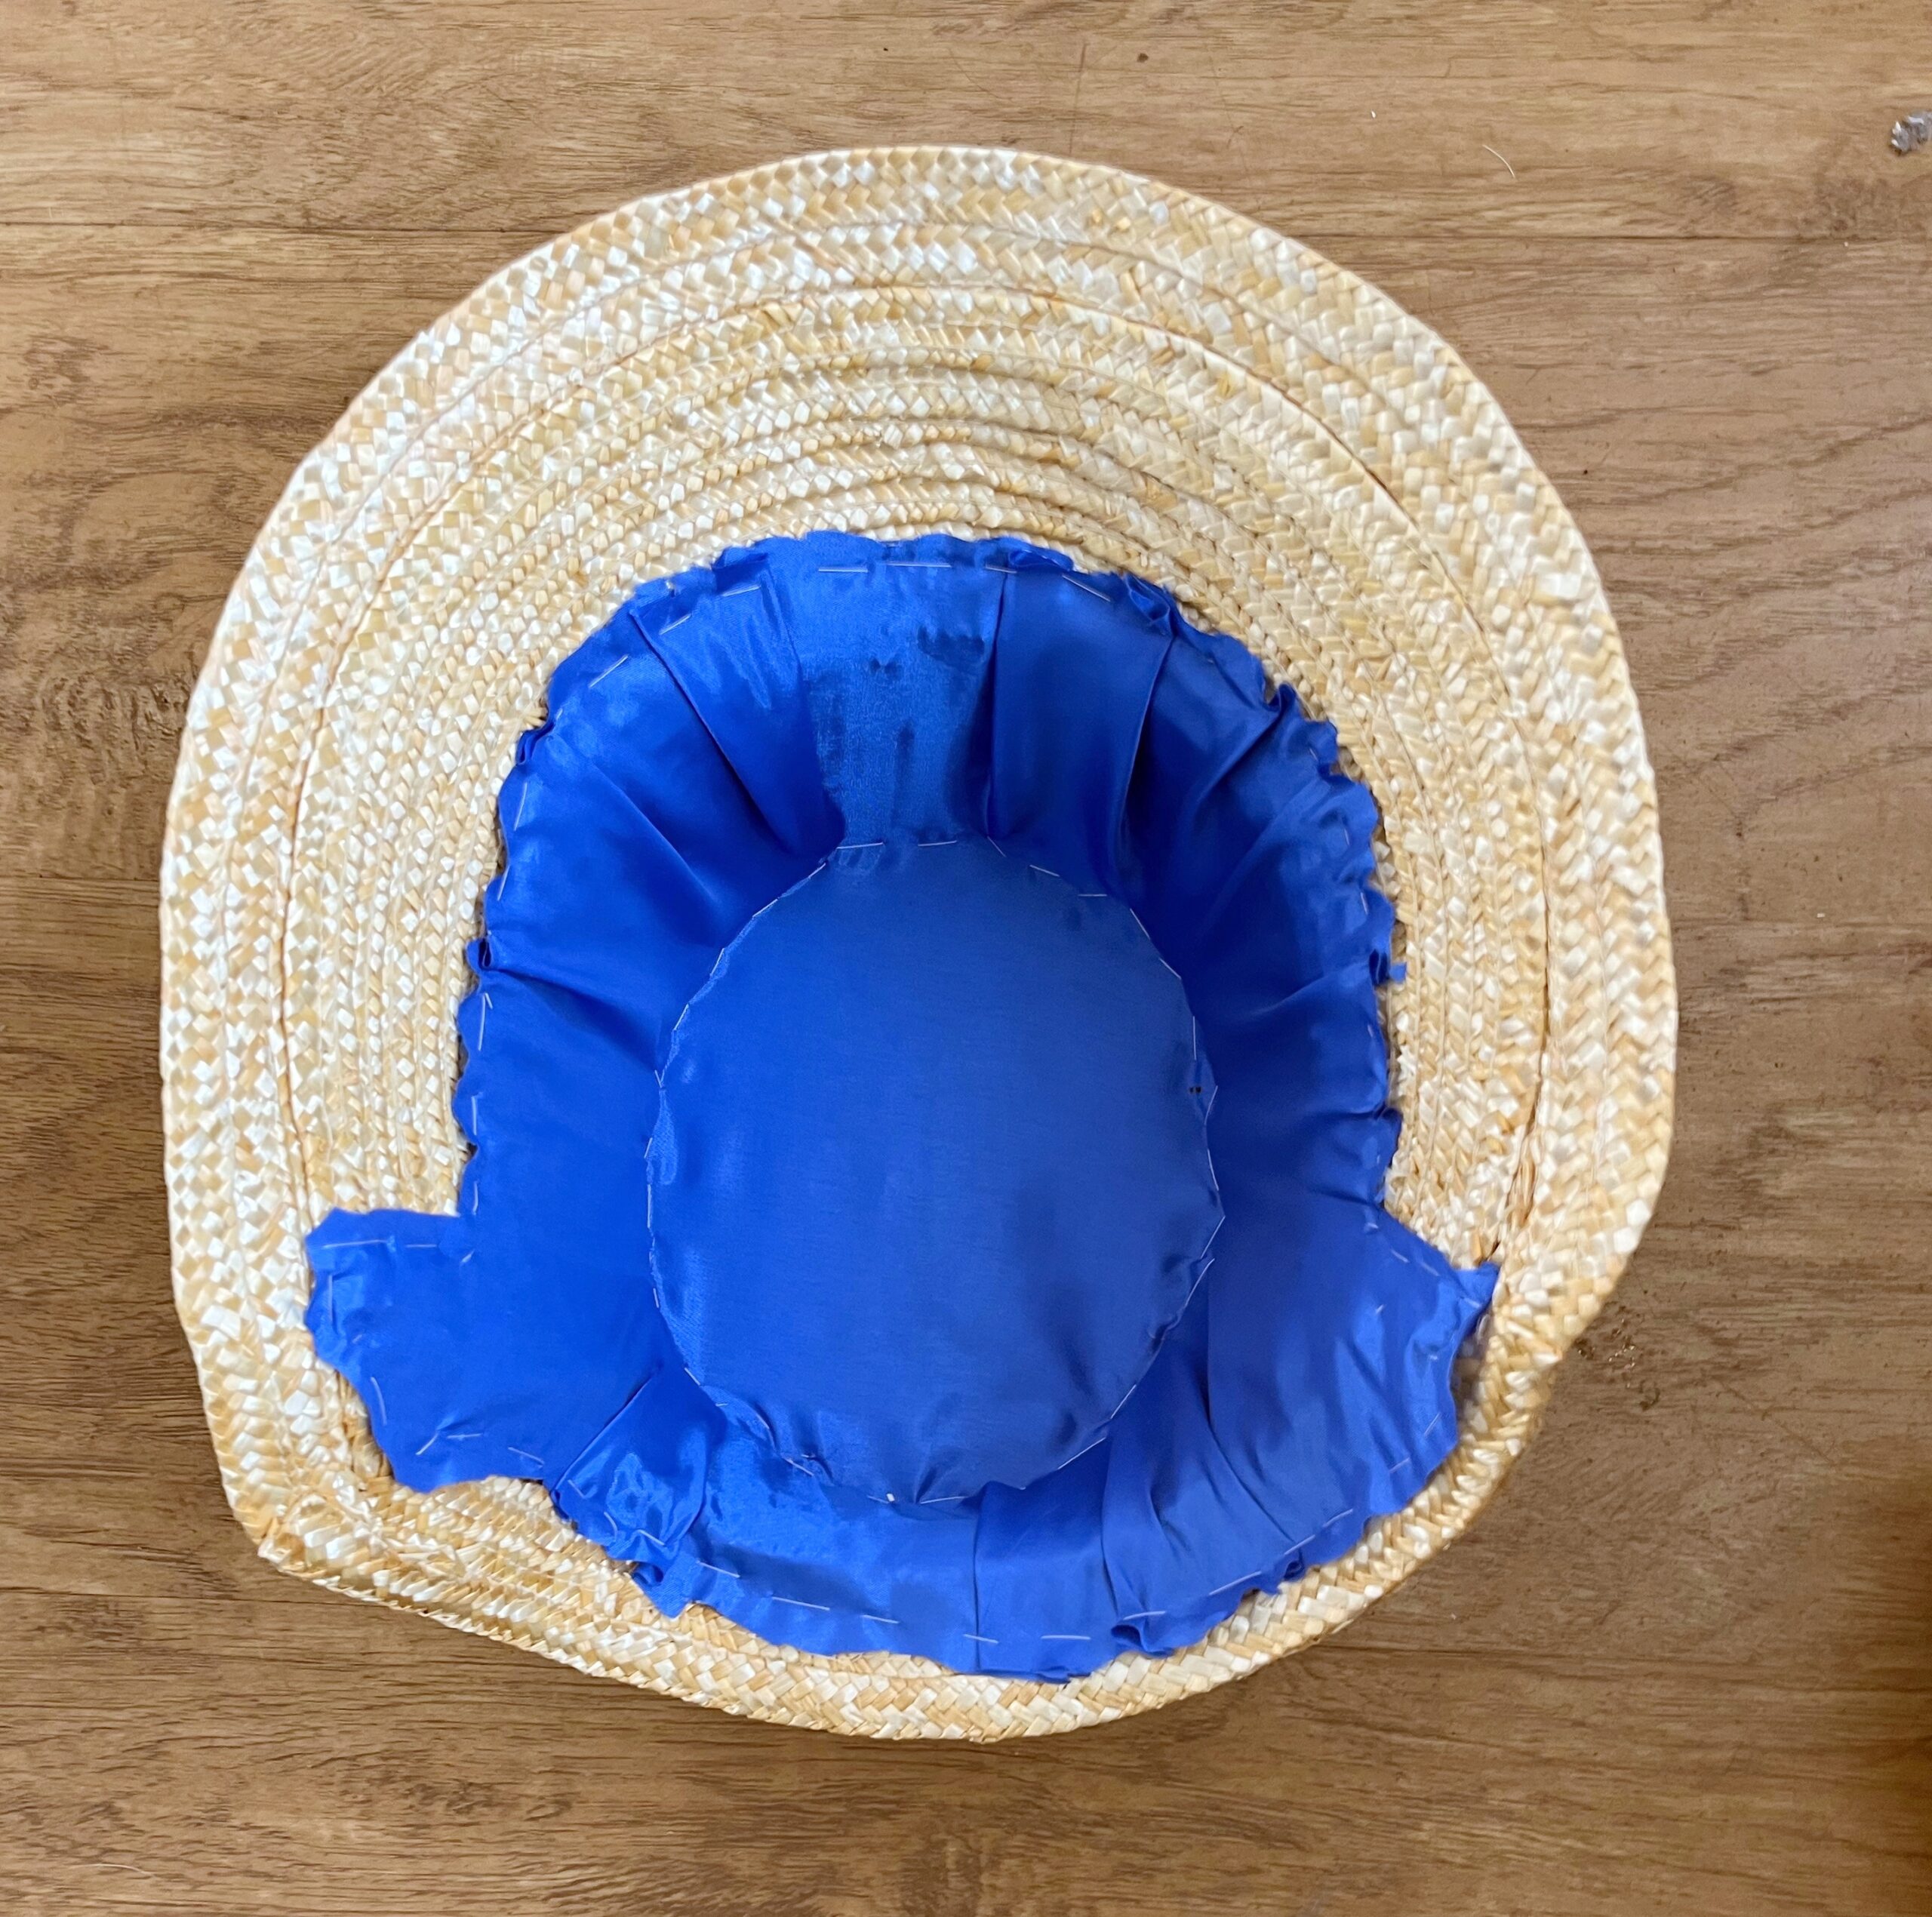
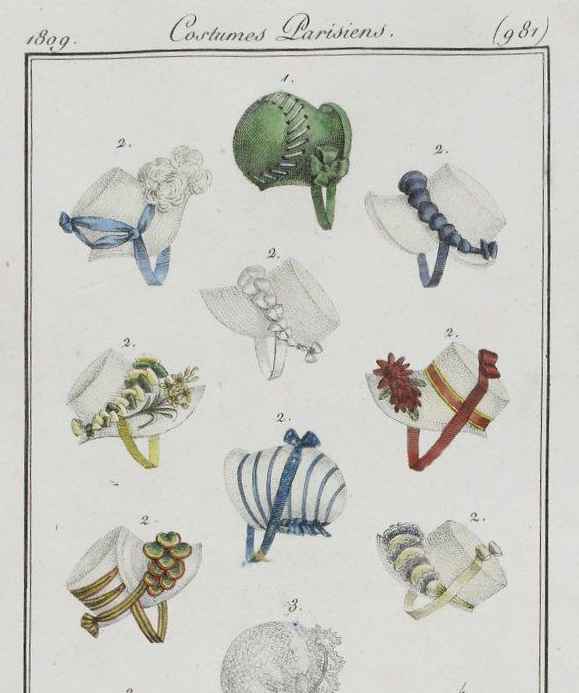
Lining sewn, it was finally time to trim my experimental straw millinery project. There are an infinite number of ways to trim a bonnet, with flowers and bows tacked on everywhere:
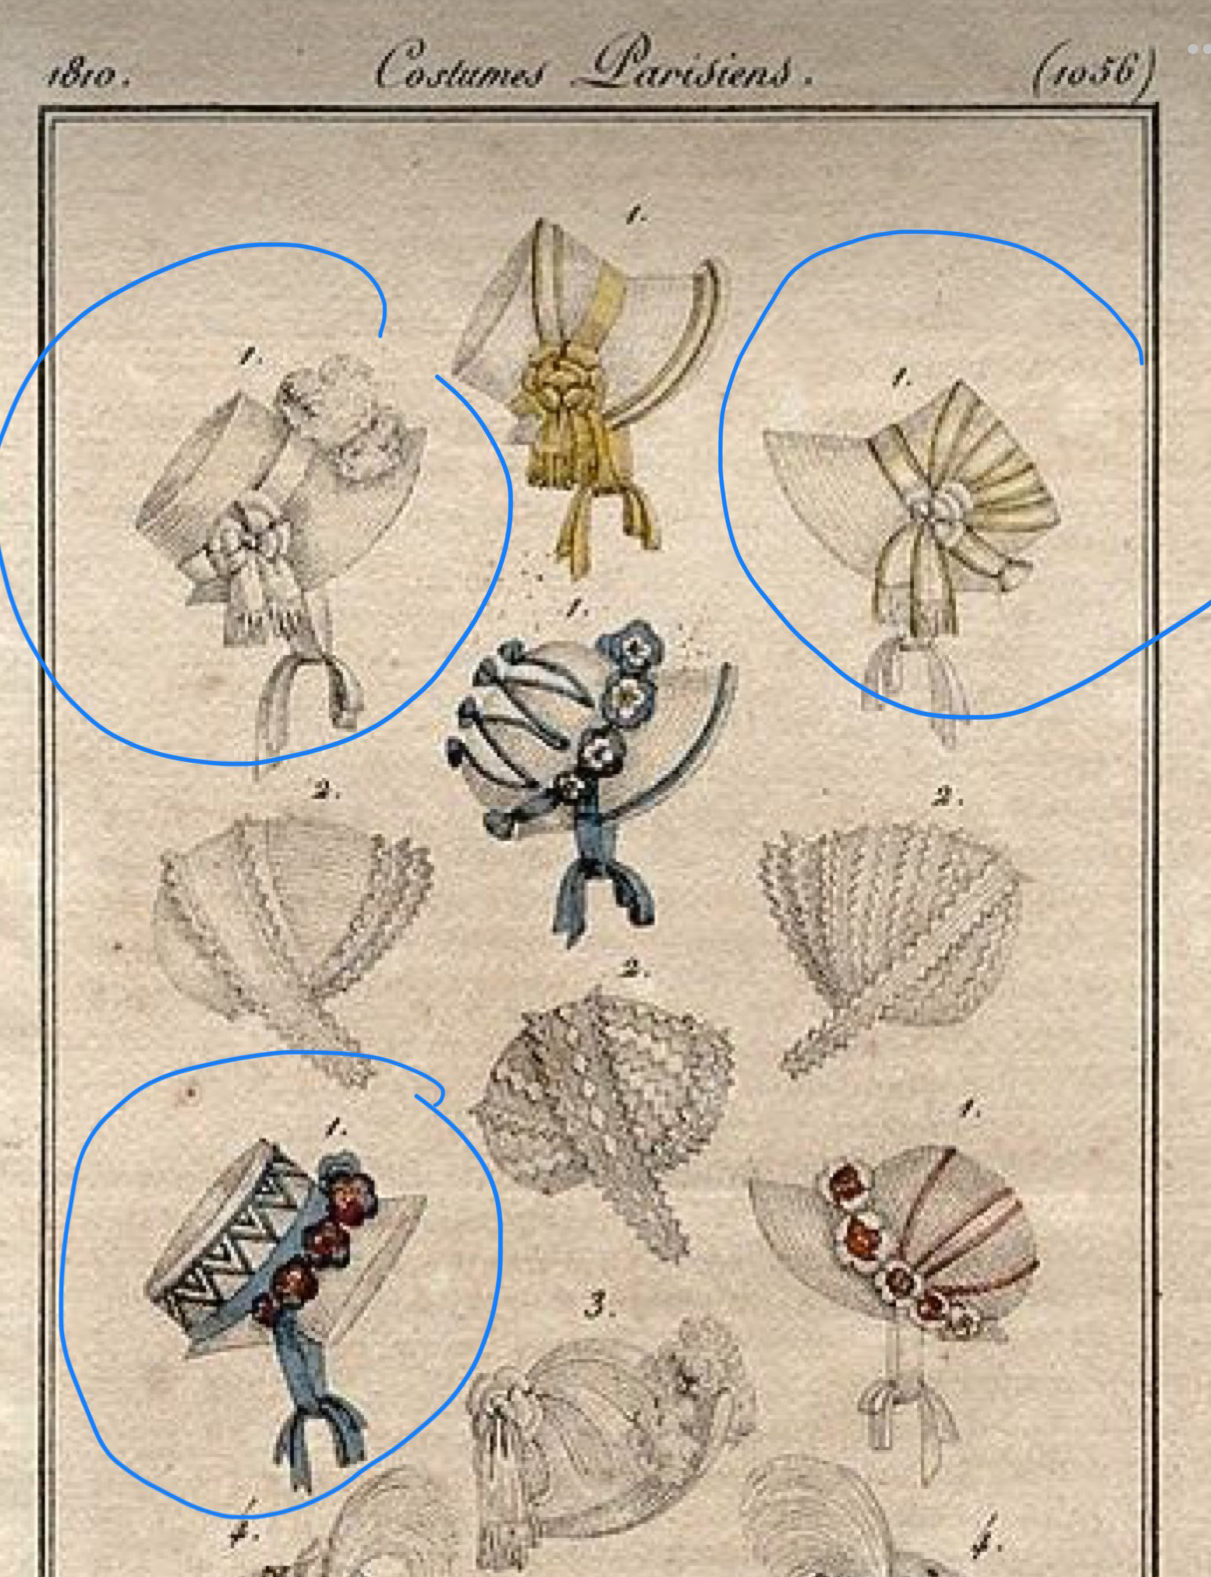
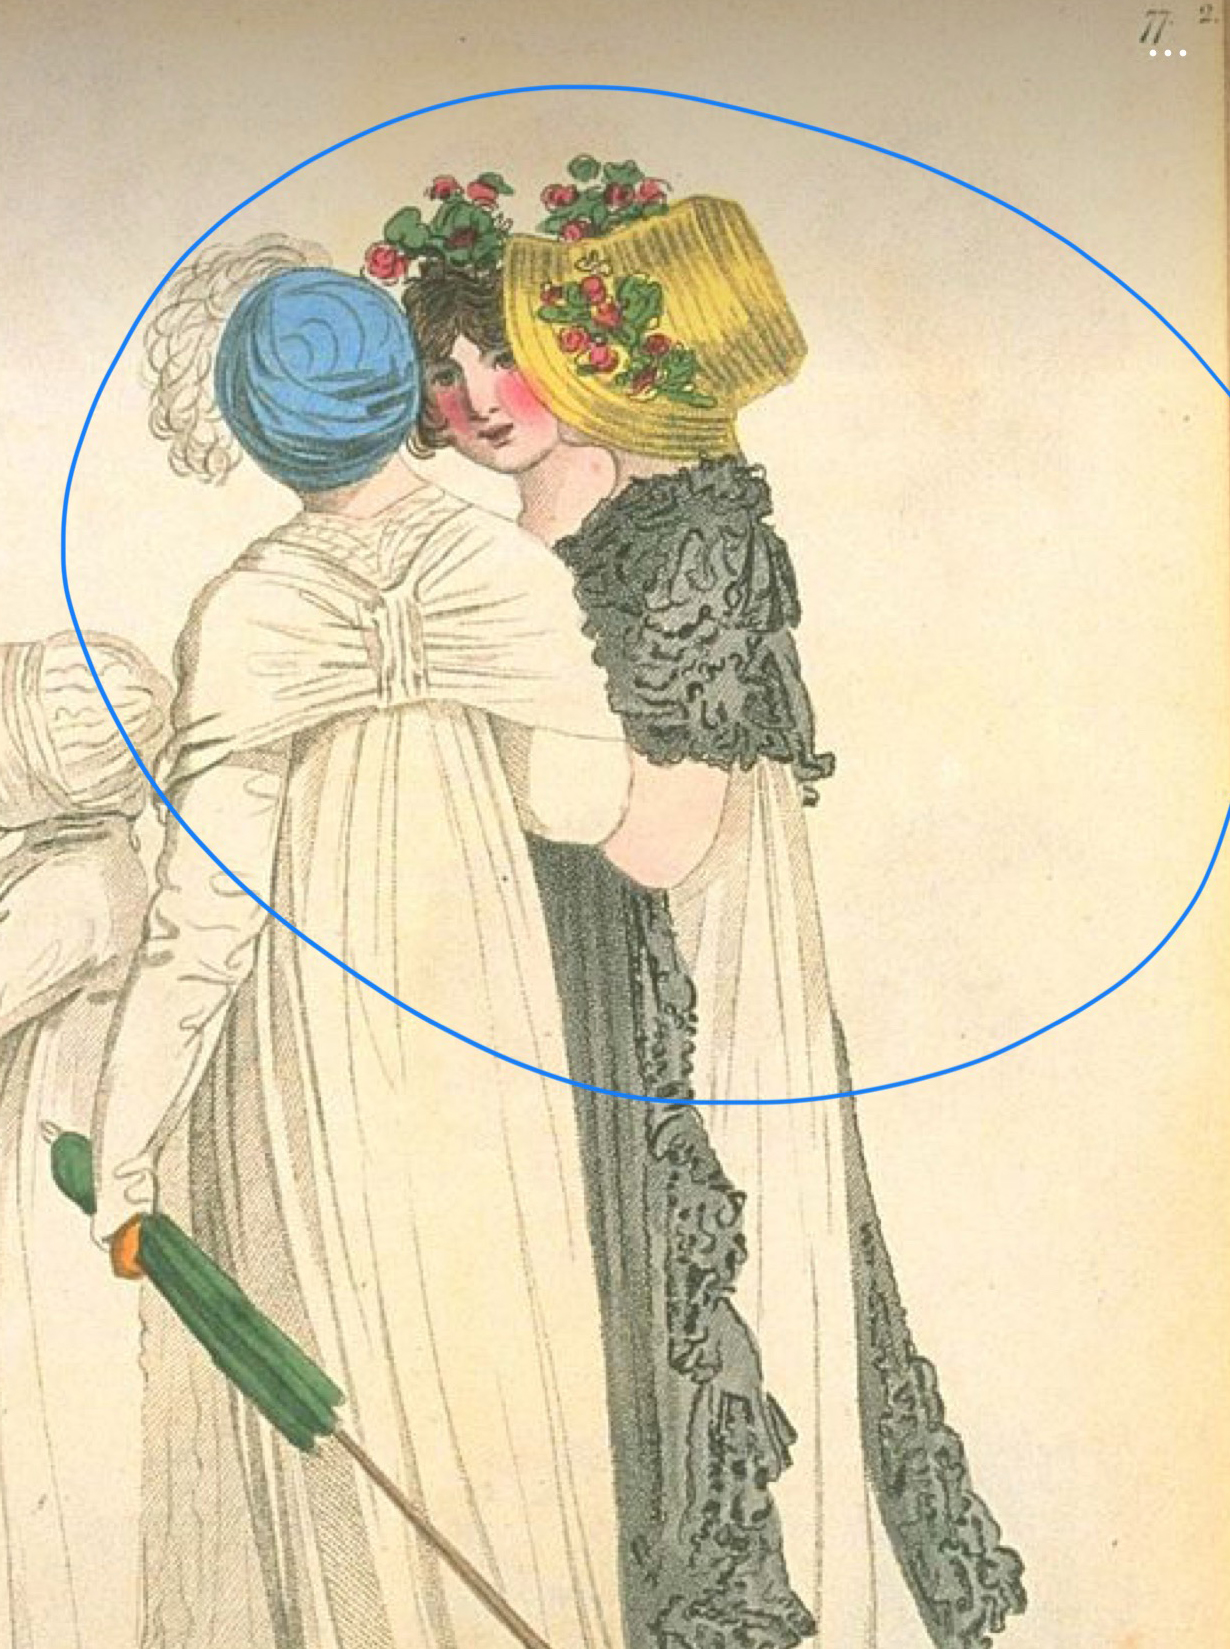
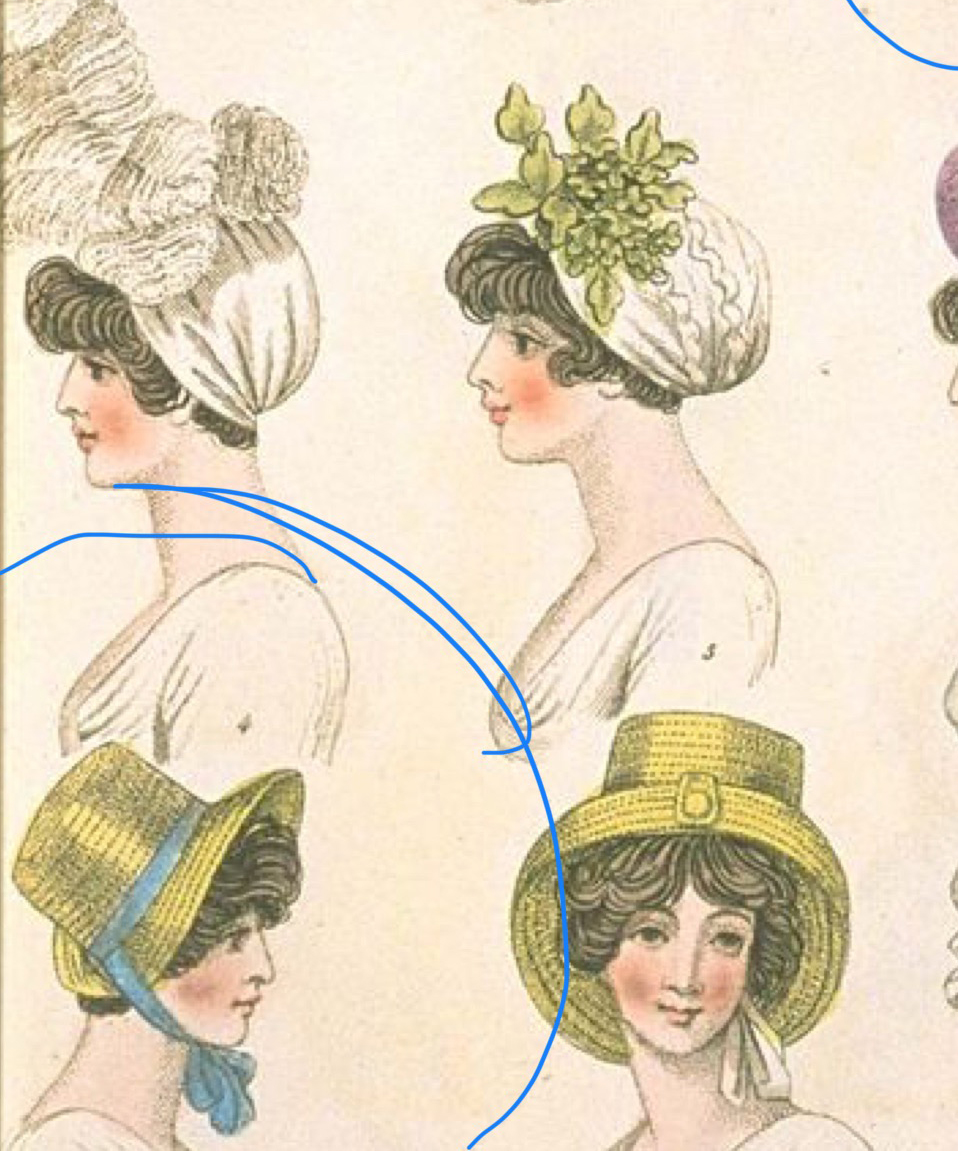
I still liked the simplicity of the ribbon trim on my original inspiration bonnet.
I spent an evening pulling the wire out of a spool of craft ribbon, and then I twisted it around my hat. It was a fun little challenge, twisting the ribbon up and over the crown of the hat without making a single cut, and I reckoned it looked pretty neat like that.
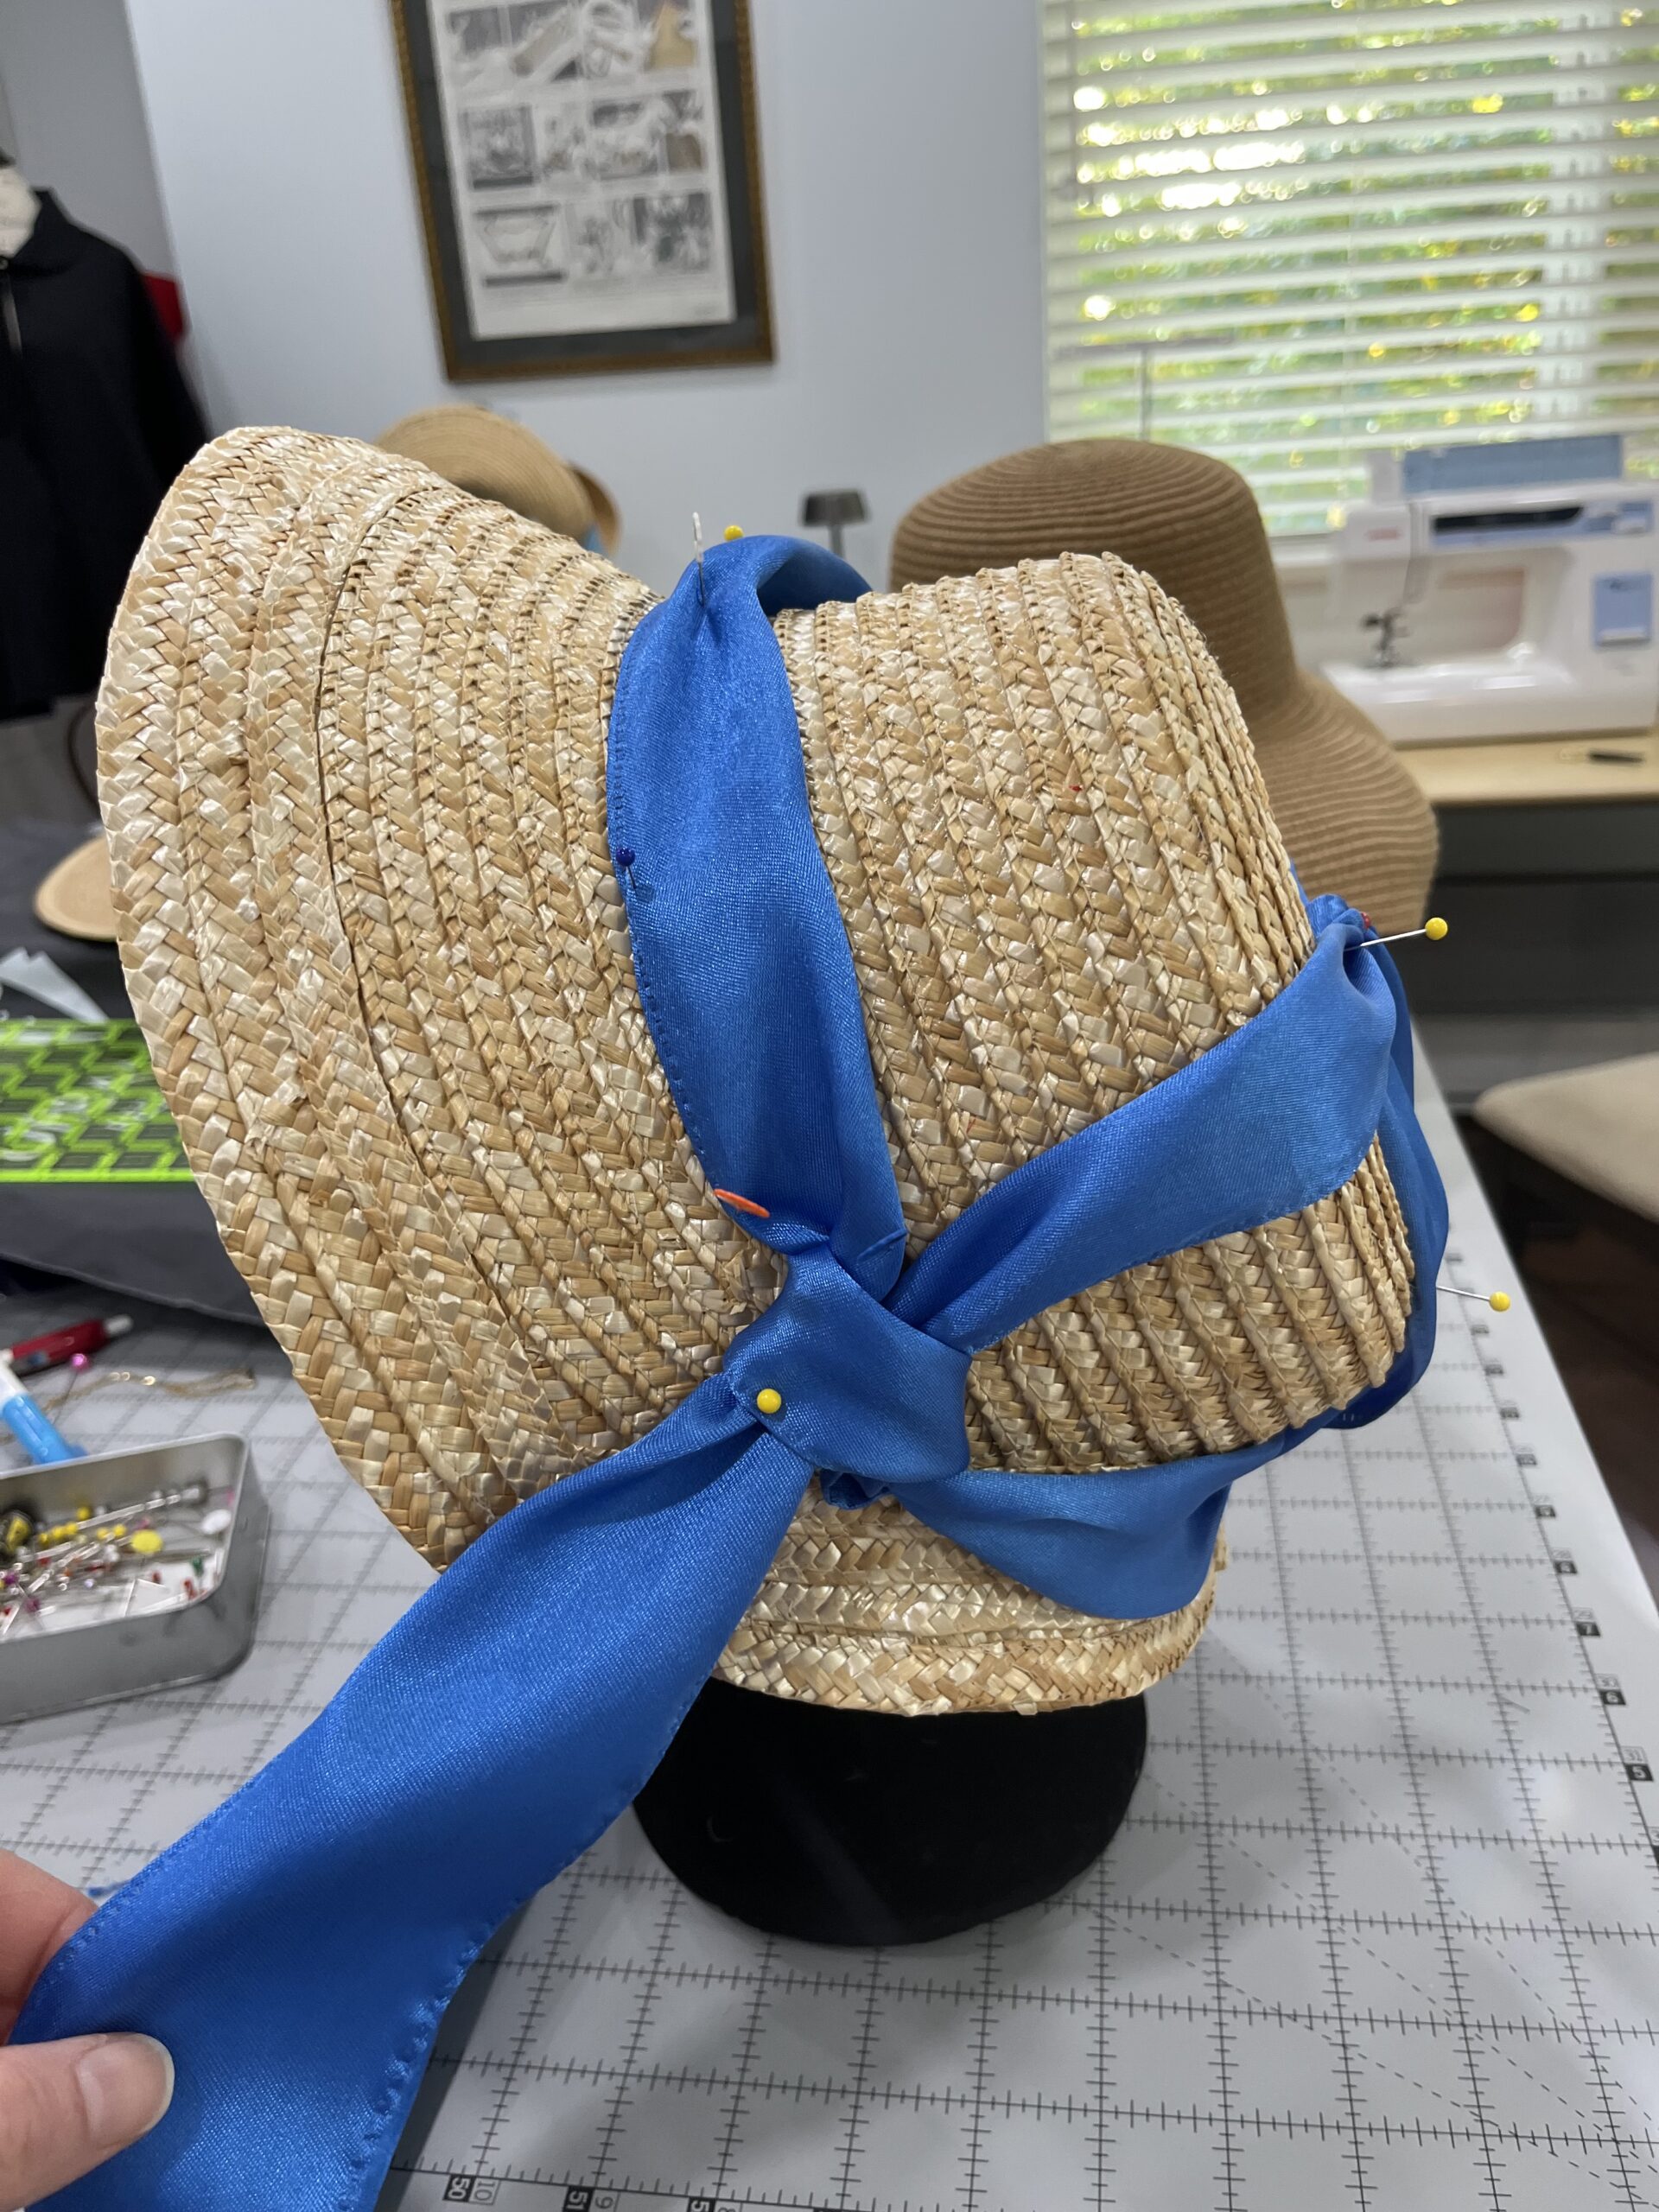
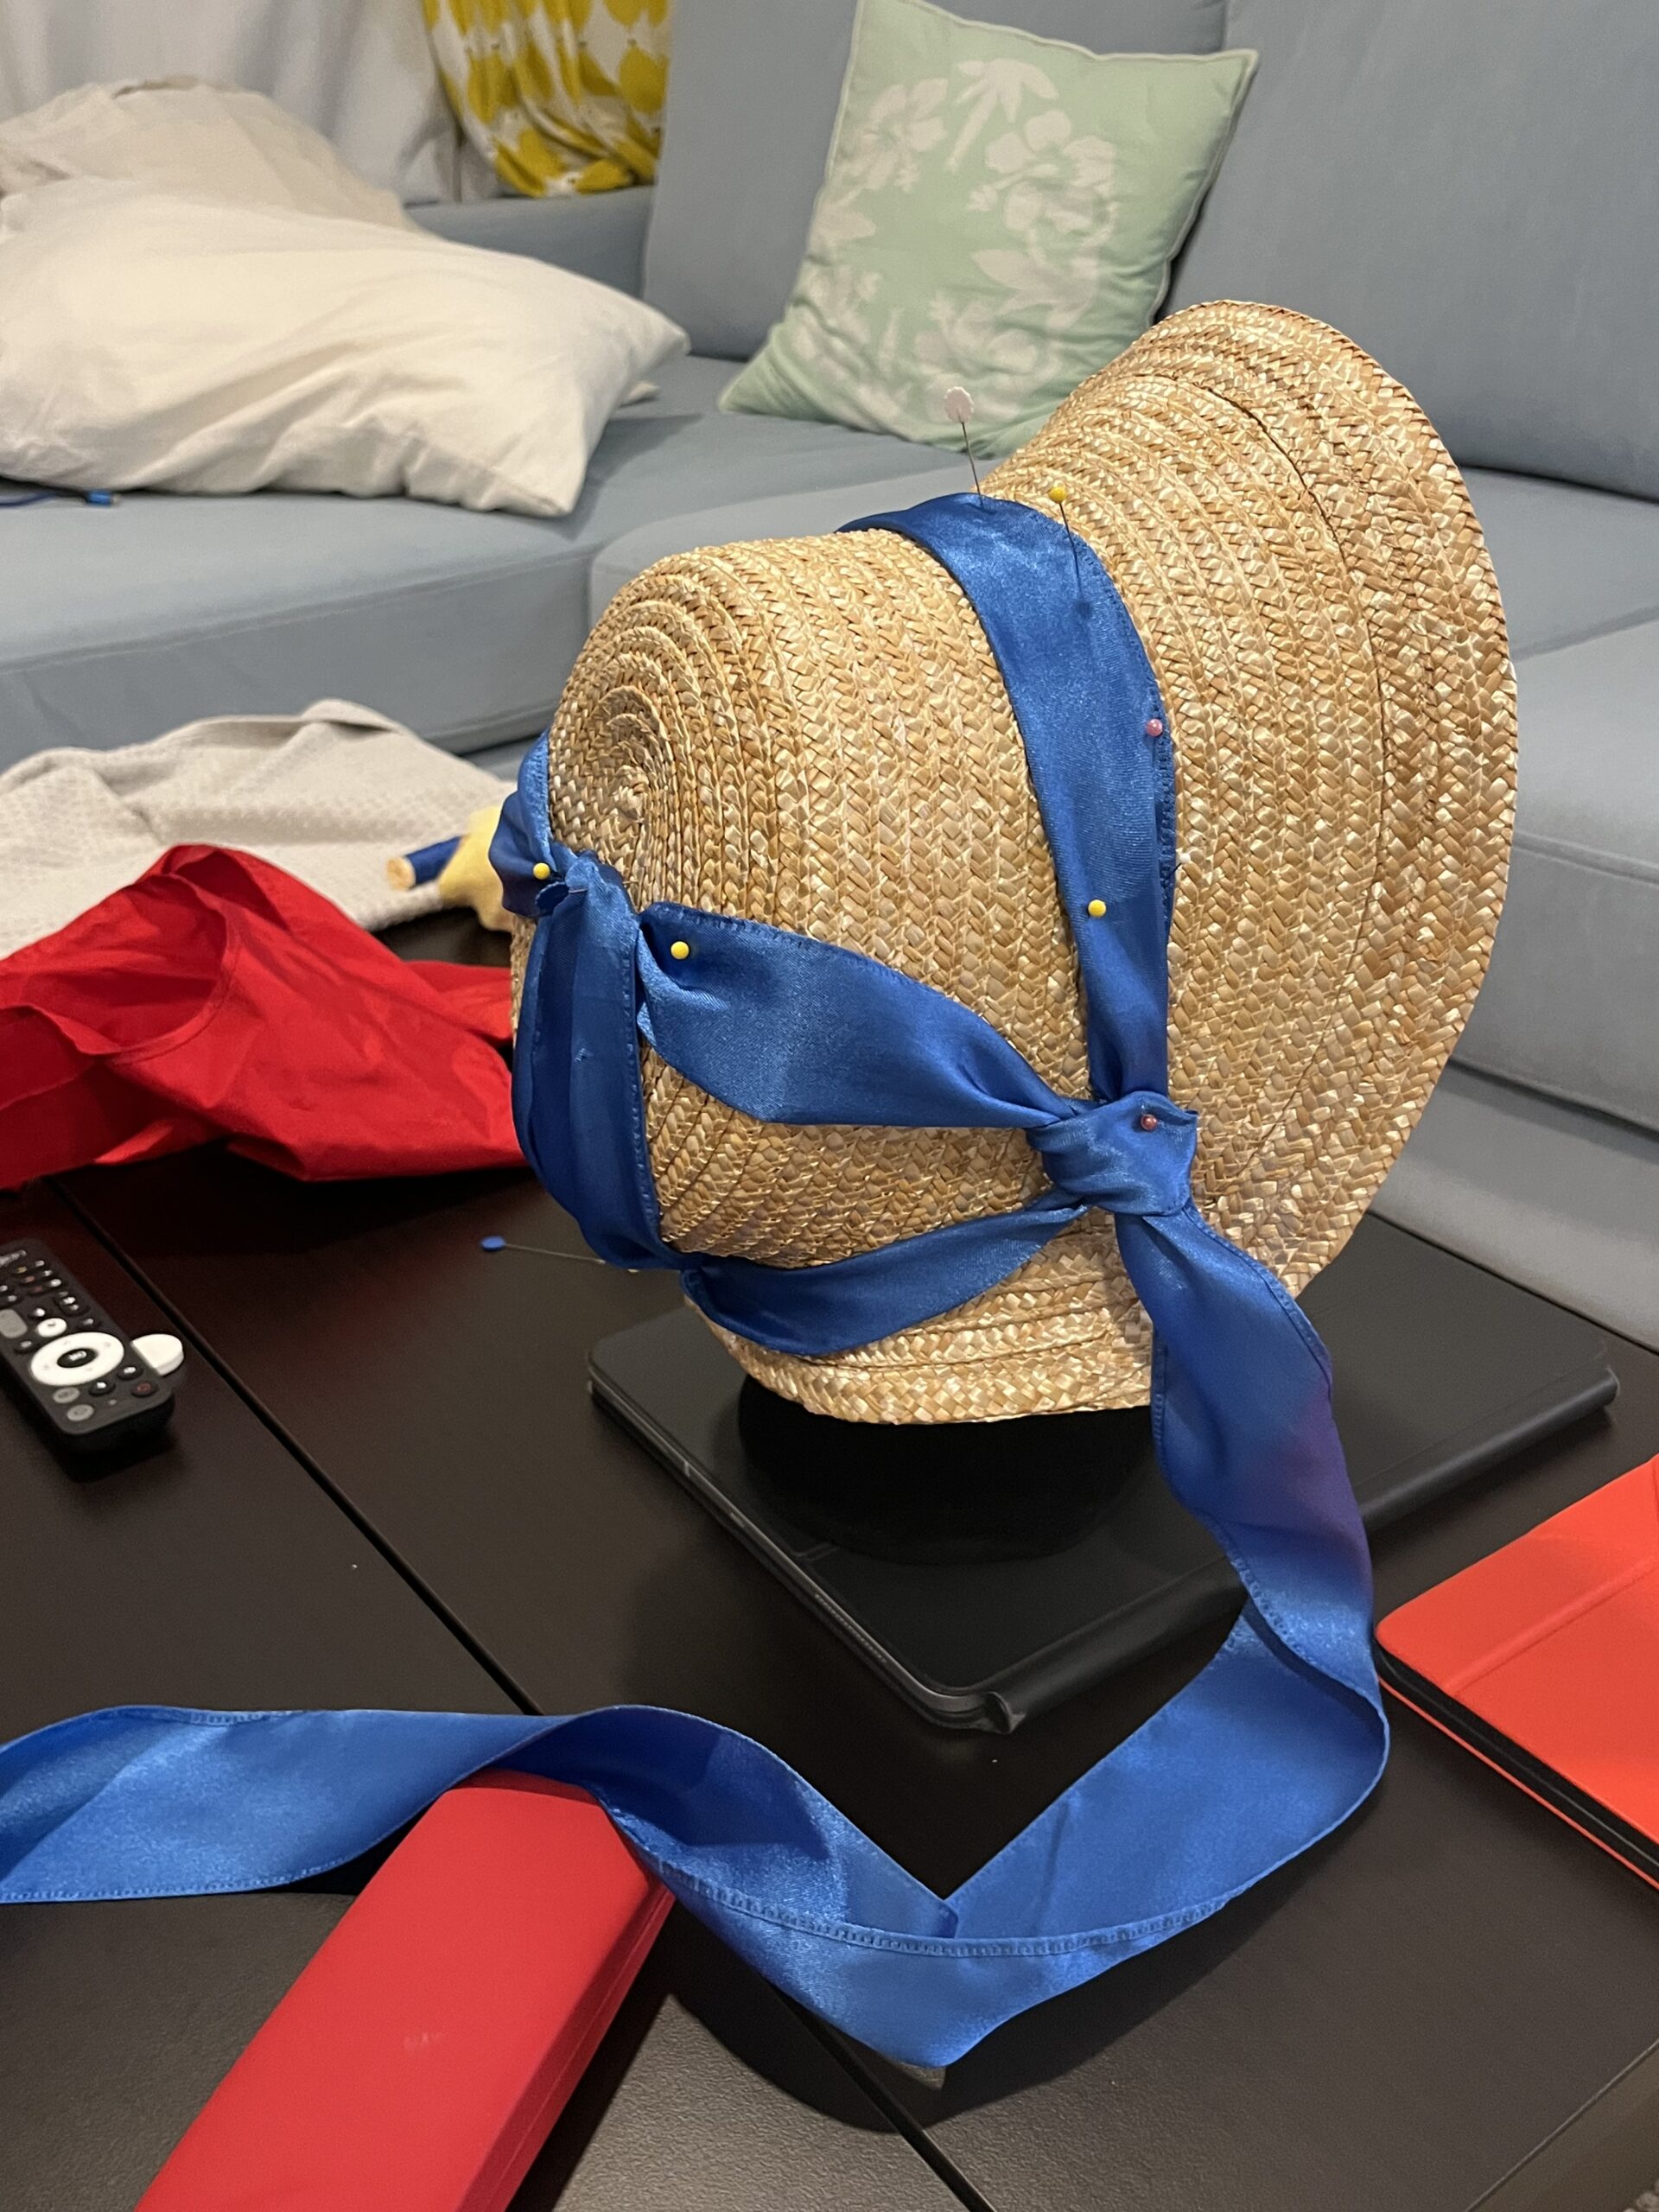
I didn’t have feathers for a pompom up on top, so I rooted through my fake flower box and pompom’d a few of those instead.
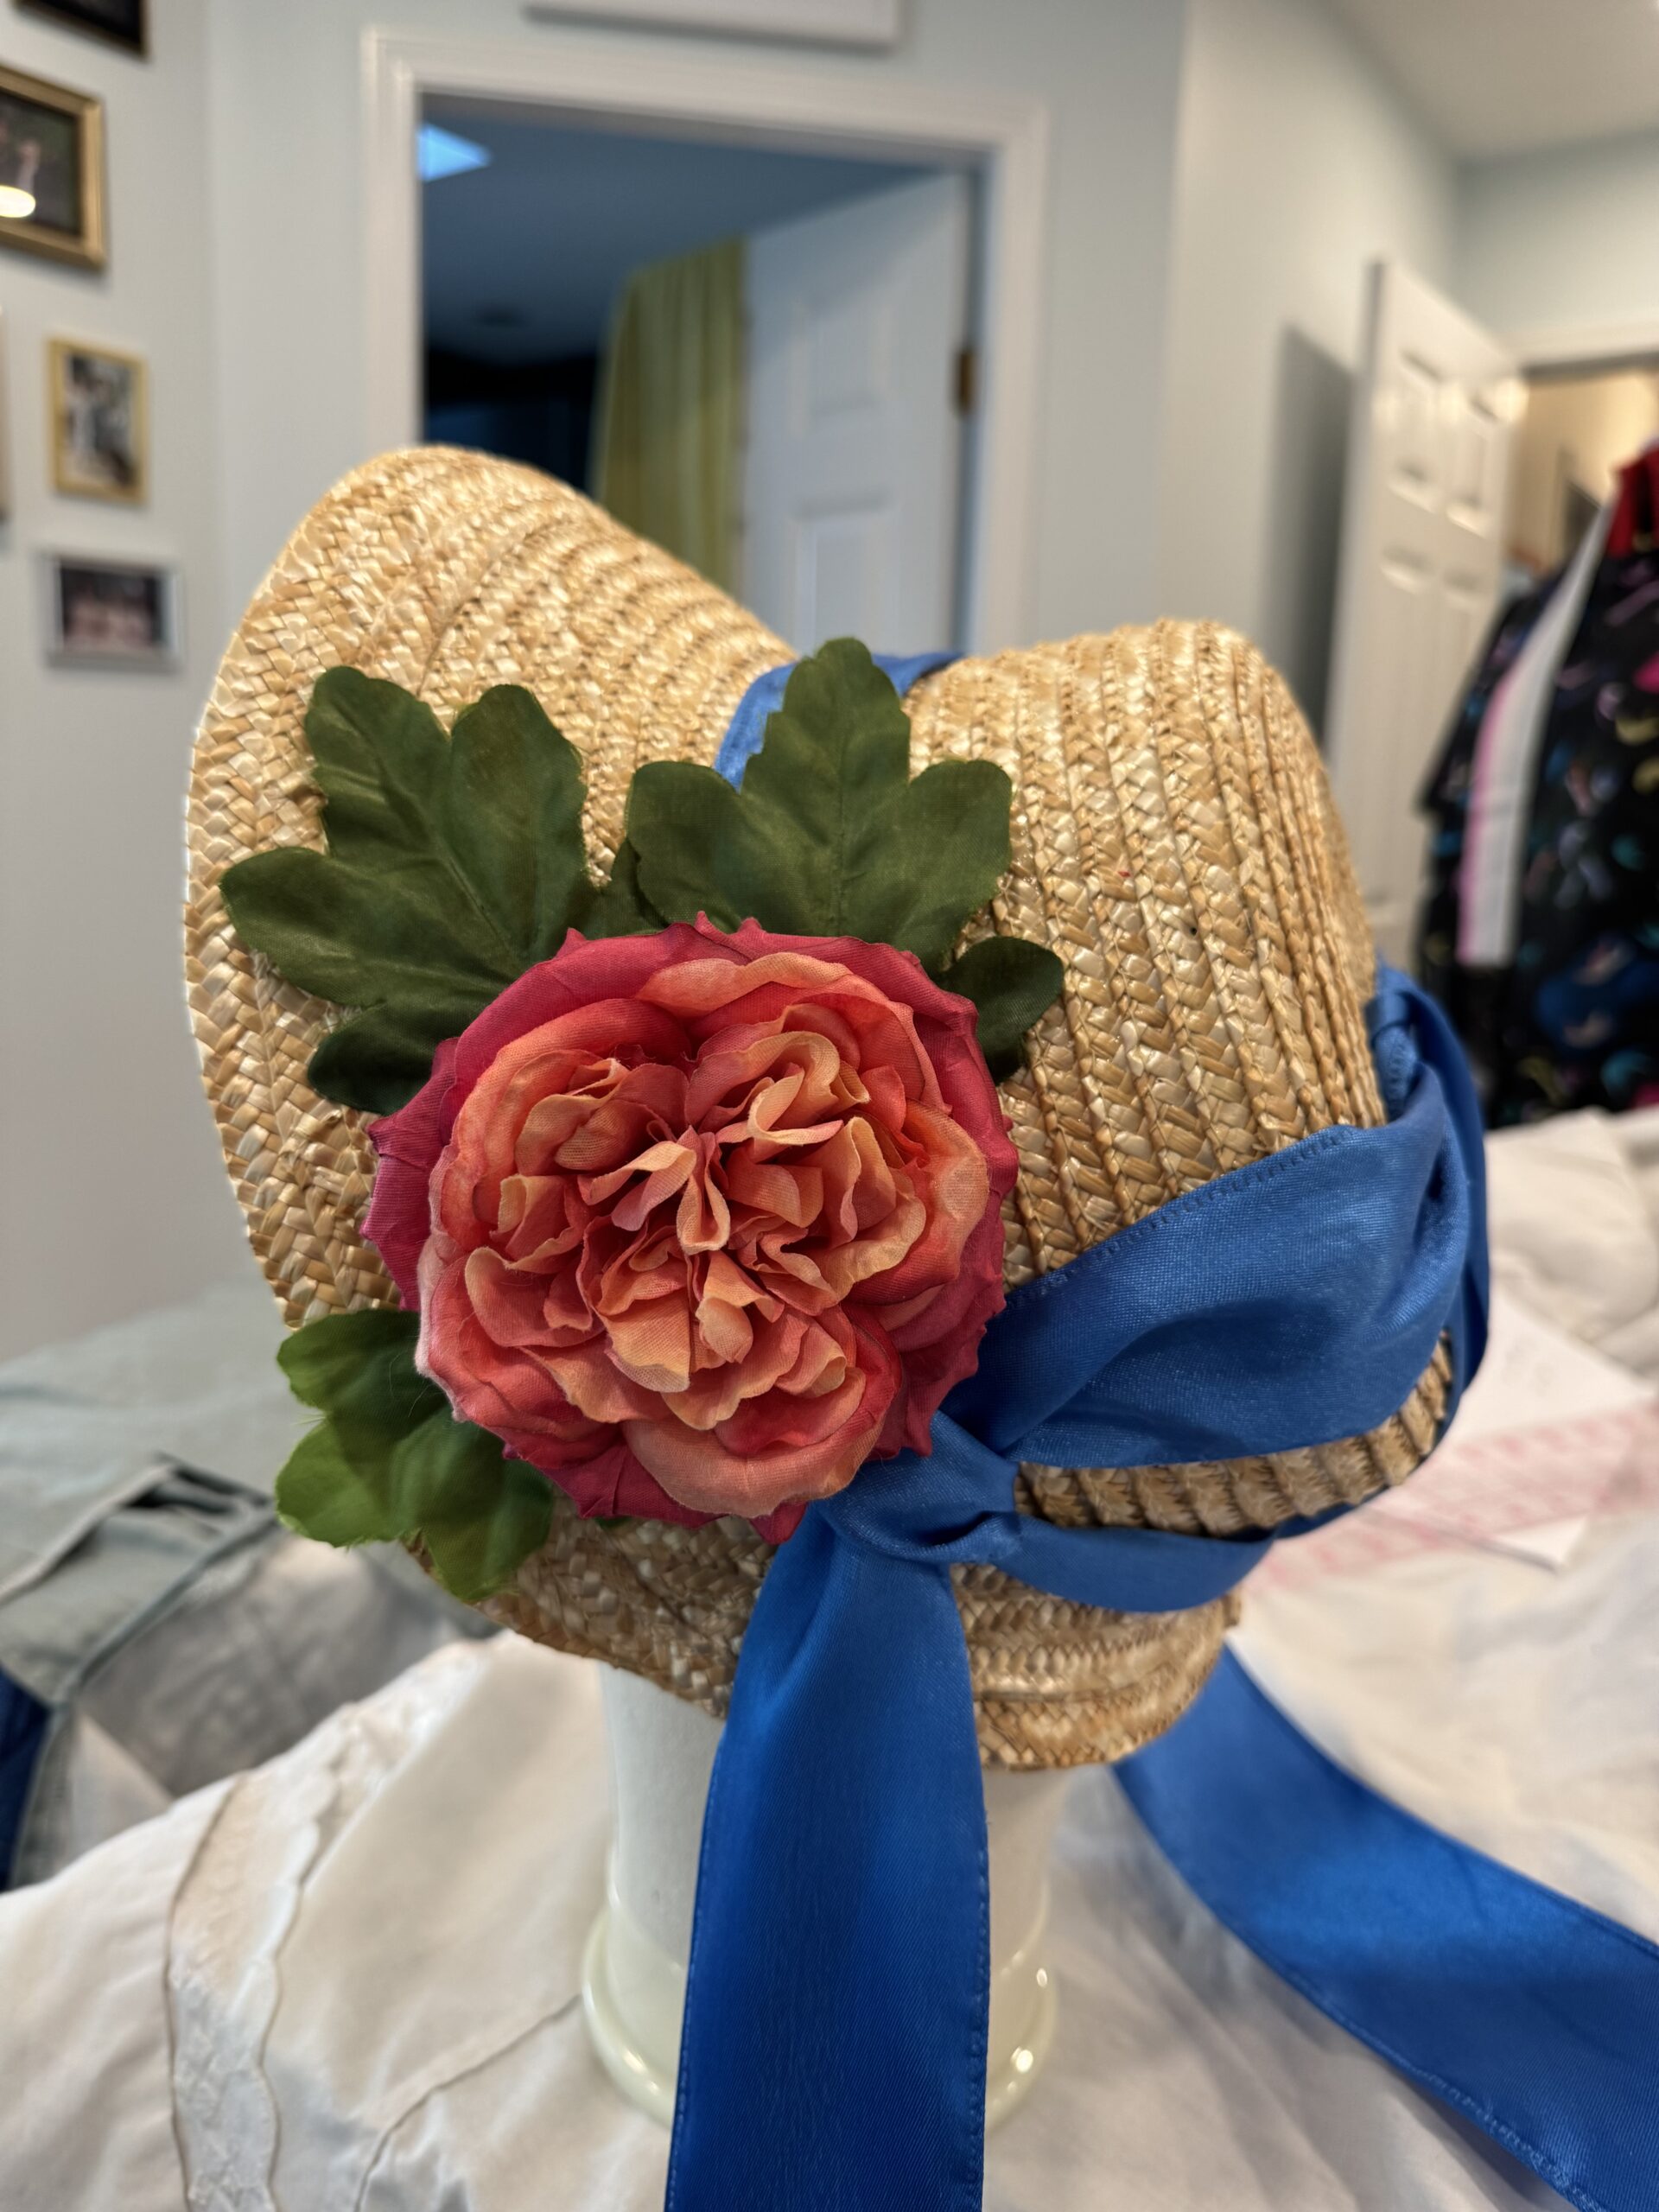
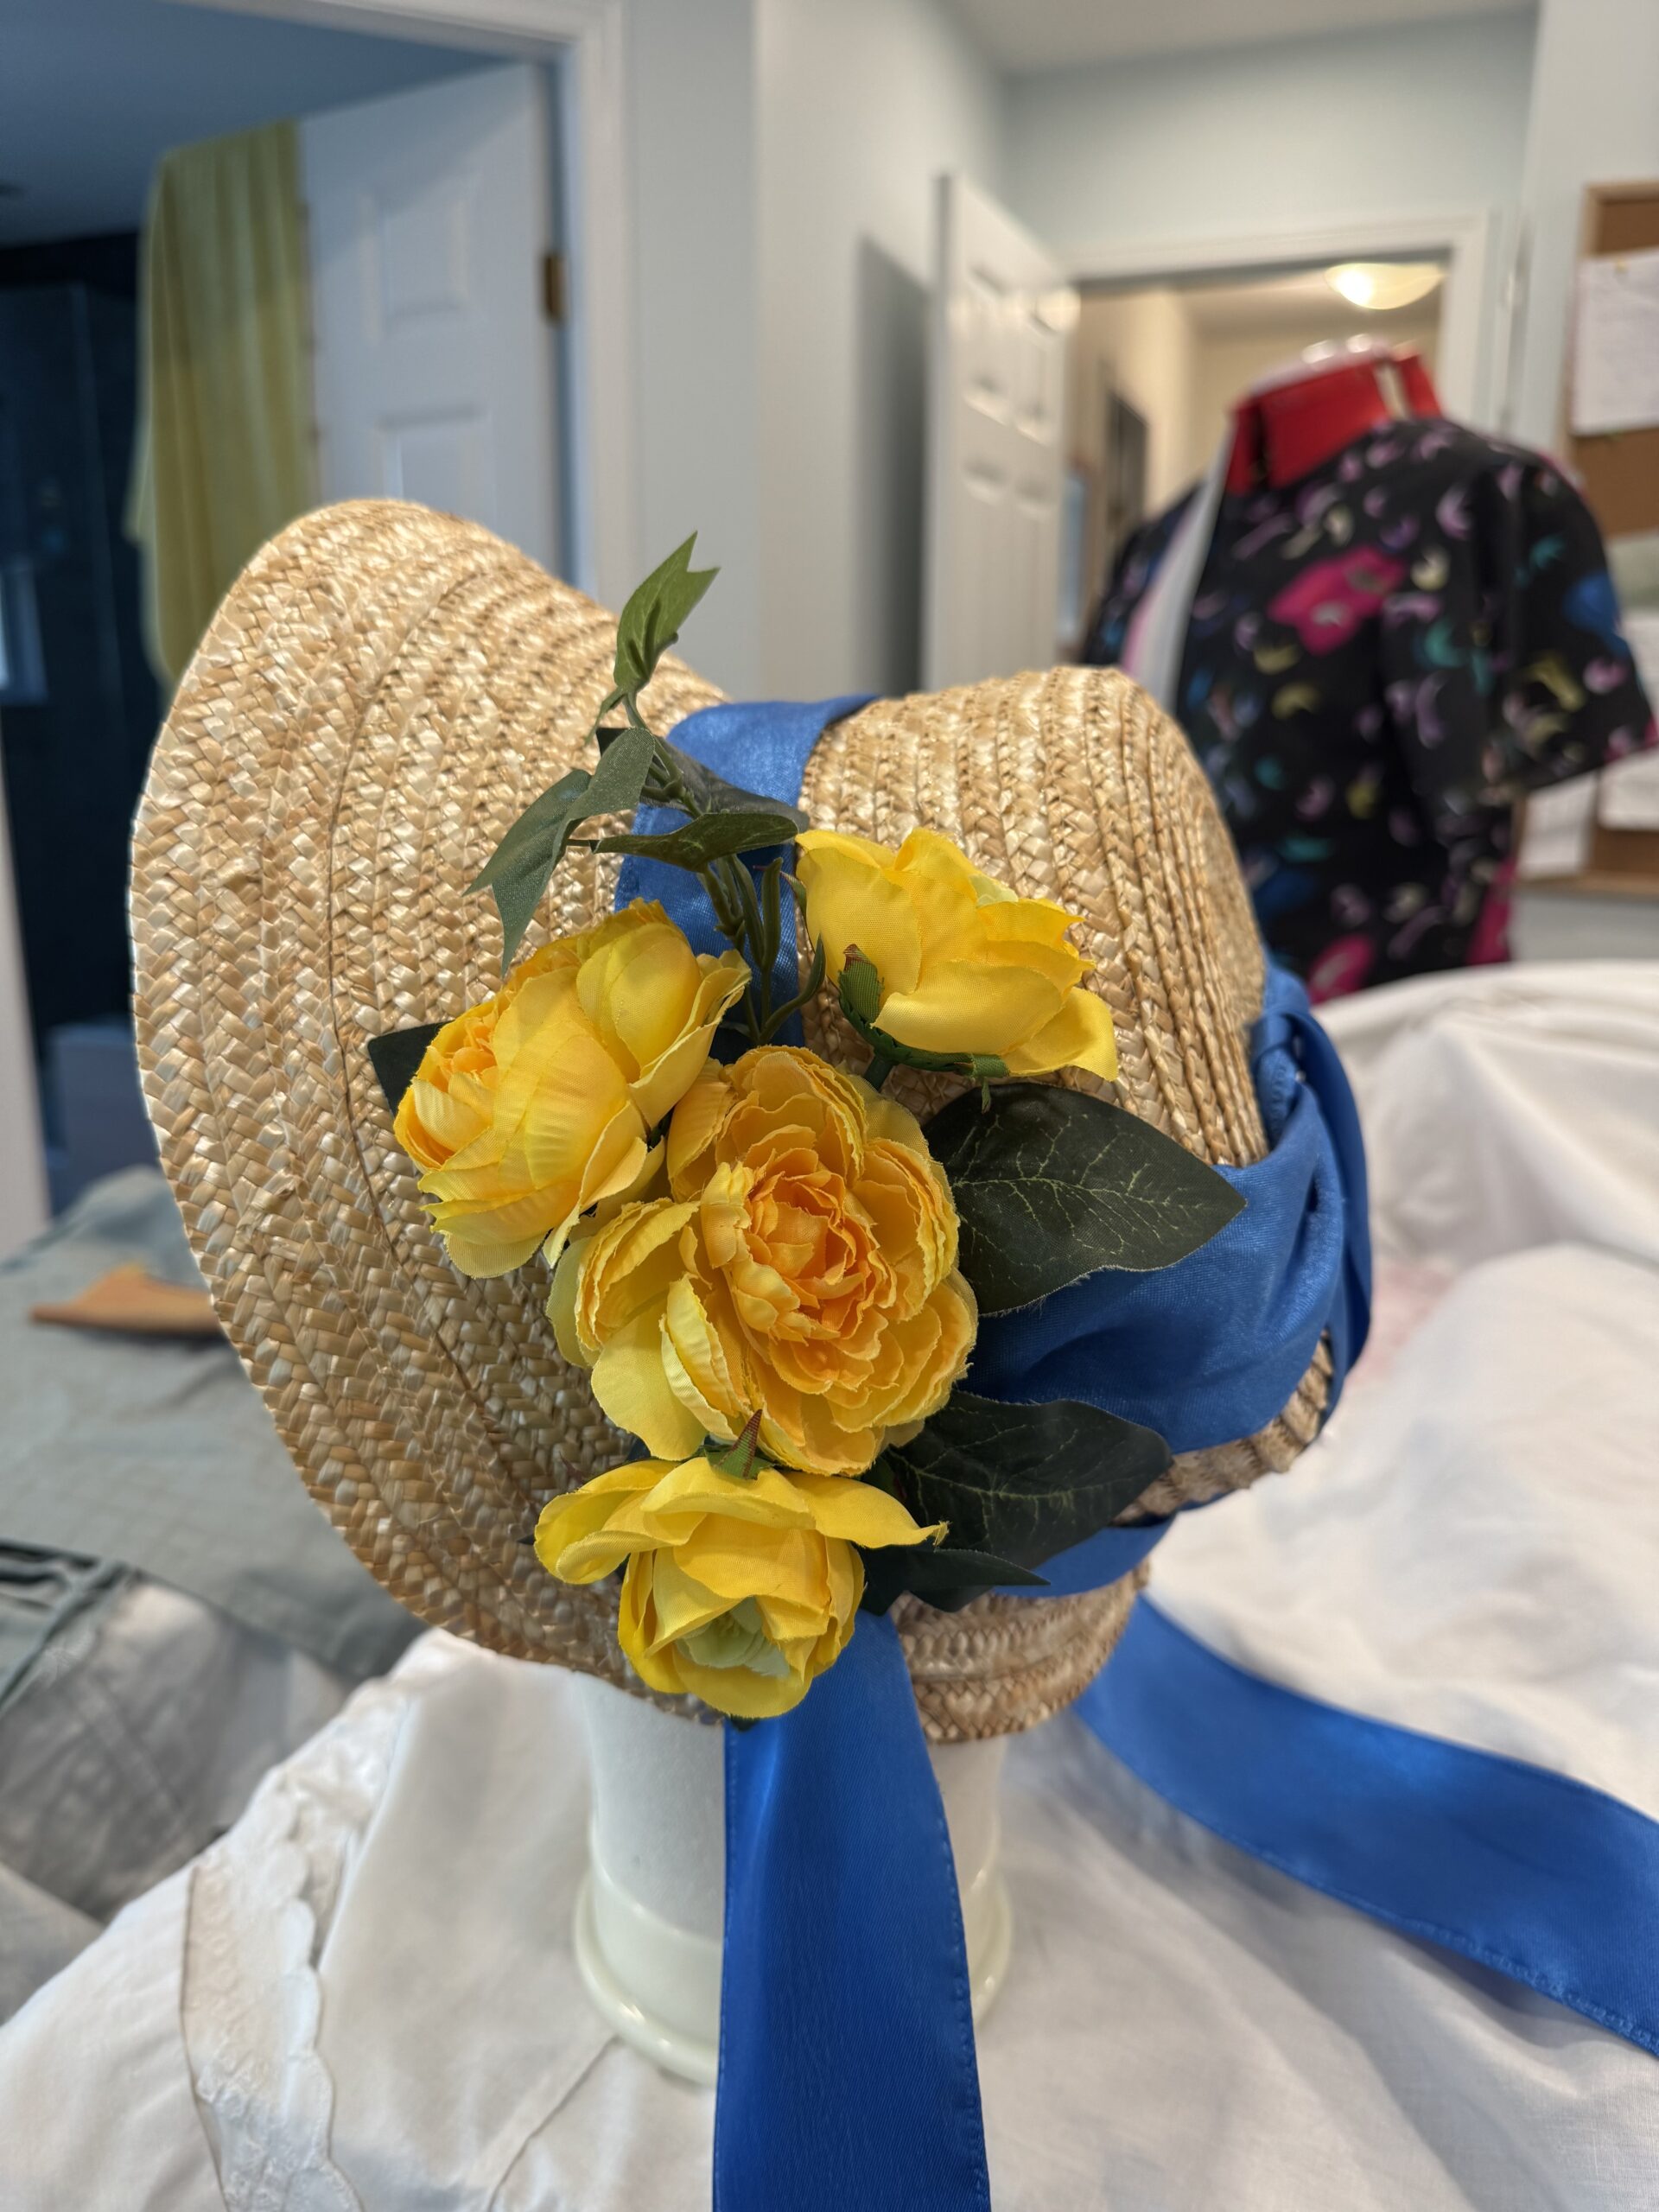
But I didn’t sew them on. I don’t think the hat needs it. Not on either side. The hat is mildly wonky and slightly lopsided and neither one thing or the other, but in its wonky inexactness, my exercise in experimental straw millinery is somehow exactly right. I like it just the way it is.
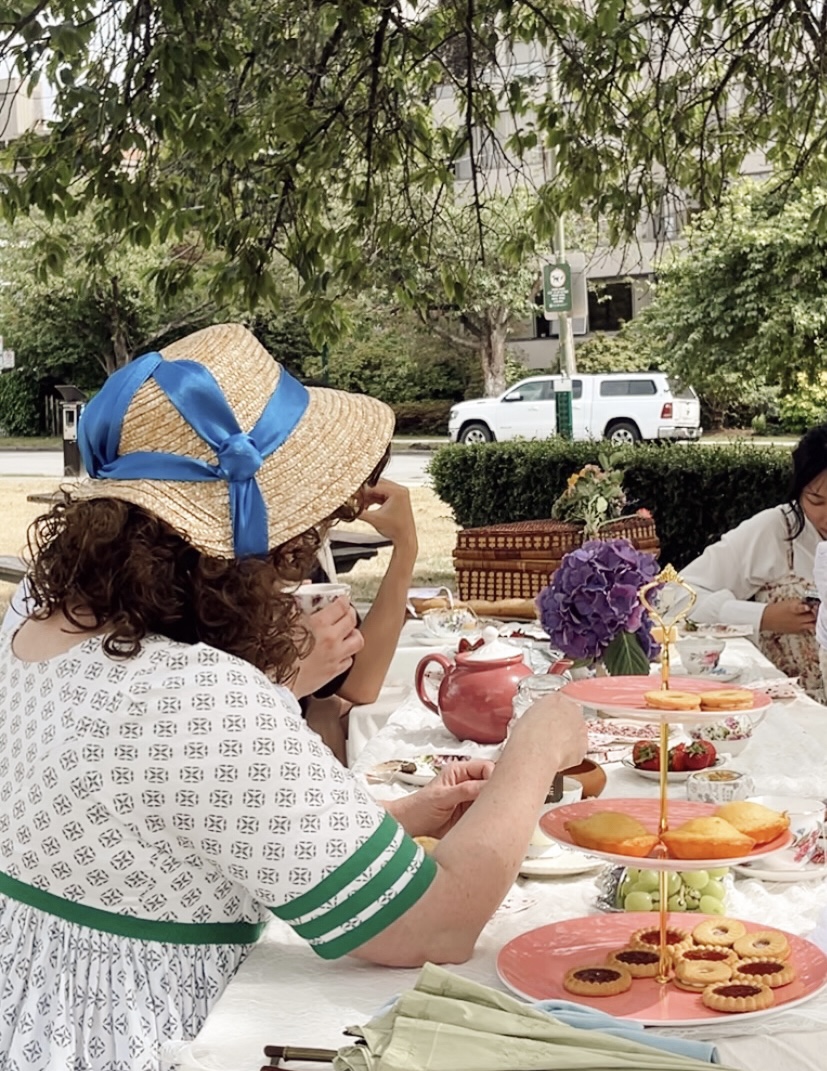
I wore this bonnet with my 1798 Kate Greenaway dress, with its bow tied high and big under my neck, to a regency picnic hosted by The Dreamers Post.
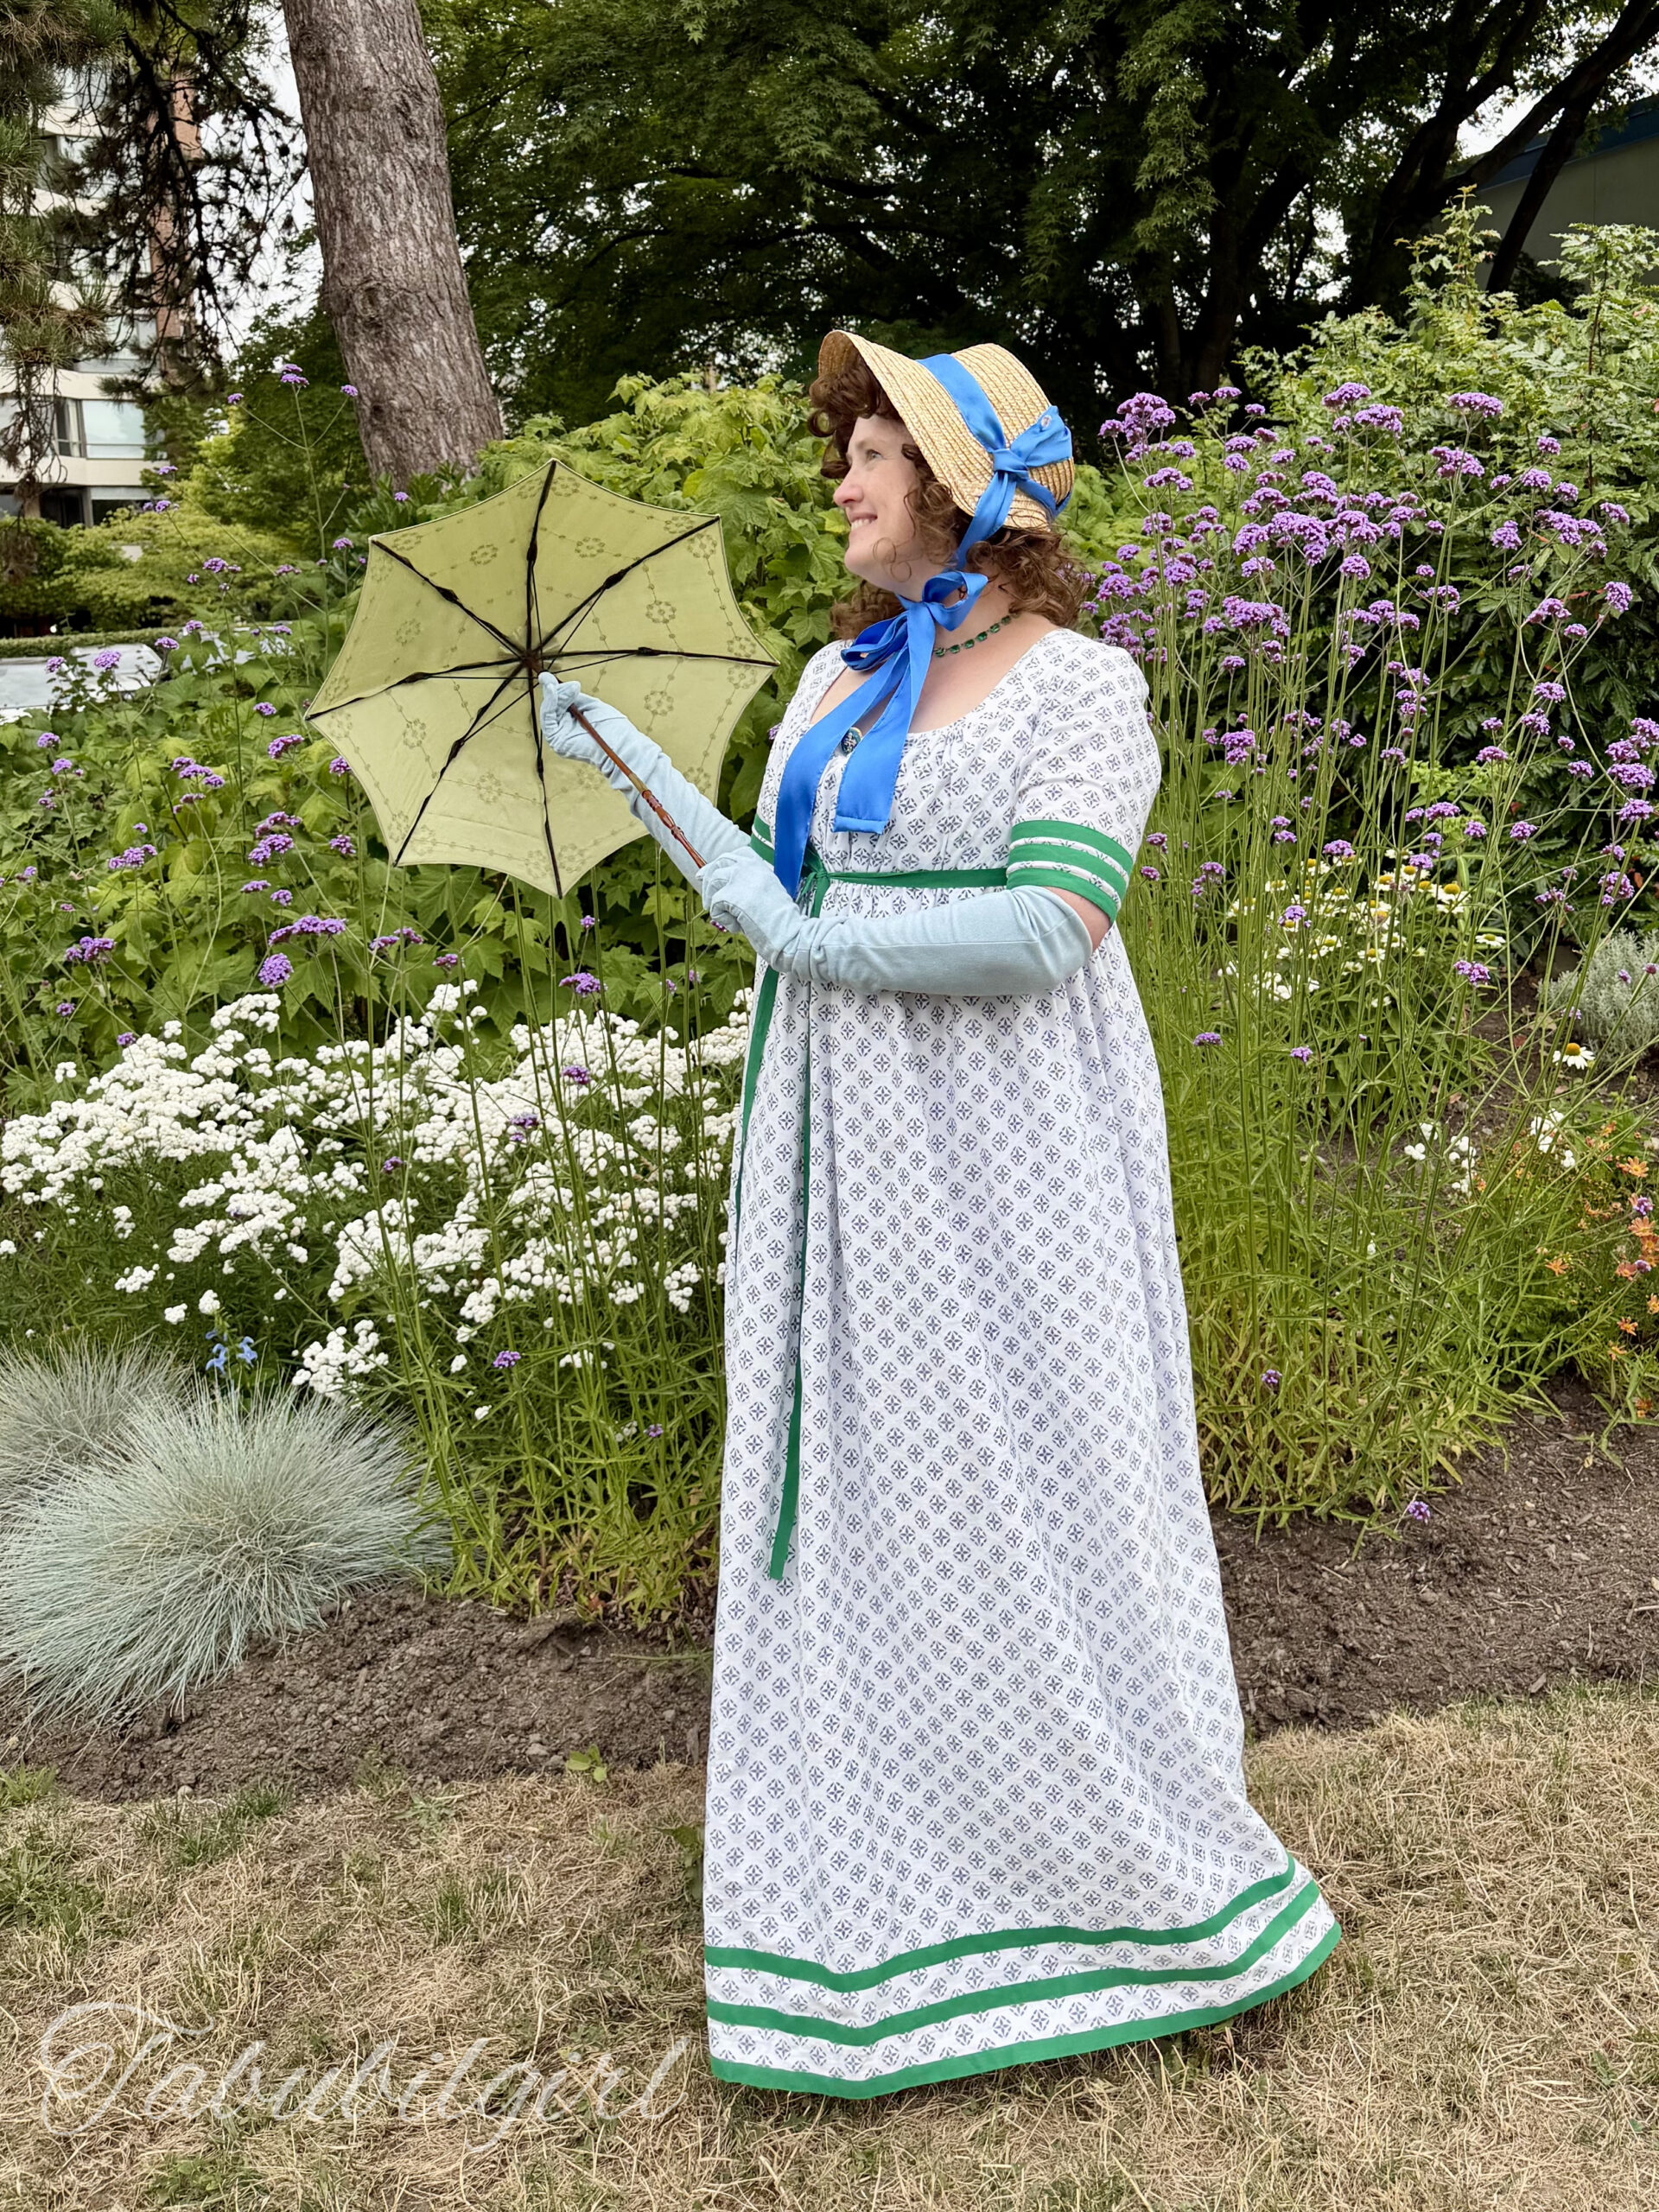
My hair for this picnic was regency-fantasy-via-the-victorians, rather than the tight updo that would have been worn during the first decade of the 19th century, and the effect is to make the hat look quite small! Small but fetching, I reckon. I’m call this little exercise in experimental straw millinery a success!