These ruffled regency reticules (say that three times fast) started the same way my last reticule project did – with a cranky sewing afternoon and the understanding that when your project list is long enough to be depressing, the best way to fix things is to start another project. As quickly as possible.
Last time I was in Australia I paid a visit to The Fabric Store. Pinned to the store’s message board was a picture of a free pattern for a bag. I thought “Ooooh, that looks just like a regency reticule”, and decided that at some point, I would make one.
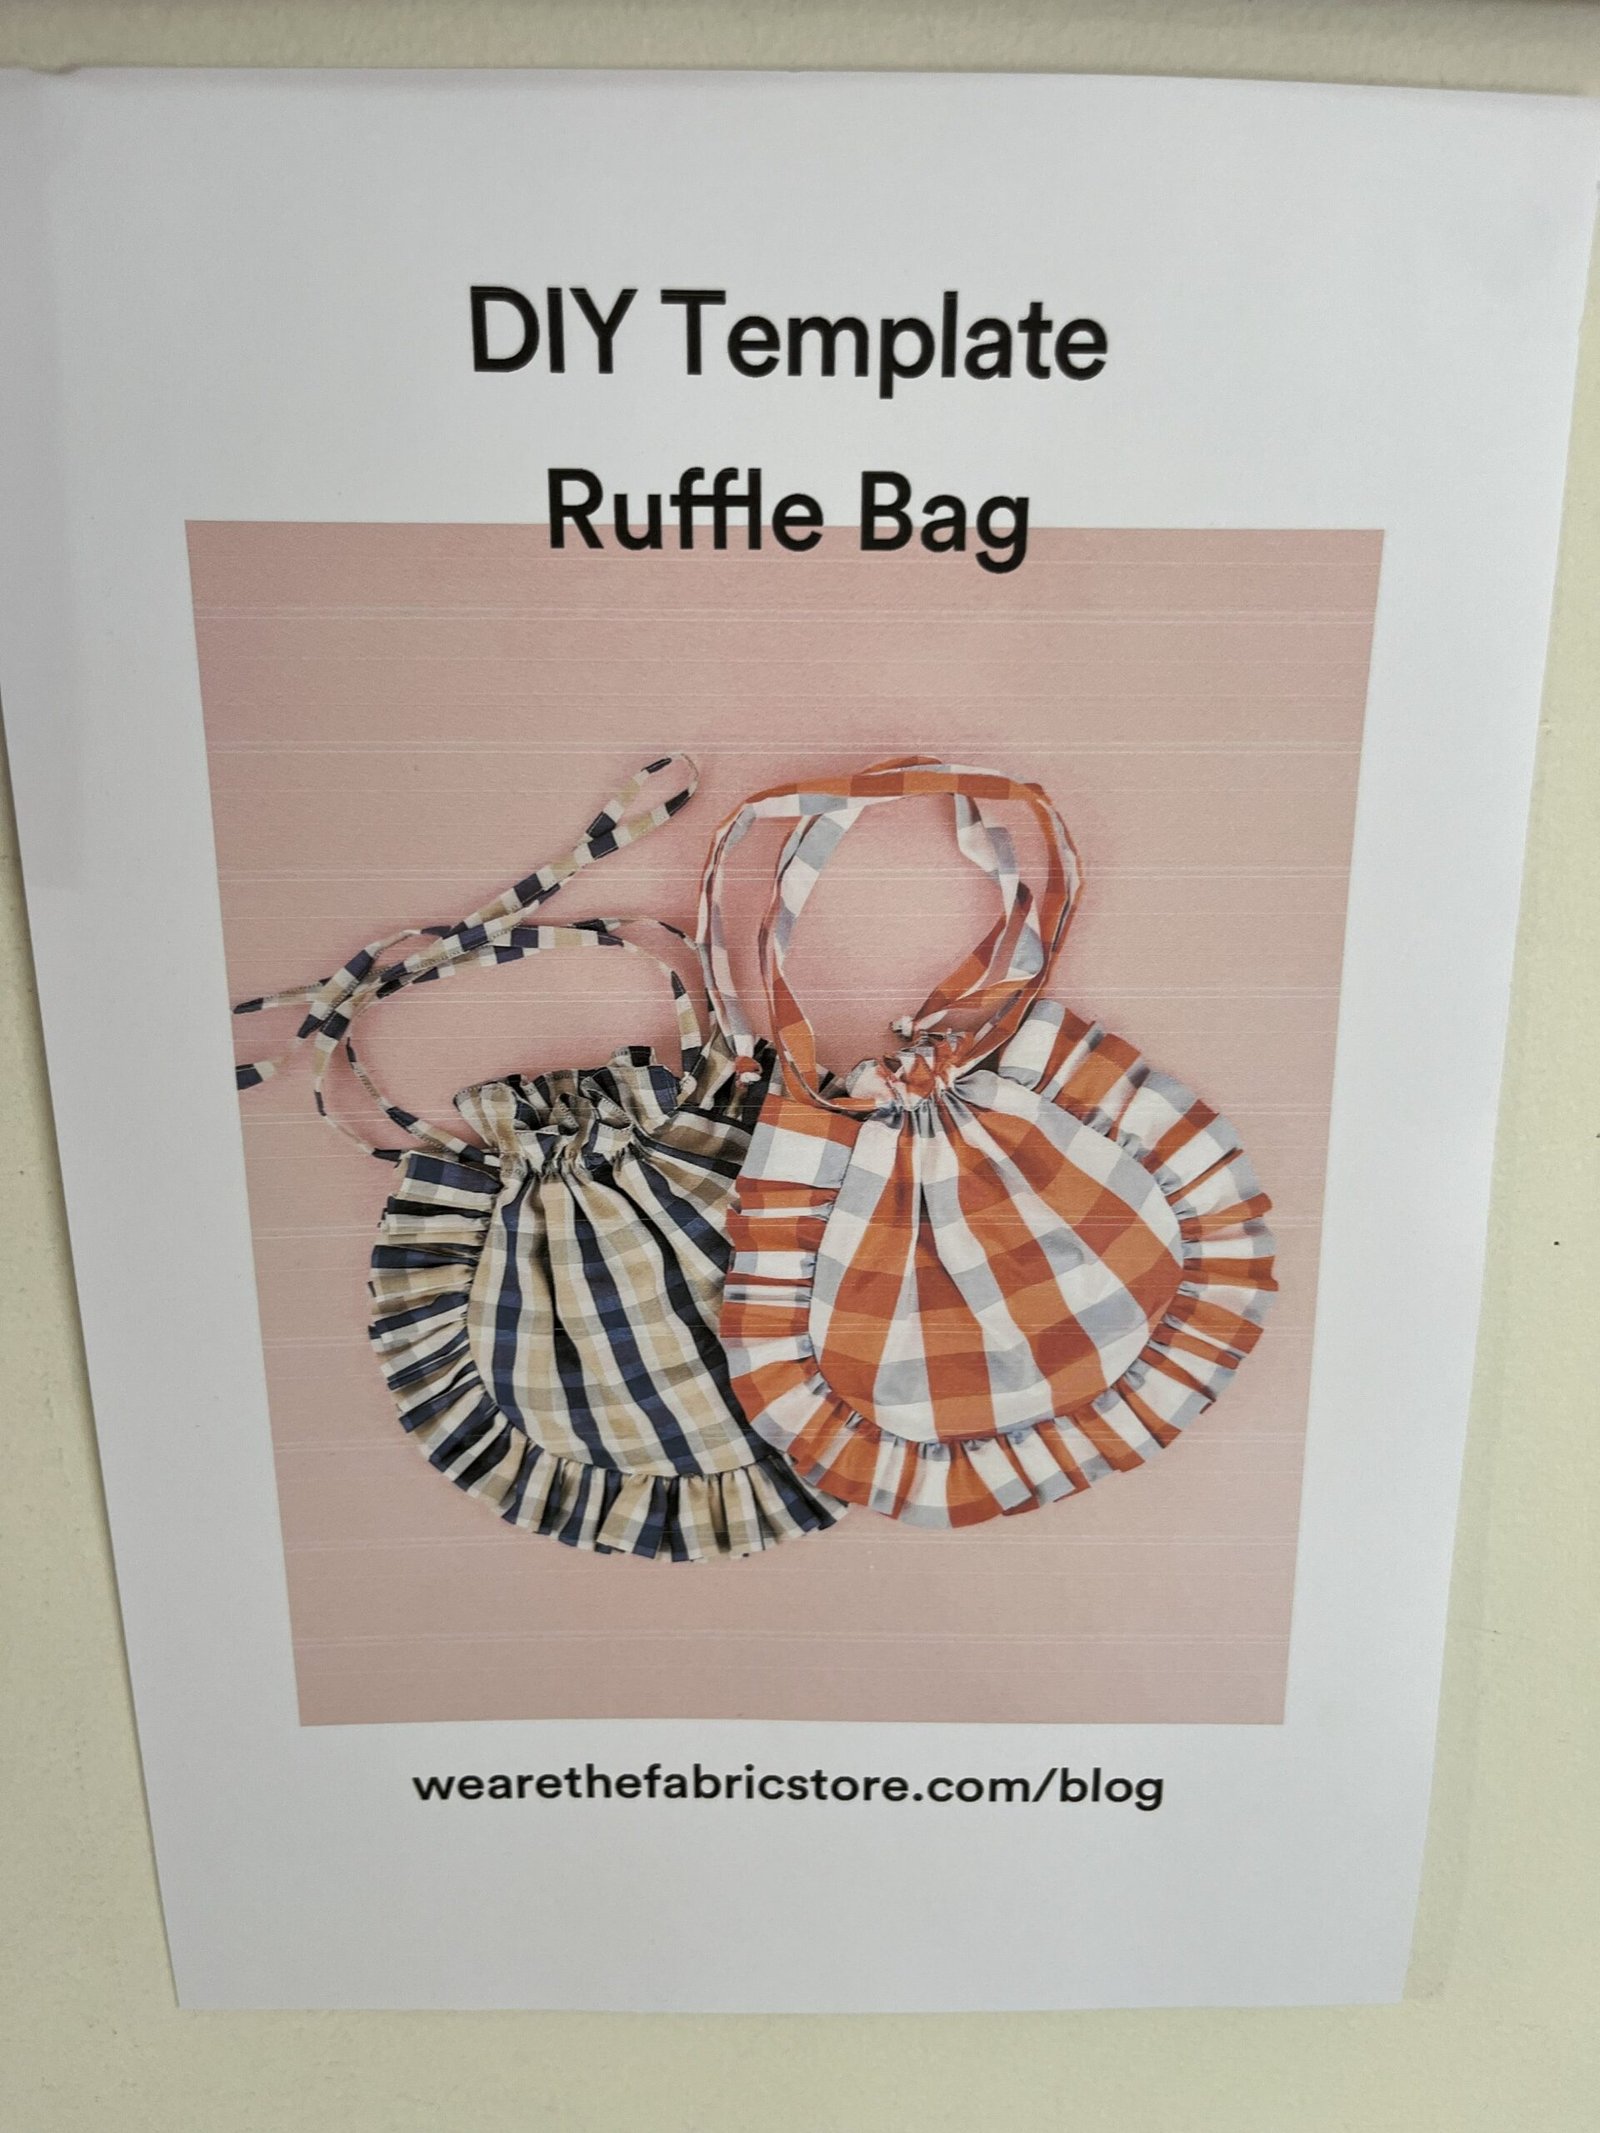
(You can find the link to this free bag pattern HERE.)
Back in Vancouver and looking for something to procrastinate with, I downloaded the pattern. It does bear a passing resemblance to a regency reticule in this post by Two Nerdy History Girls. And it was free. And it was a pre-made pattern, so i didn’t have to draft anything myself; I could just turn my brain off and use my sewing machine to make a pretty little thing.
Well, two little things, actually. One in green and one in pink. I still had fabric left from that previous procrastination project, a raspberry reticule.
(You can find the tutorial for my raspberry reticule HERE.)
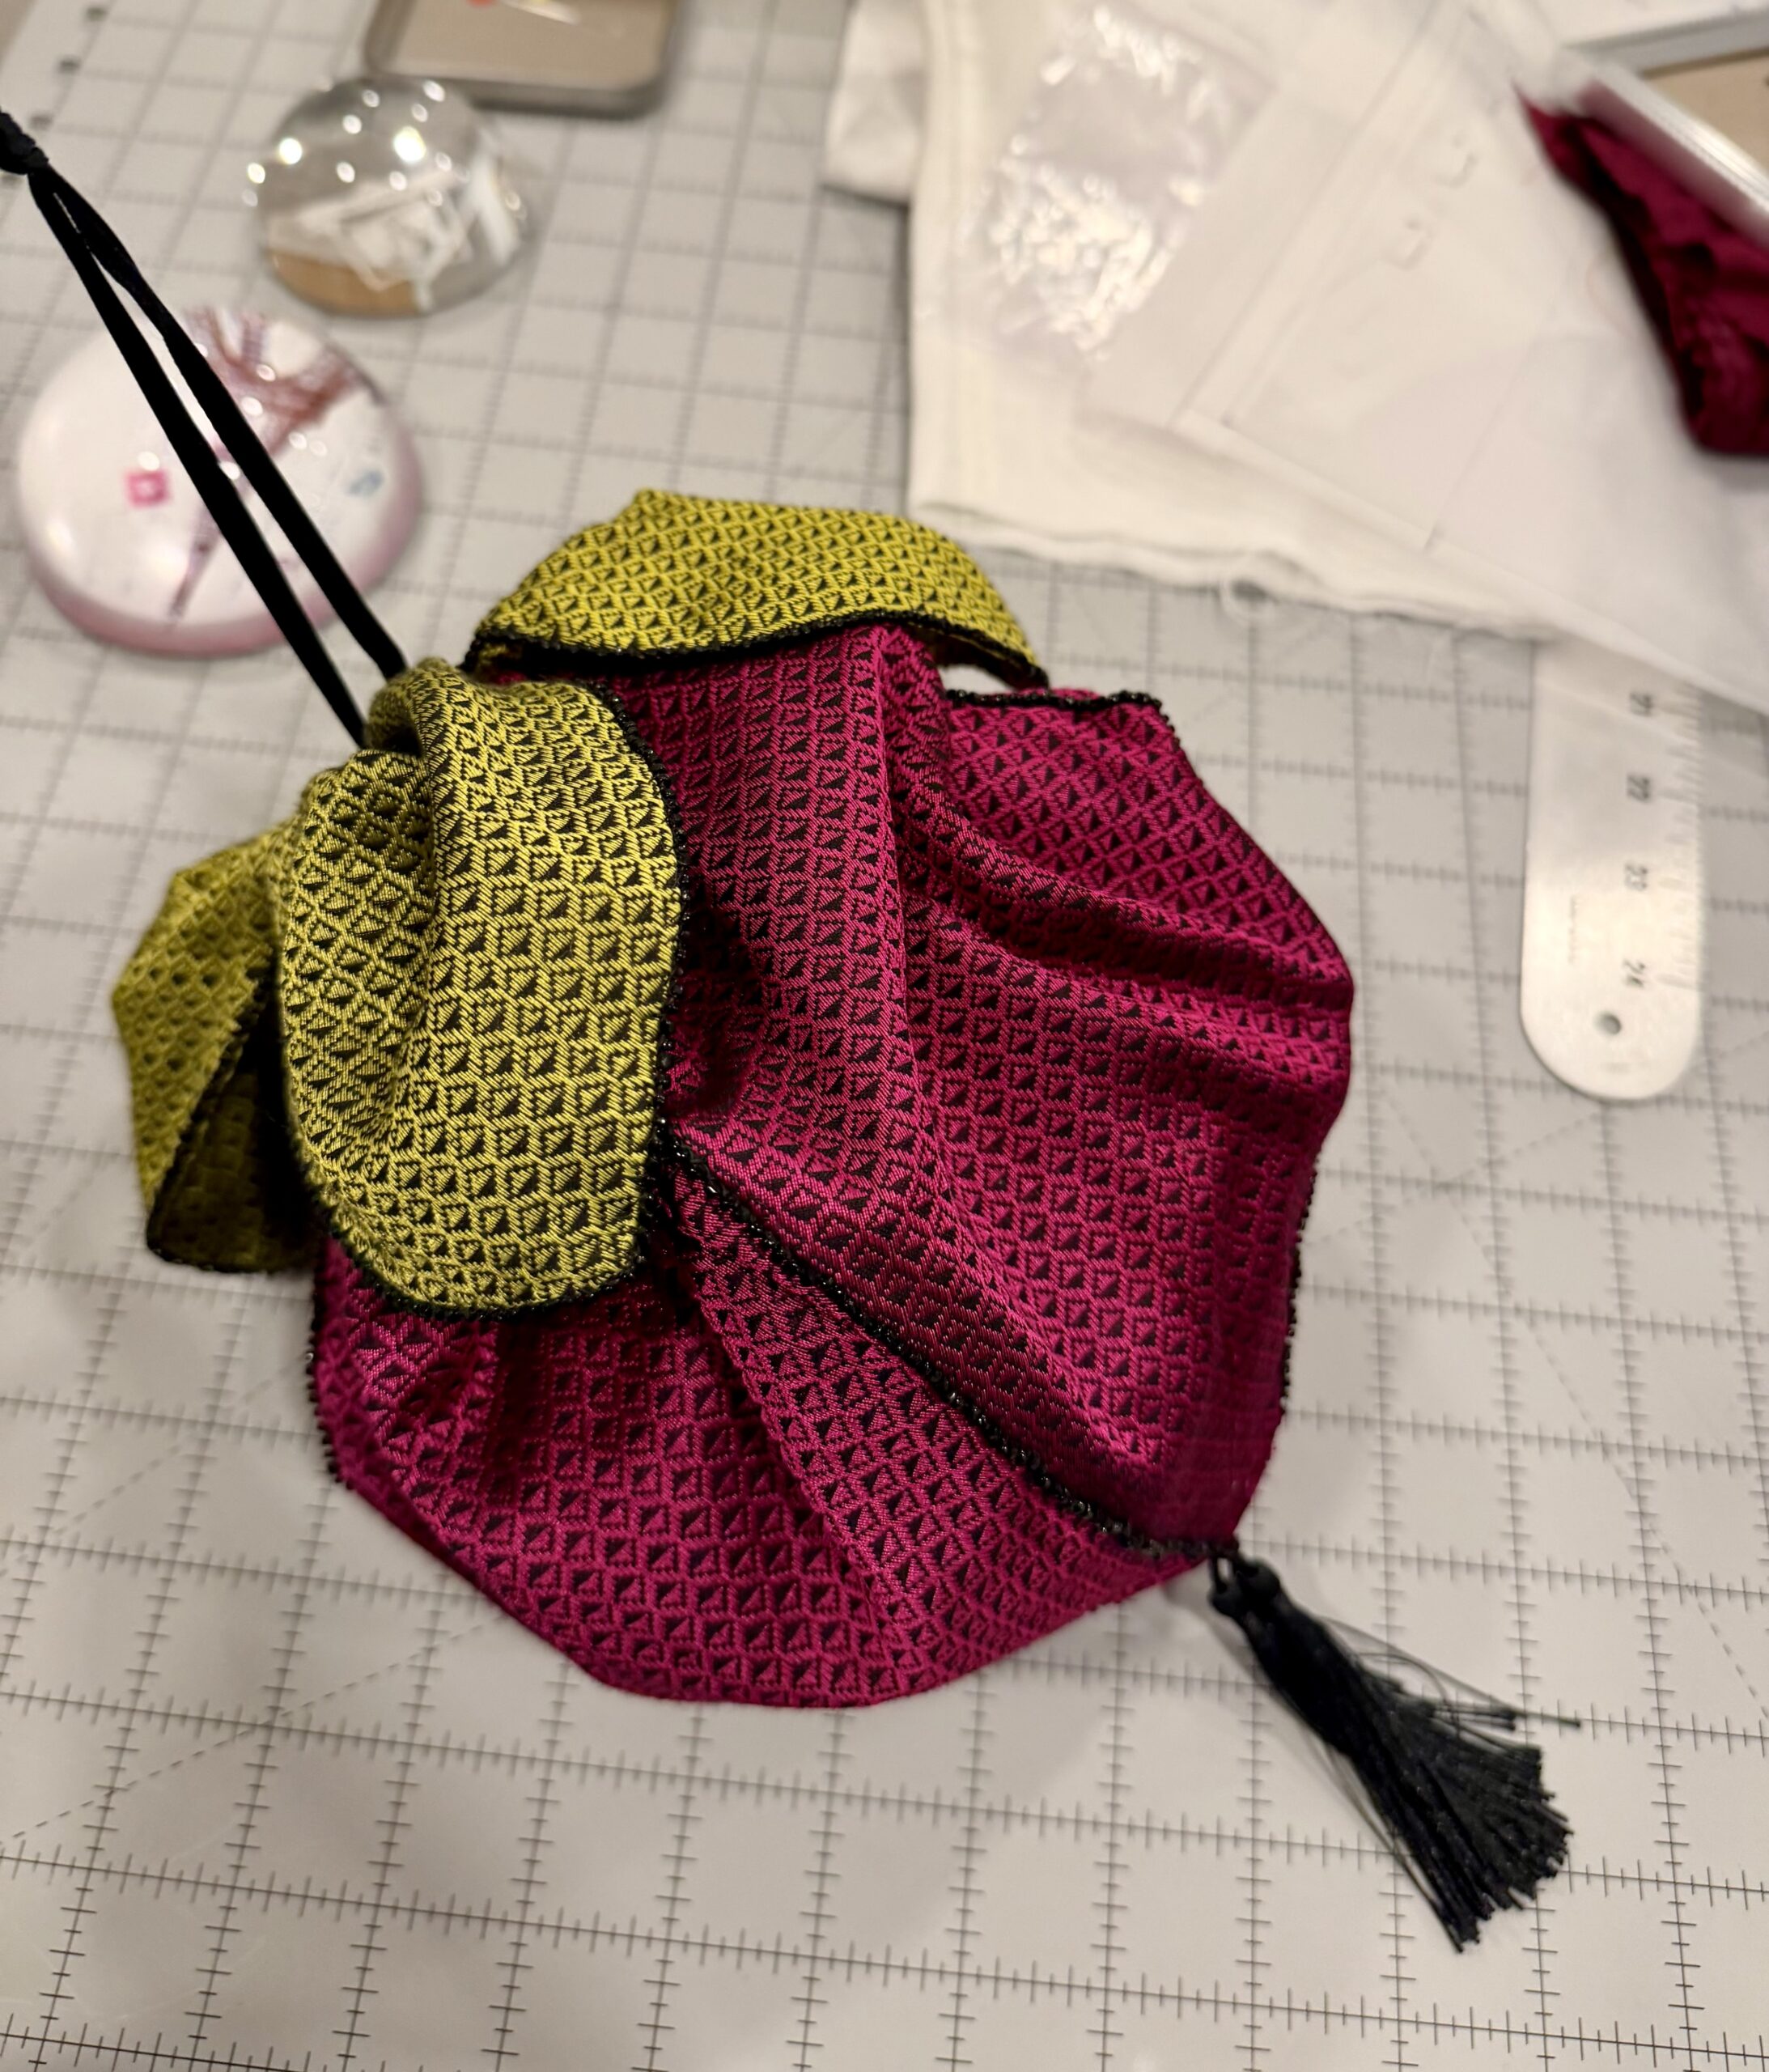
Then I found a piece of copper/purple shot silk shantung in my closet, and suddenly I was making three little things.
So it goes.
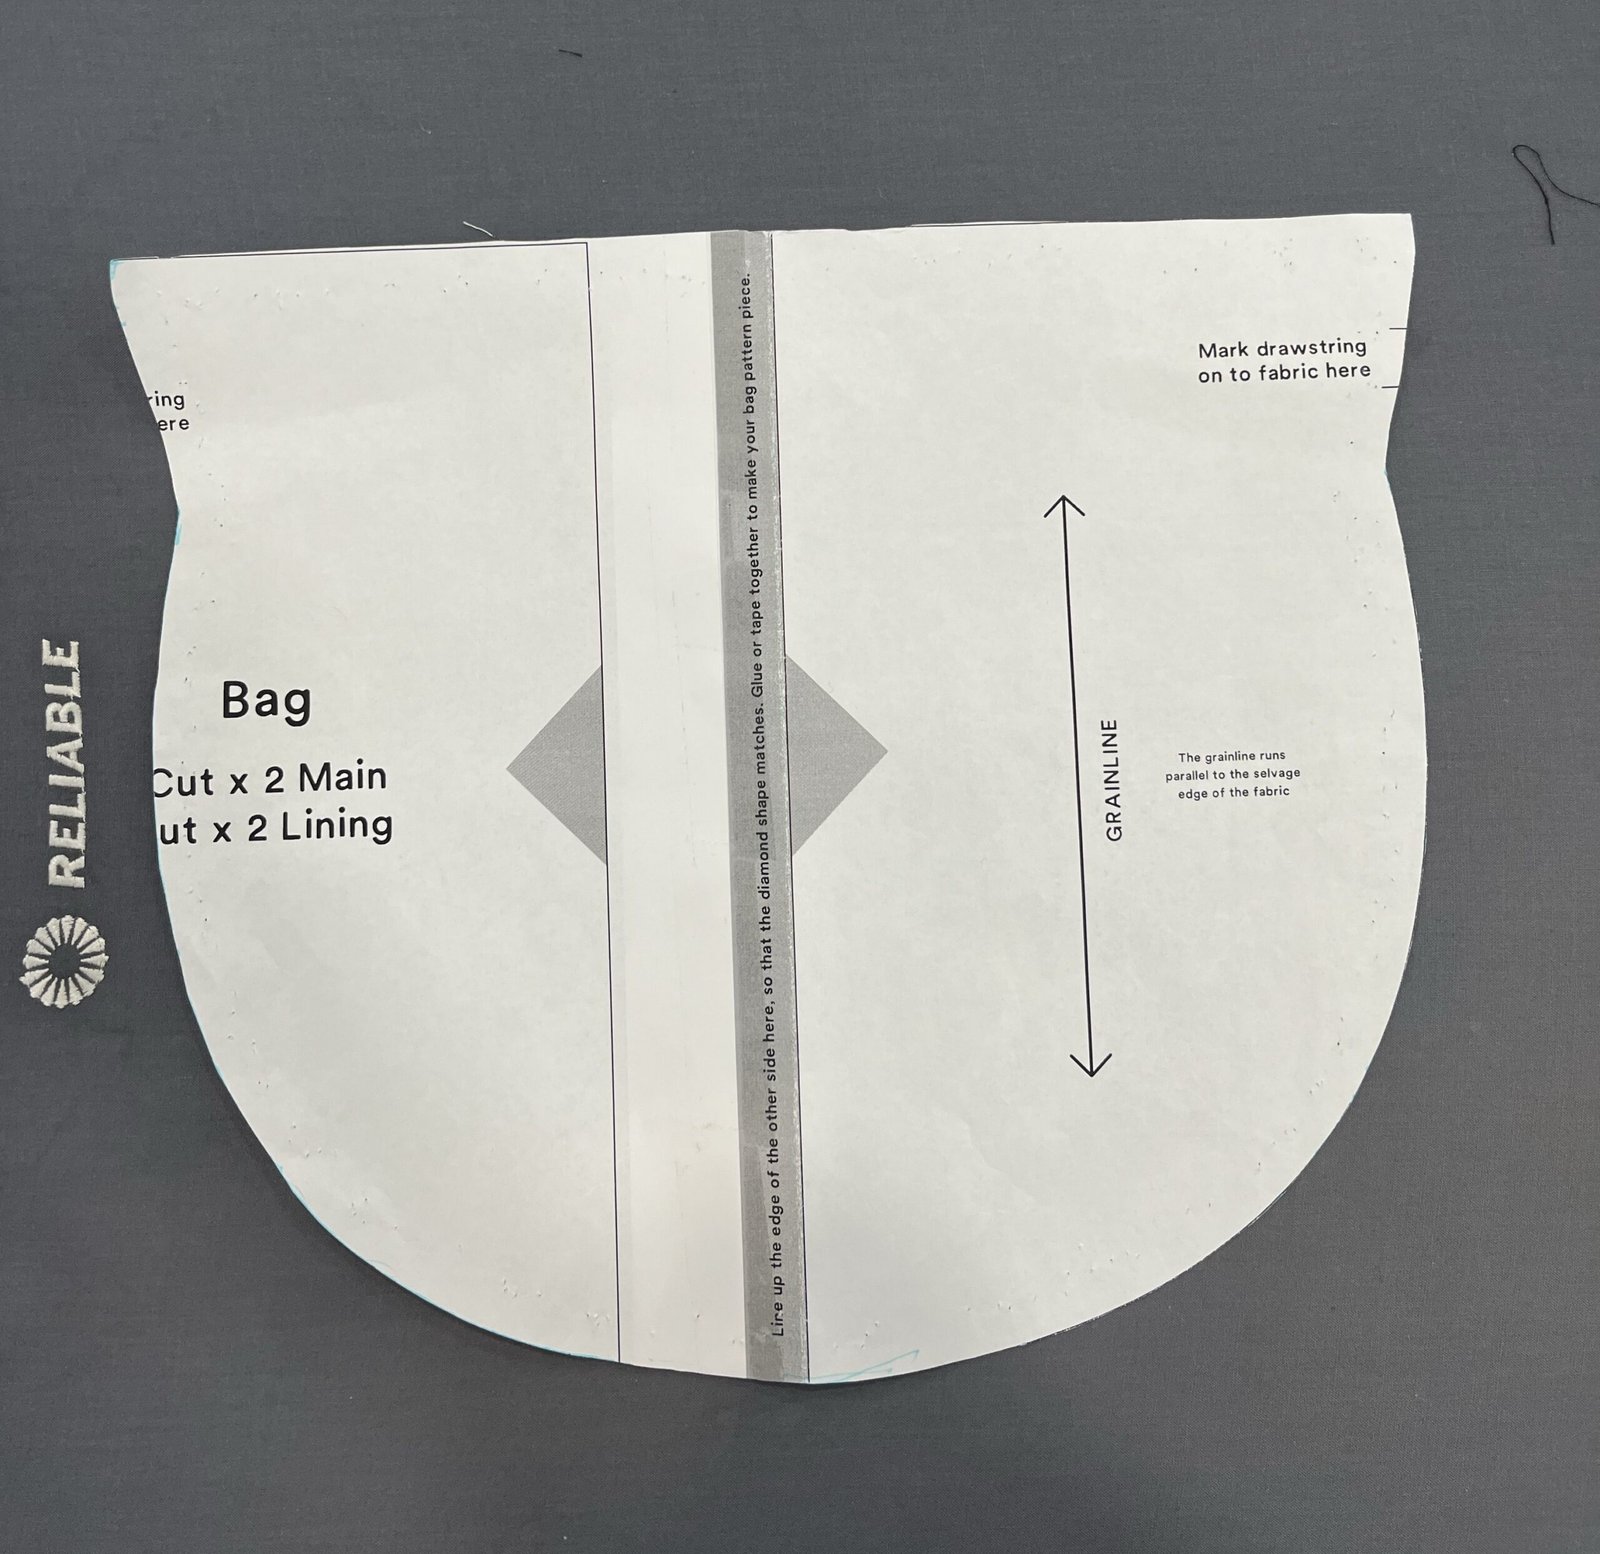
When printing out the pattern, I wanted it nice and roomy to fit fans and cell phones and wallets, so when I pasted the pieces together, I gave it a couple more inches of width.
I reckoned the linings of my reticules should be as pretty as the outer bags, so I went into the stash and dug up a remnant of silver silk dupioni. It wasn’t large enough to make linings for 3 ruffled regency reticules, so I added an Ikea pillowcase in an 18th century floral print.
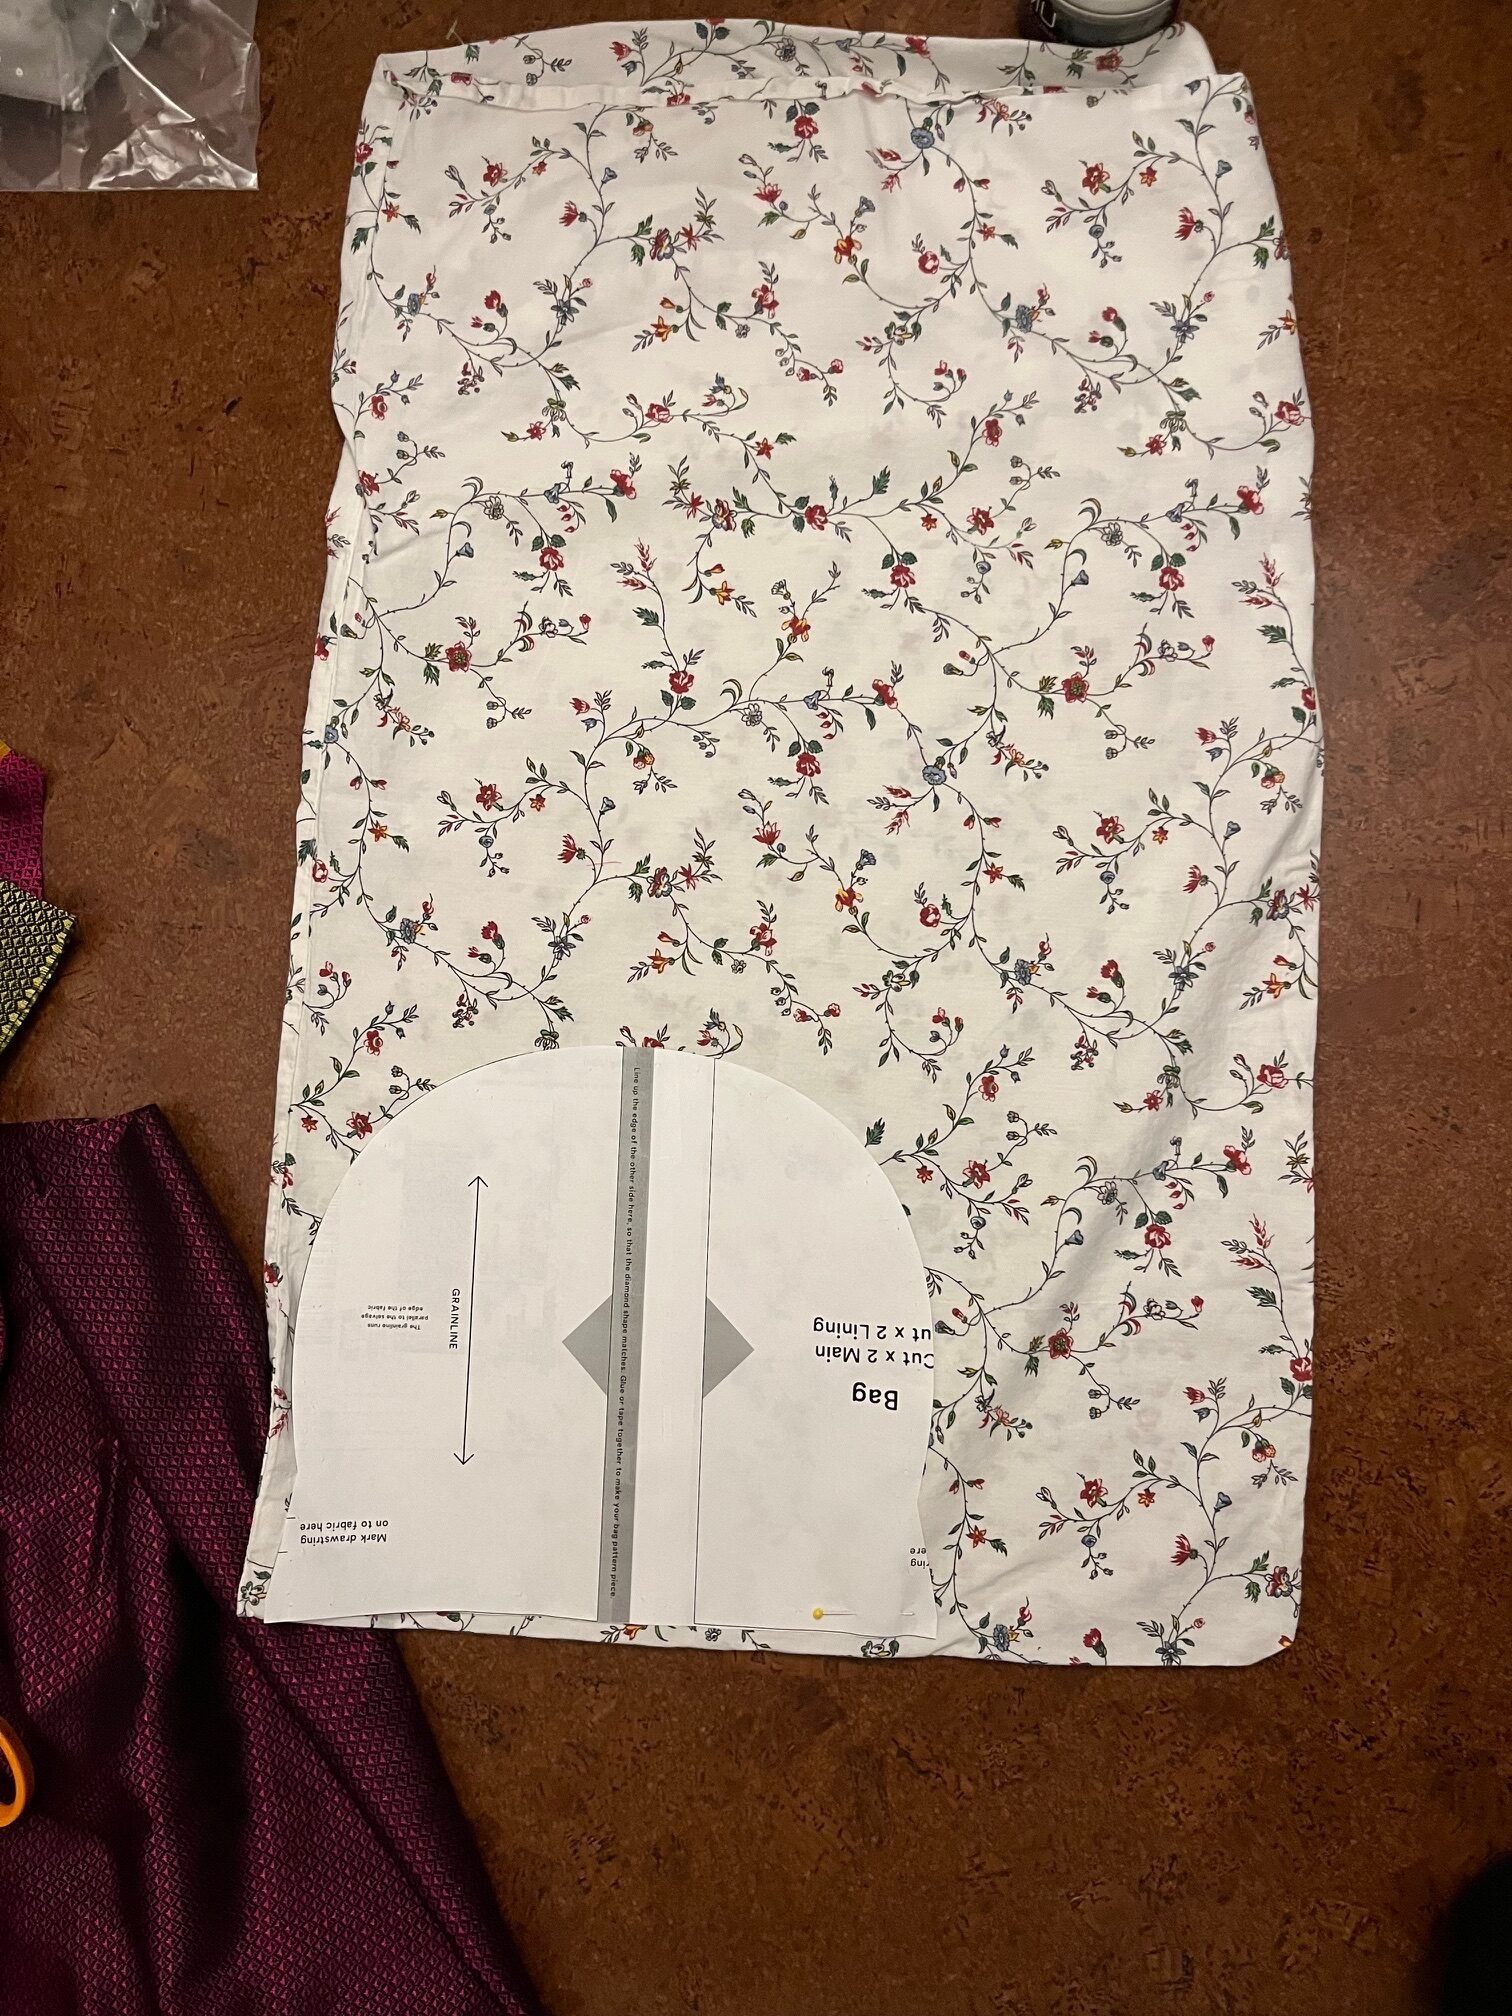
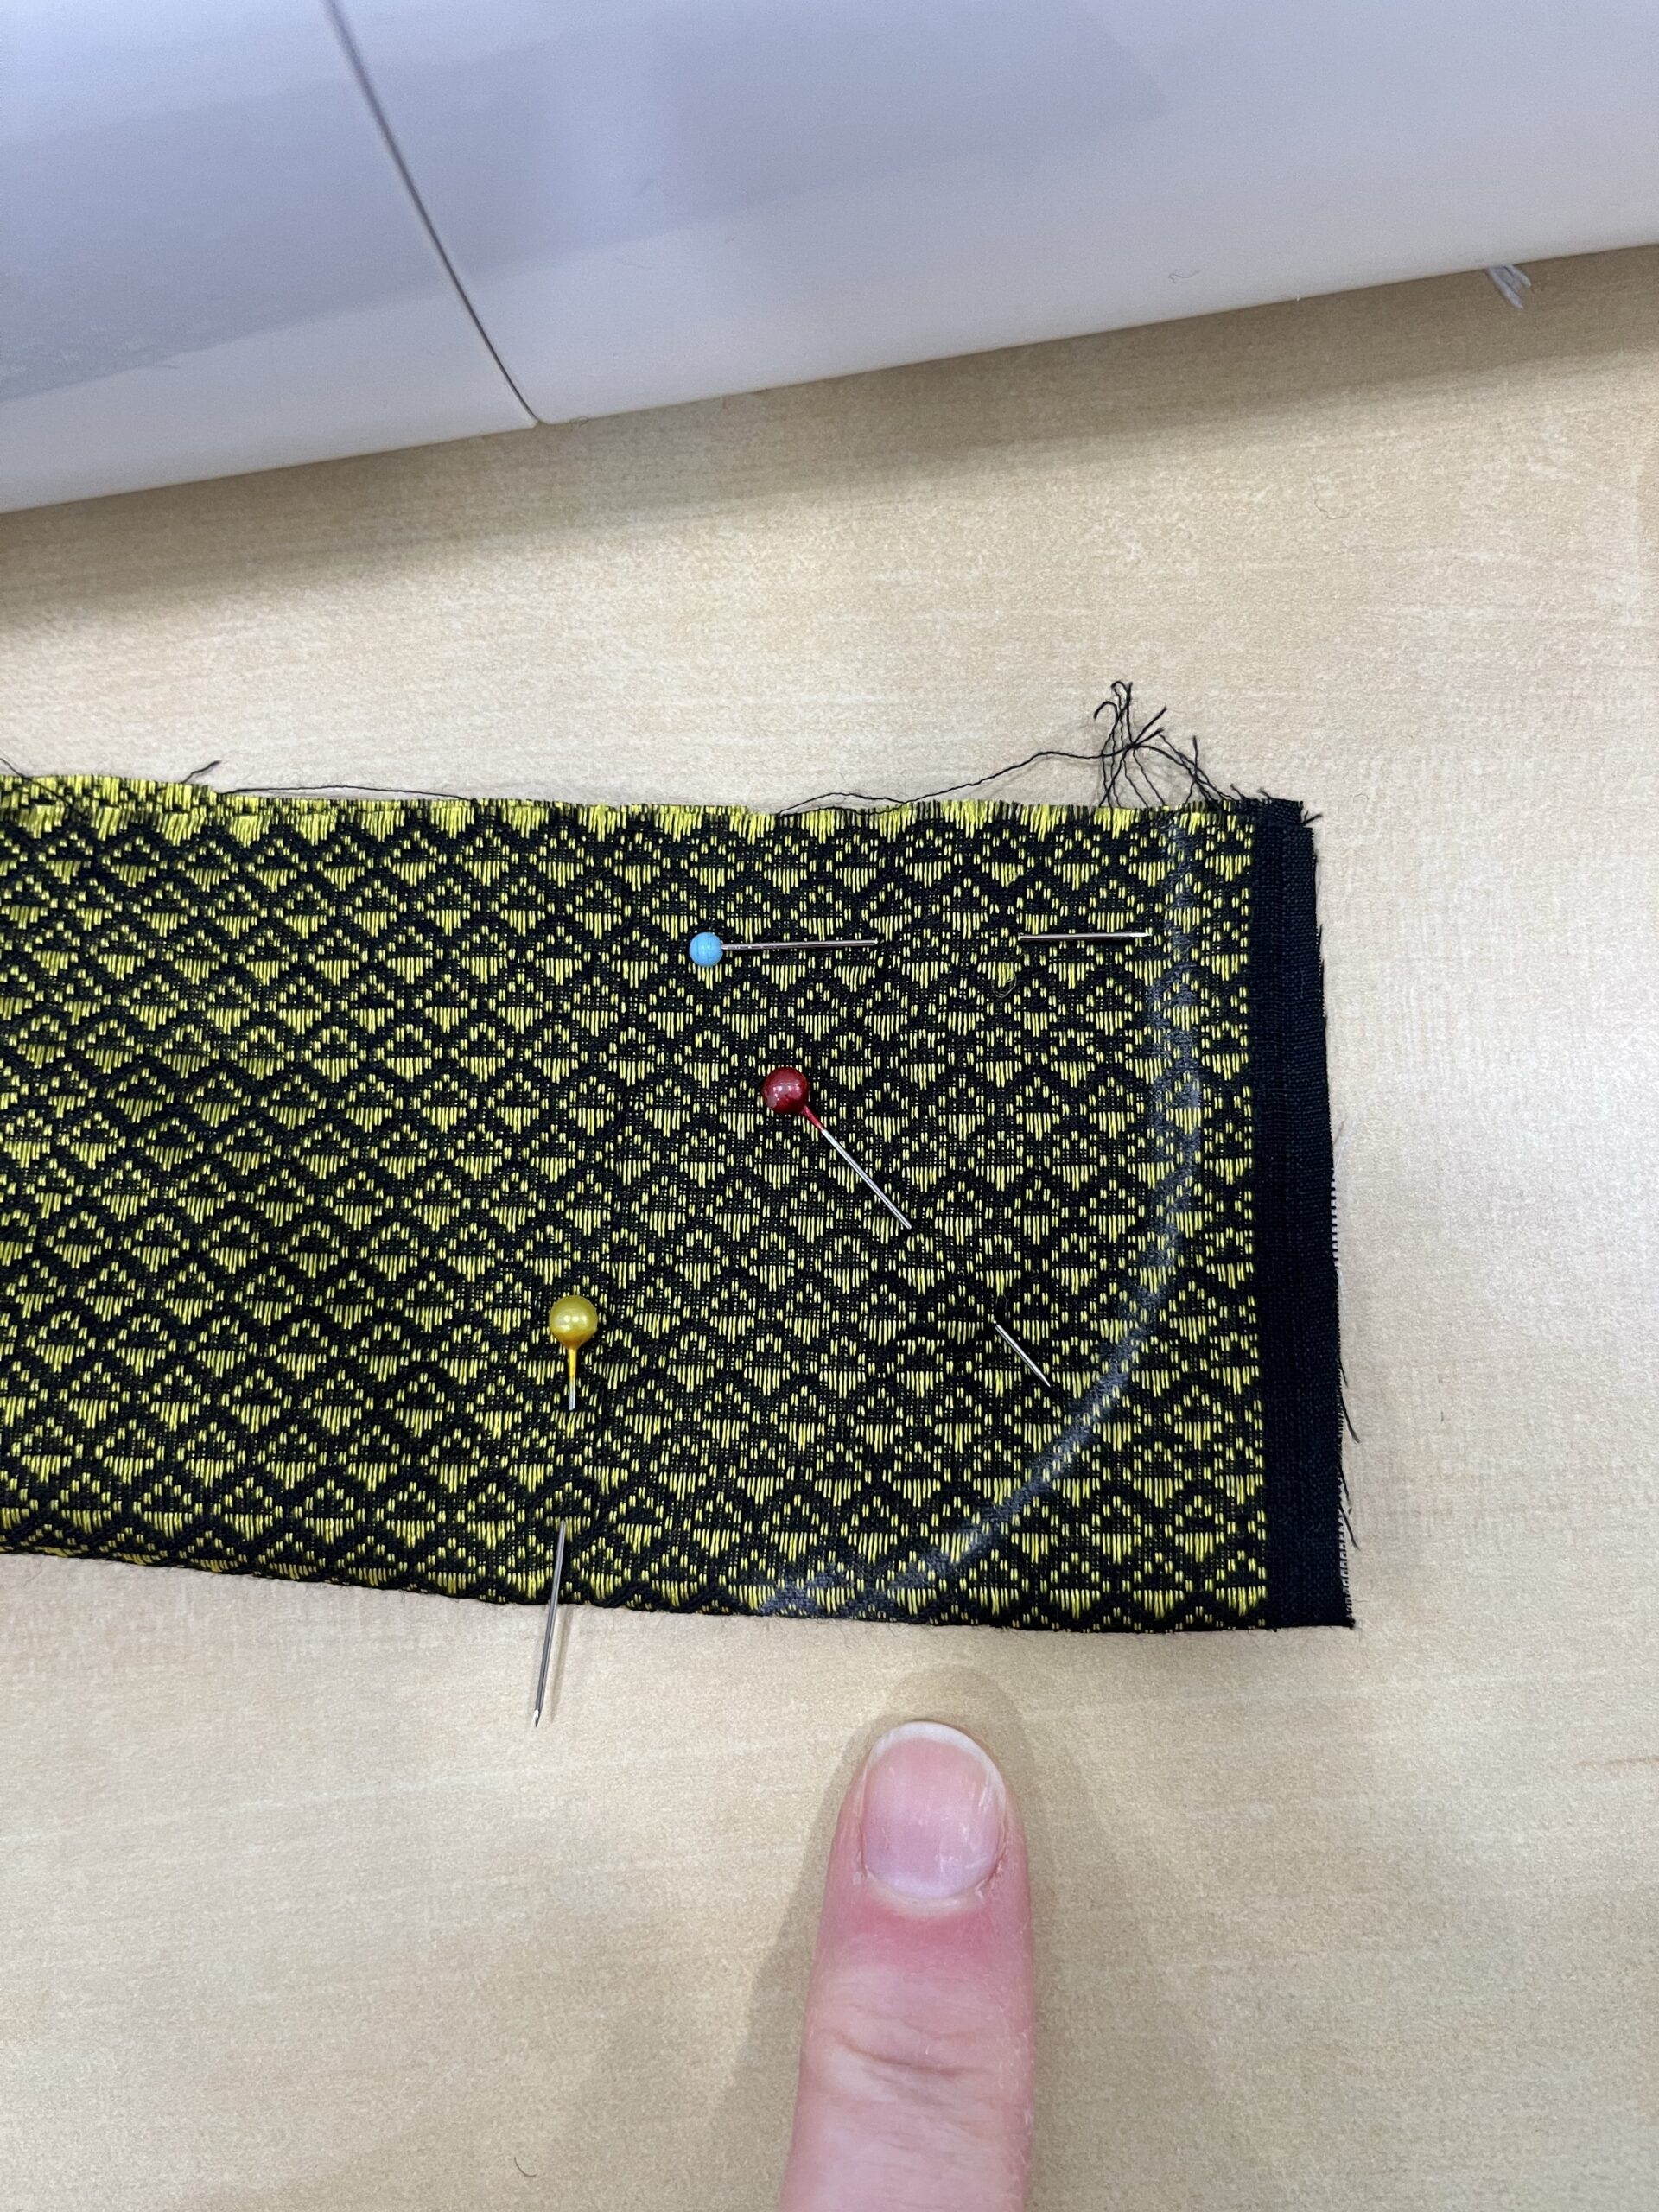
I cut my linings and my bags and I pieced long strips for the ruffles. I sewed nice rounded corners onto the ruffle strips, which wasn’t in the pattern, but it looked nice.
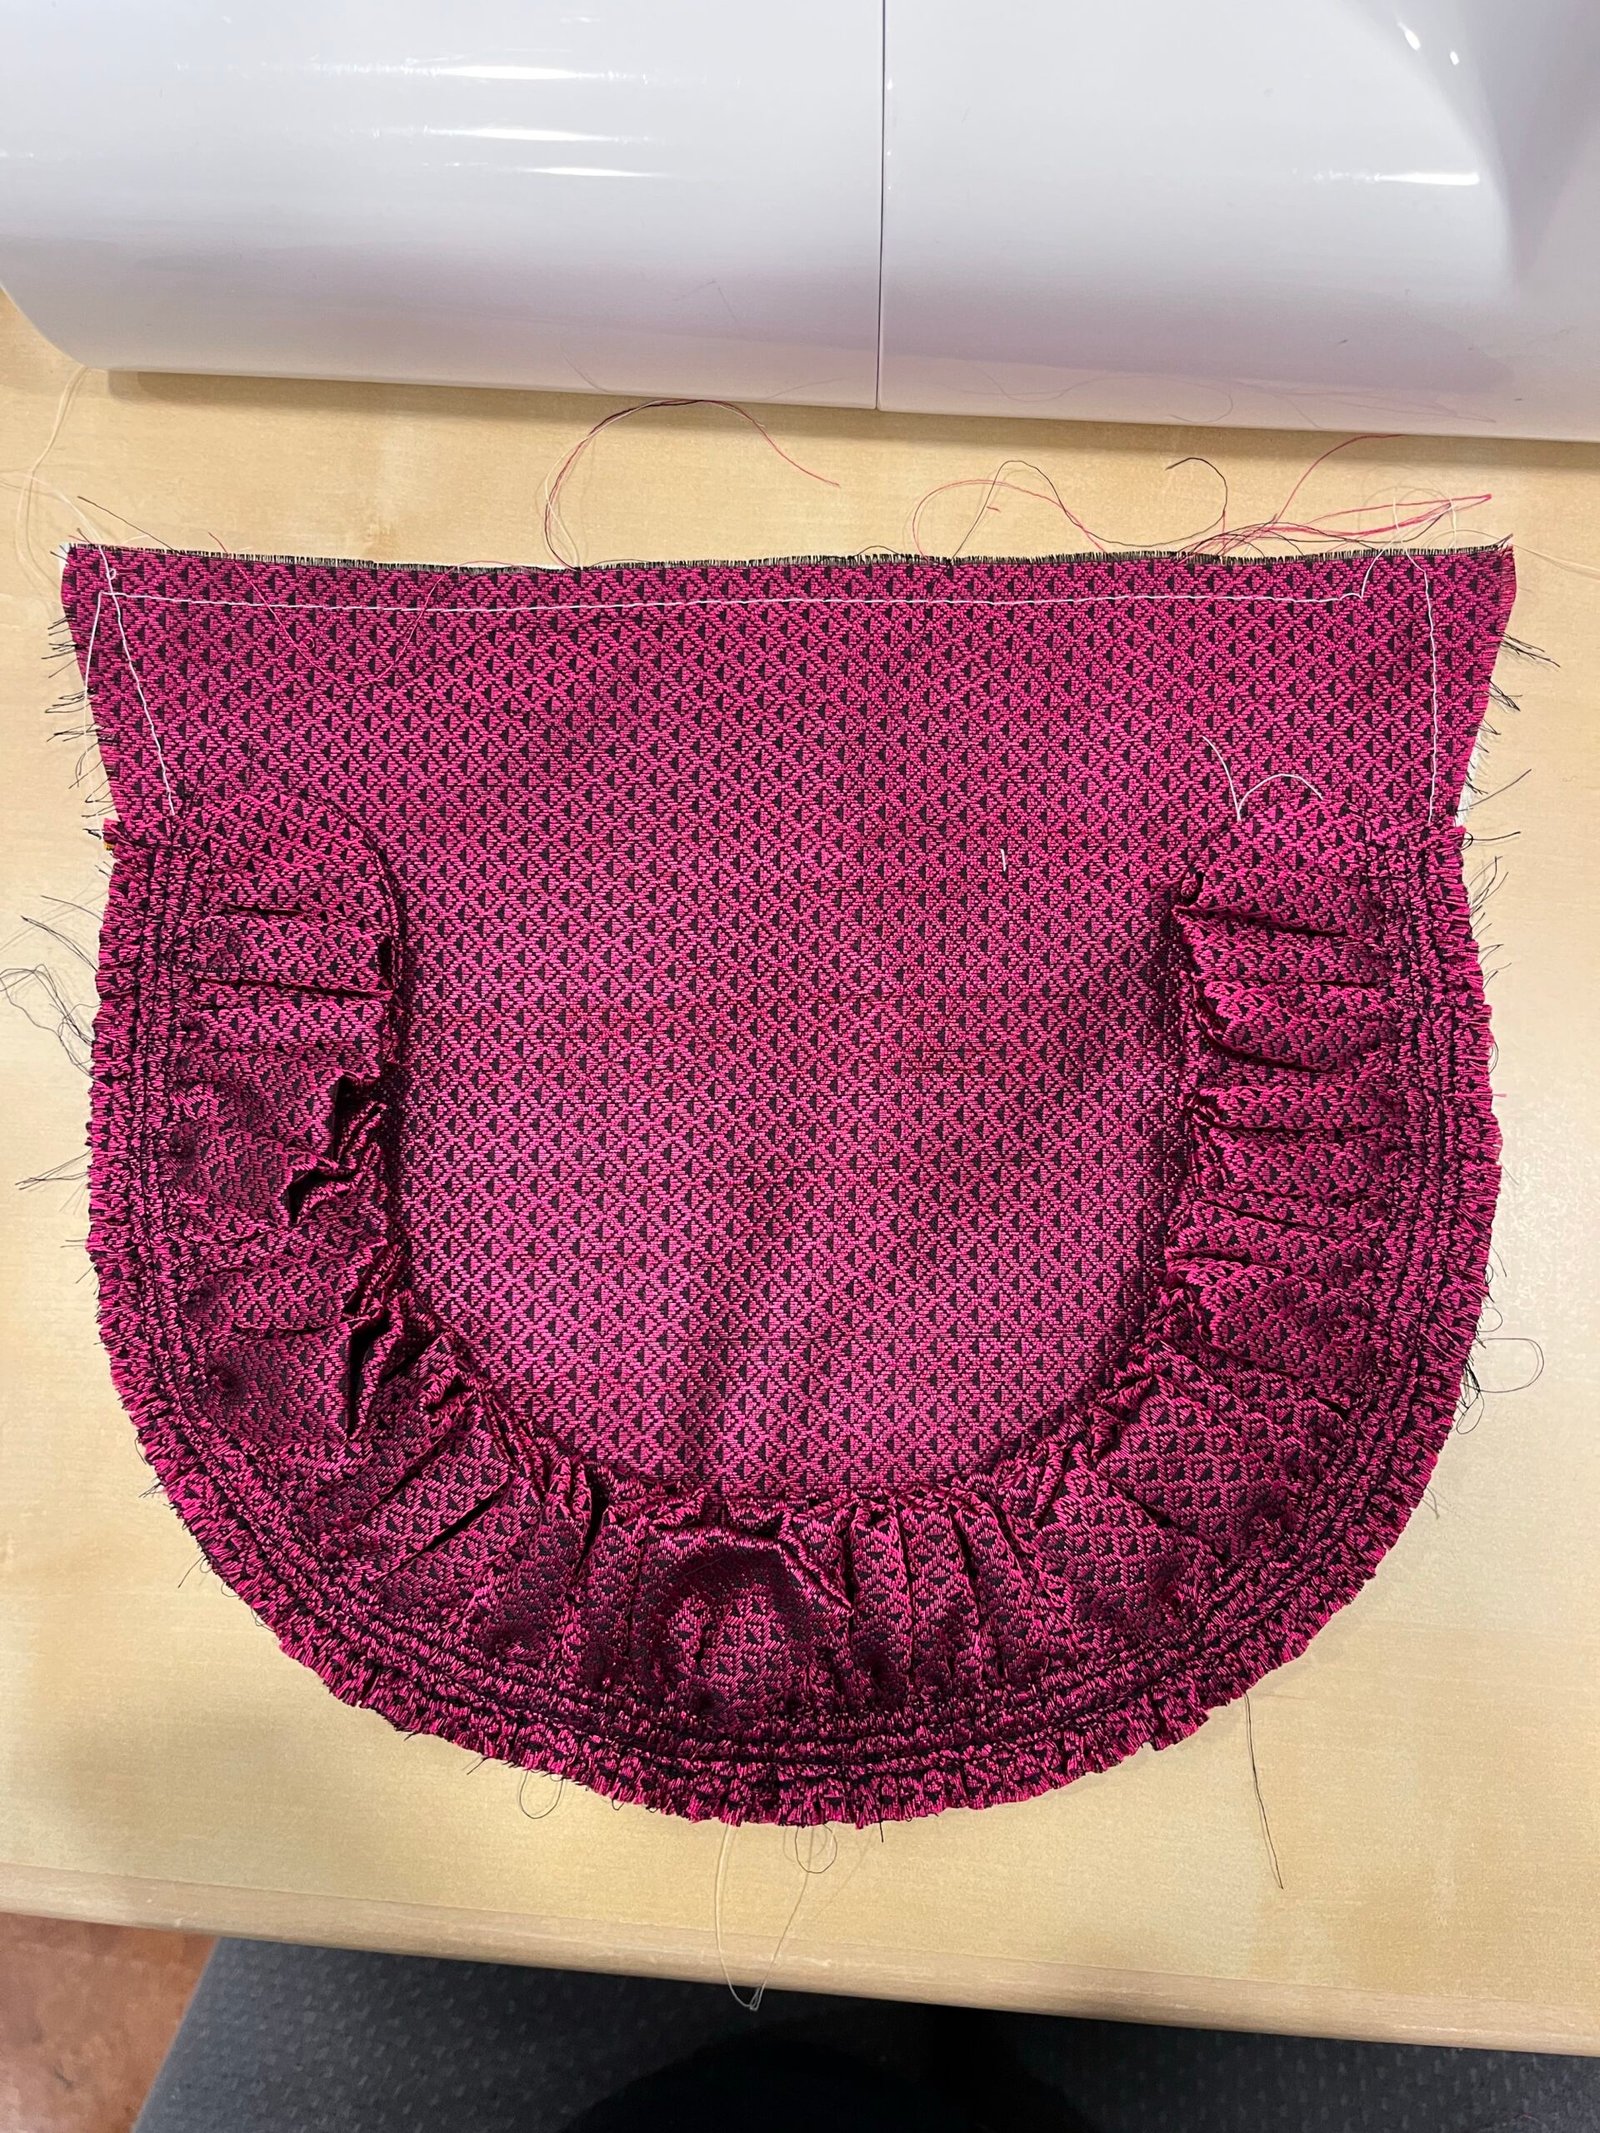
I turned the ruffles right side out and gathered them. Then I pinned each gathered ruffle to one of the bag pieces, facing inward, and machine basted it in place.
I should have kept going with the reticule construction, but instead, I dug up a piece of machine embroidered white cotton, and after that, two bolts of heavily tufted upholstery fringe.
I said “Ooooh,” again, and then, “Why not?”
I got three more reticule bodies out of the white cotton. I was a little worried about the structural strength of the white fabric, so I flat lined it in unbleached cotton calico.
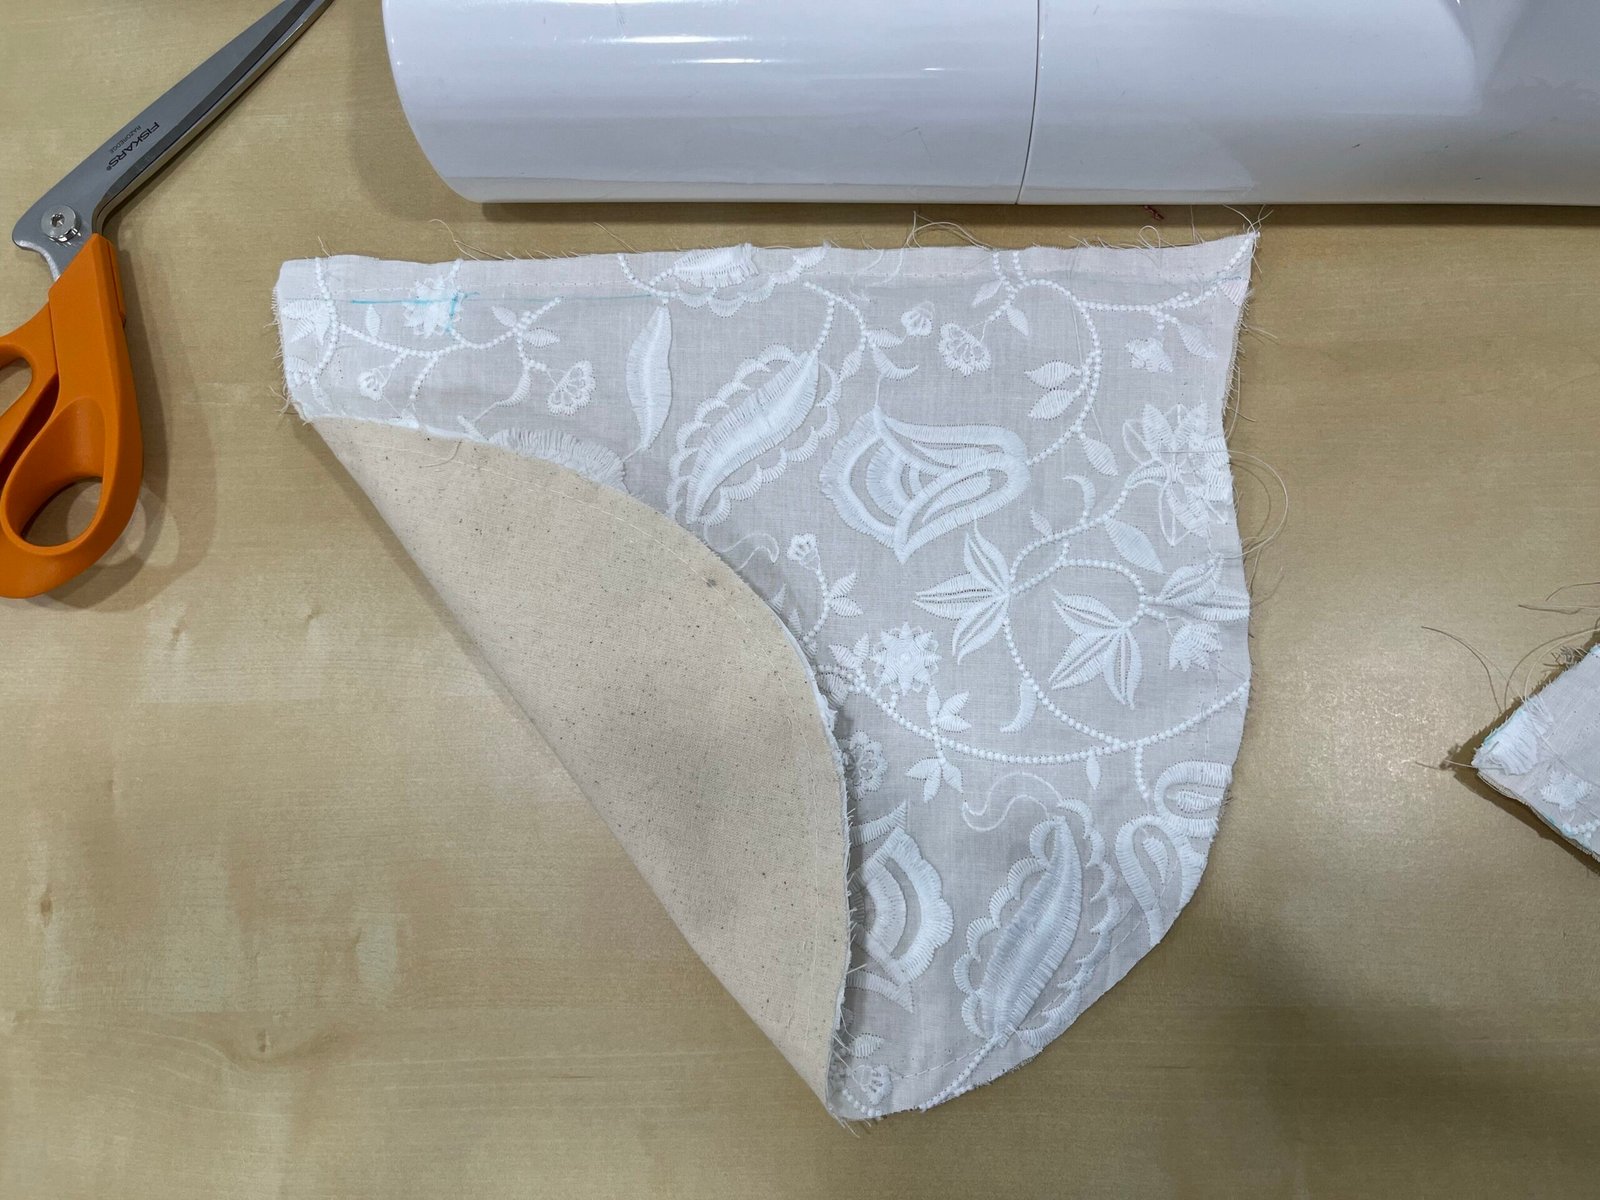
The beige of the calico under the sheer white cotton gave definition to the embroidered flowers, and I liked it a lot, but now I was up to six little things. It was all getting a bit out of hand.
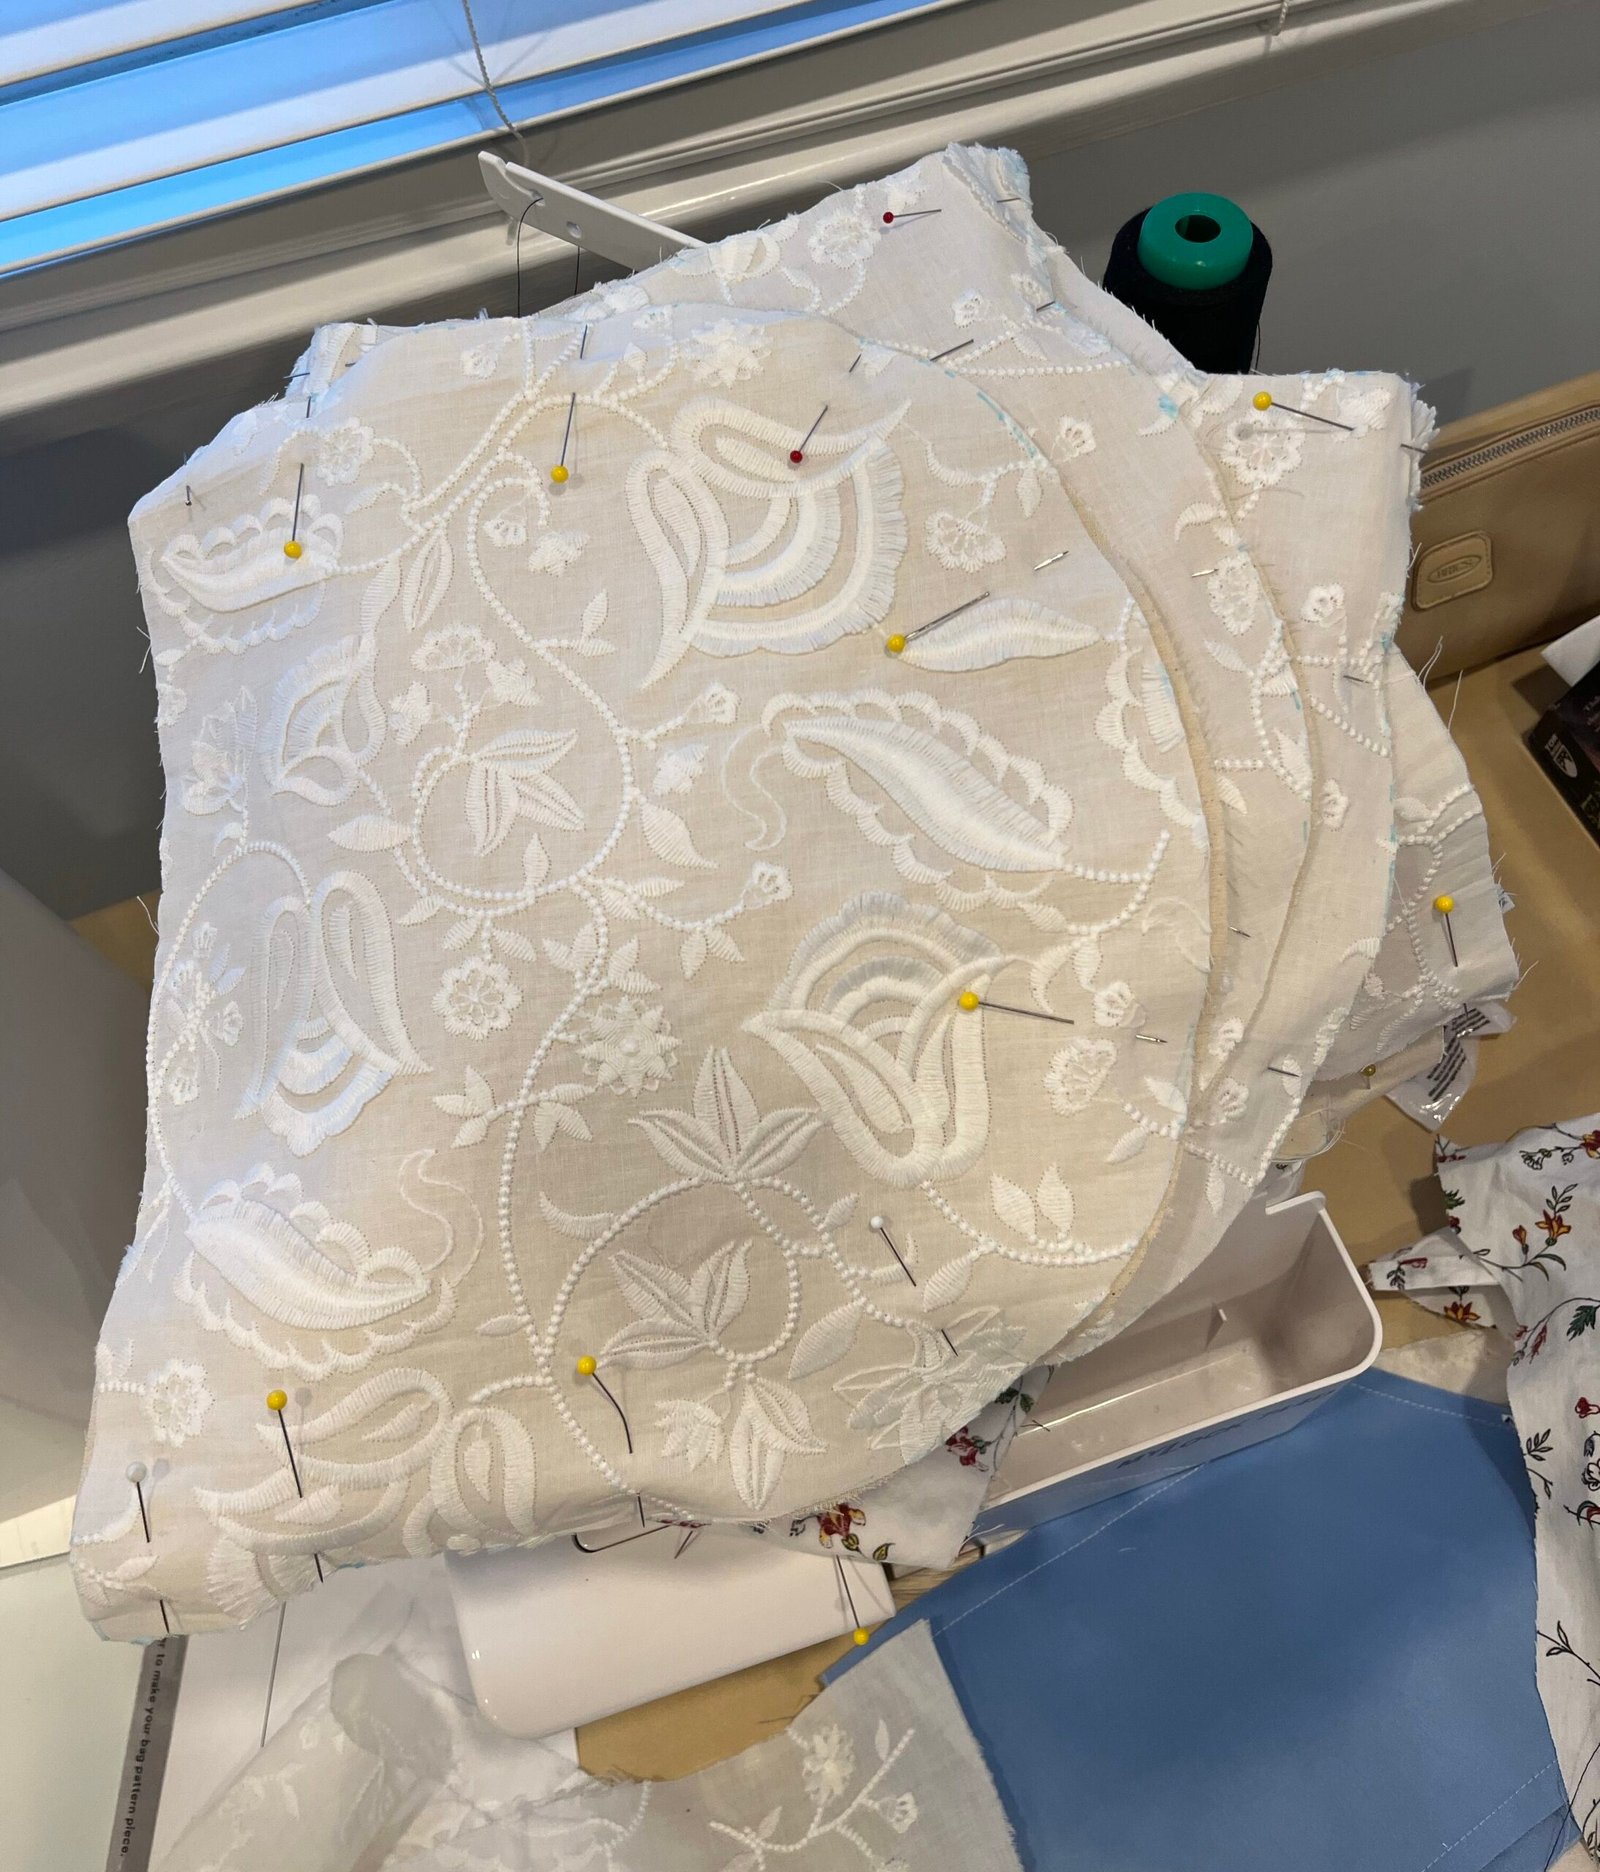
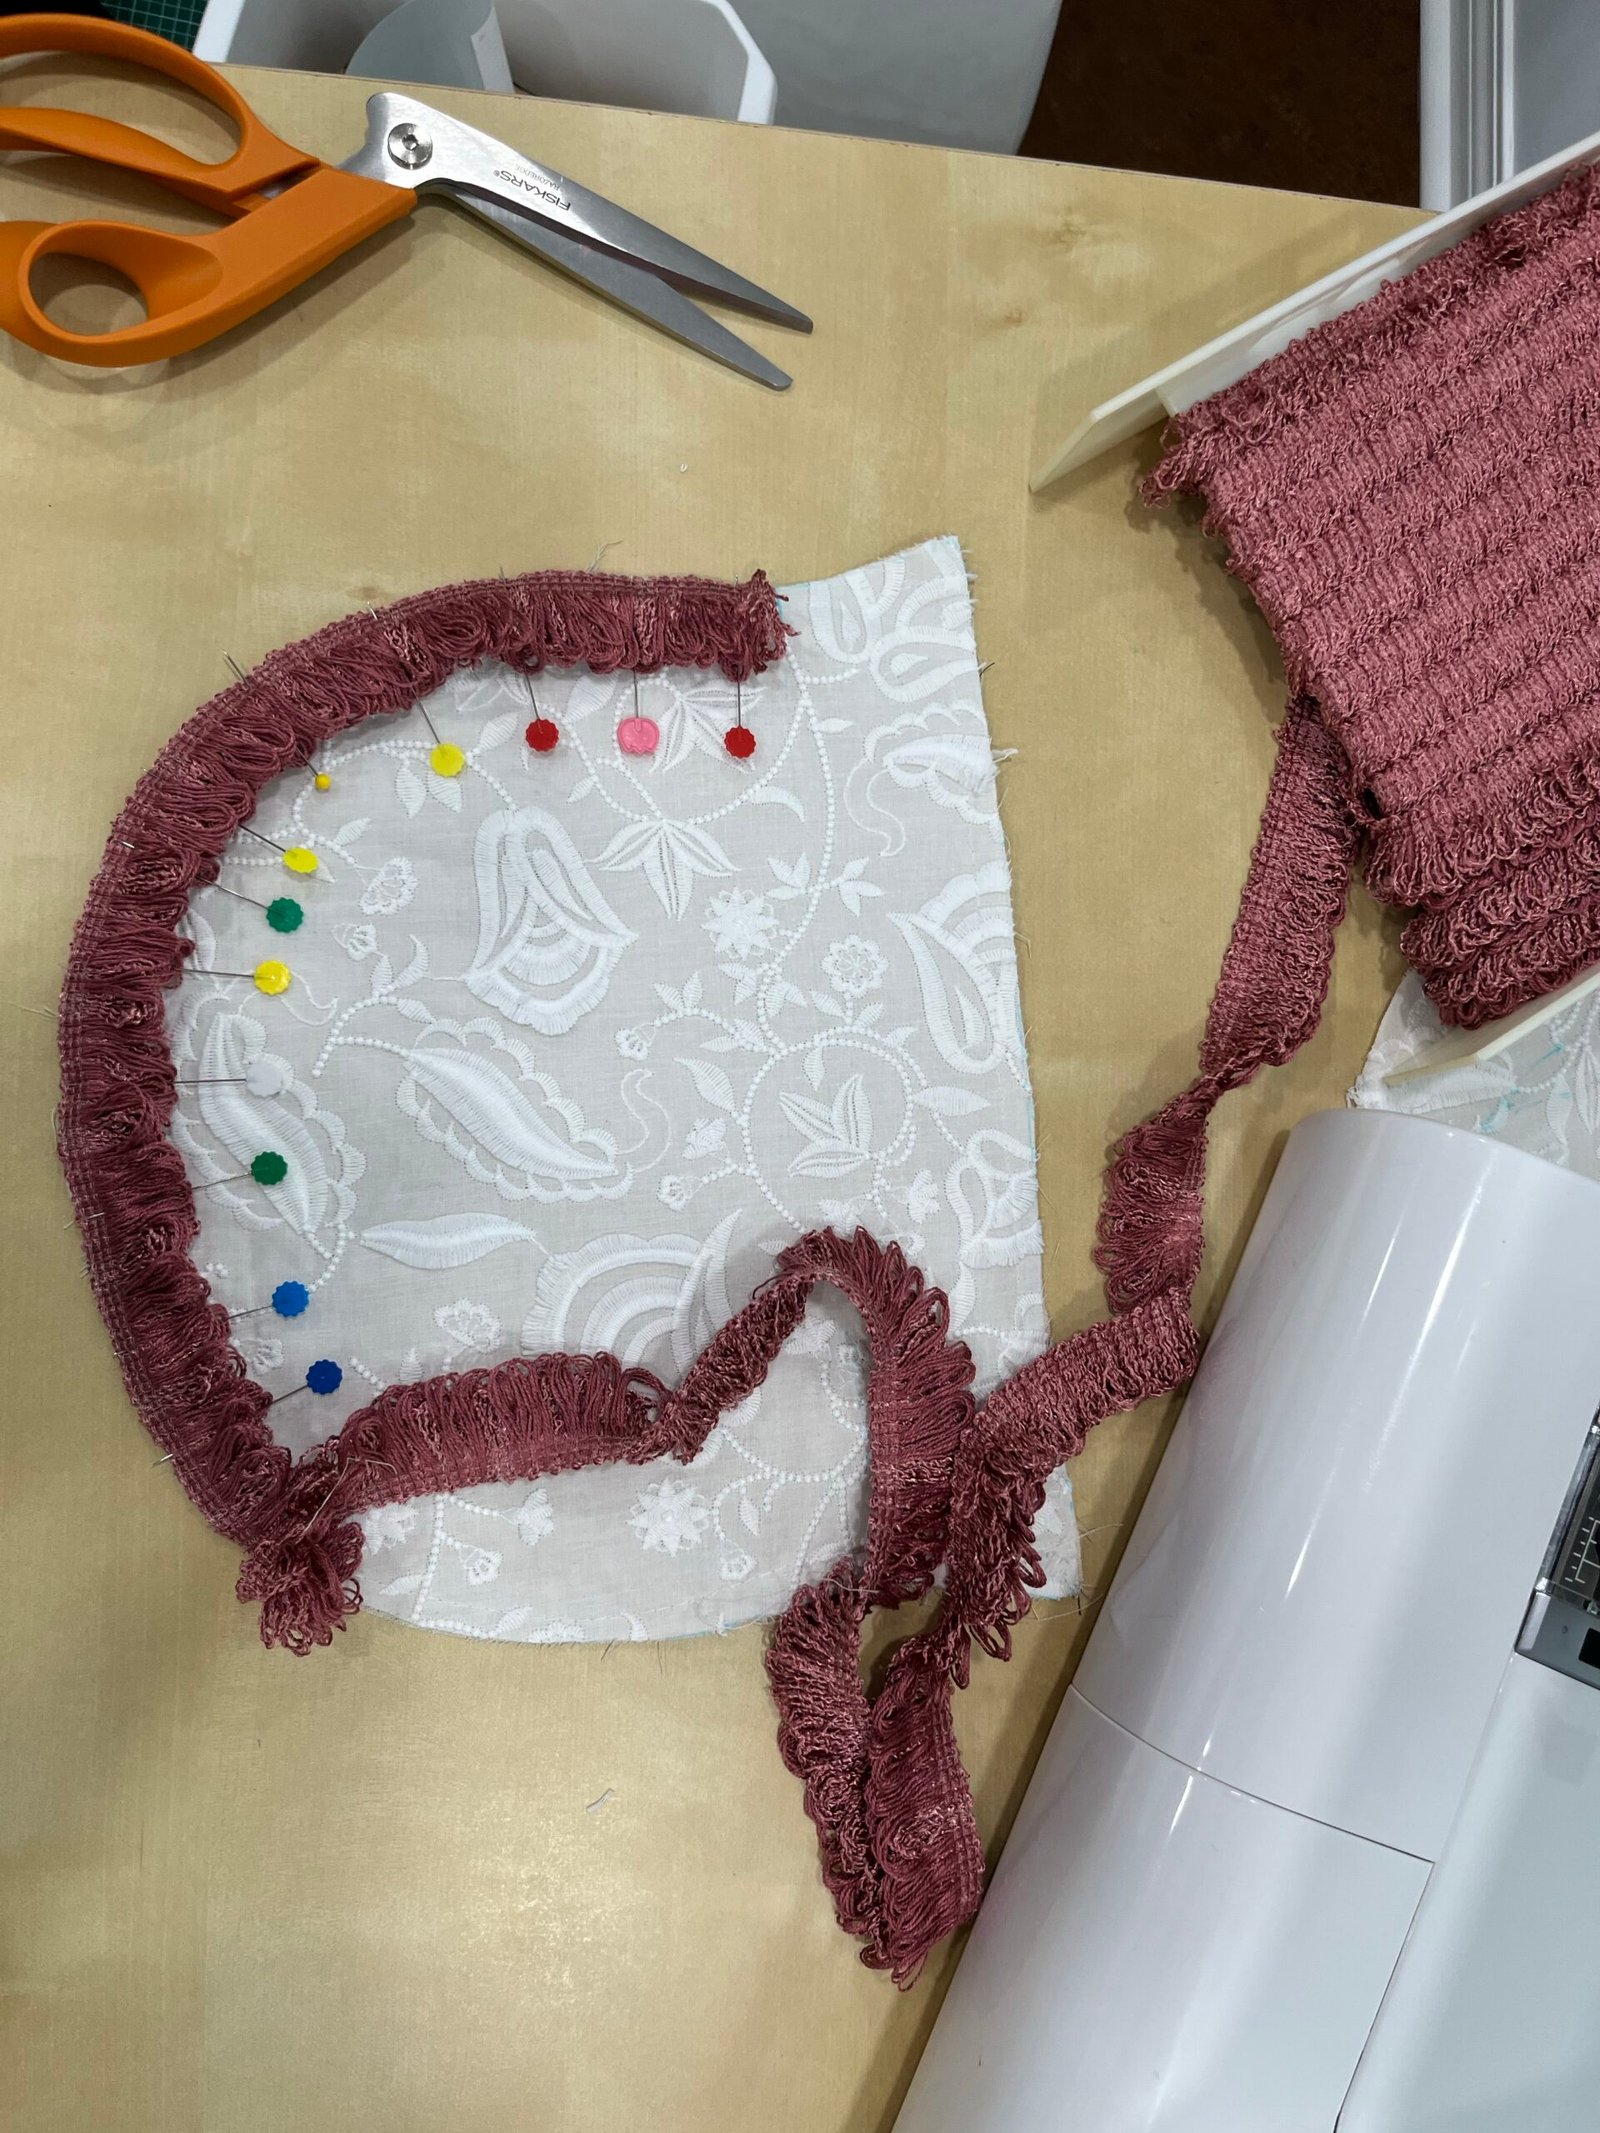
I pinned double layers of fringe around the edges of the white reticule bodies, two reticules in blue and one in pink. I basted the fringe in place, and then I basted a second row of stitches about a centimeter inward, to stop the fringe flopping around and getting stuck in the stitching when I sewed up the reticule bodies.
Right sides together, I sewed all my reticule bags together, making sure to leave a small gap on each side where I wanted my drawstrings to come out.
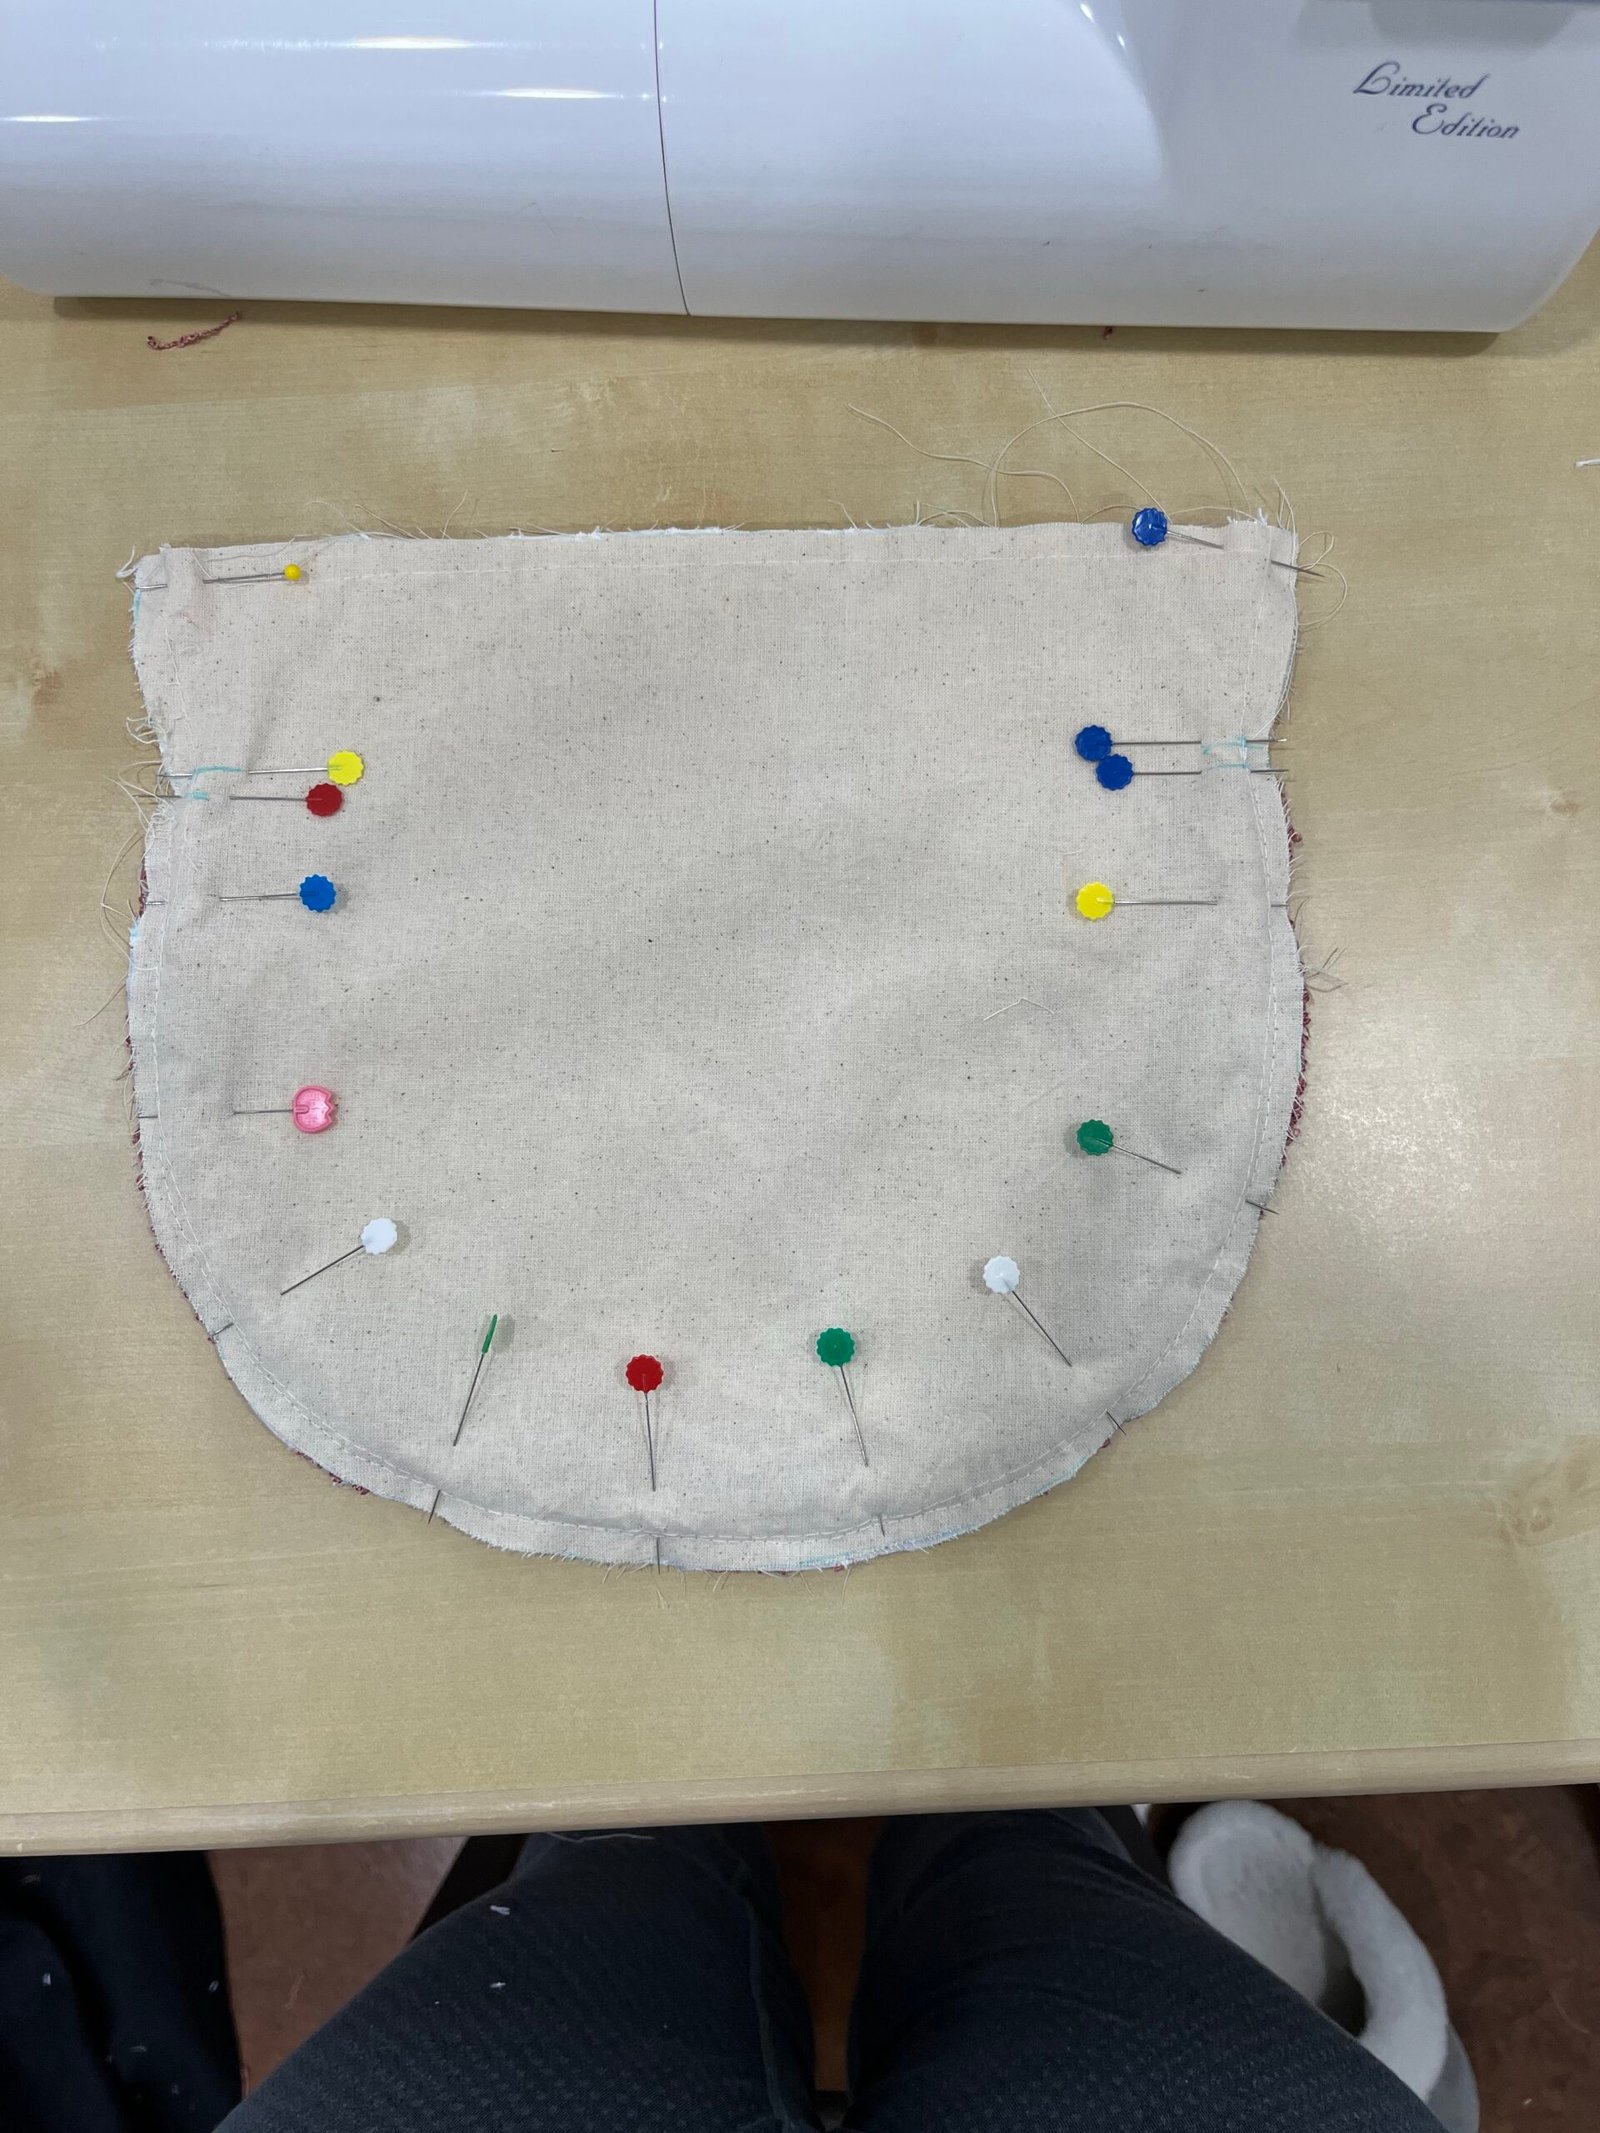
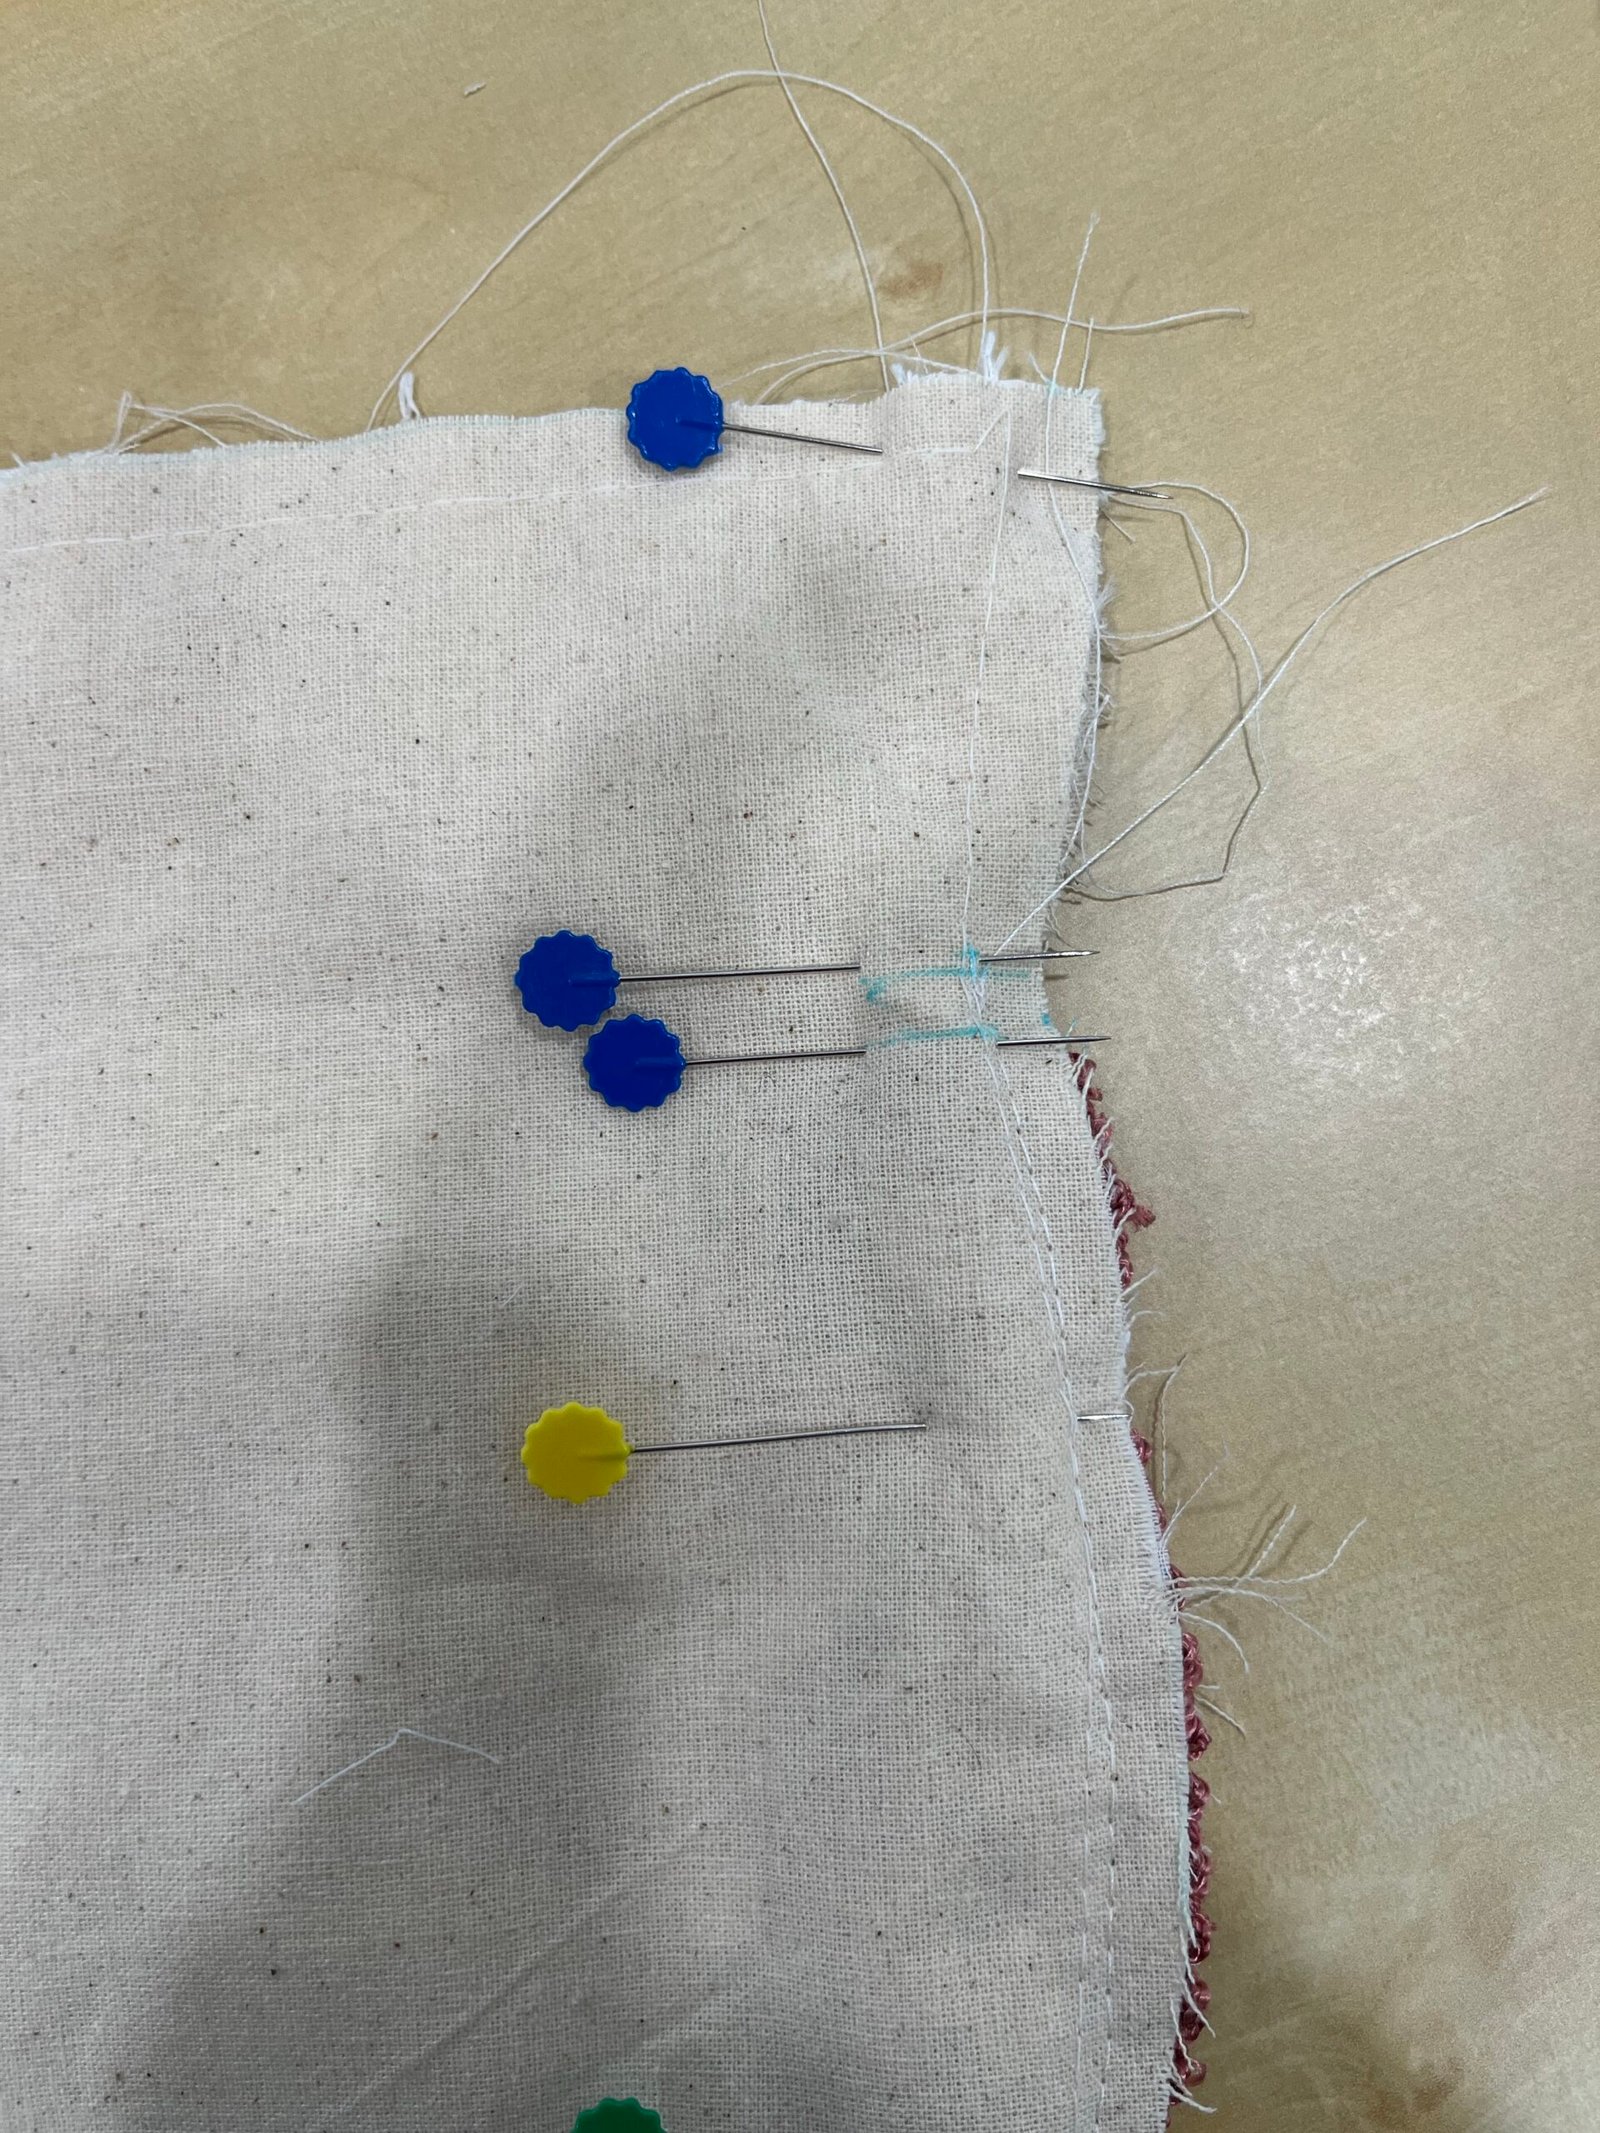
I did the same for my linings, except that instead of leaving small gaps for drawstrings, I left a large gap in the bottom of each one to turn the reticule right side out later on.
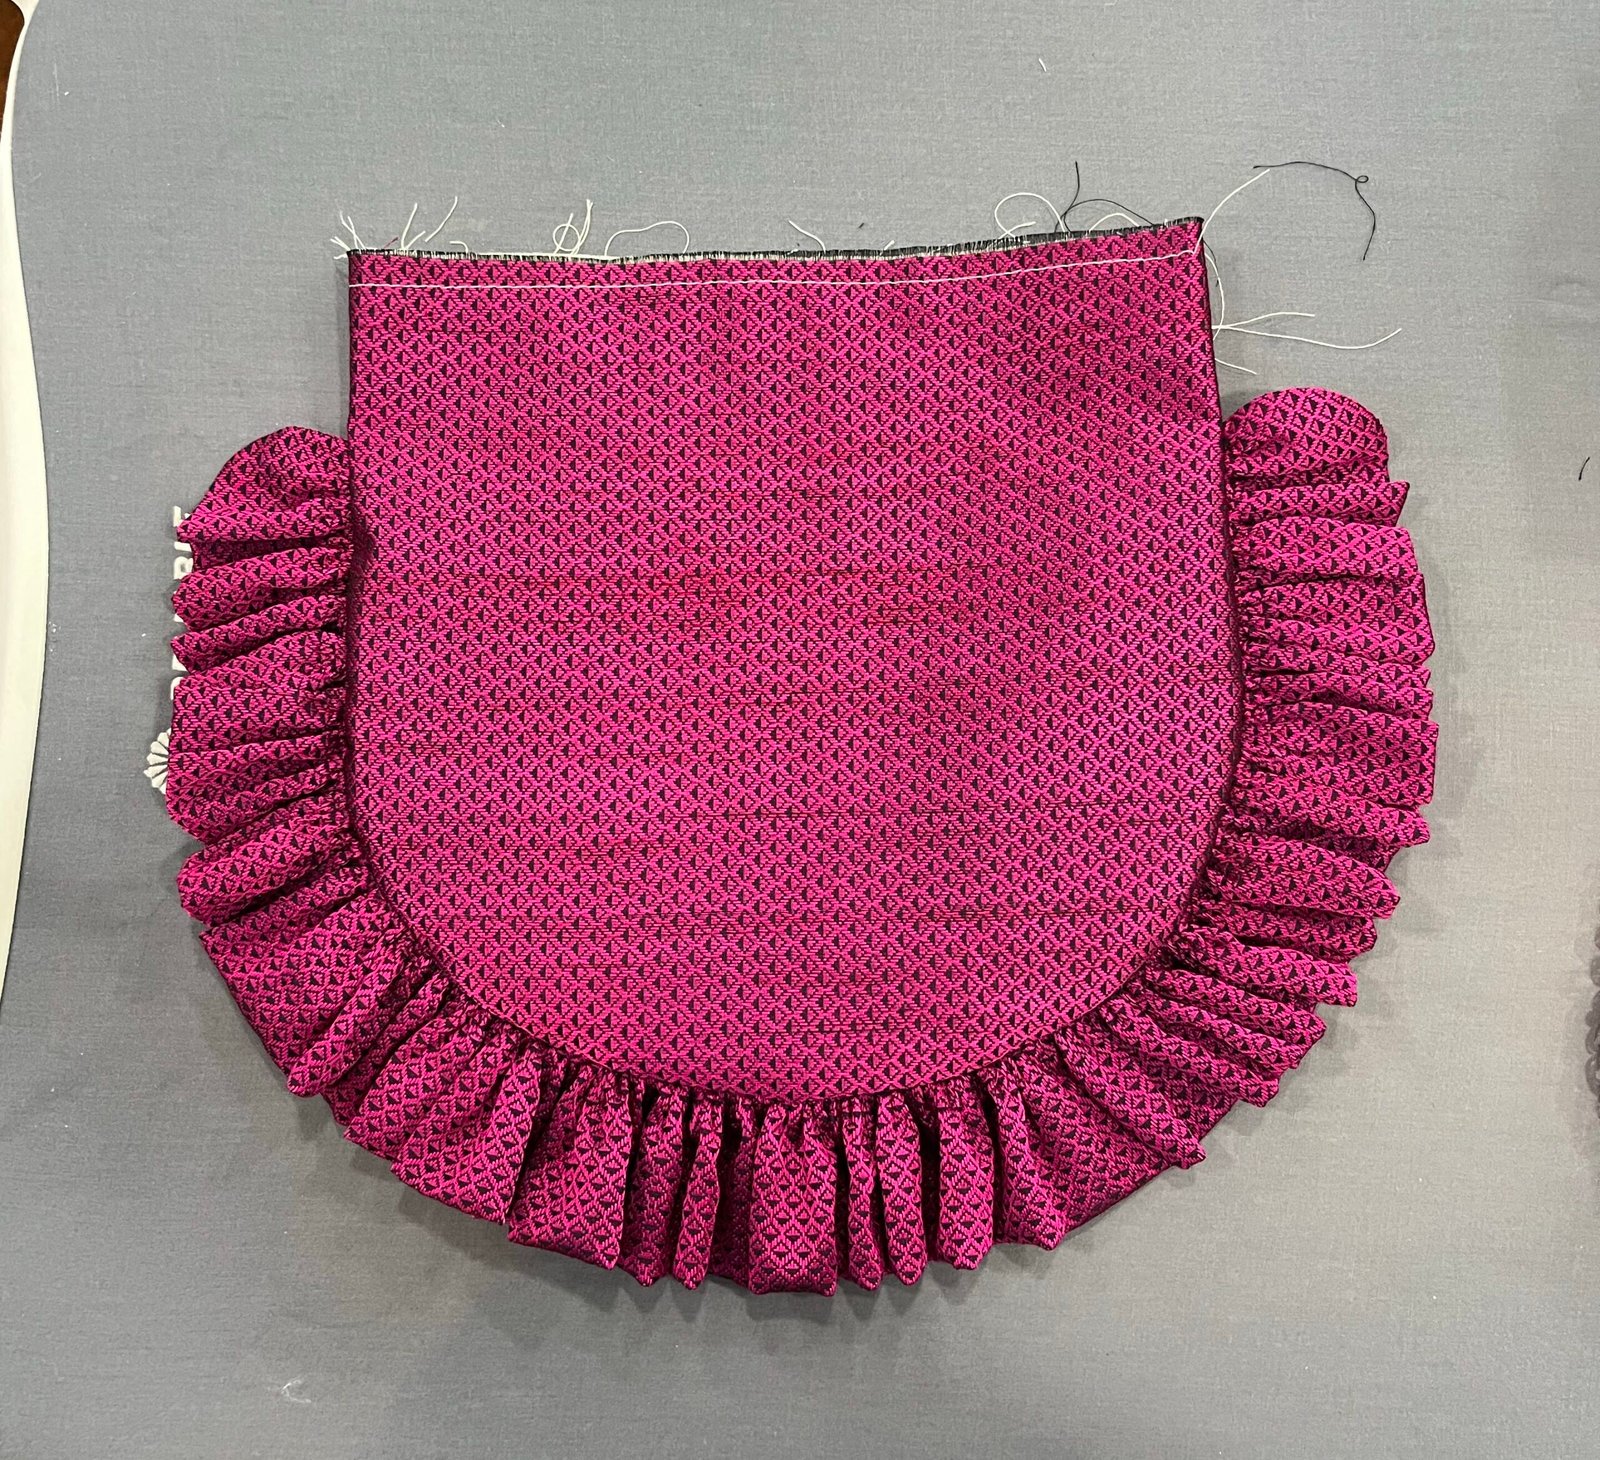
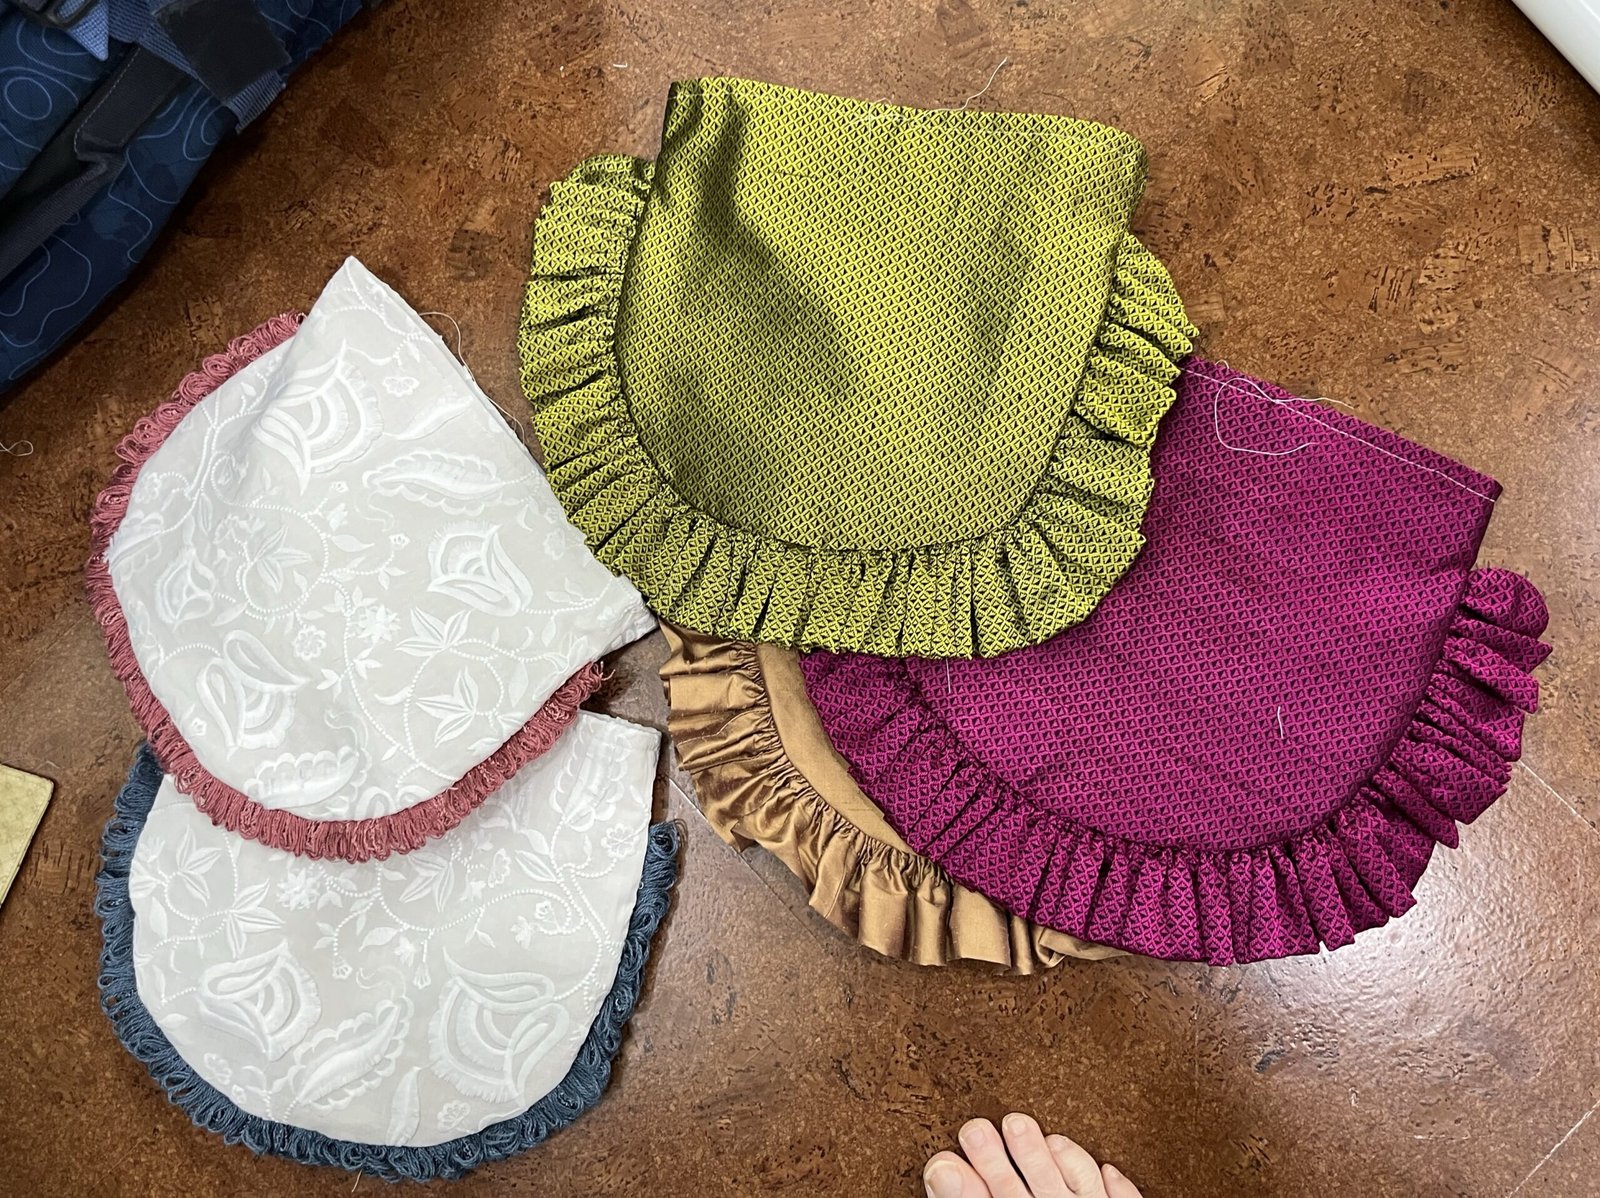
With all bags and linings constructed, I sewed the linings to the bags along the top edges. Then, using the hole in the lining seam, I turned the reticules right side out.
I pressed the top seams, rolling the linings slightly to the inside so that they wouldn’t show.
Pinning the top seams in place, and using the edges of the drawstring slits as a guide, I machine sewed drawstring channels through all of the layers.
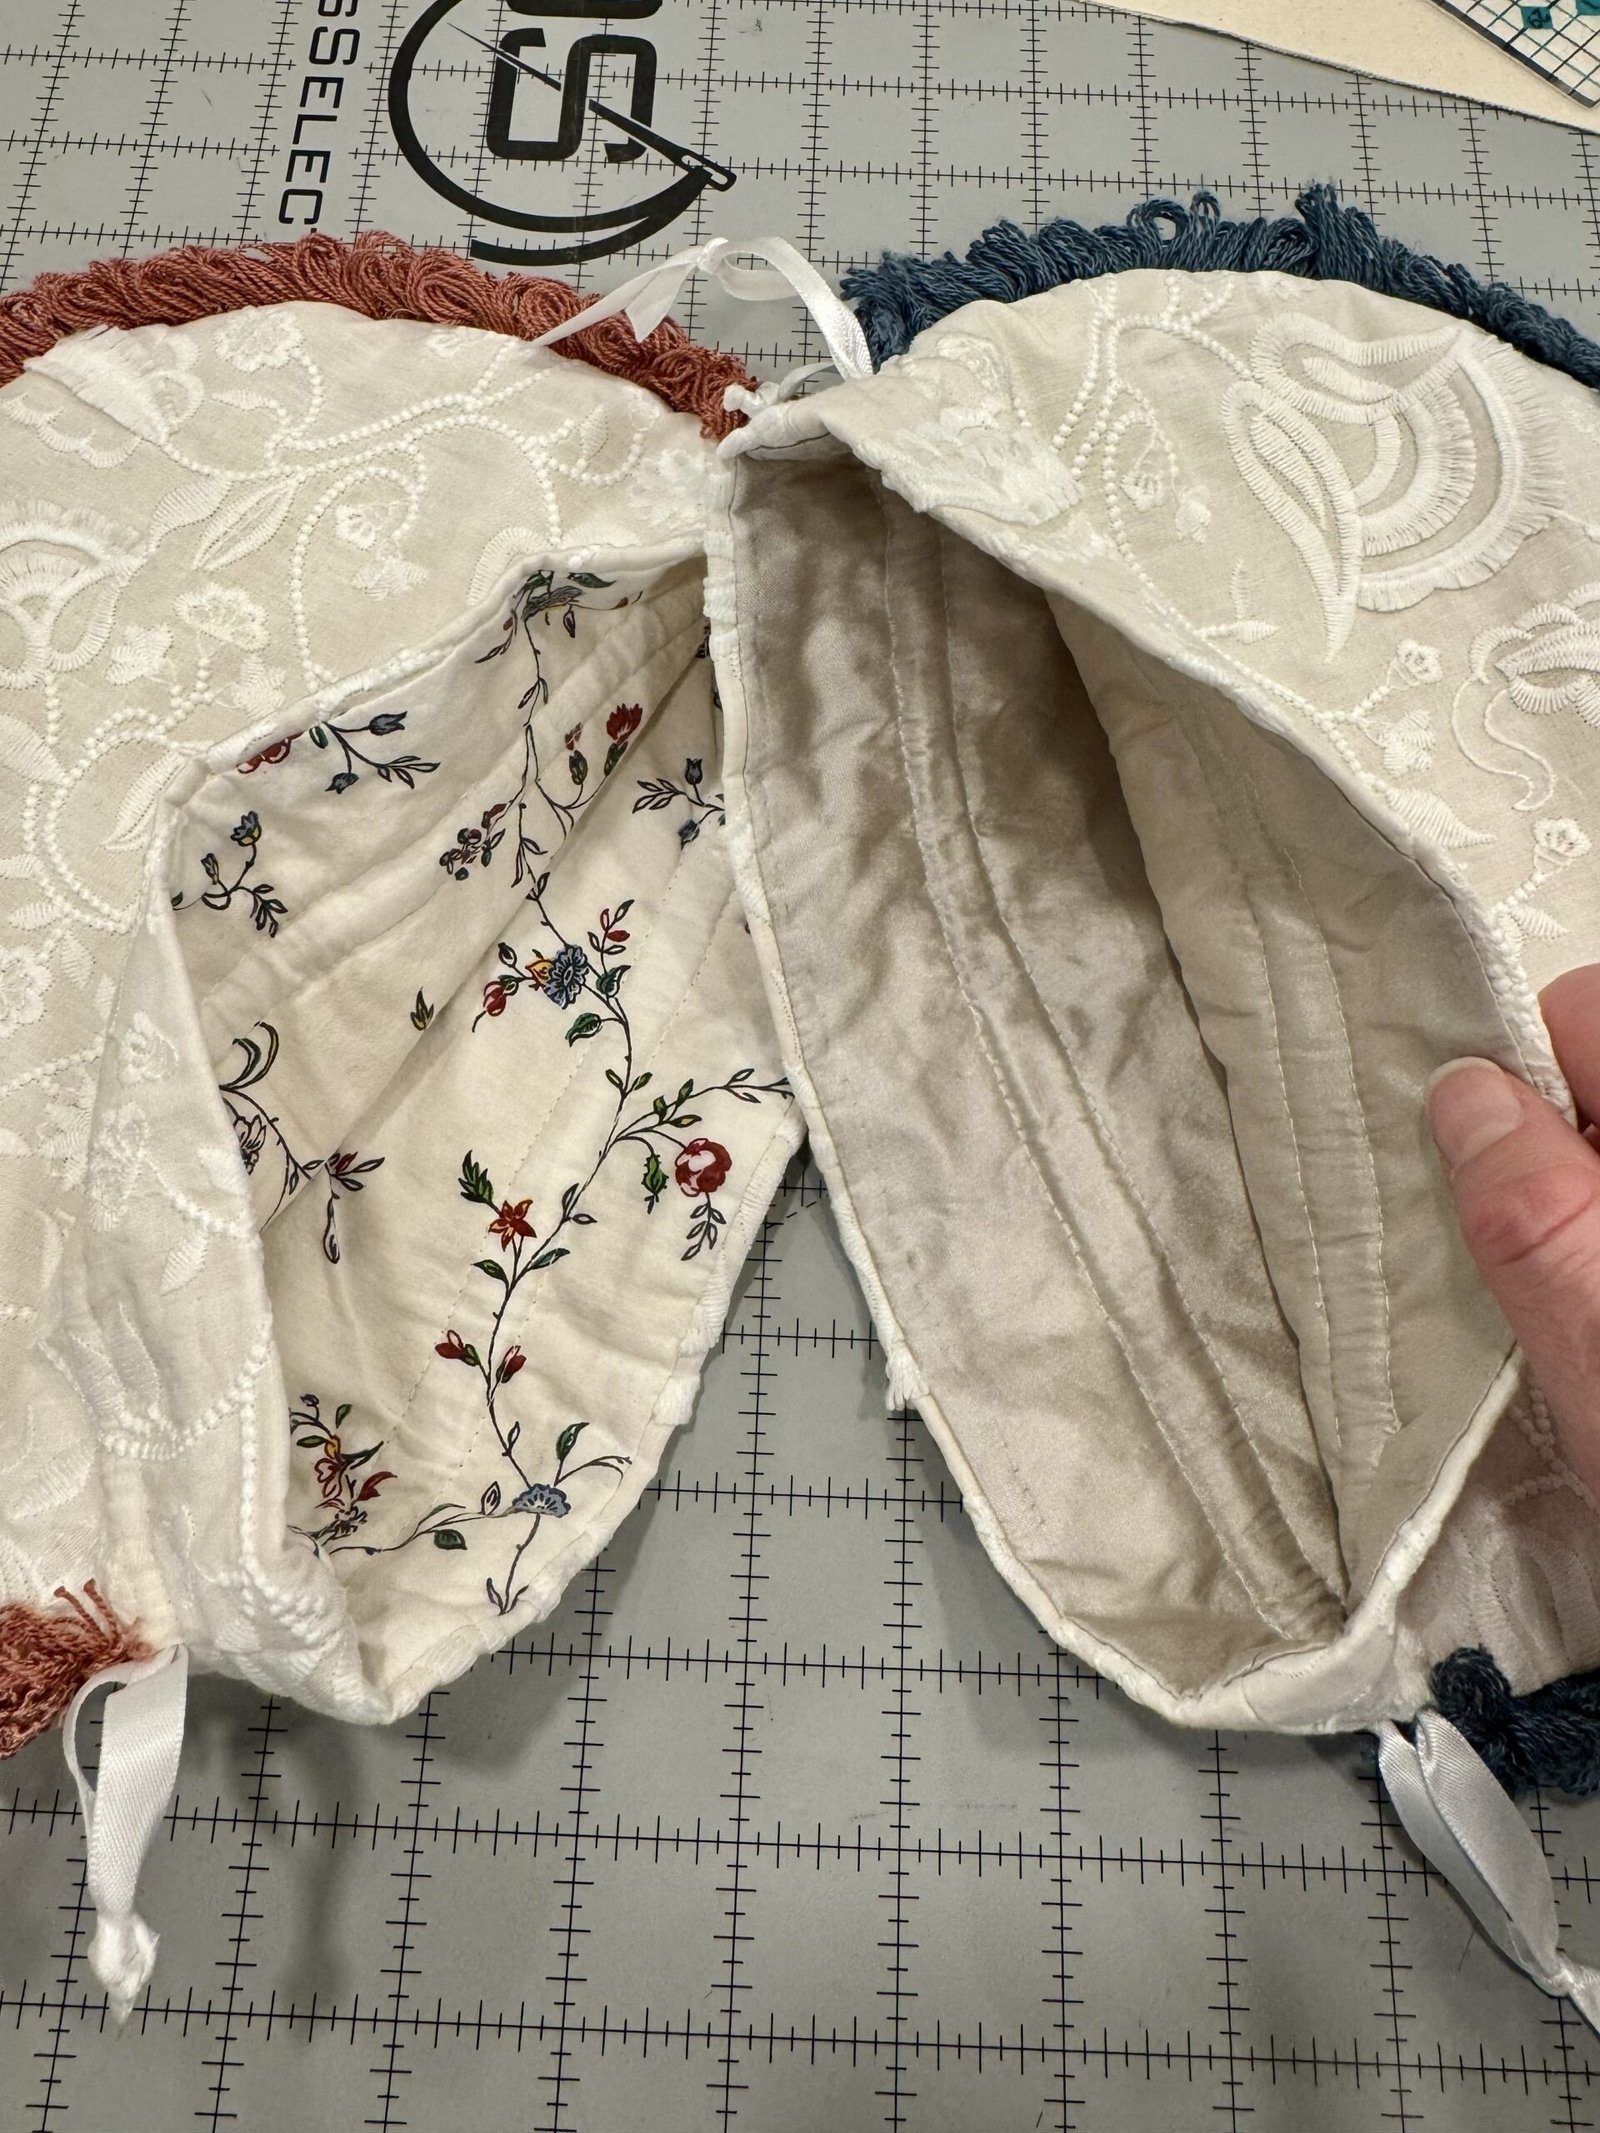
I whipped shut the holes in the linings, Then I threaded ribbons through the drawstring channels, and I had a ludicrously large stack of ridiculously ruffled regency reticules!
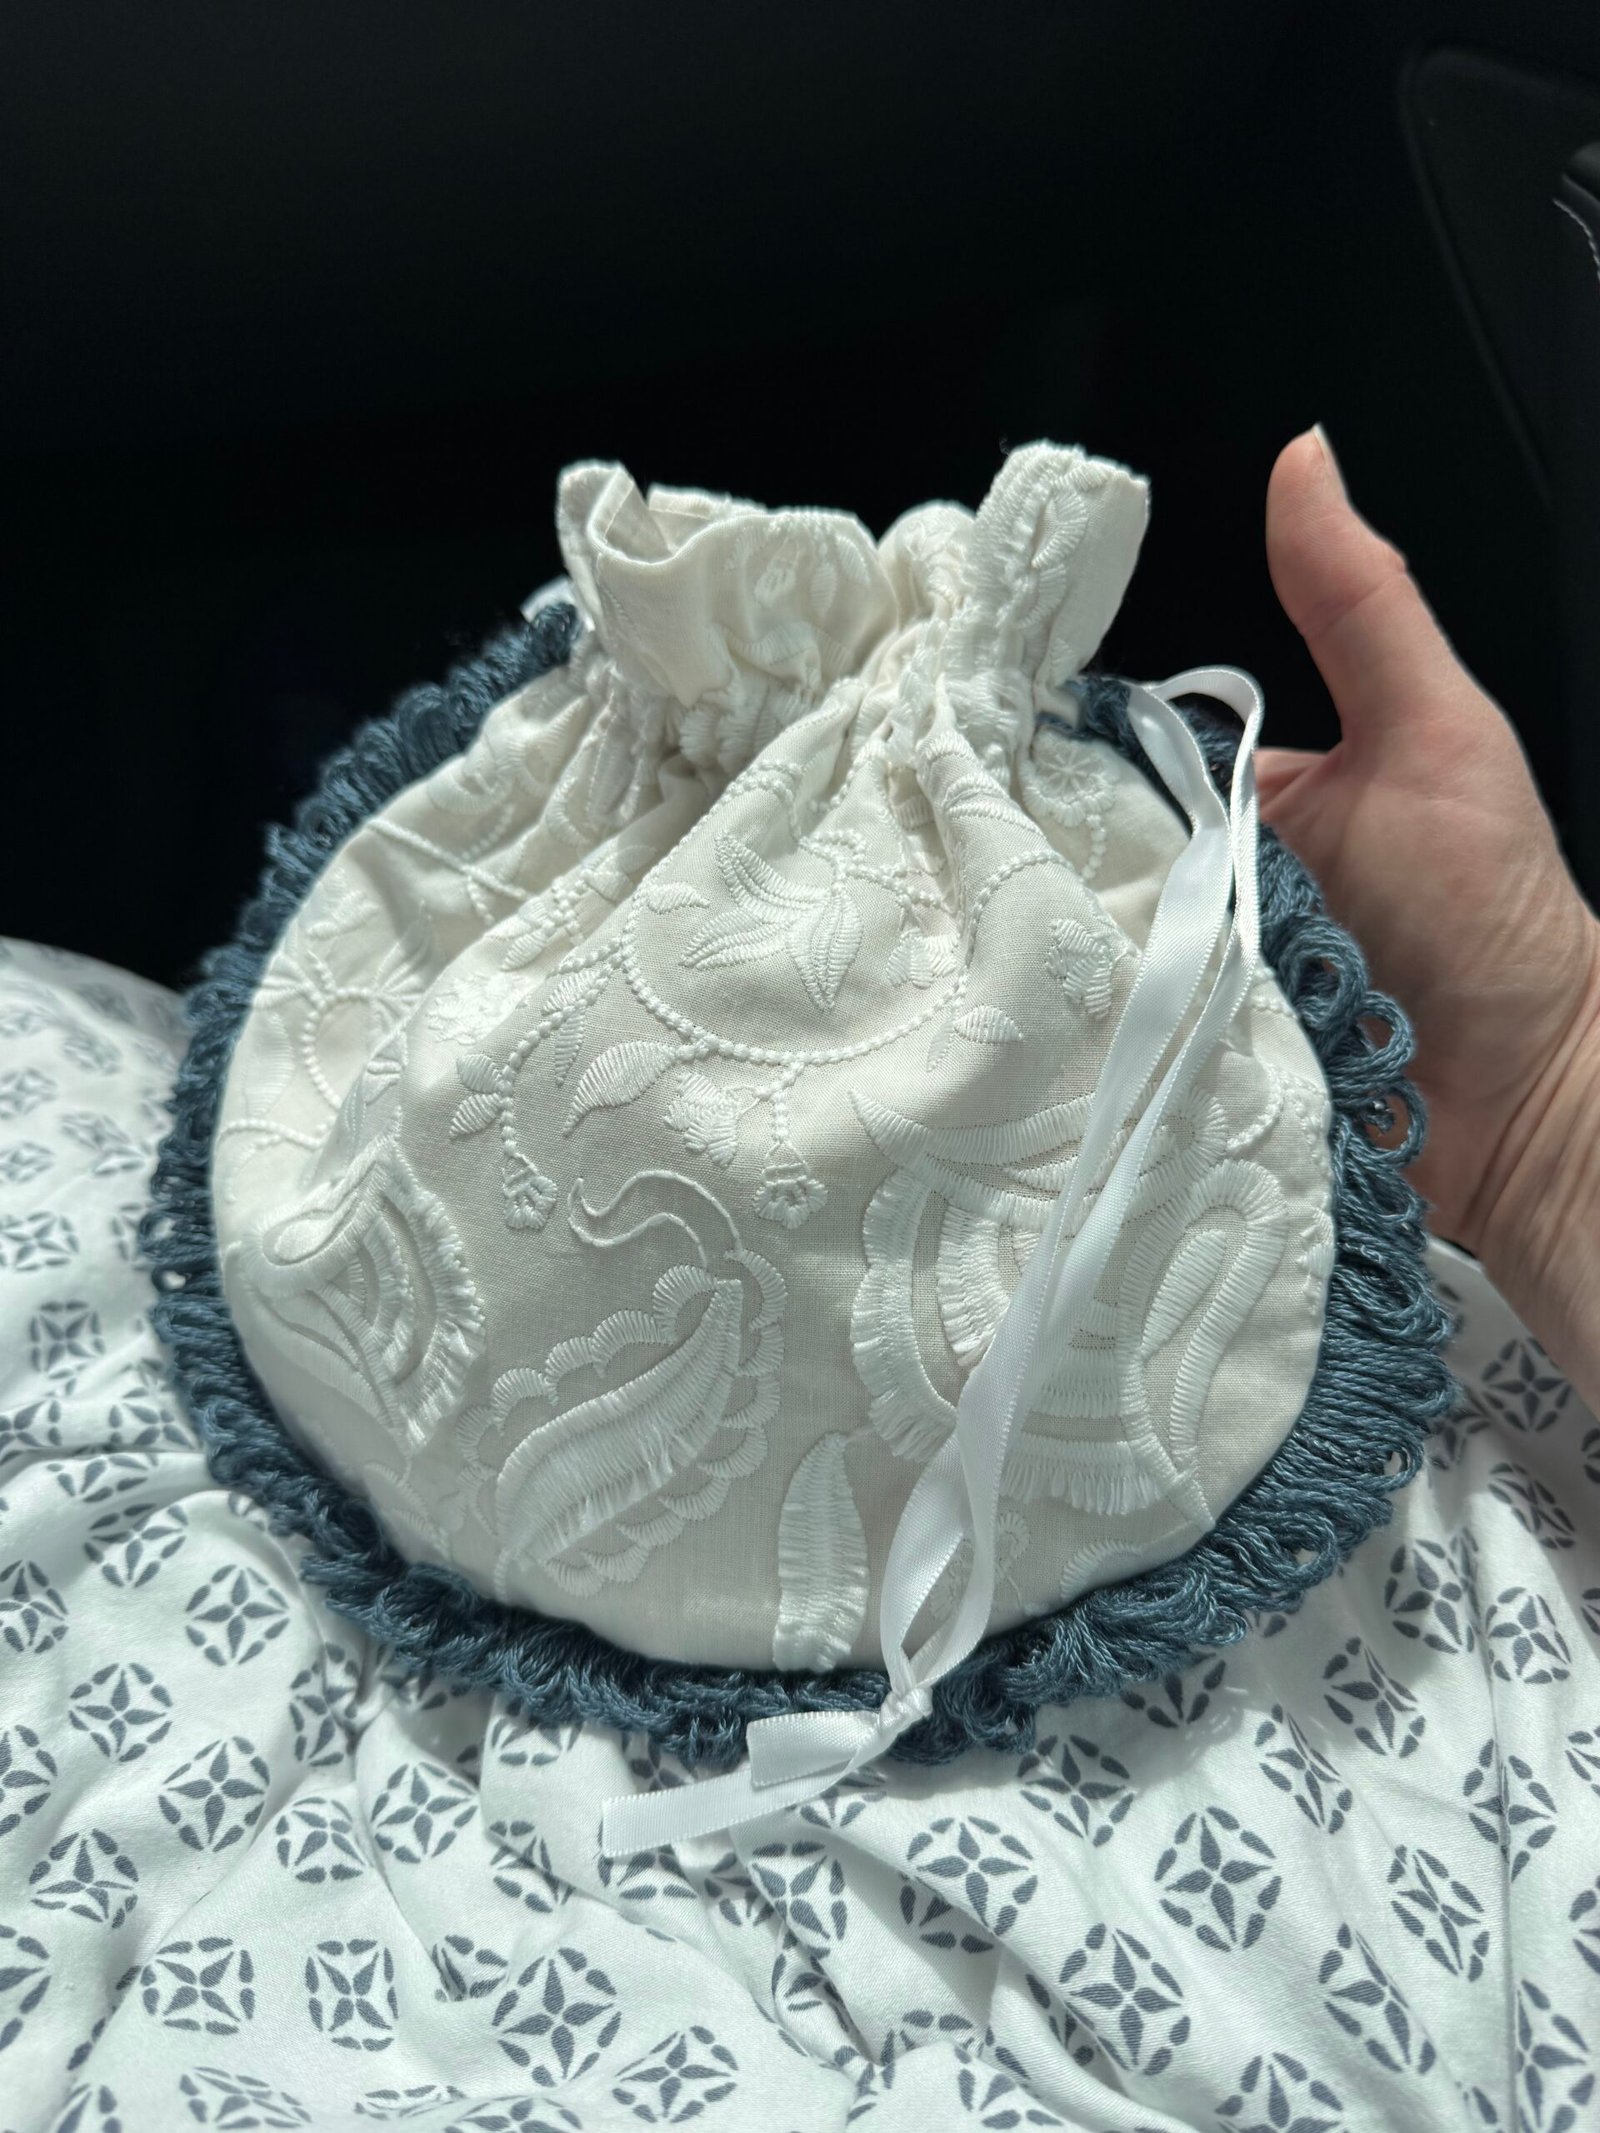
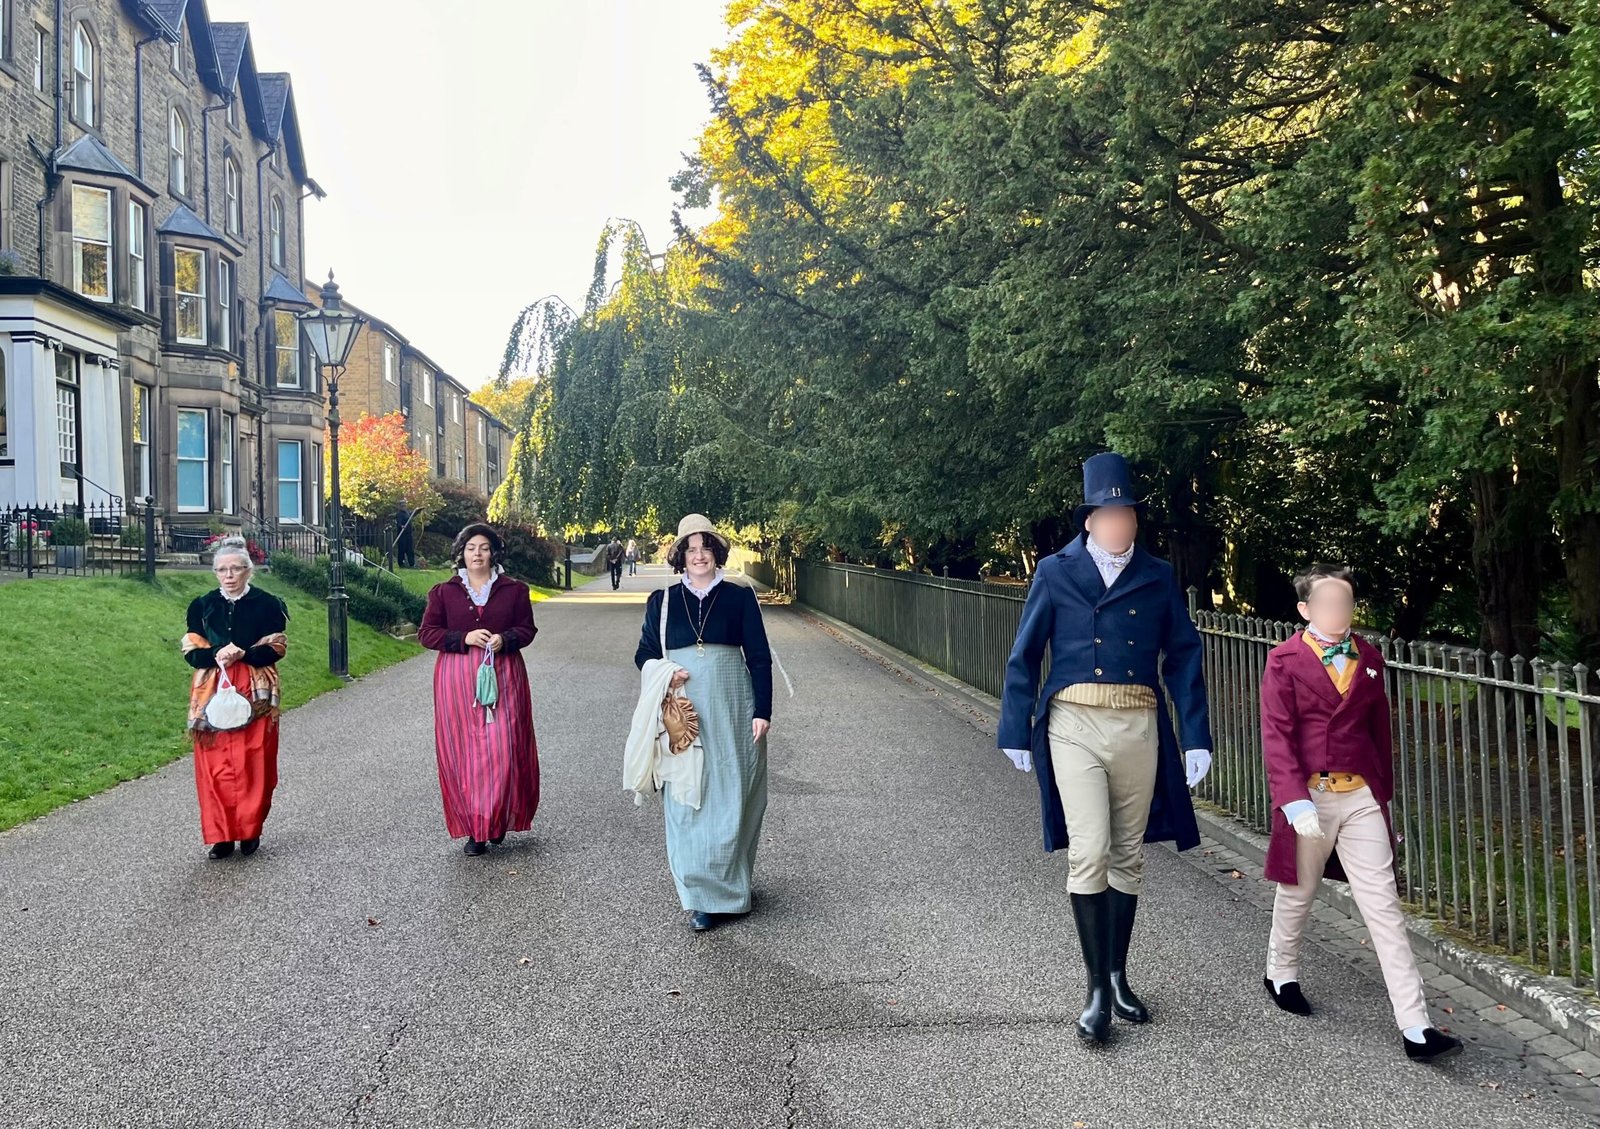
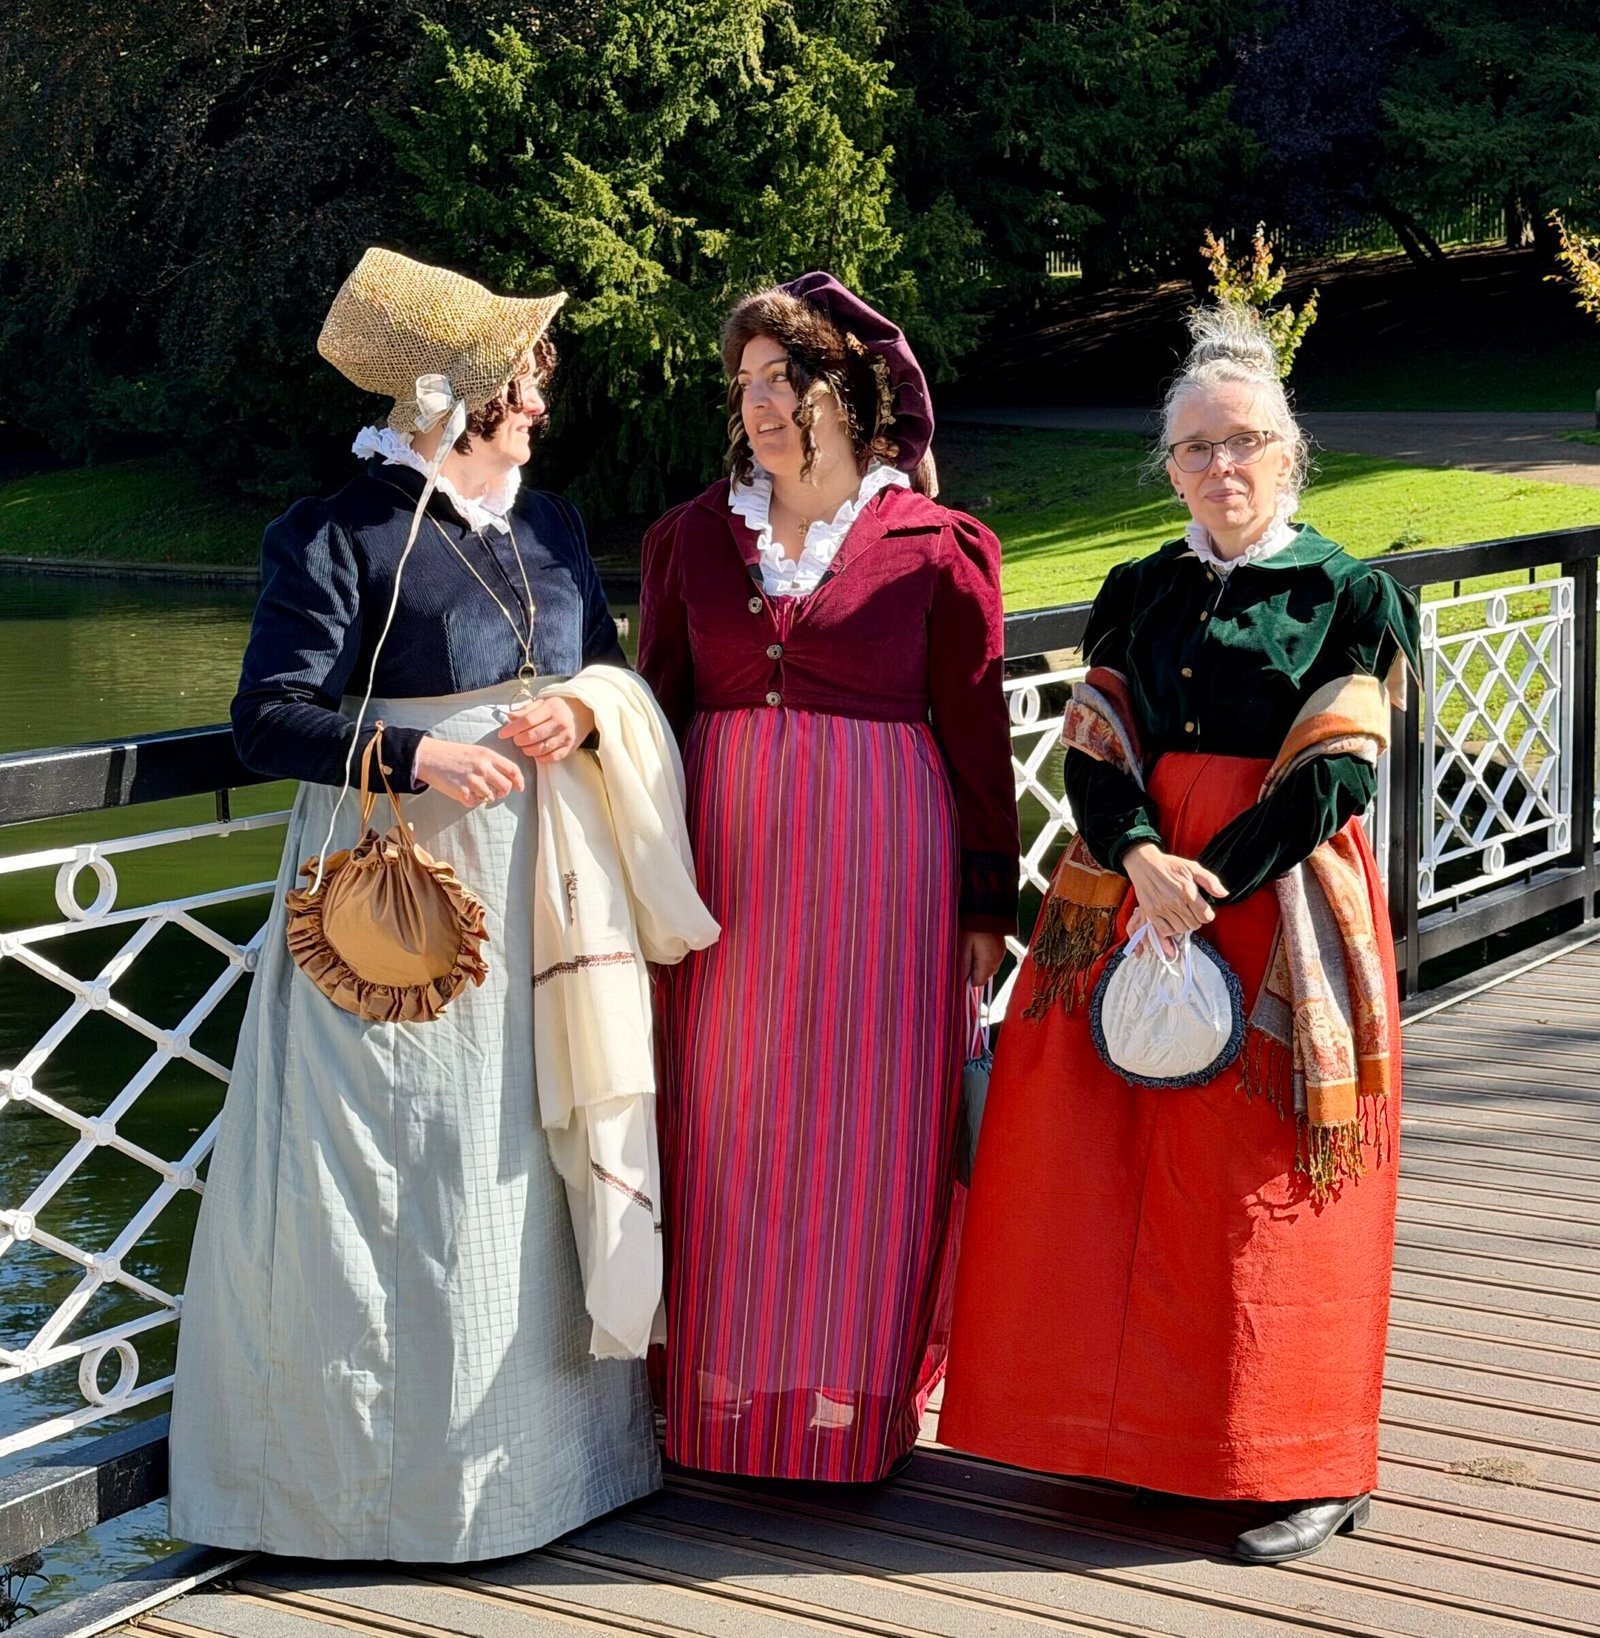
These ruffled regency reticules were intended for the Buxton Regency Festival I attended at the end of September.
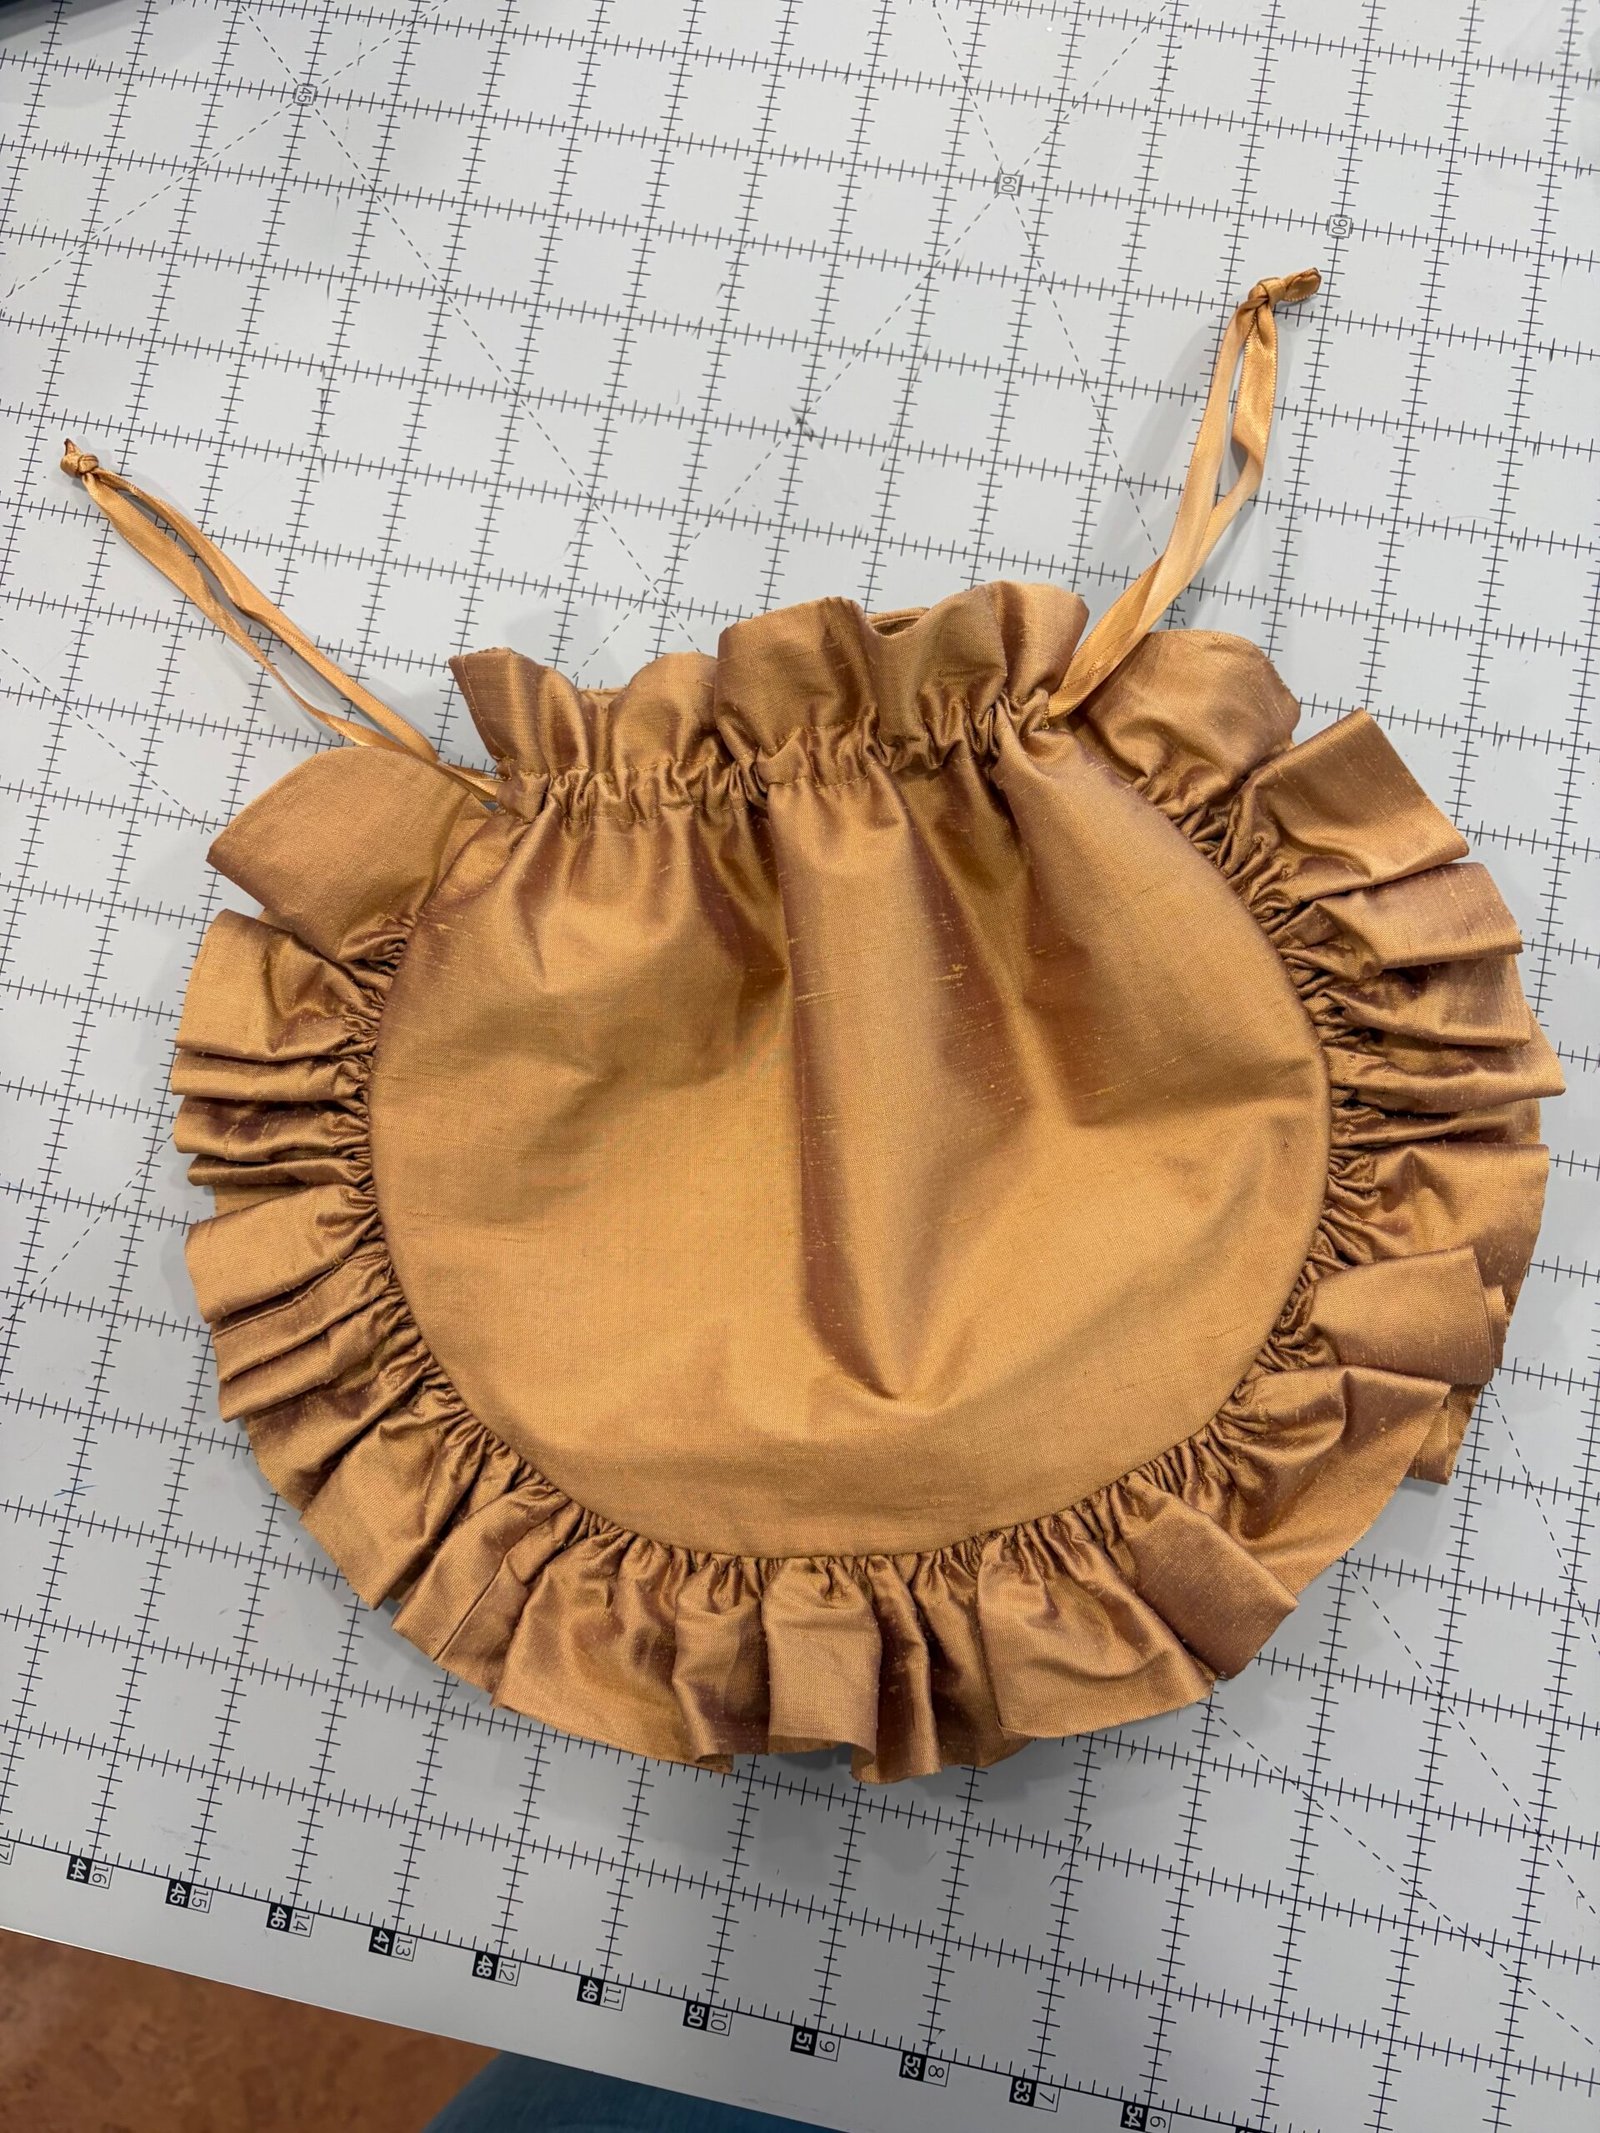
Here you can see @fannyfadenfroh carrying the white reticule with the blue fringe, and I myself using the copper ruffled one!