
Here is the short version: I fell in love with a painting and went out to buy several yards of watered acetate ribbon and a straw hat blank. I sewed a little, I bled a bit, and then I fell in love. In more words, I made a bergere hat with ribbons on, and i loved it so much that i wrote it up as a tutorial for an 18th Century trimmed hat.
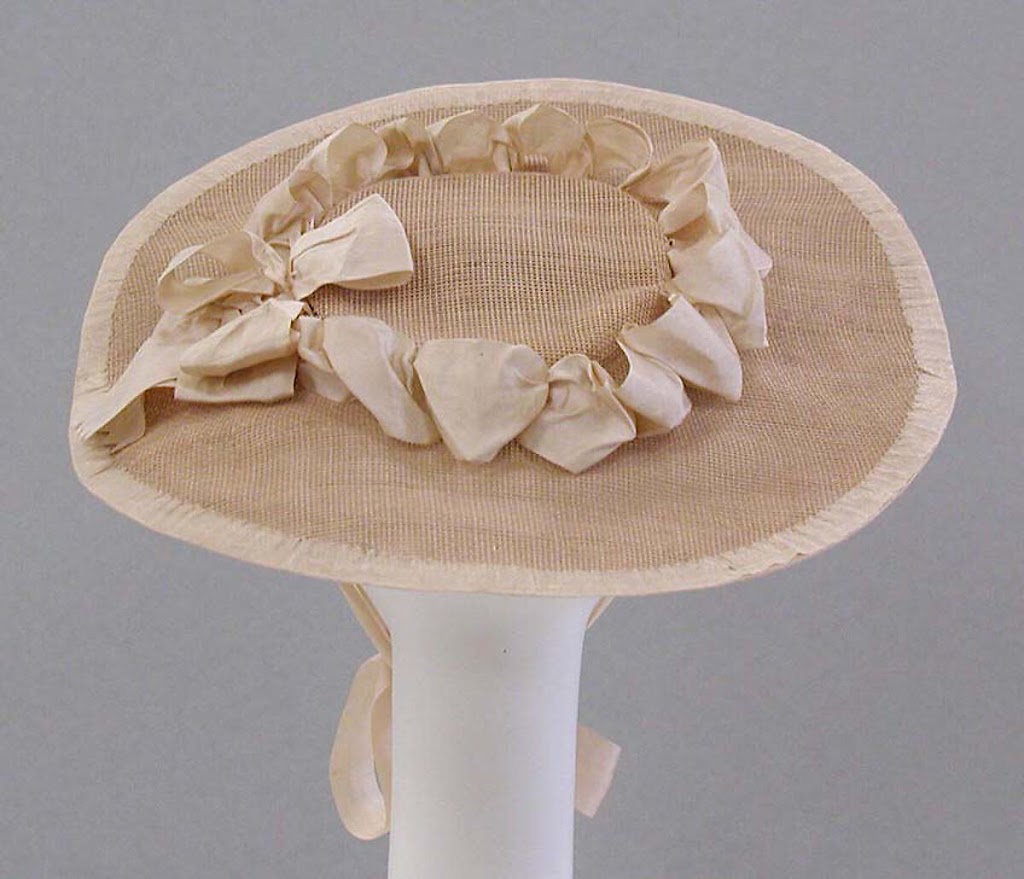
A bergere is a flat-brimmed hat with a shallow crown. These hats started to show up in the second quarter of the 18th century, and because the wide flat brims balanced the wide panniered skirts of the 18th century, they stayed popular until skirt widths began to collapse again in the 1790s. Earlier hats were decorated quite simply, such as this simple example of a bergere hat –
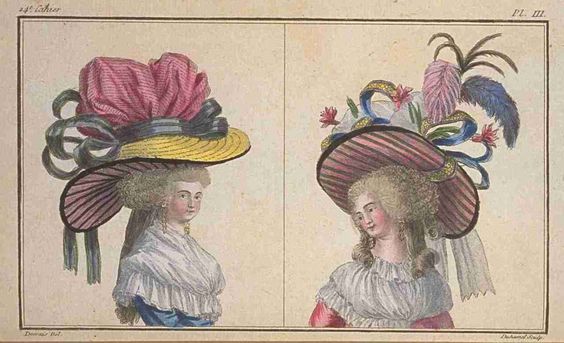
But as fashion styles grew more complex, the bergere literally BALLOONED.
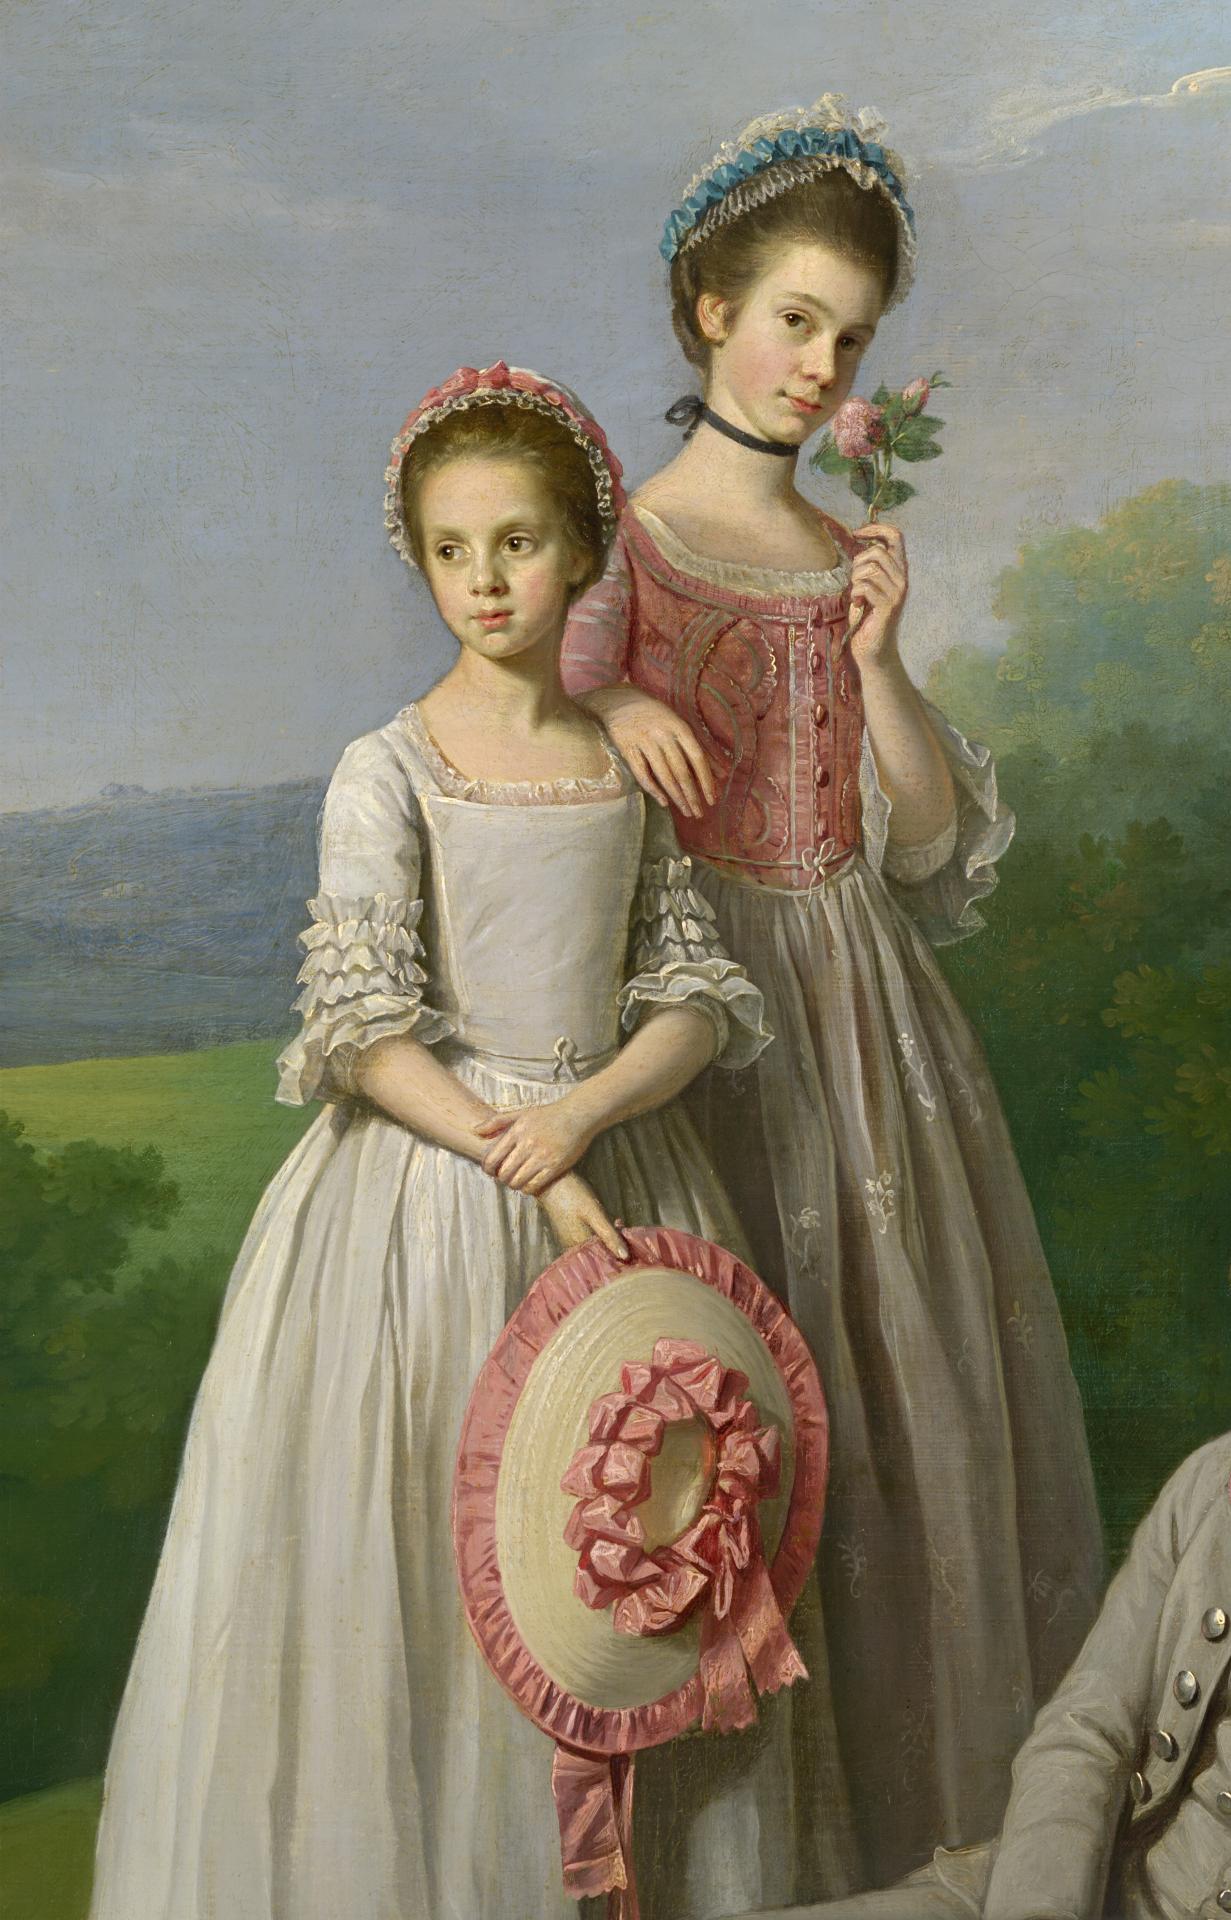
Some of them are simply, quietly, elegantly beautiful, and the very first time i saw this particular painting by Nathanial Dance Holland, I fell utterly in love with a pink ribbon trimmed bergere held by the small girl here. I loved it so much that i went out shopping for supplies to make my own.
Ribbons and hat blank in hand, i was ready to start. However, while tacking ribbons to a straw hat is not particular difficult, I like my bergere hats to be lined, so that the straw blank doesn’t catch on my hair or on the fine, delicate fabric of fine delicate caps. This requires a few more steps!
Sewing the Lining:
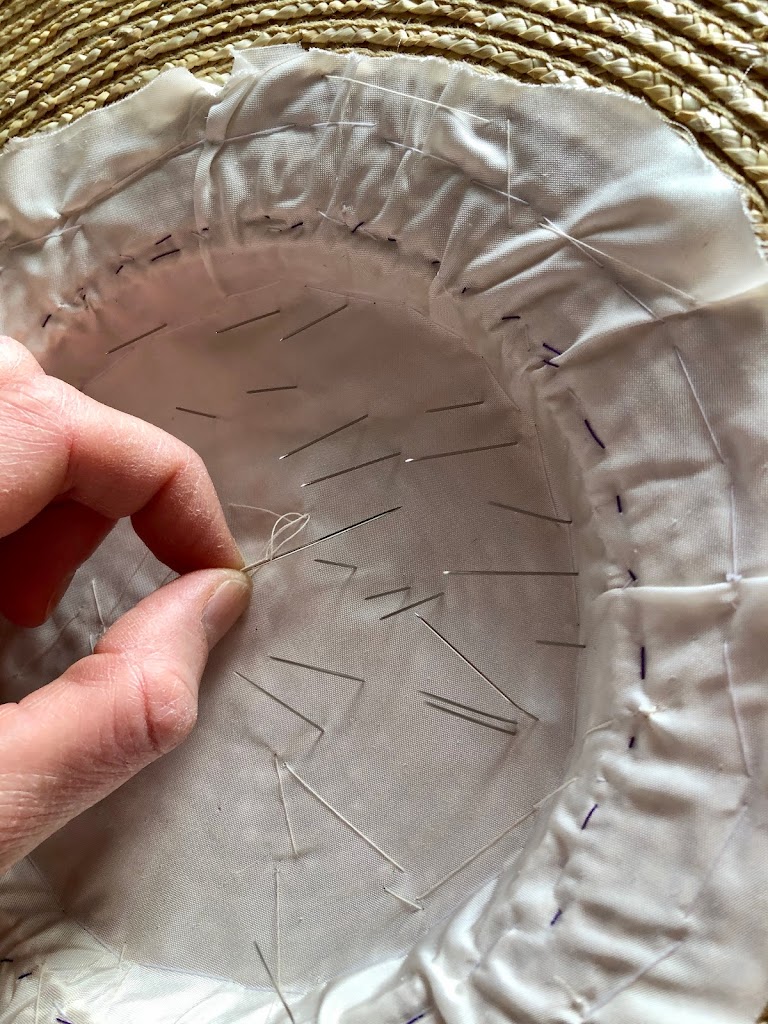
I began this 18th century trimmed hat by pinning a piece of silk taffeta into the crown of the hat, and then pinning until the silk was more or less caught more or less neatly against the straw shell. And then I stitched.
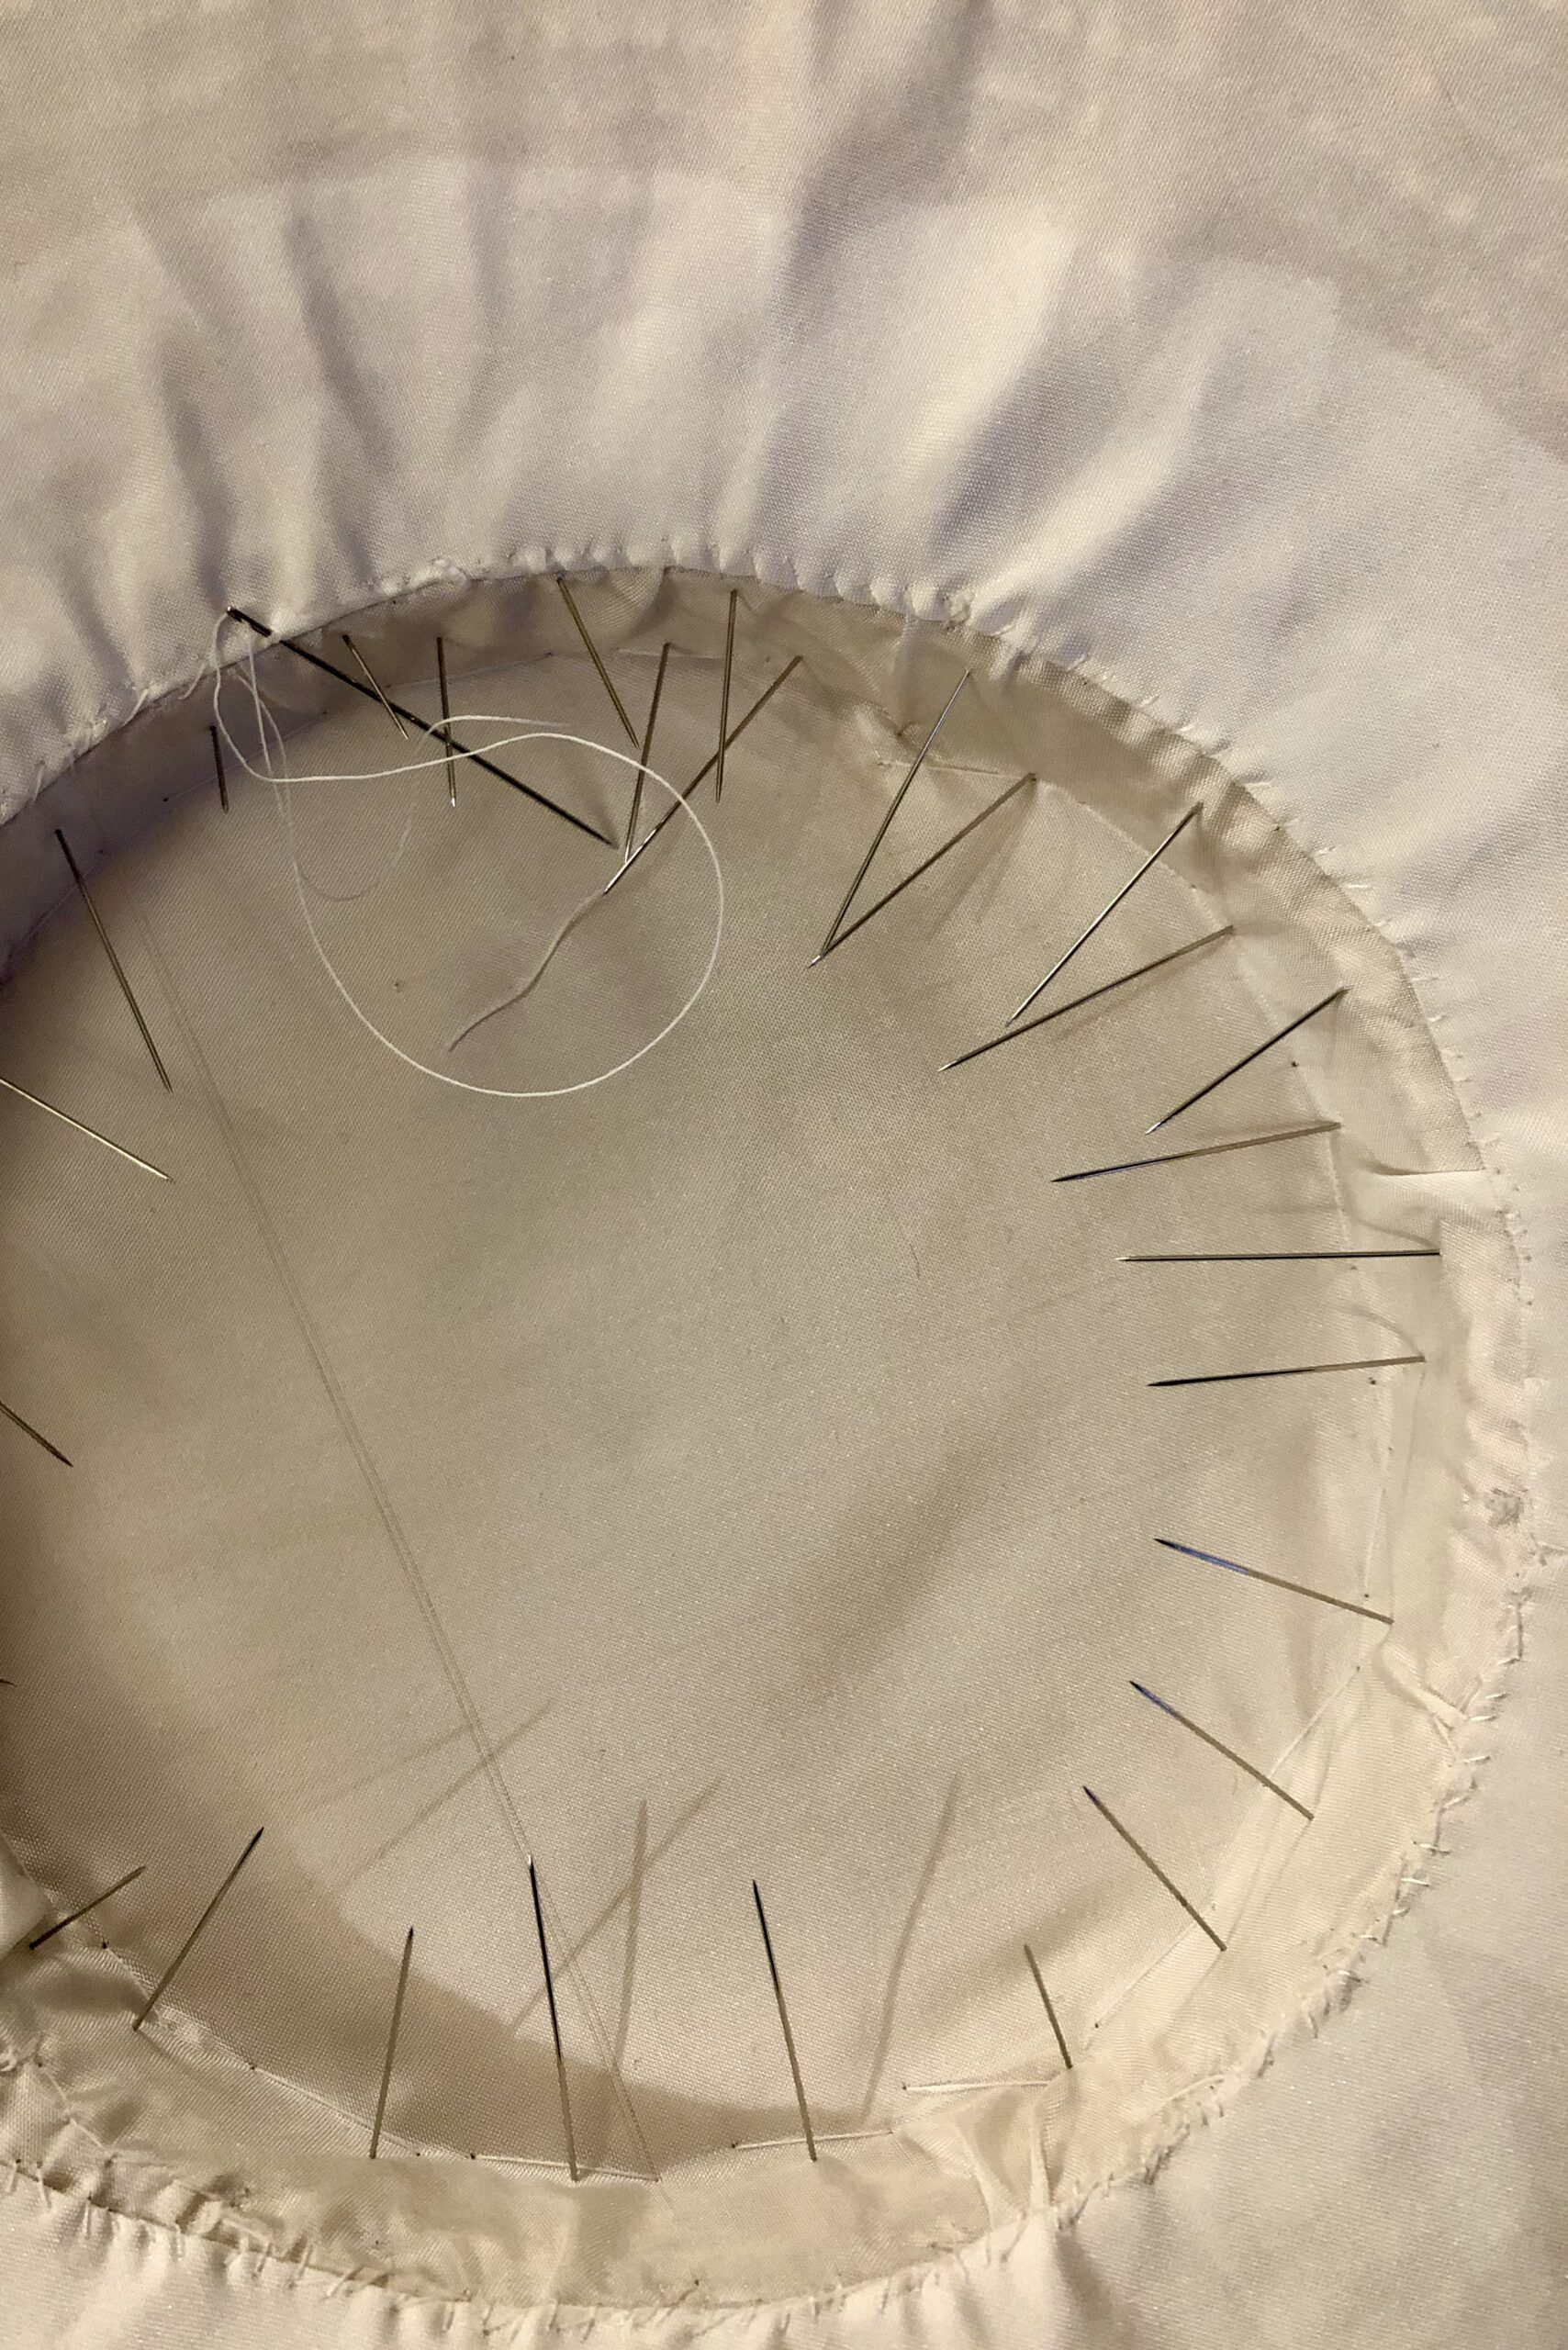
Note: the photos of the lining being sewn are from a different hat with a covered top. This is why you’re seeing an intimidating number of pins sticking through from the outside instead of from the inside to the outside. (Either way, there will probably be blood. Just a splash. But it it will get the job done.)
To cover the underside of the brim, I traced the outline of the hat on another piece of silk taffeta, and cut myself a circle of roughly the same size. I laid the silk onto the underside of the brim, pinned it into place and stitched down the outer edge. The stitching line will be hidden by a ribbon binding, so you can hand-sew or use a machine – whichever feels more comfortable.
Once the outer brim is caught, pin it securely about an inch and a half away from the inner edge and slice through into the open center. Cut the excess away, leaving an inch or so of seam allowance, and bit by bit, fold the raw edge under. Once you have MORE pins in place, stitch down your edge with whip or catch stitches – whichever bleeds less.
Binding the brim:
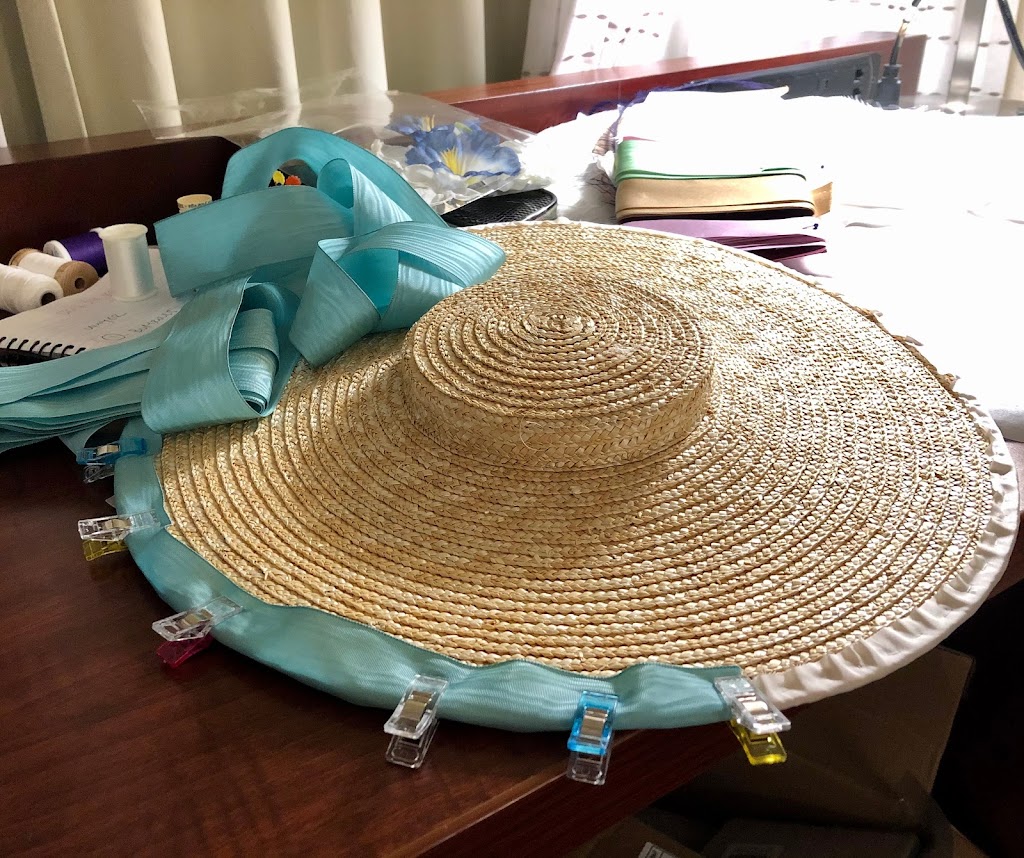
Taking your binding ribbon, begin to fold it around the edge of your hat brim, holding it in place with pins or clips. I personally love quilting clips for this job – they grip nicely without marking the fabric.
Begin tacking down the ribbon with small stab stitches – if you’ve balanced the ribbon over the top and bottom edges, you can catch both sides of it at once. Sew your way slowly around the edge of the hat brim, catching the small gathers in your stitches as you move along the curve.
Trimming Your Hat:
Work slowly. Take your time deciding how you want your ribbon placement – do you want tight puffs? Loose puffs? Large ones? Small ones? One row? Two? Bows? Do you have a very soft silk ribbon? A crisper taffeta one?
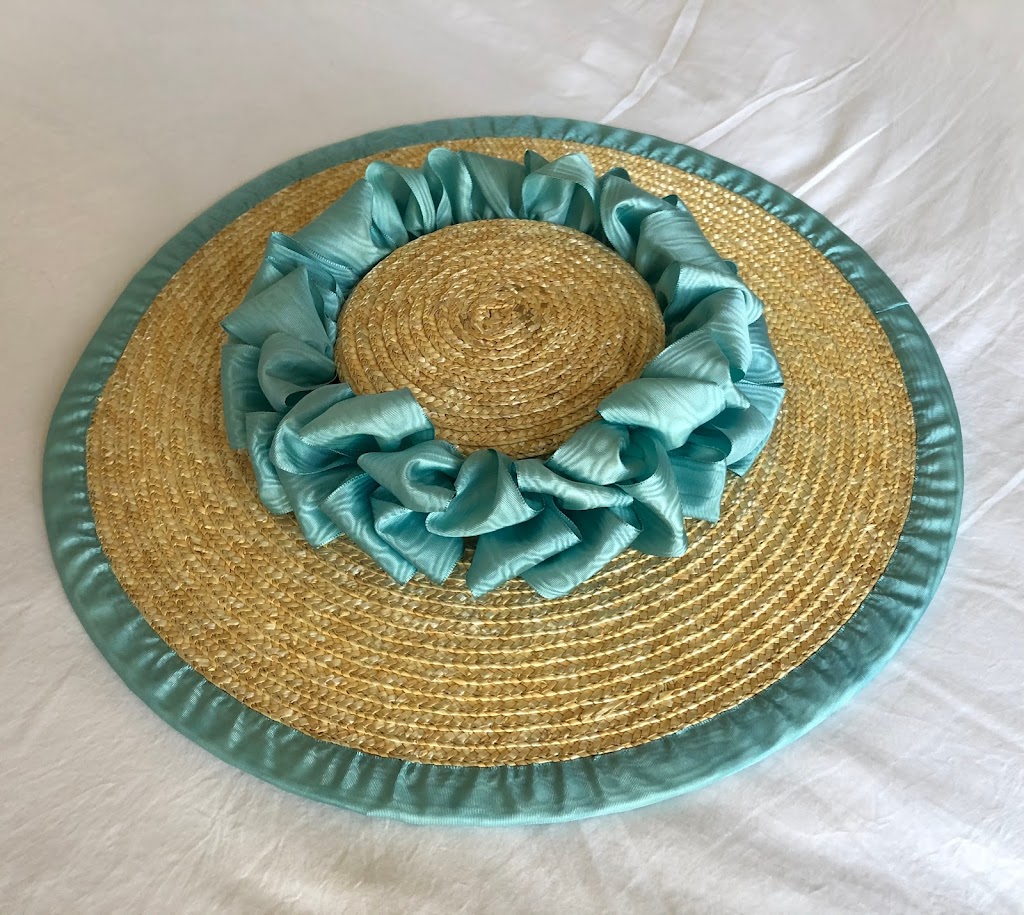
I trimmed this particular bergere with two rows of ribbon puffs – one stitched down at the base of the crown, and one half an inch or so further up. Let the ribbon show you how it wants to fall, and you’ll find that it is doing more than half the work for you.
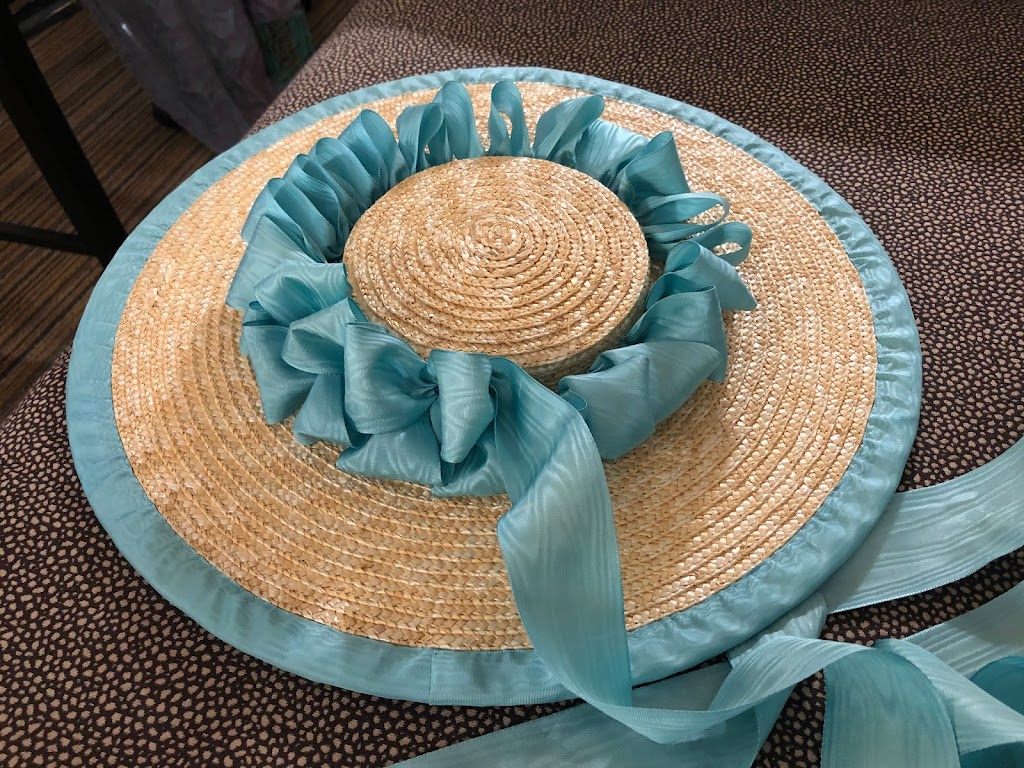
Play with the ribbons, stock up on bandaids, and at the end of it all, you’ll have a beautifully lined, beautifully trimmed confection!
This elegant hat is the simplest example of an 18th century trimmed hat. Here are a couple of other trimming ideas for you!
18th Century Hat Tutorial: American Duchess Brain Hat
18th Century Hat Tutorial: Two Christmas Bergere Hats
2 thoughts on “Tutorial for an 18th Century Trimmed Bergere Hat:”