When it comes to 18th century costuming basics, I’ve talked about bedgowns, but I haven’t yet talked about the garment one wears with a bedgown – the 18th Century pleated petticoat!

Today the word ‘petticoat’ refers to an undergarment, but in the 18th Century, one’s petticoats were simply one’s skirts. One would probably wear at least two layers of petticoat: a nice “fashion” petticoat as a top layer, and at least one more underneath. These extra layers were worn for fullness, for warmth, or to soften the outlines of more structured undergarments like pocket hoops or bum rolls.
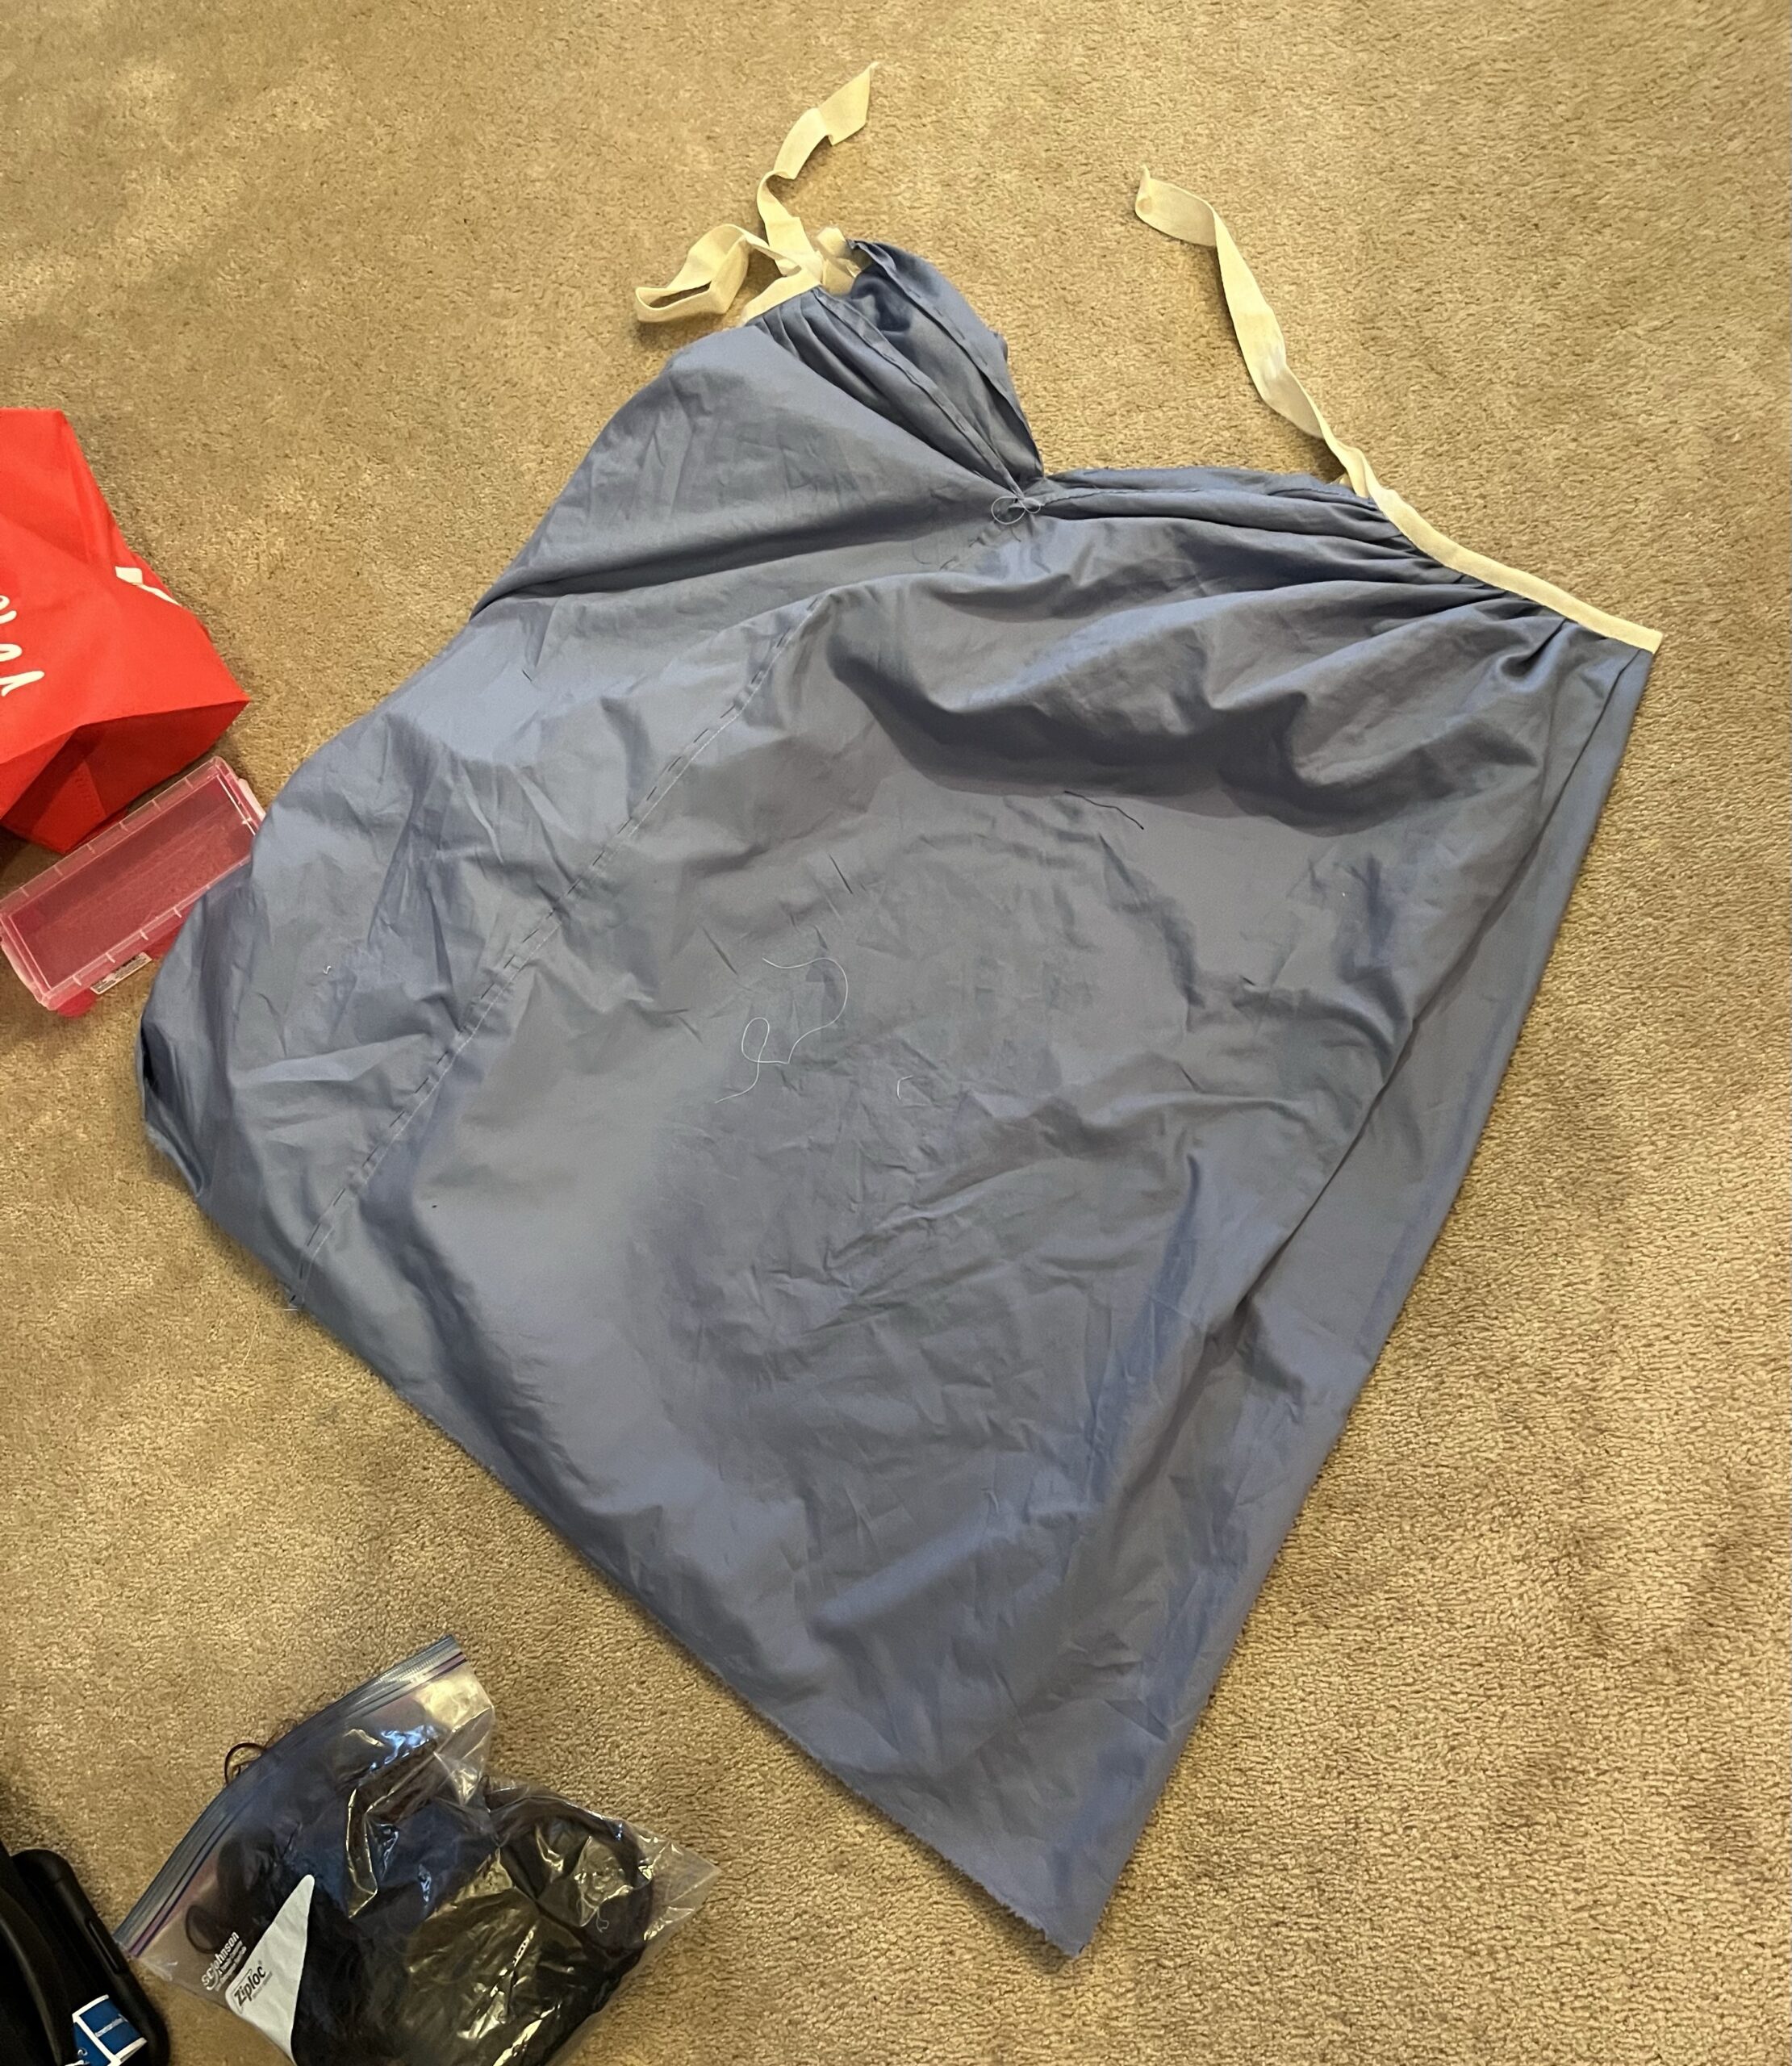
18th century petticoats were were formed from two rectangles of fabric, pleated and sewn together at the sides, with tapes on each half that tie around your waist. Petticoats sewn to be worn over large 18th century skirt supports might be shaped at the waistline to ensure a level hem, but in it’s basic form, the pleated petticoat has no shaping at all. It wastes no fabric, is simple to sew, is size adjustable and is also remarkably flattering to wear!
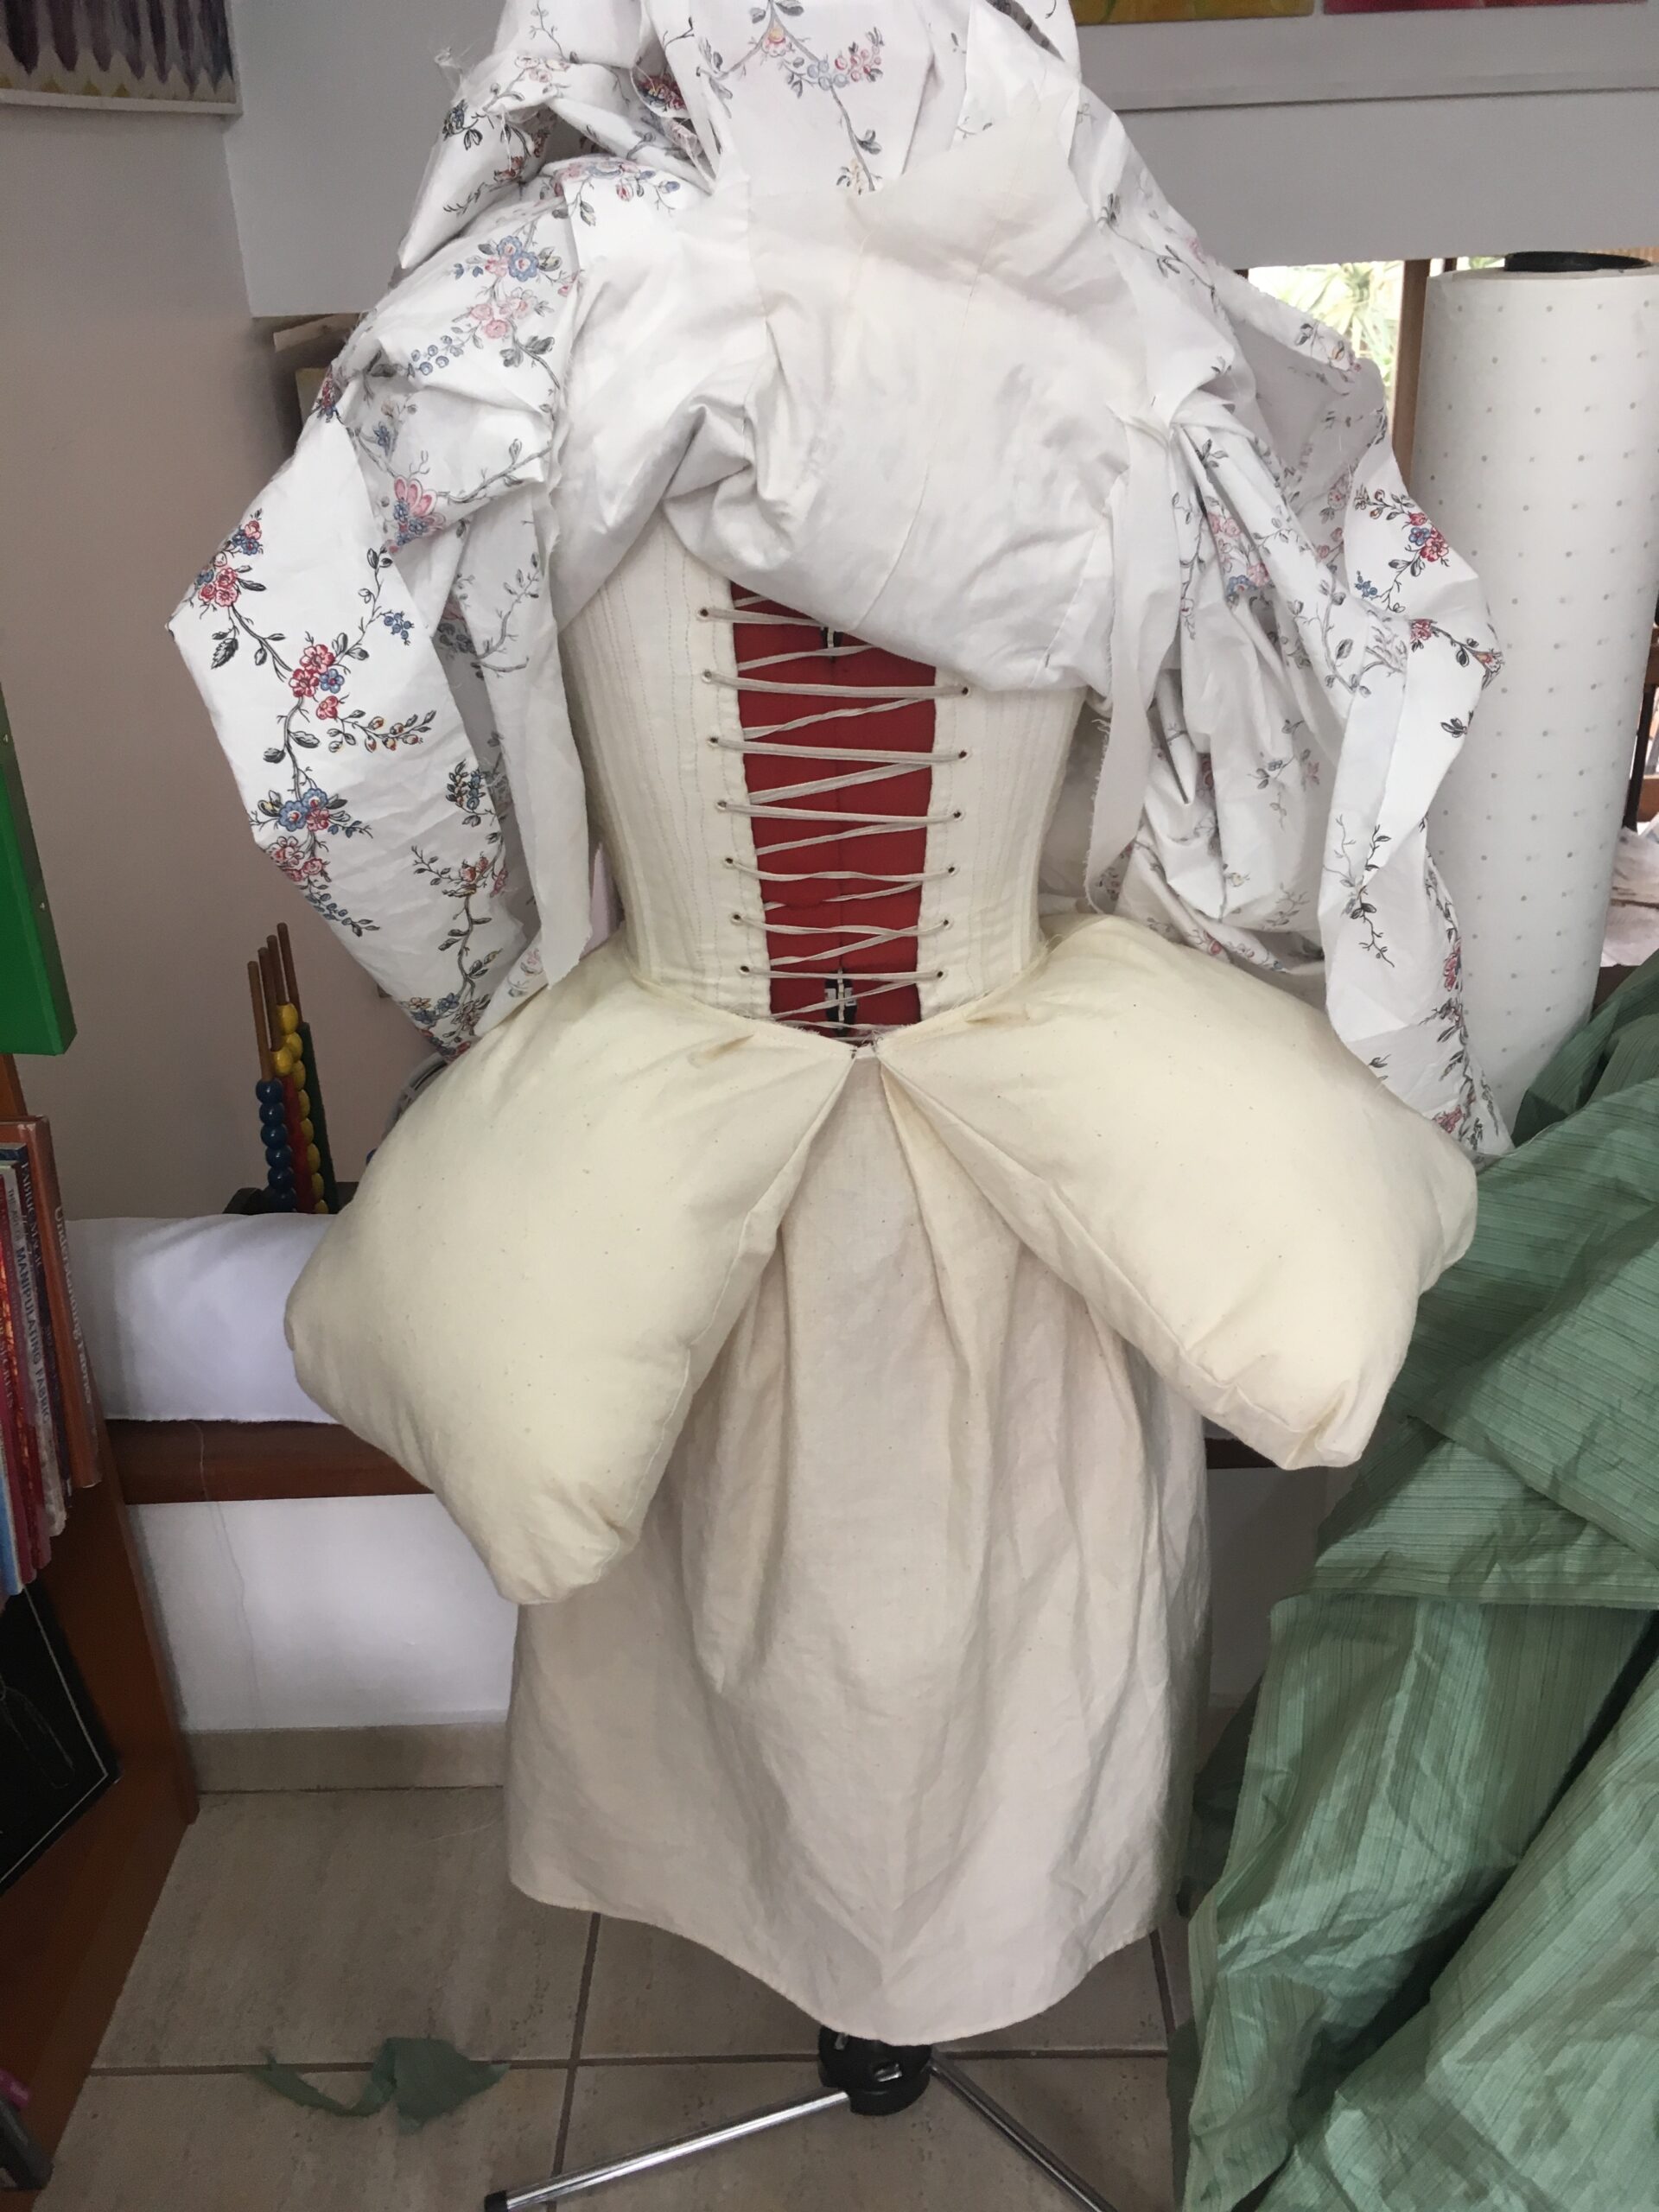
Example of a petticoat with waist ties attached:
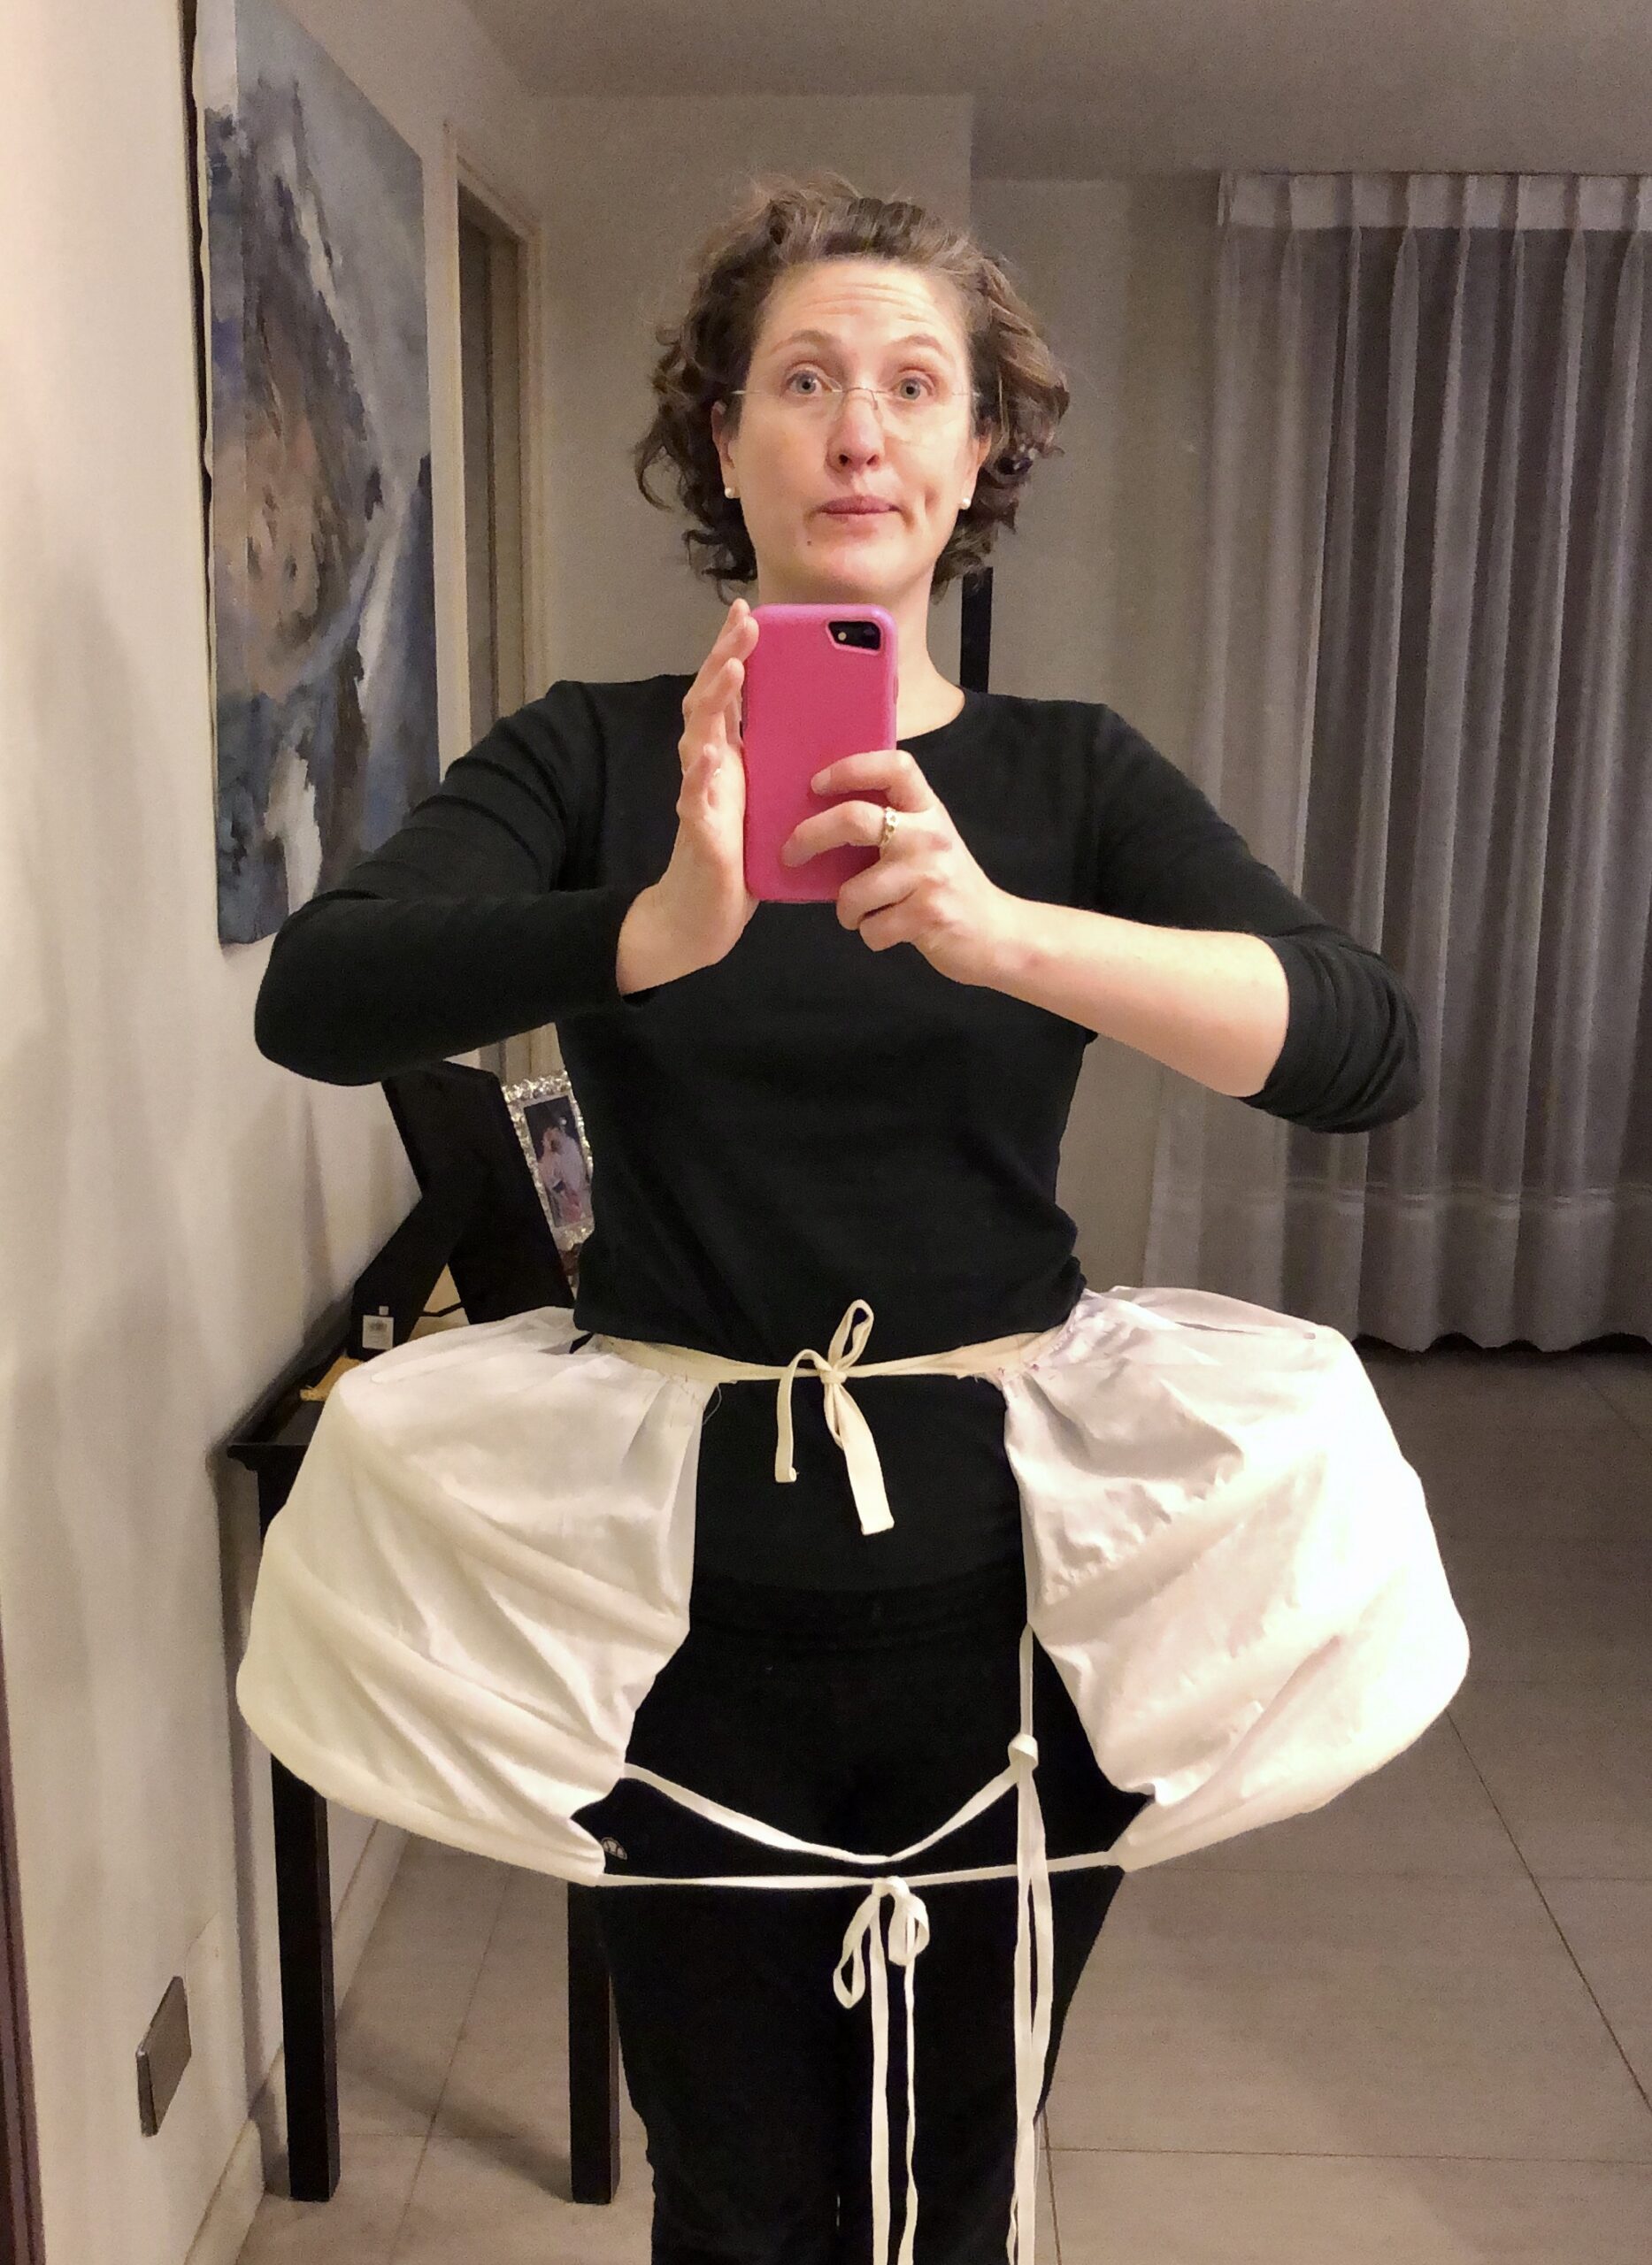
Example of a shaped petticoat waistline for wearing over pocket hoops:
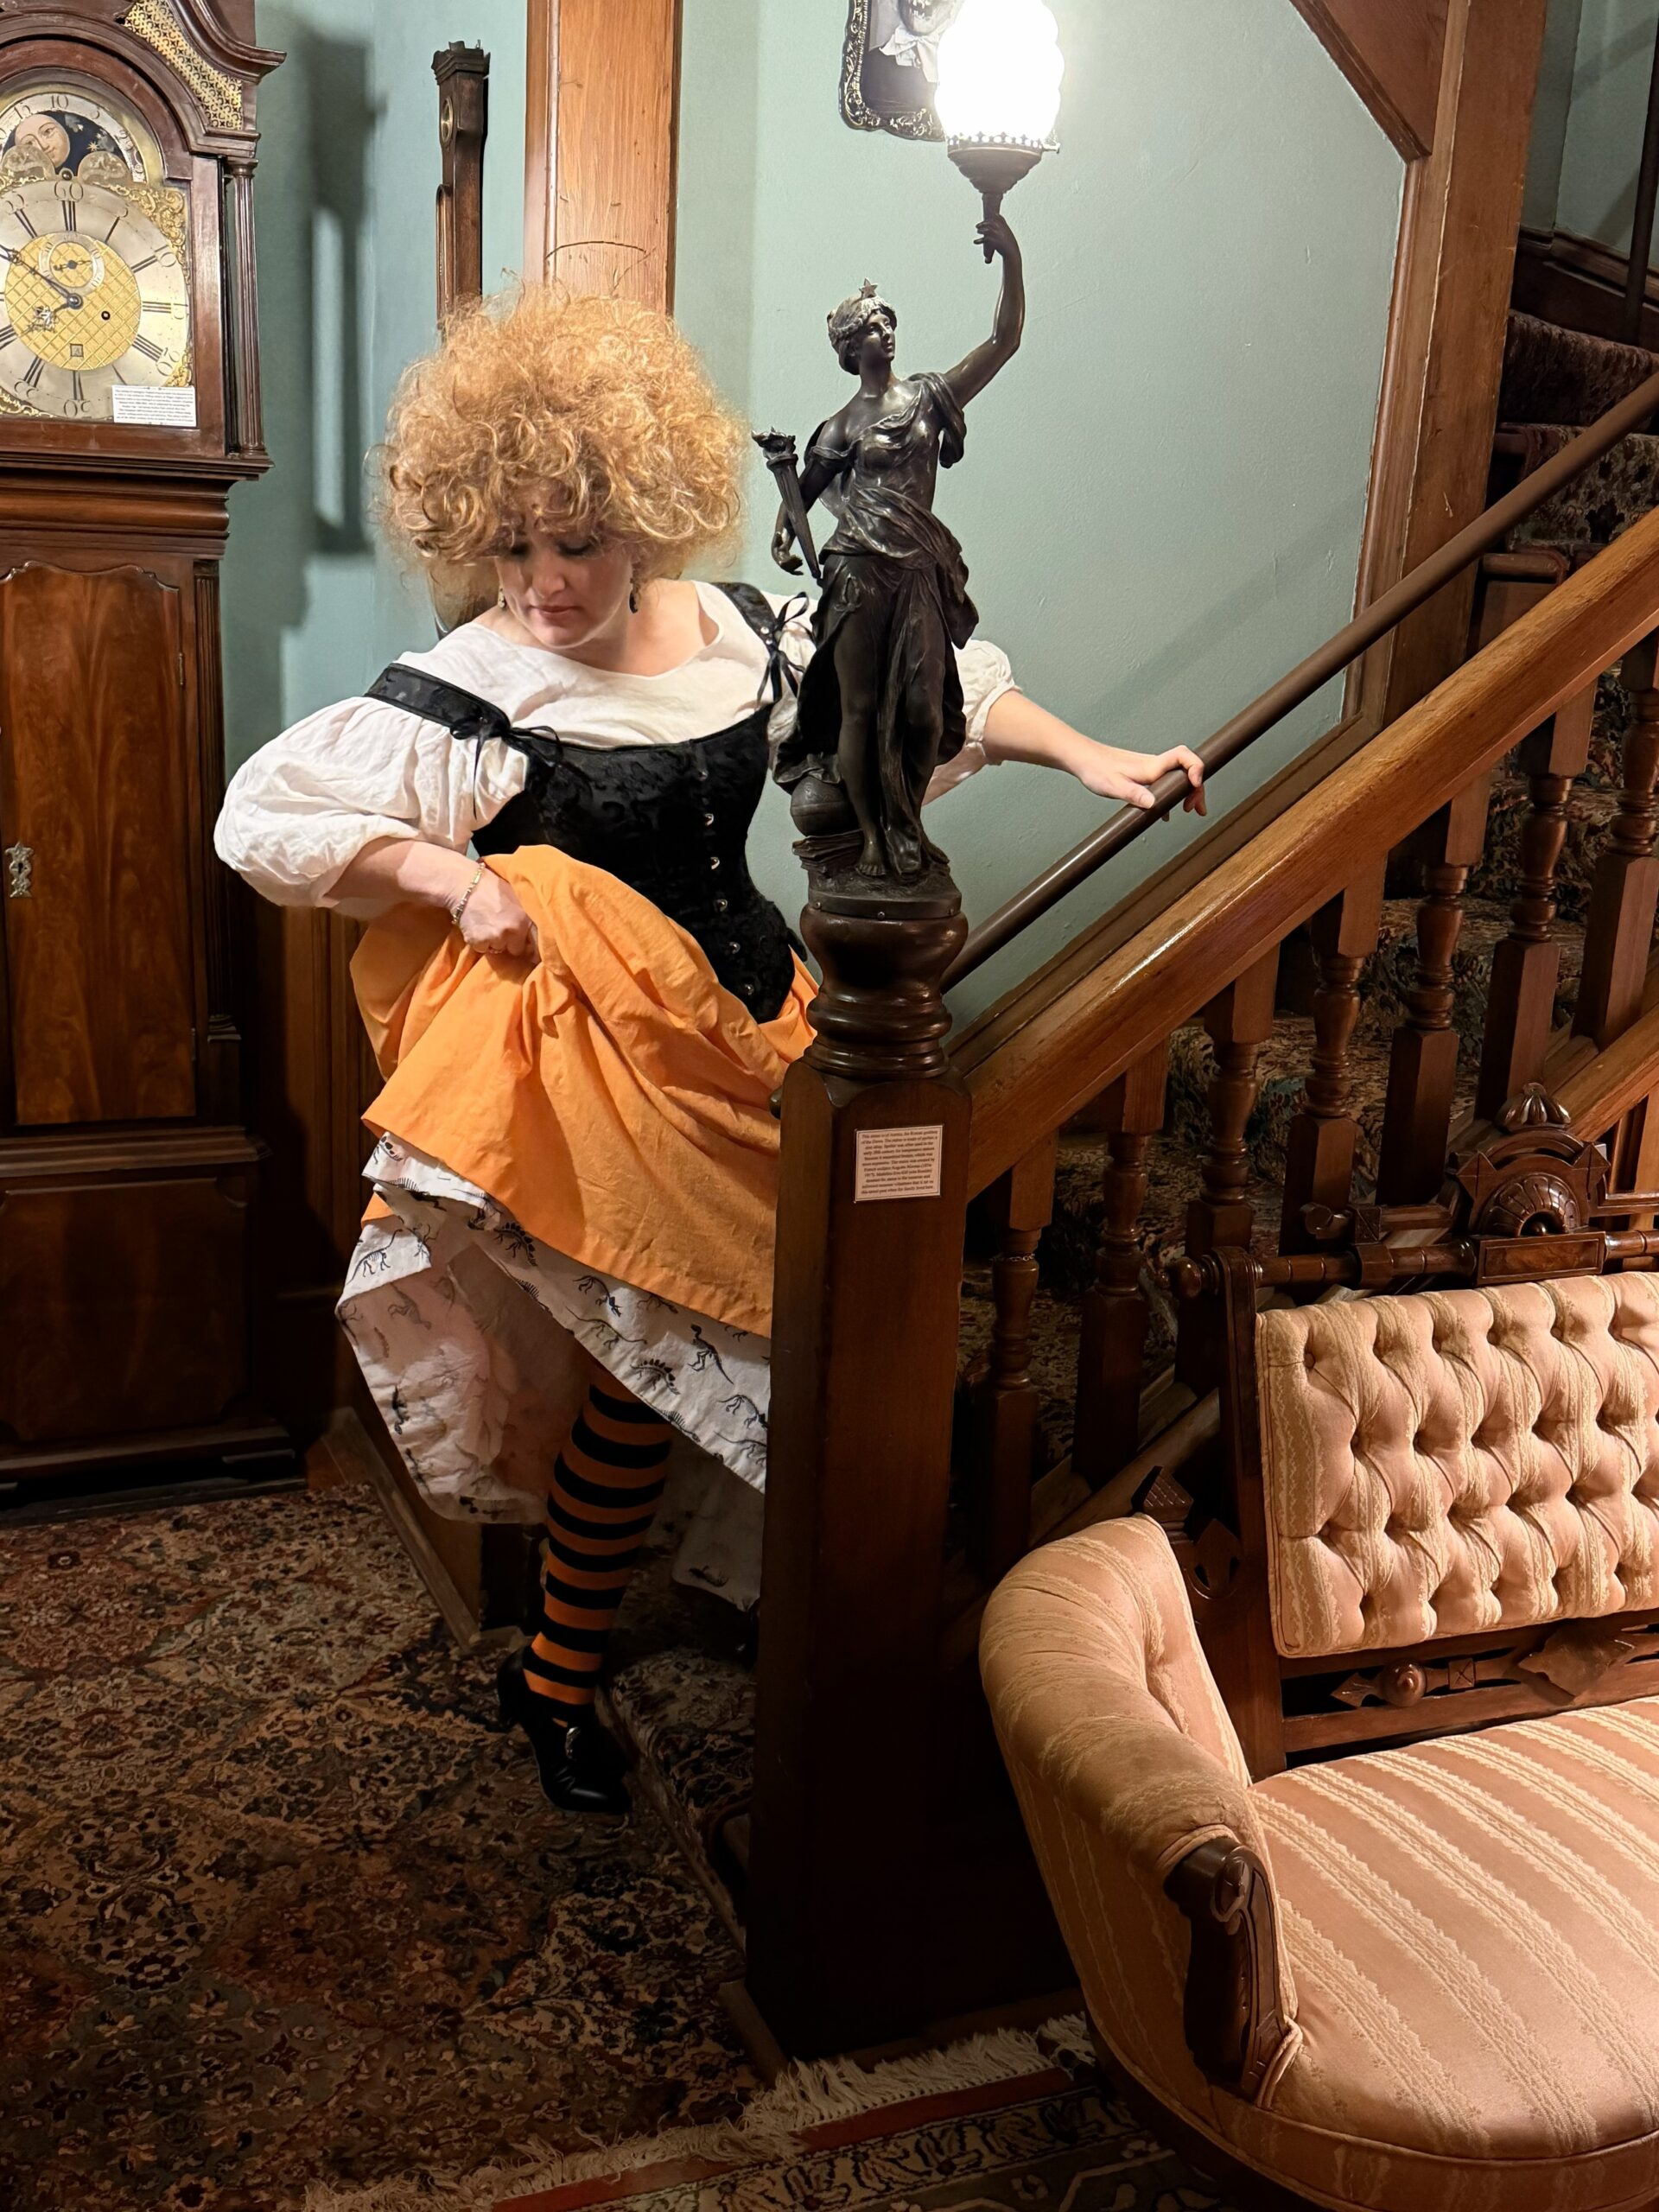
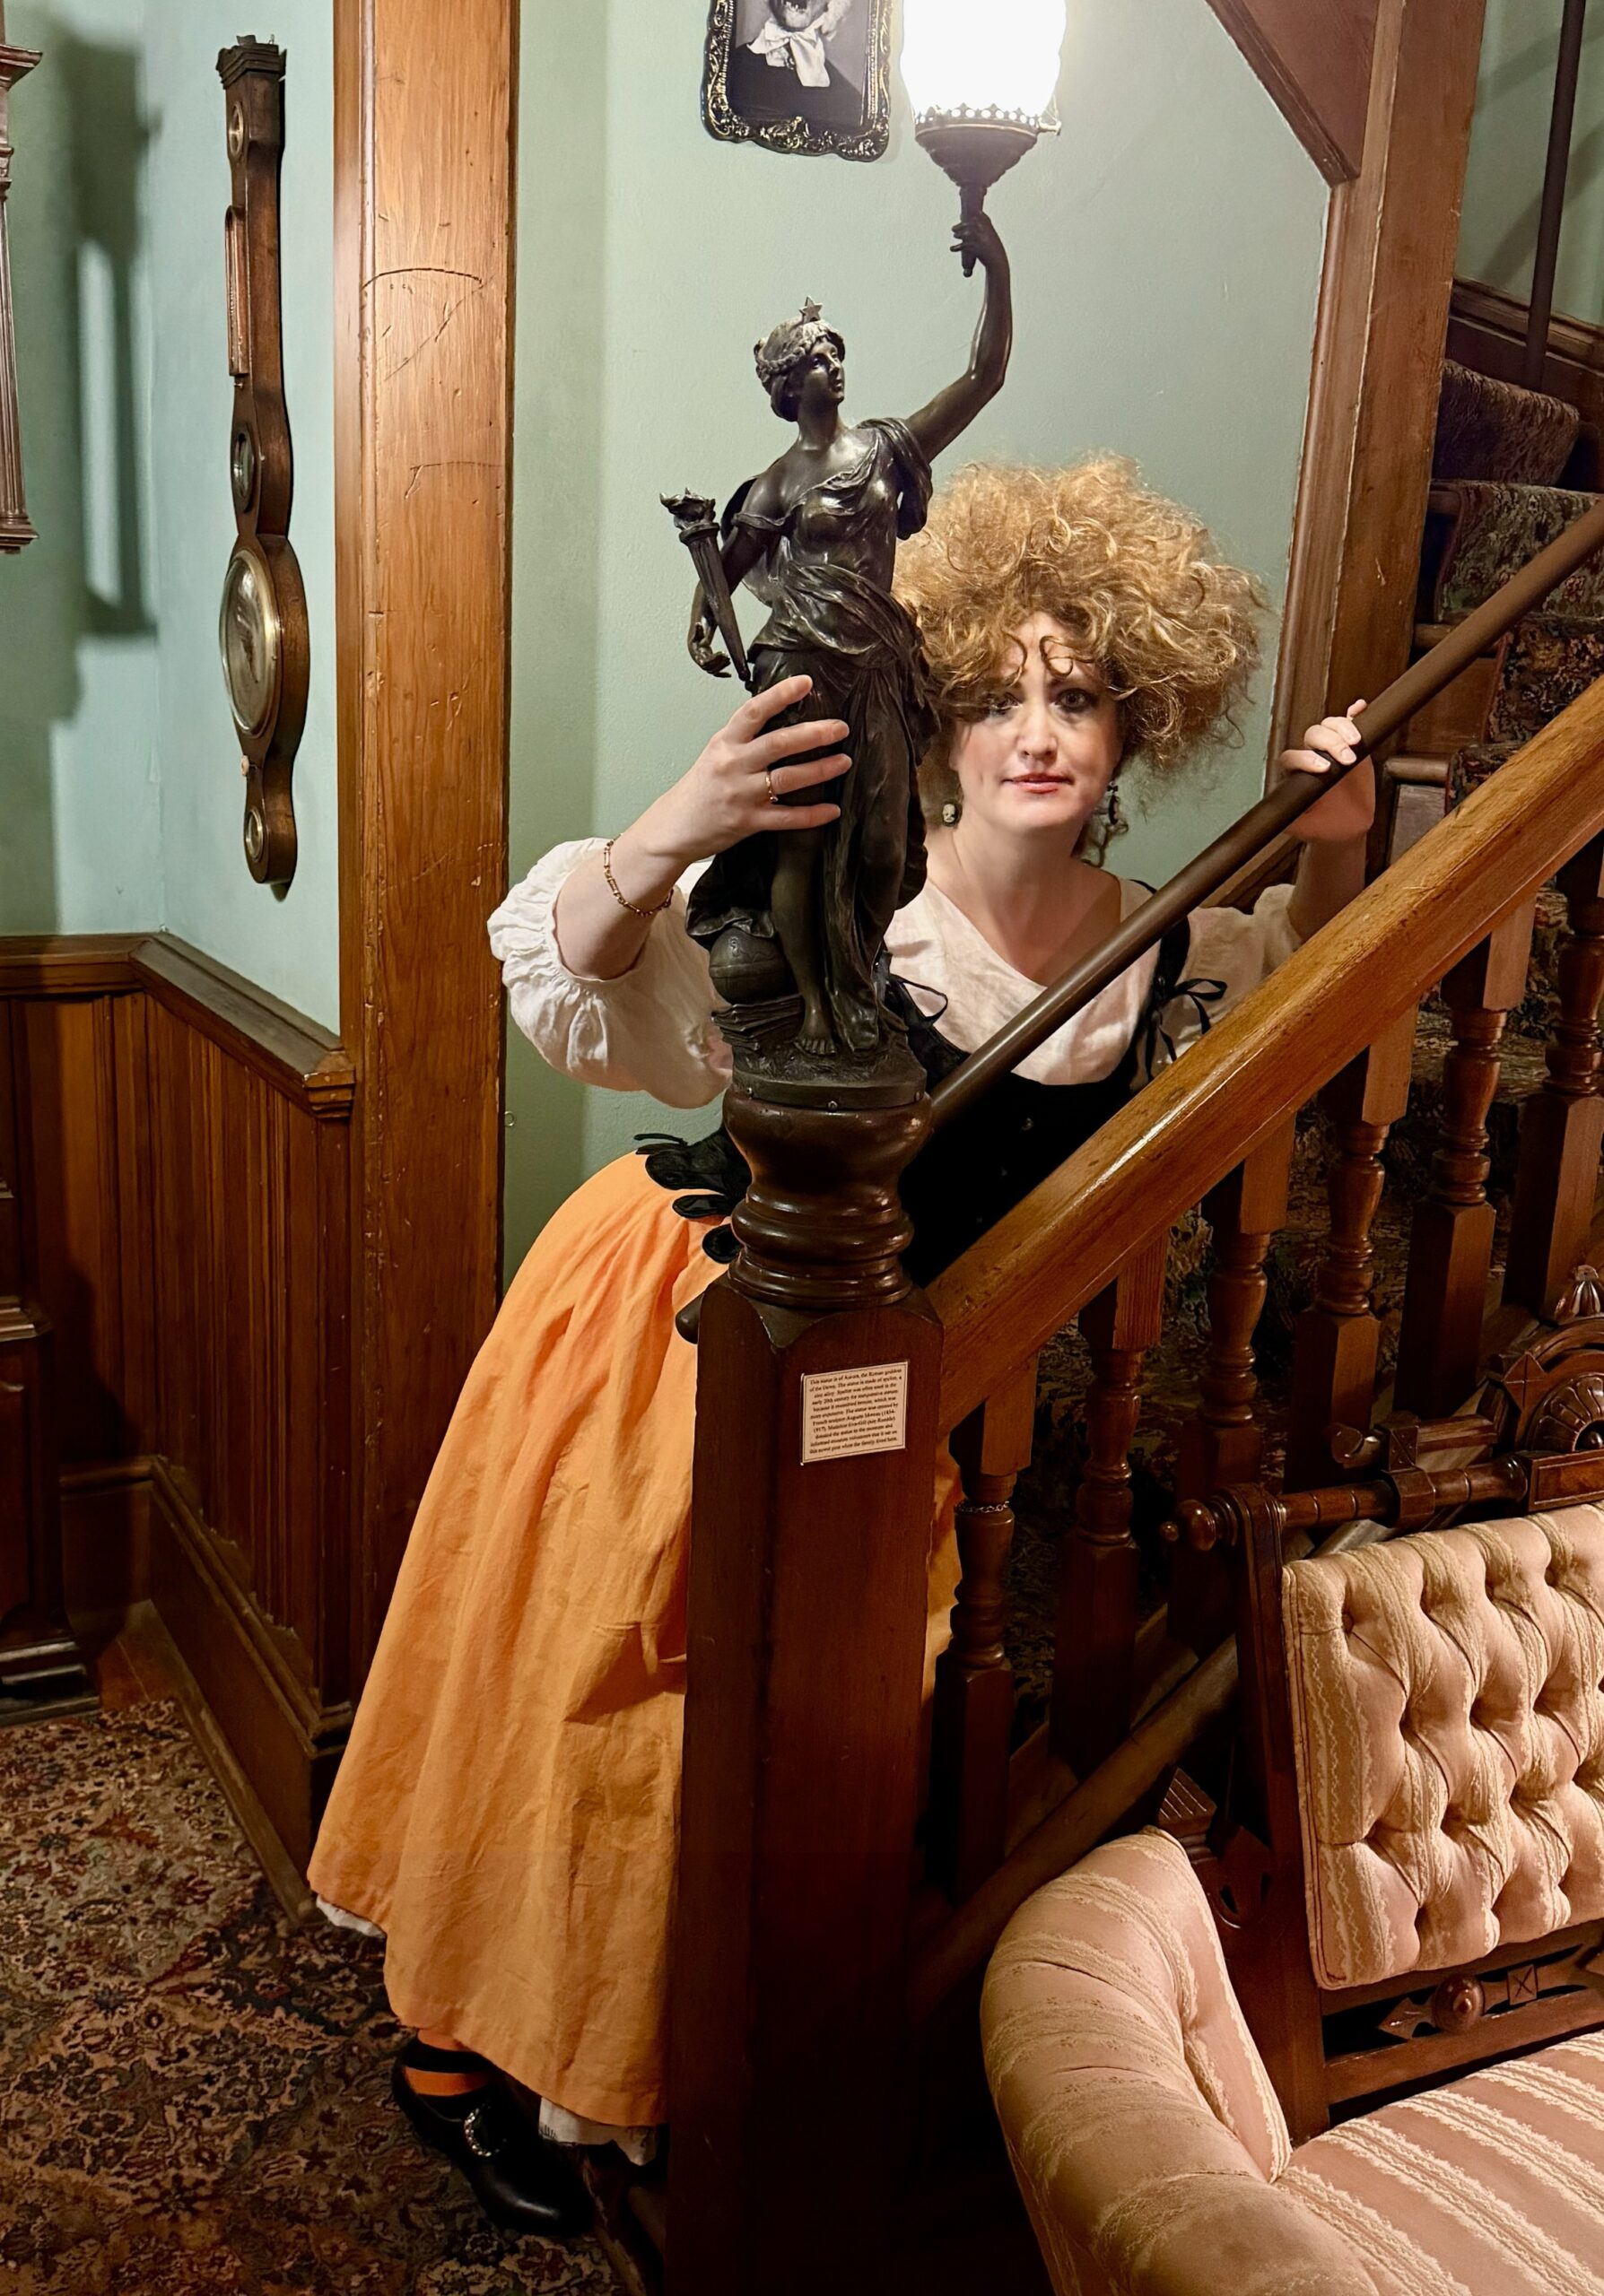
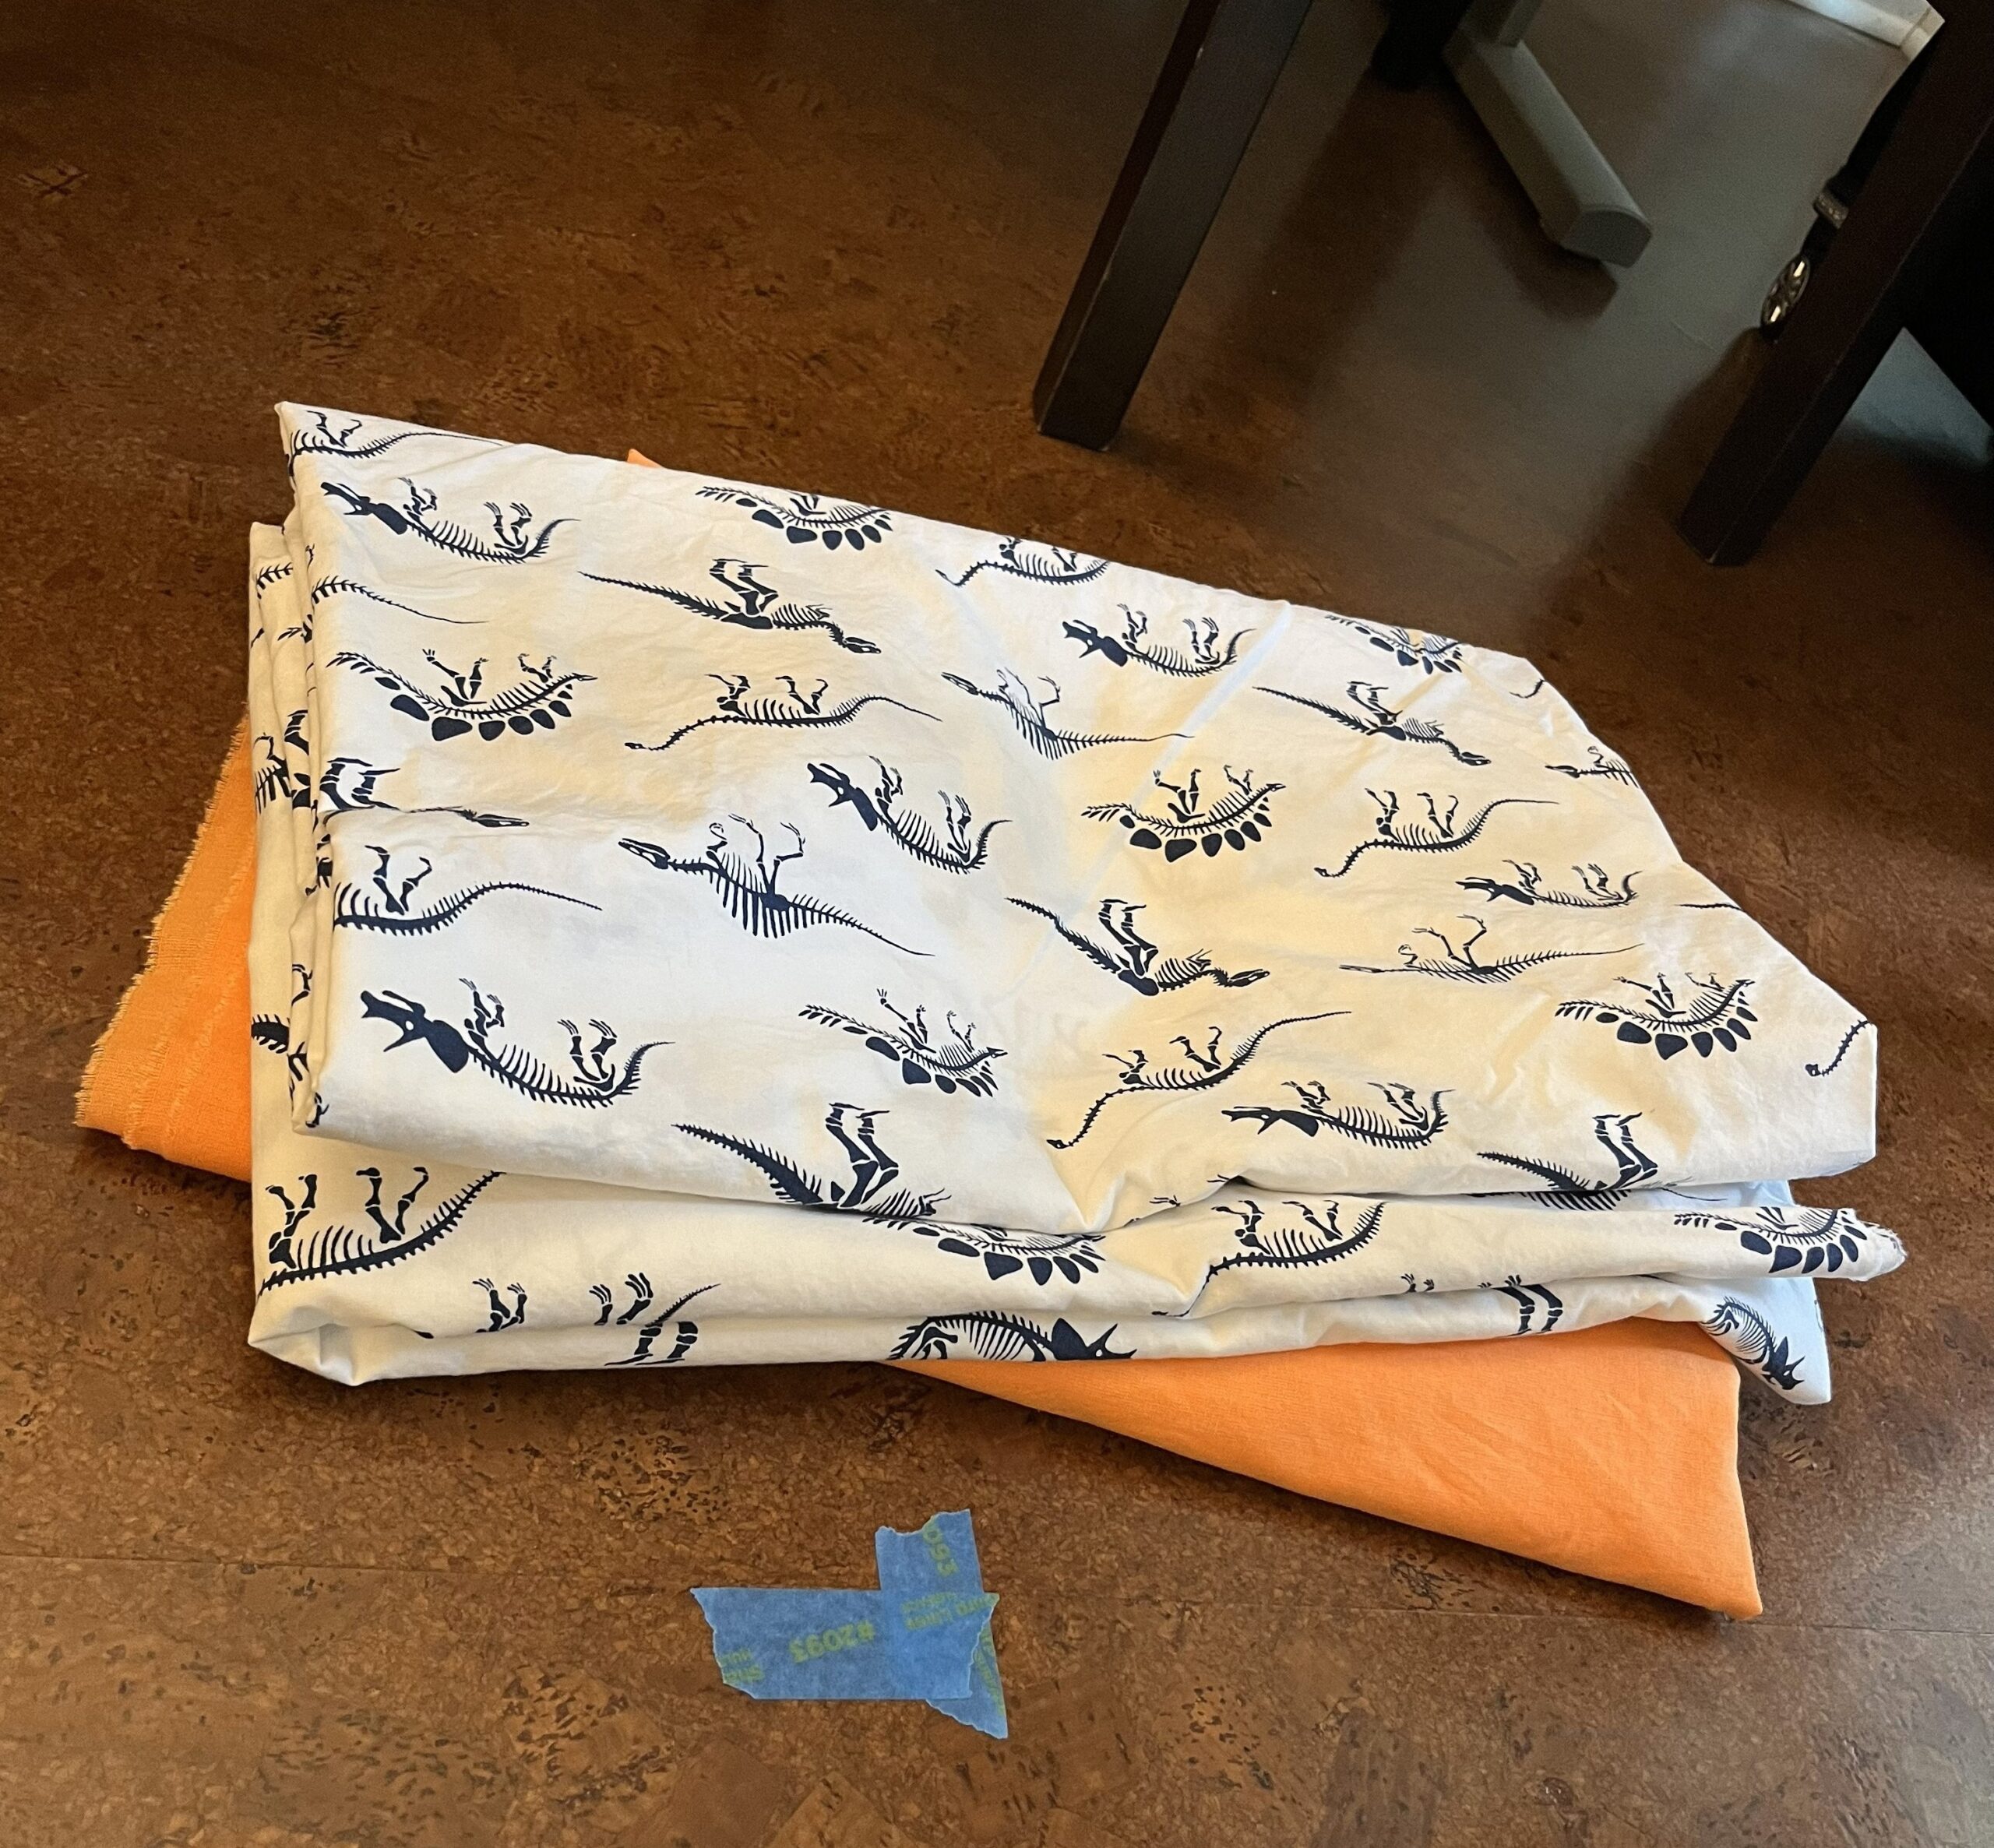
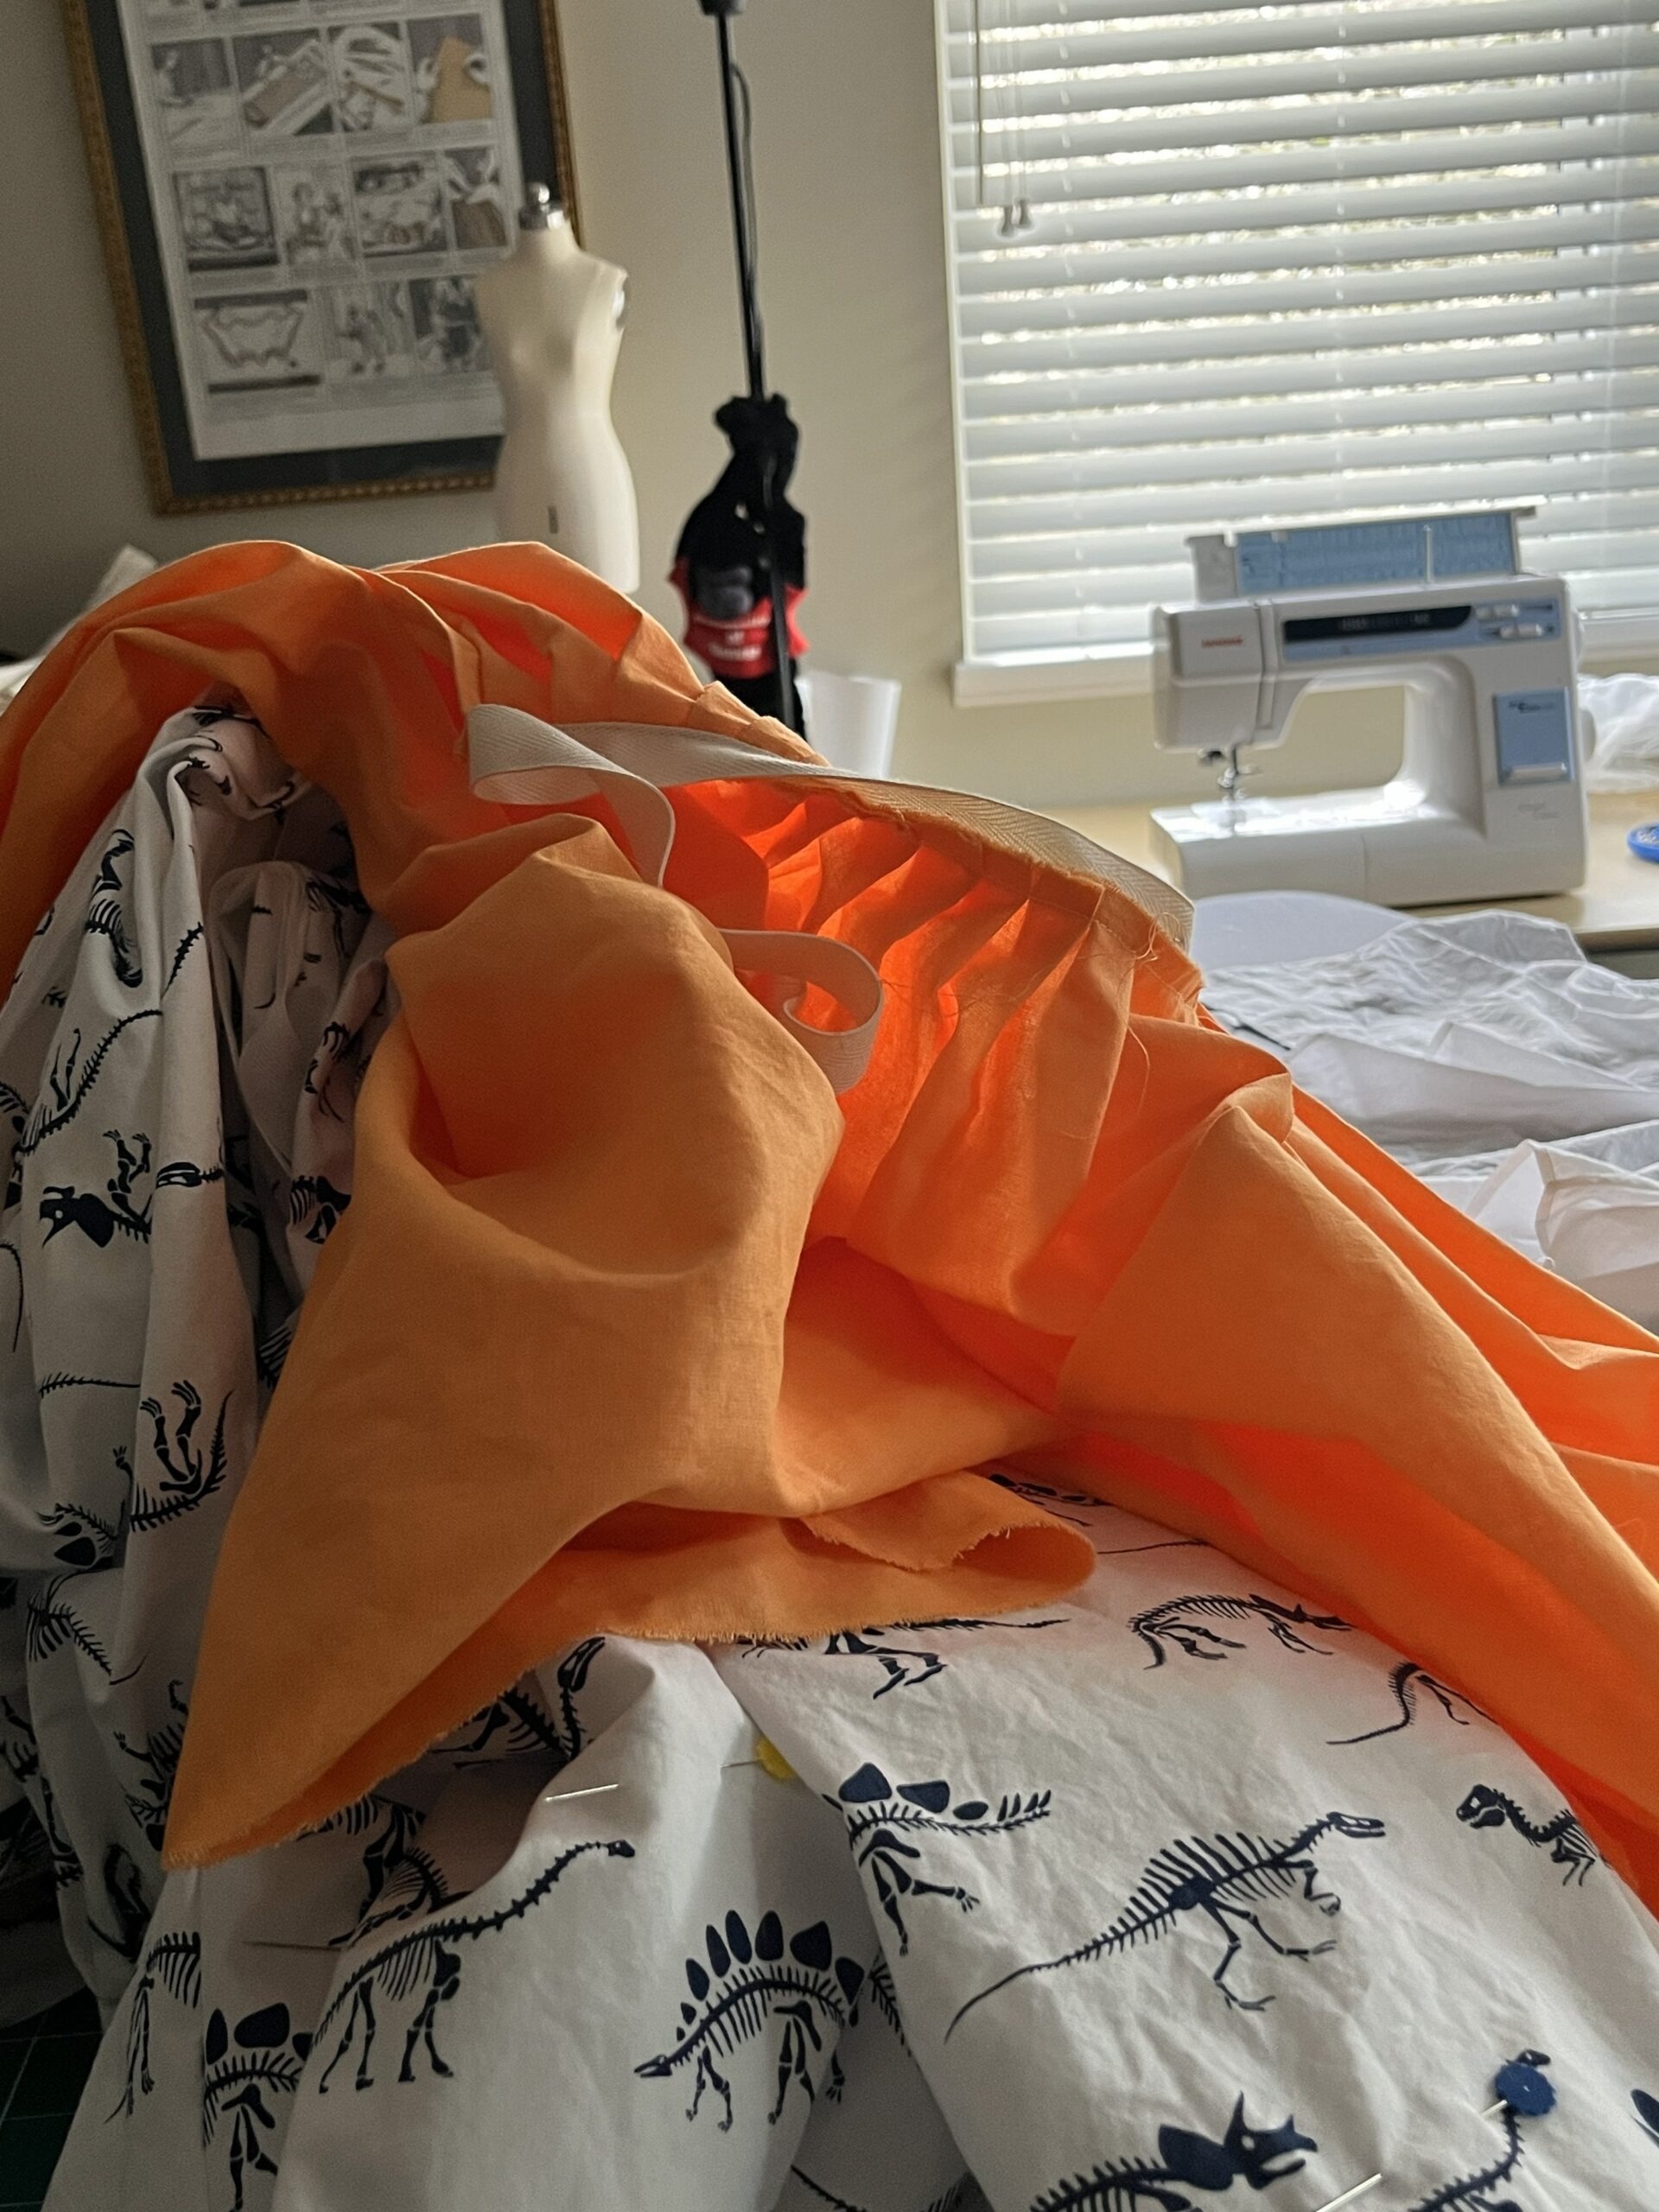
Last fall I thrifted a a bright orange Ikea duvet and a pottery barn sheet with dinosaur skeletons on it. I was thrilled; a single size sheet is has enough fabric for an 18th century pleated petticoat, and together these fabrics would make fantastic Halloween Petticoats for a Halloween-y take on historical Pastoral fashion!
Let’s make them, shall we?
For this Halloween costume, I am making “straight” – or unshaped – petticoats. Modern fabric commonly comes in widths of 52- 55 inches, a good width for a petticoat with pleasing volume.
A standard single bed sheet is 66 inches wide. For this project I wanted the volume of those extra 10 inches, so I didn’t bother to trim down the sides of the dinosaur fabric. The orange duvet cover, on the other hand, was a ginormous 86 inches wide, and I trimmed it down to match the width of the dinosaur sheet.
Measuring and Cutting:
For an unshaped petticoat, you need only two measurements – your natural waist (measured over your stays for the correct 18th century dimensions) and your petticoat length.
To measure the petticoat length, measure from your waist down to however far above the floor you want your petticoat to stop. As a rule of thumb, for an upper-class impression the petticoat hem should sit about 2 inches off of the floor. For a working class impression, you want the petticoat to be high enough to clear your ankles (to keep it out of mud and dirt and ashes). Once you’ve decided how long the finished petticoat should be, add your preferred hem allowance (for the bottom hem) + 1/4 inch (for the waistband).
(Petticoat Length = measured length + hem allowance + 1/4″)
Cut two widths of your fabric at this length.
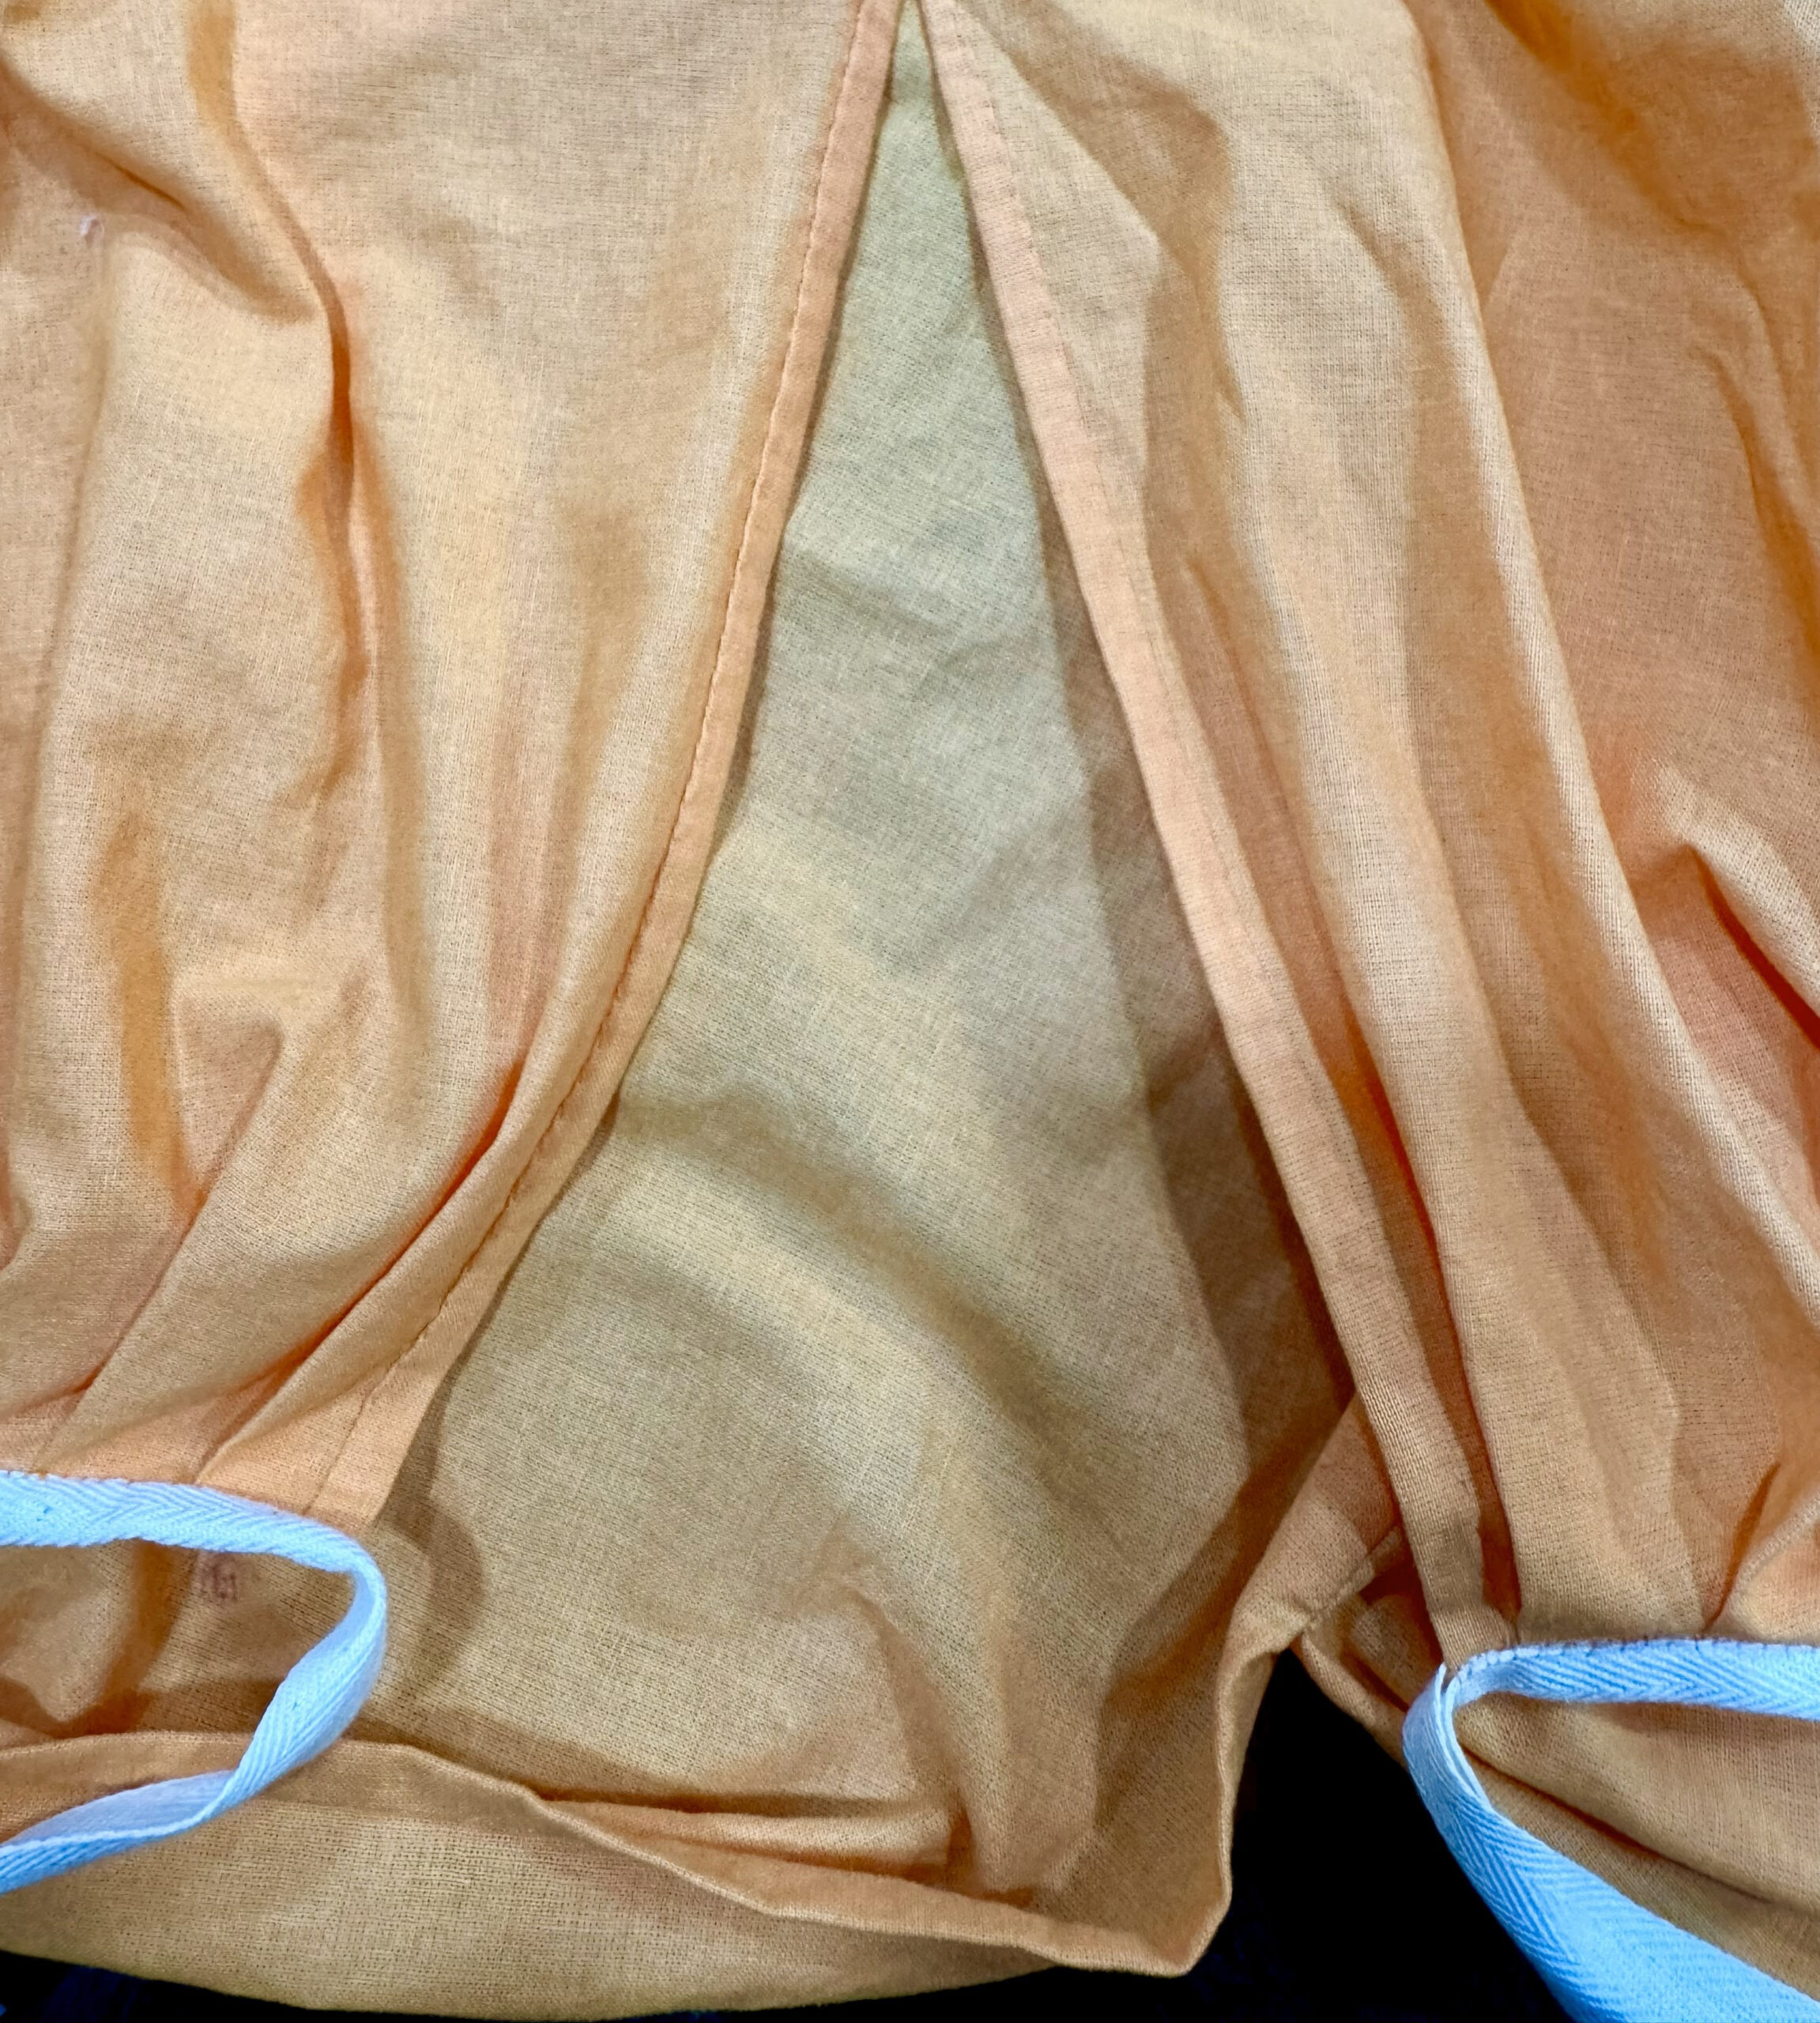
Hemming the side openings (pocket slits):
Note: If you’re using the full width of your fabric you can skip this step – the selvage edges will serve as your hemmed edge.
If your fabric has raw edges, measure down 10 inches from the top of the fabric and mark this point. Then fold a 1/4 inch seam allowance from the top edge of the fabric down to your marked point, fold again, press your folded hem, and sew the hem down to the marked point
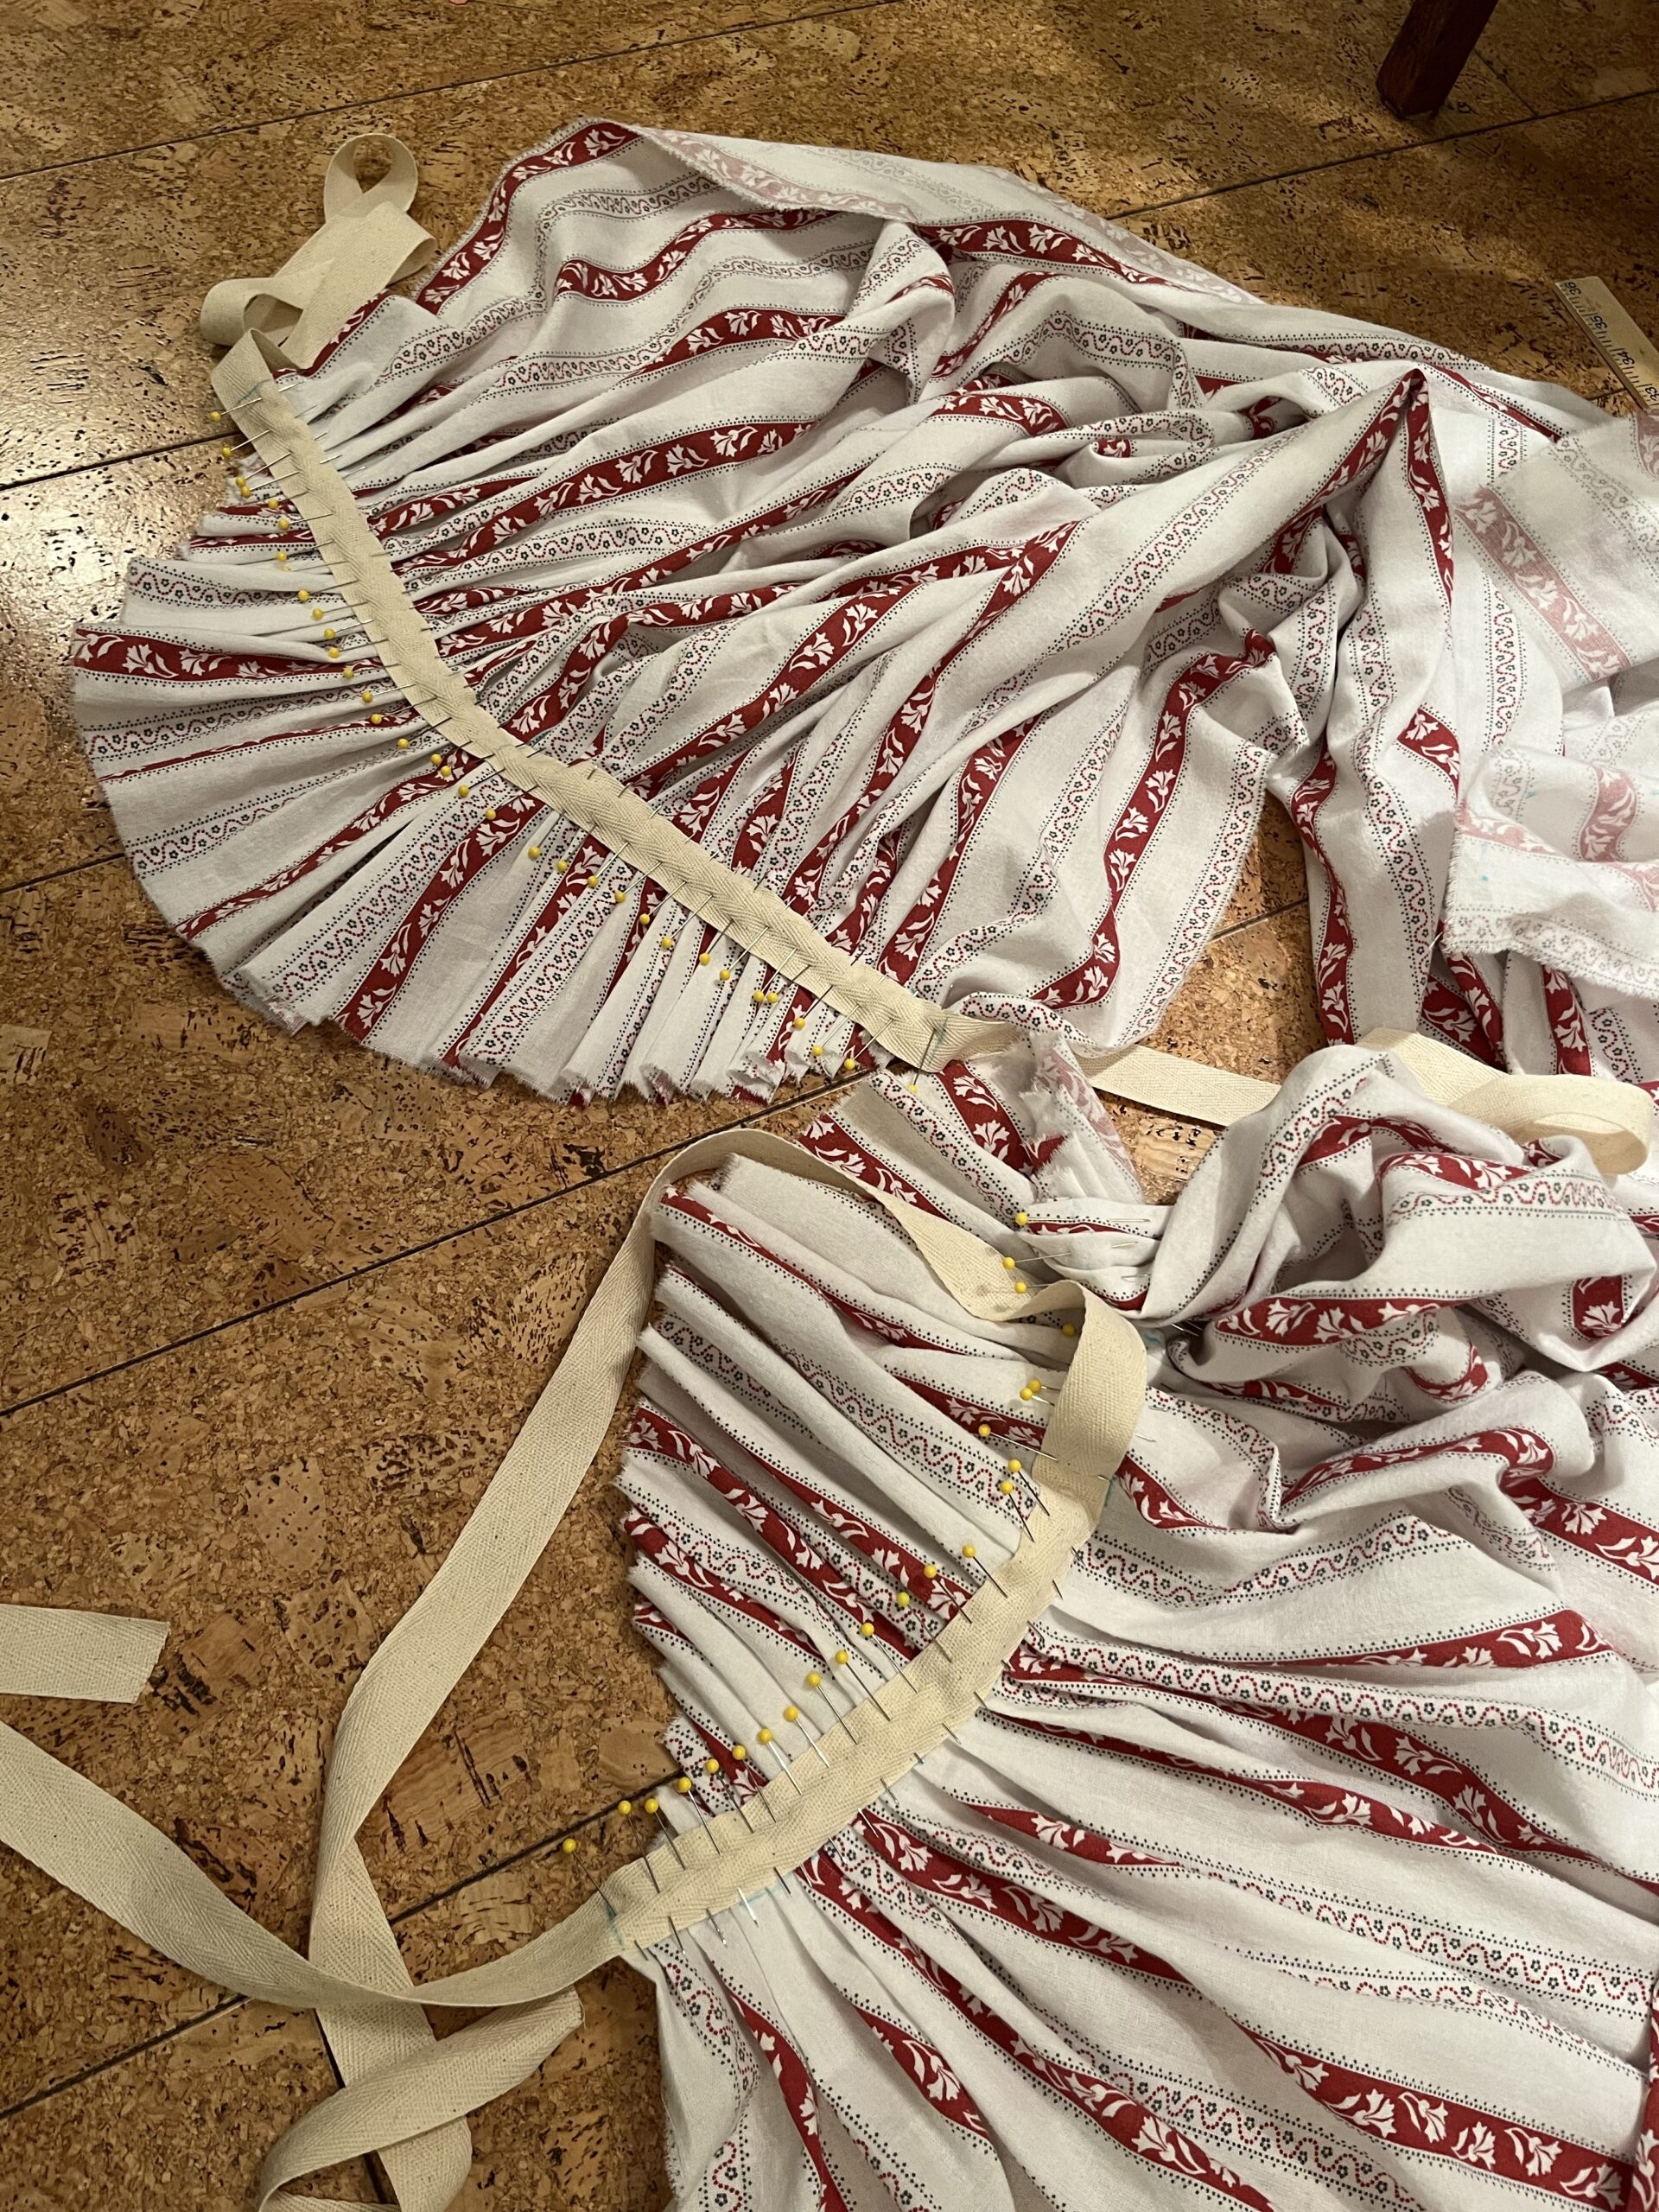
Pleating the Back Panel:
Note: I like to do my pleating before I sew the panels together. It makes the whole process a lot less fiddly!
Take your waist measurement and divide it in half. On an 18th century petticoat, the front and back panels are pleated separately, so each panel will be pleated down to HALF of your waist measurement.
(Aka: Panel Width = Total Waist Measurement ÷ 2)
Find the mid-point of the panel and mark with a pen or pin.
Start the pleating with a two wide knife pleats at the center back to make an inverted box pleat. This box pleat should be between 3 and 5 inches across.
(Note: I personally find that a 4 inch box pleat creates the smoothest drape over my own stomach, so I make each half of the box pleat 2 inches deep. Your own pleat measurements will vary.)
Pin this box pleat in place. The rest of the panel will now be pleated in knife pleats down to the half waist measurement you noted earlier. You can work each side individually, but make sure to keep both sides of the panel the same total width.
(Aka: Panel Width = Total Waist Measurement ÷ 2 AND Half Panel Width = Total Waist Measurement ÷ 4)
All of the pleats should face INWARDS to the mid-point of the panel, following the orientations of the first box pleat. These pleats don’t have to be precise, or perfectly identical, or even be the same number from side to side.
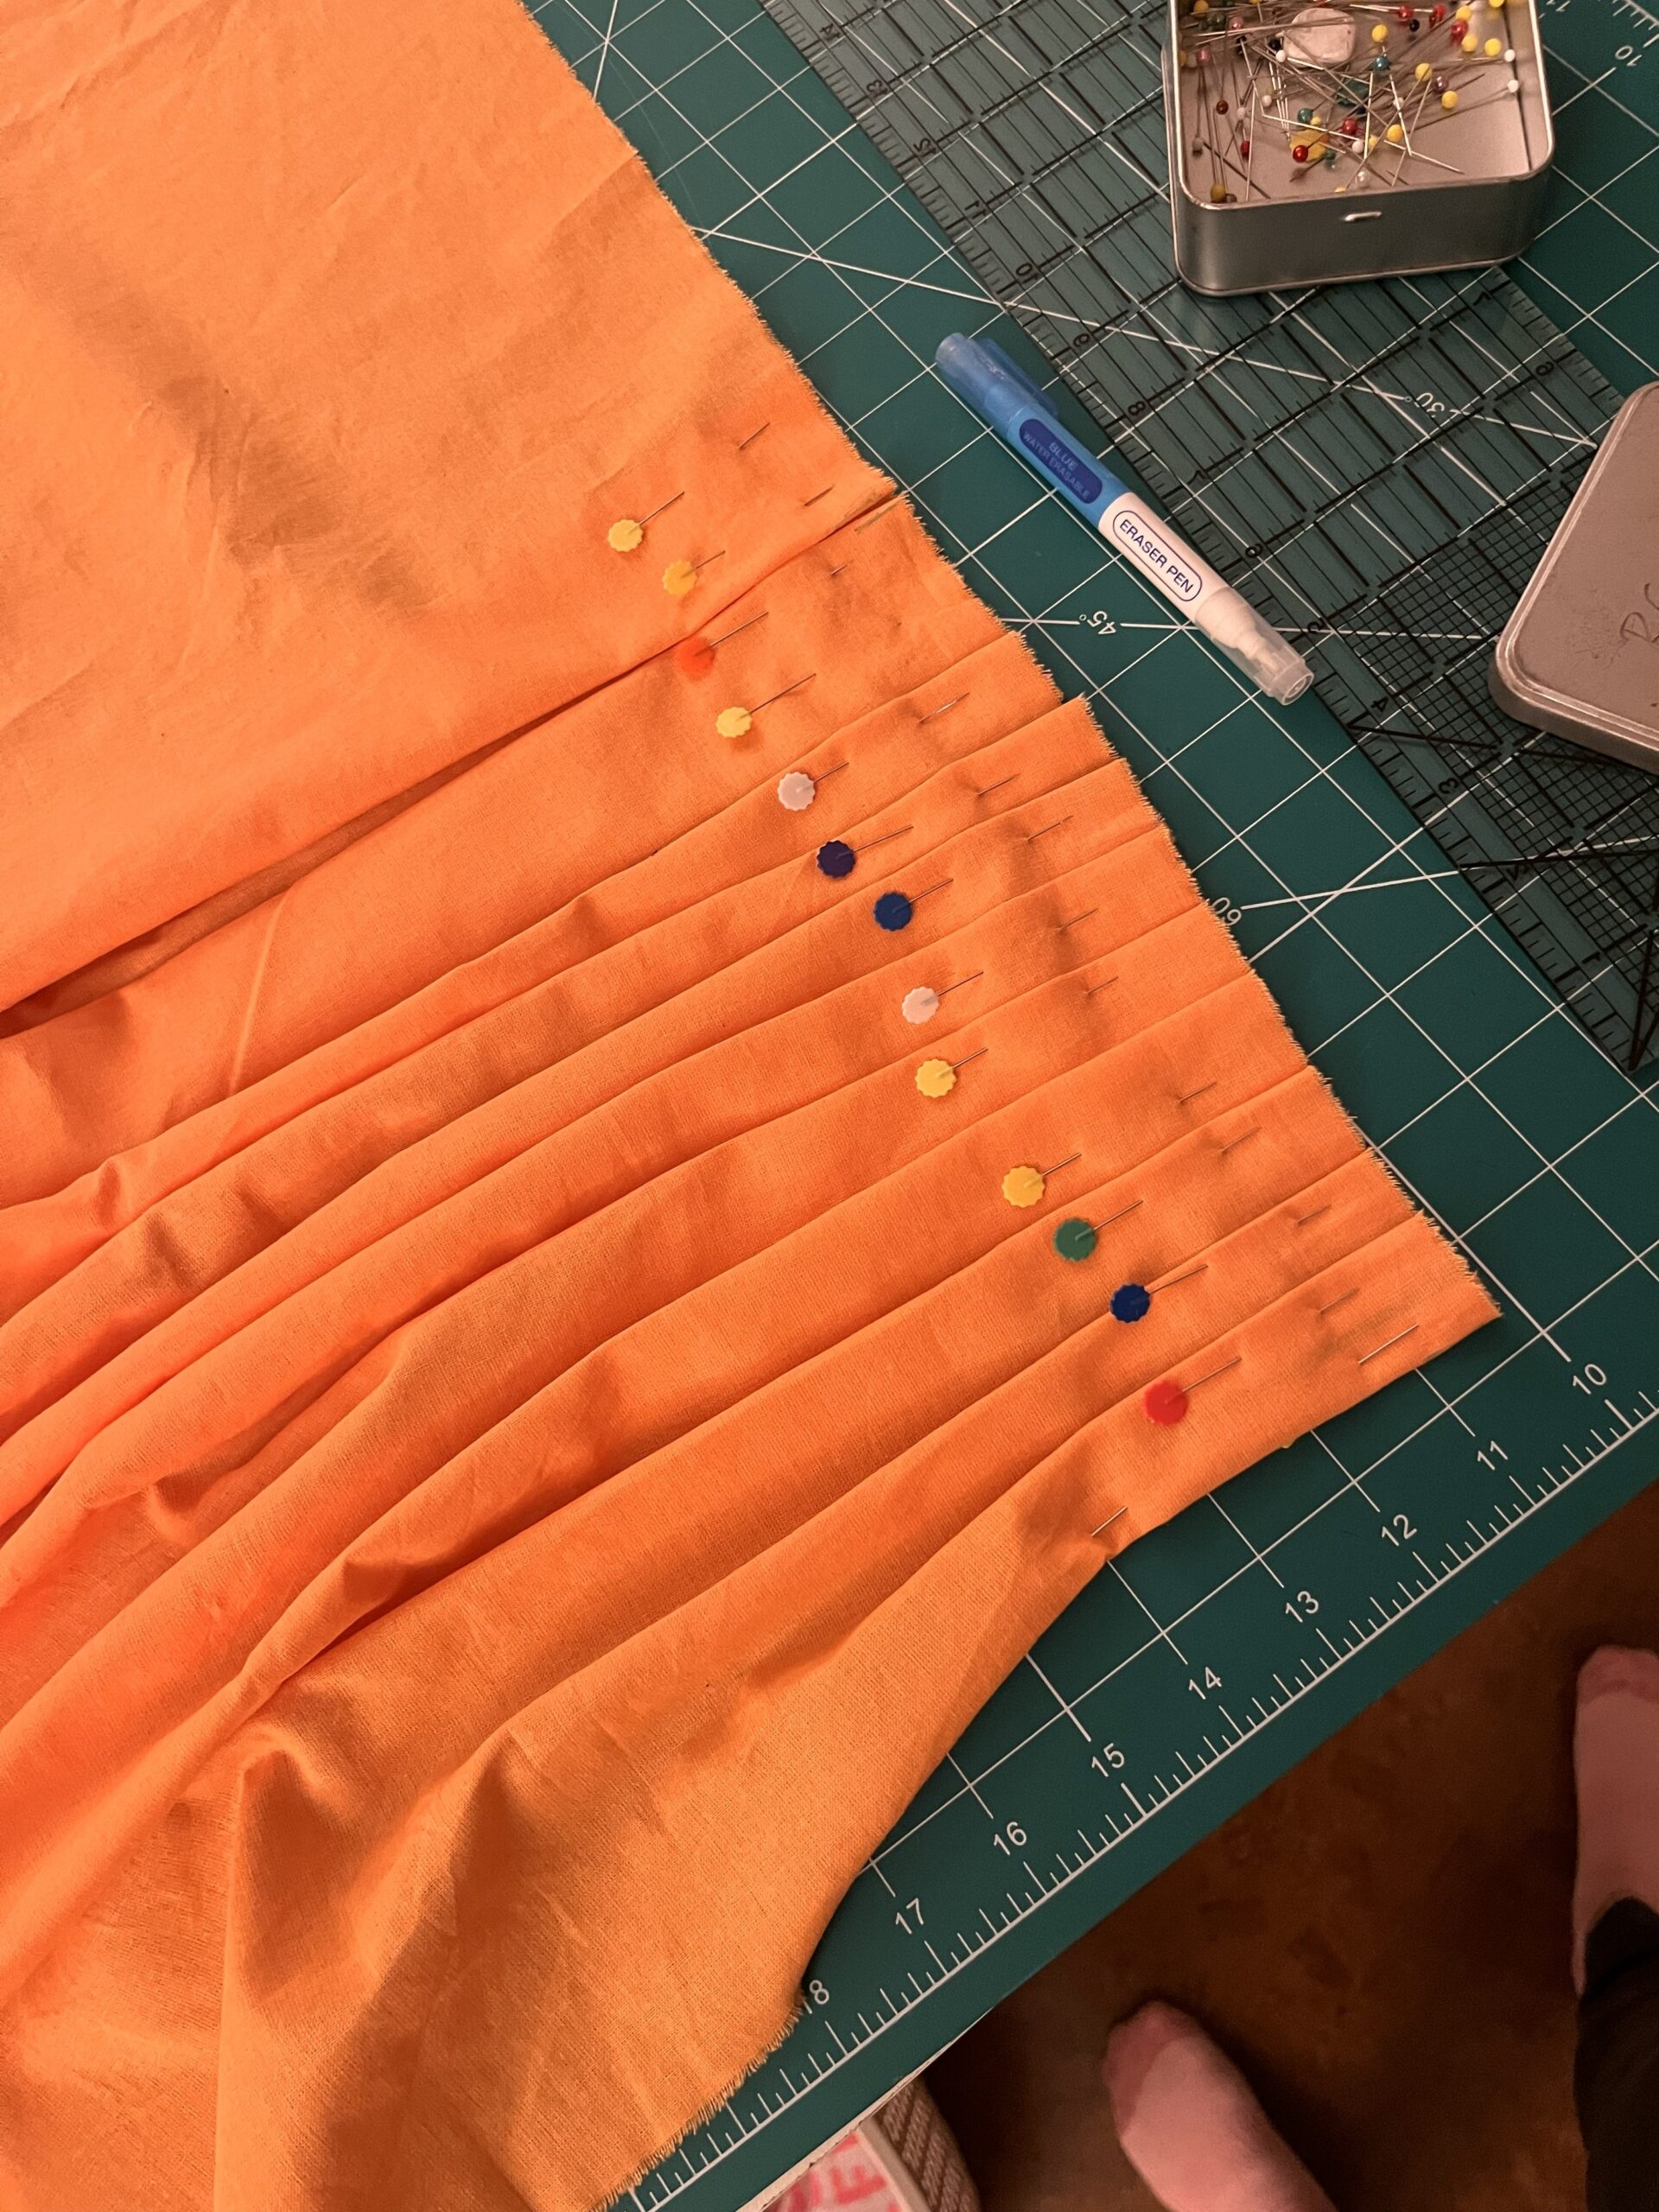
As you work, always be checking that your pleats are properly on grain and perpendicular to the waistline. Pleats that slide off grain will result in a petticoat that hangs awkwardly.
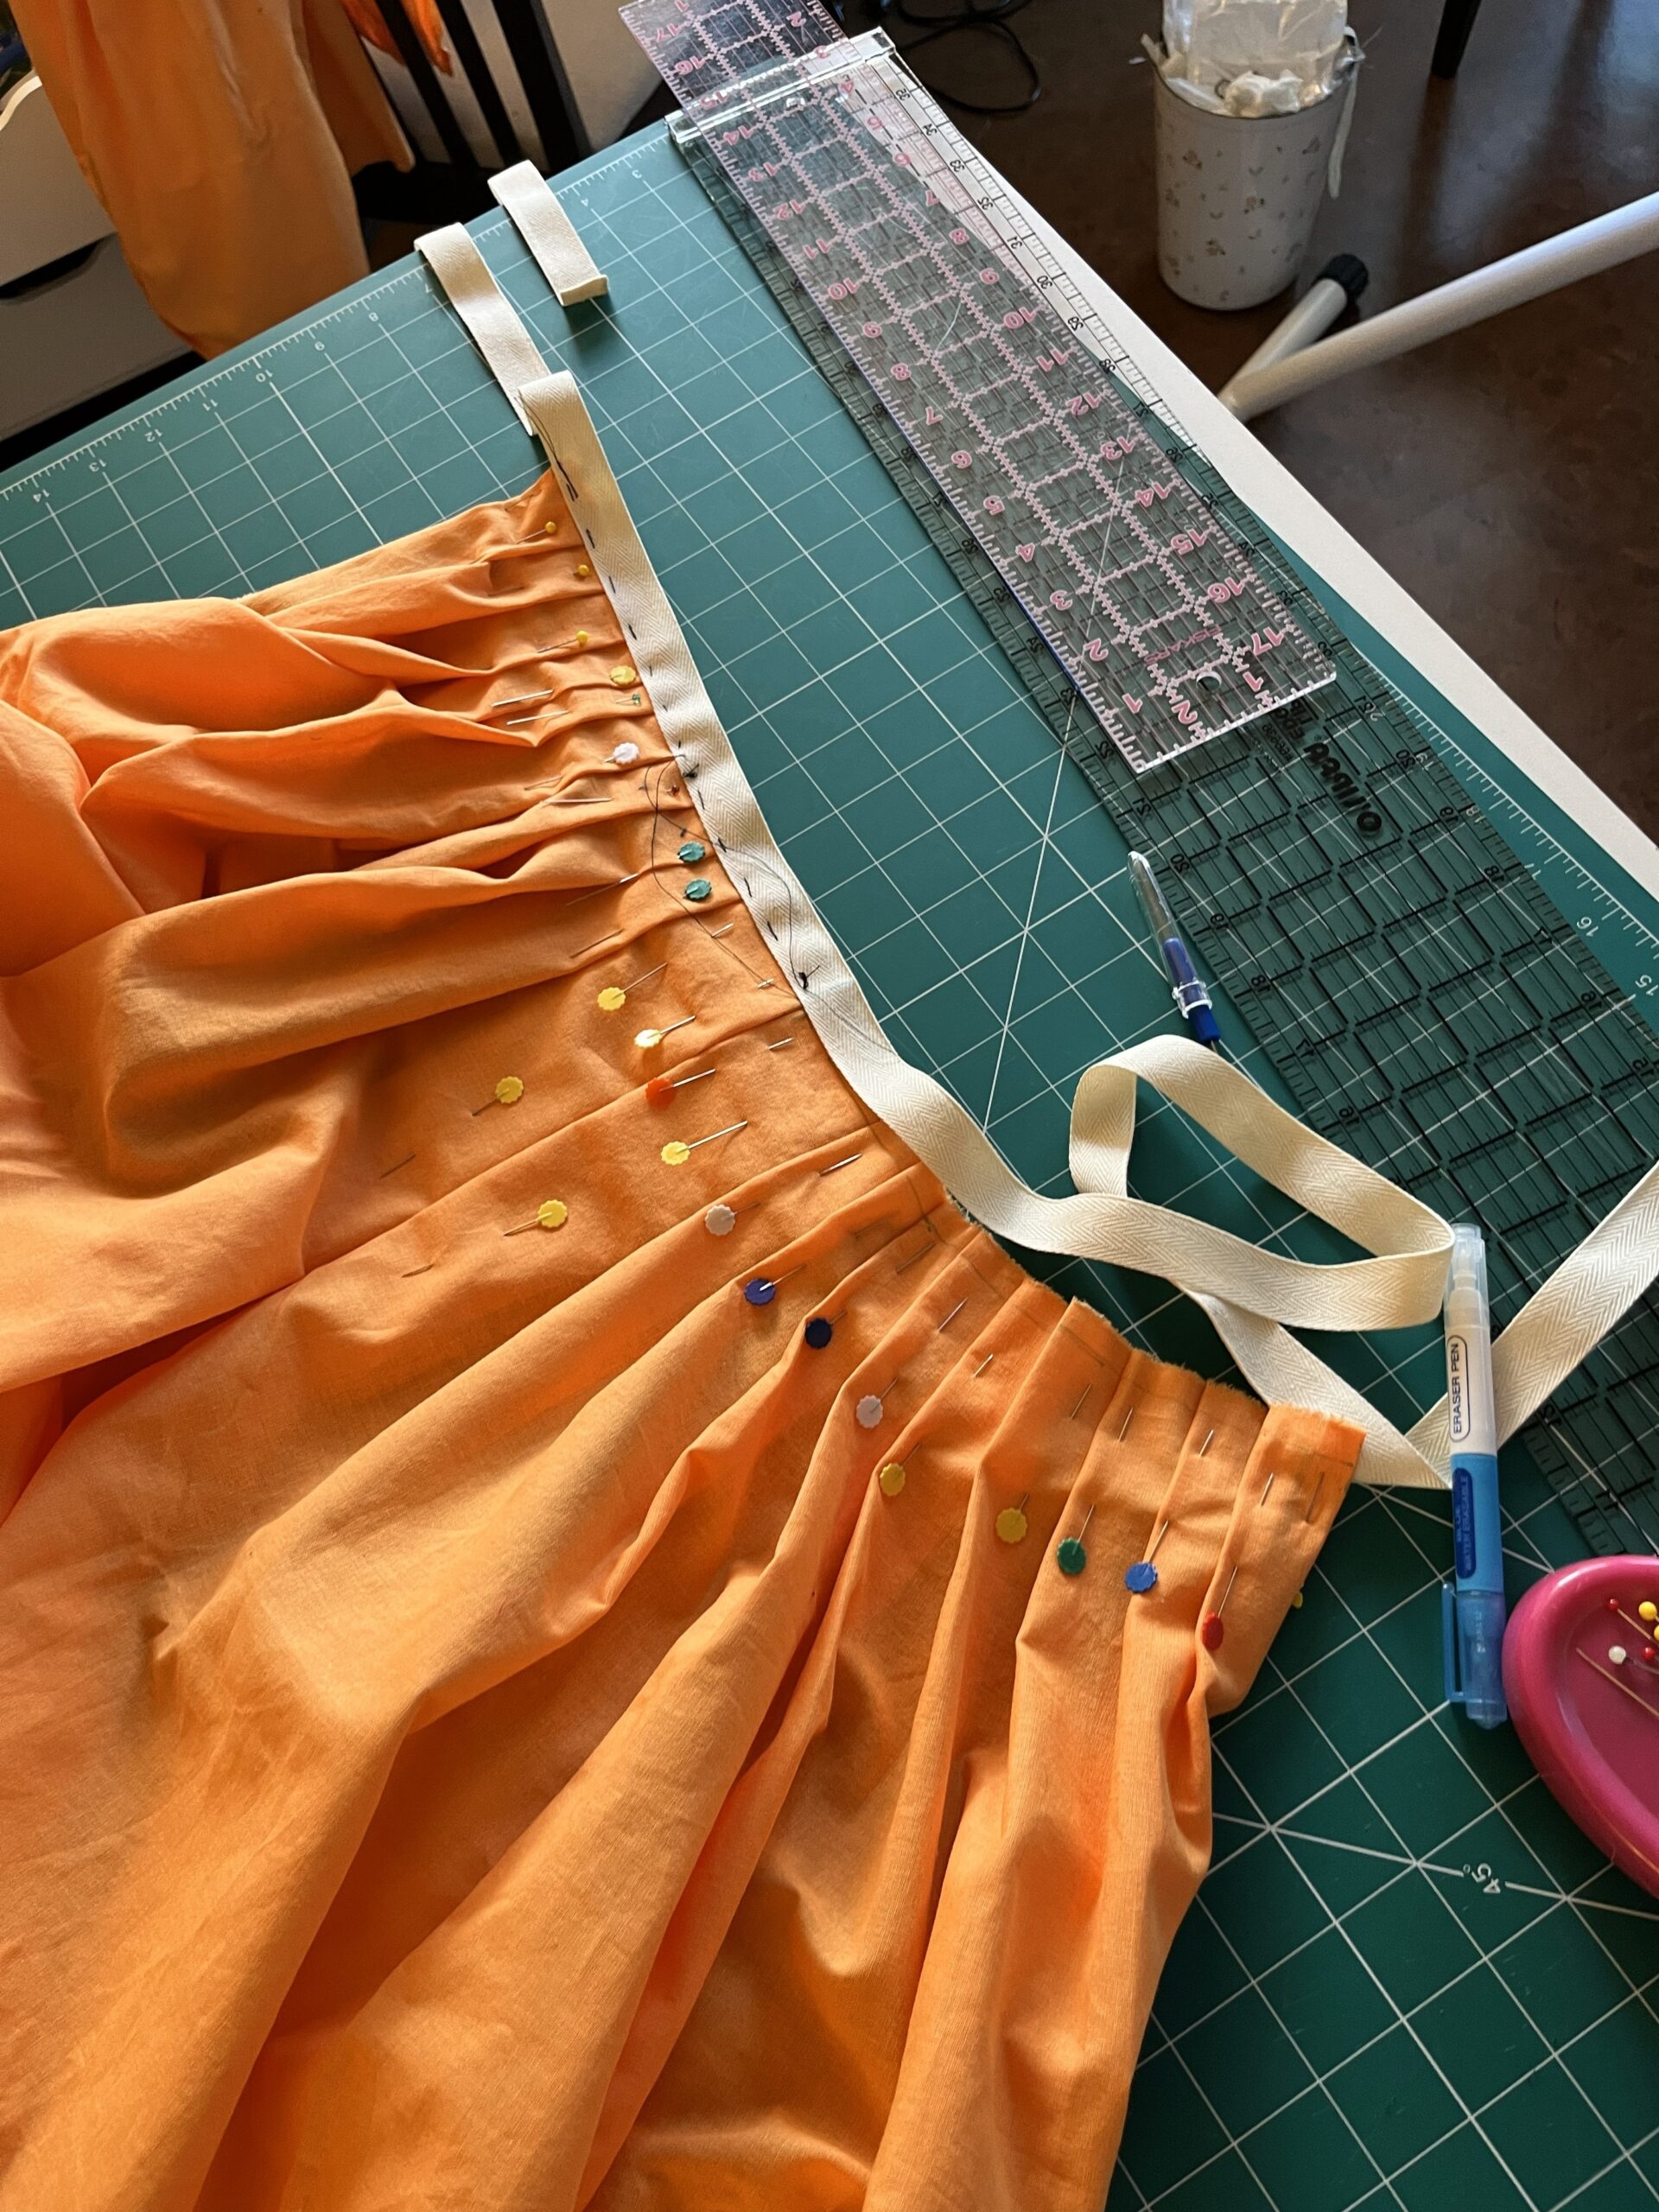
It’s a fiddly process. Pleat a bit, fuss a bit and repeat until each half of each panel is down to its quarter waist measurement, and then pin like blazes to stop it all shifting during the next step.
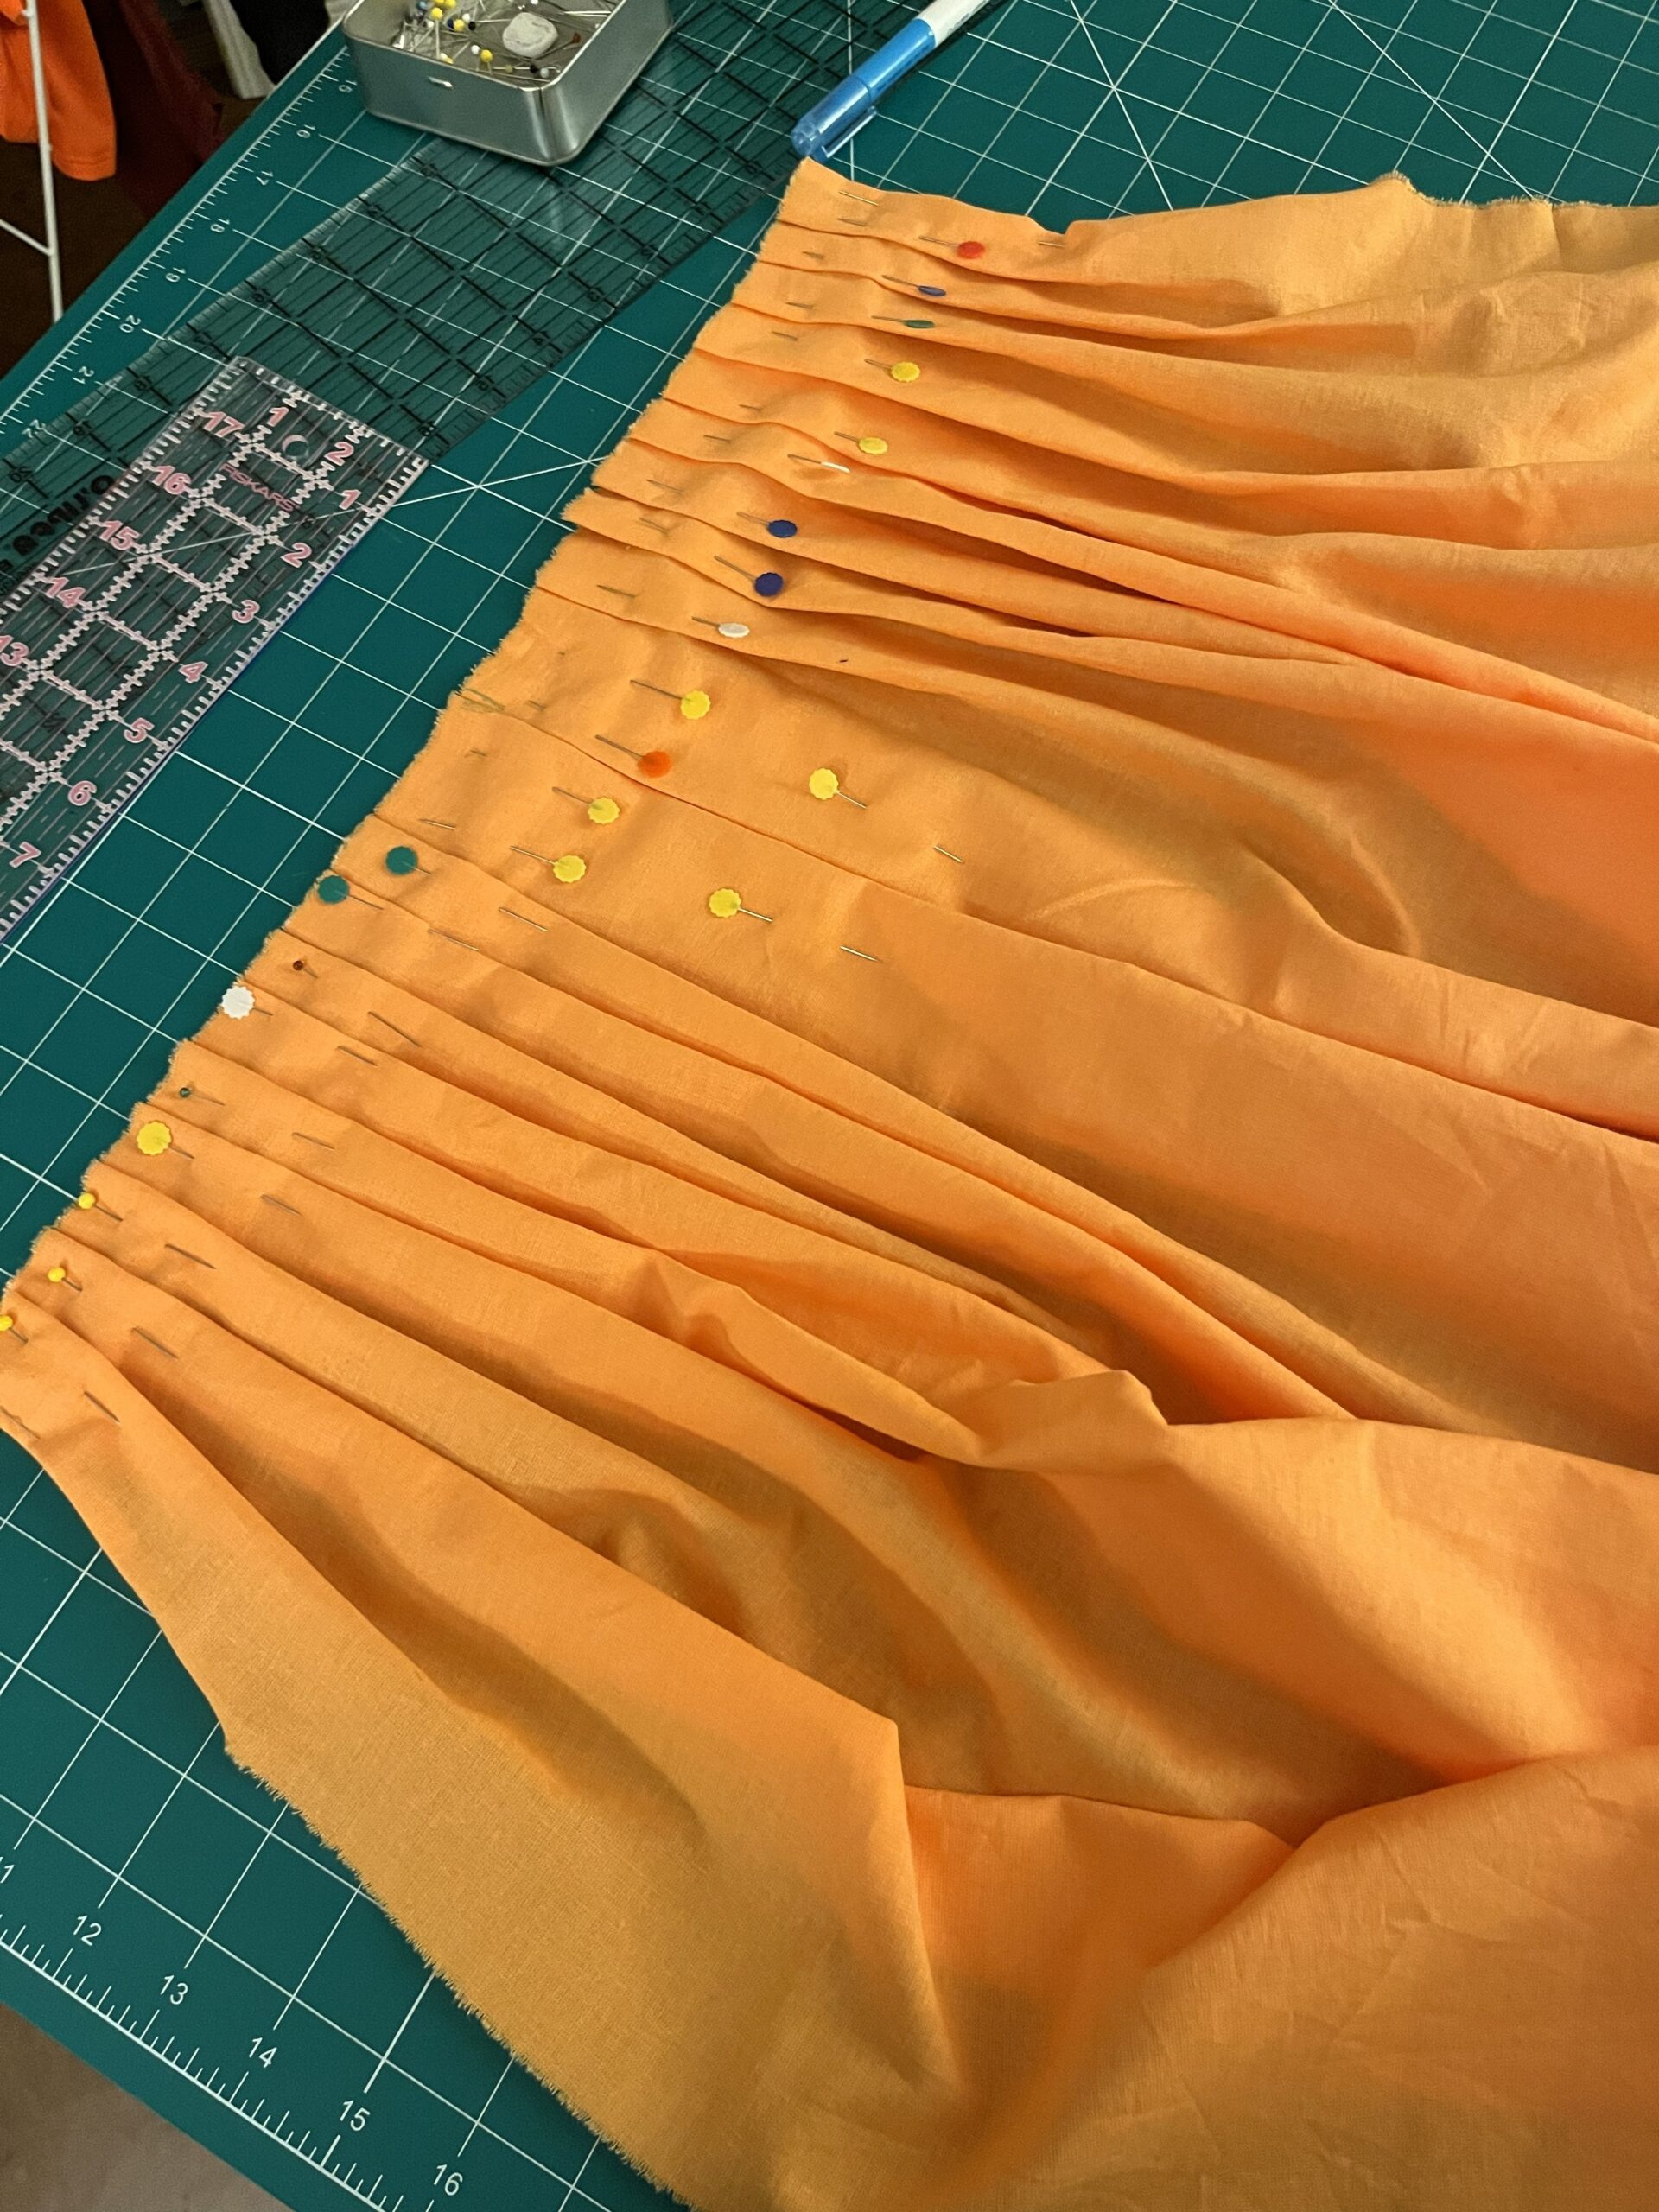
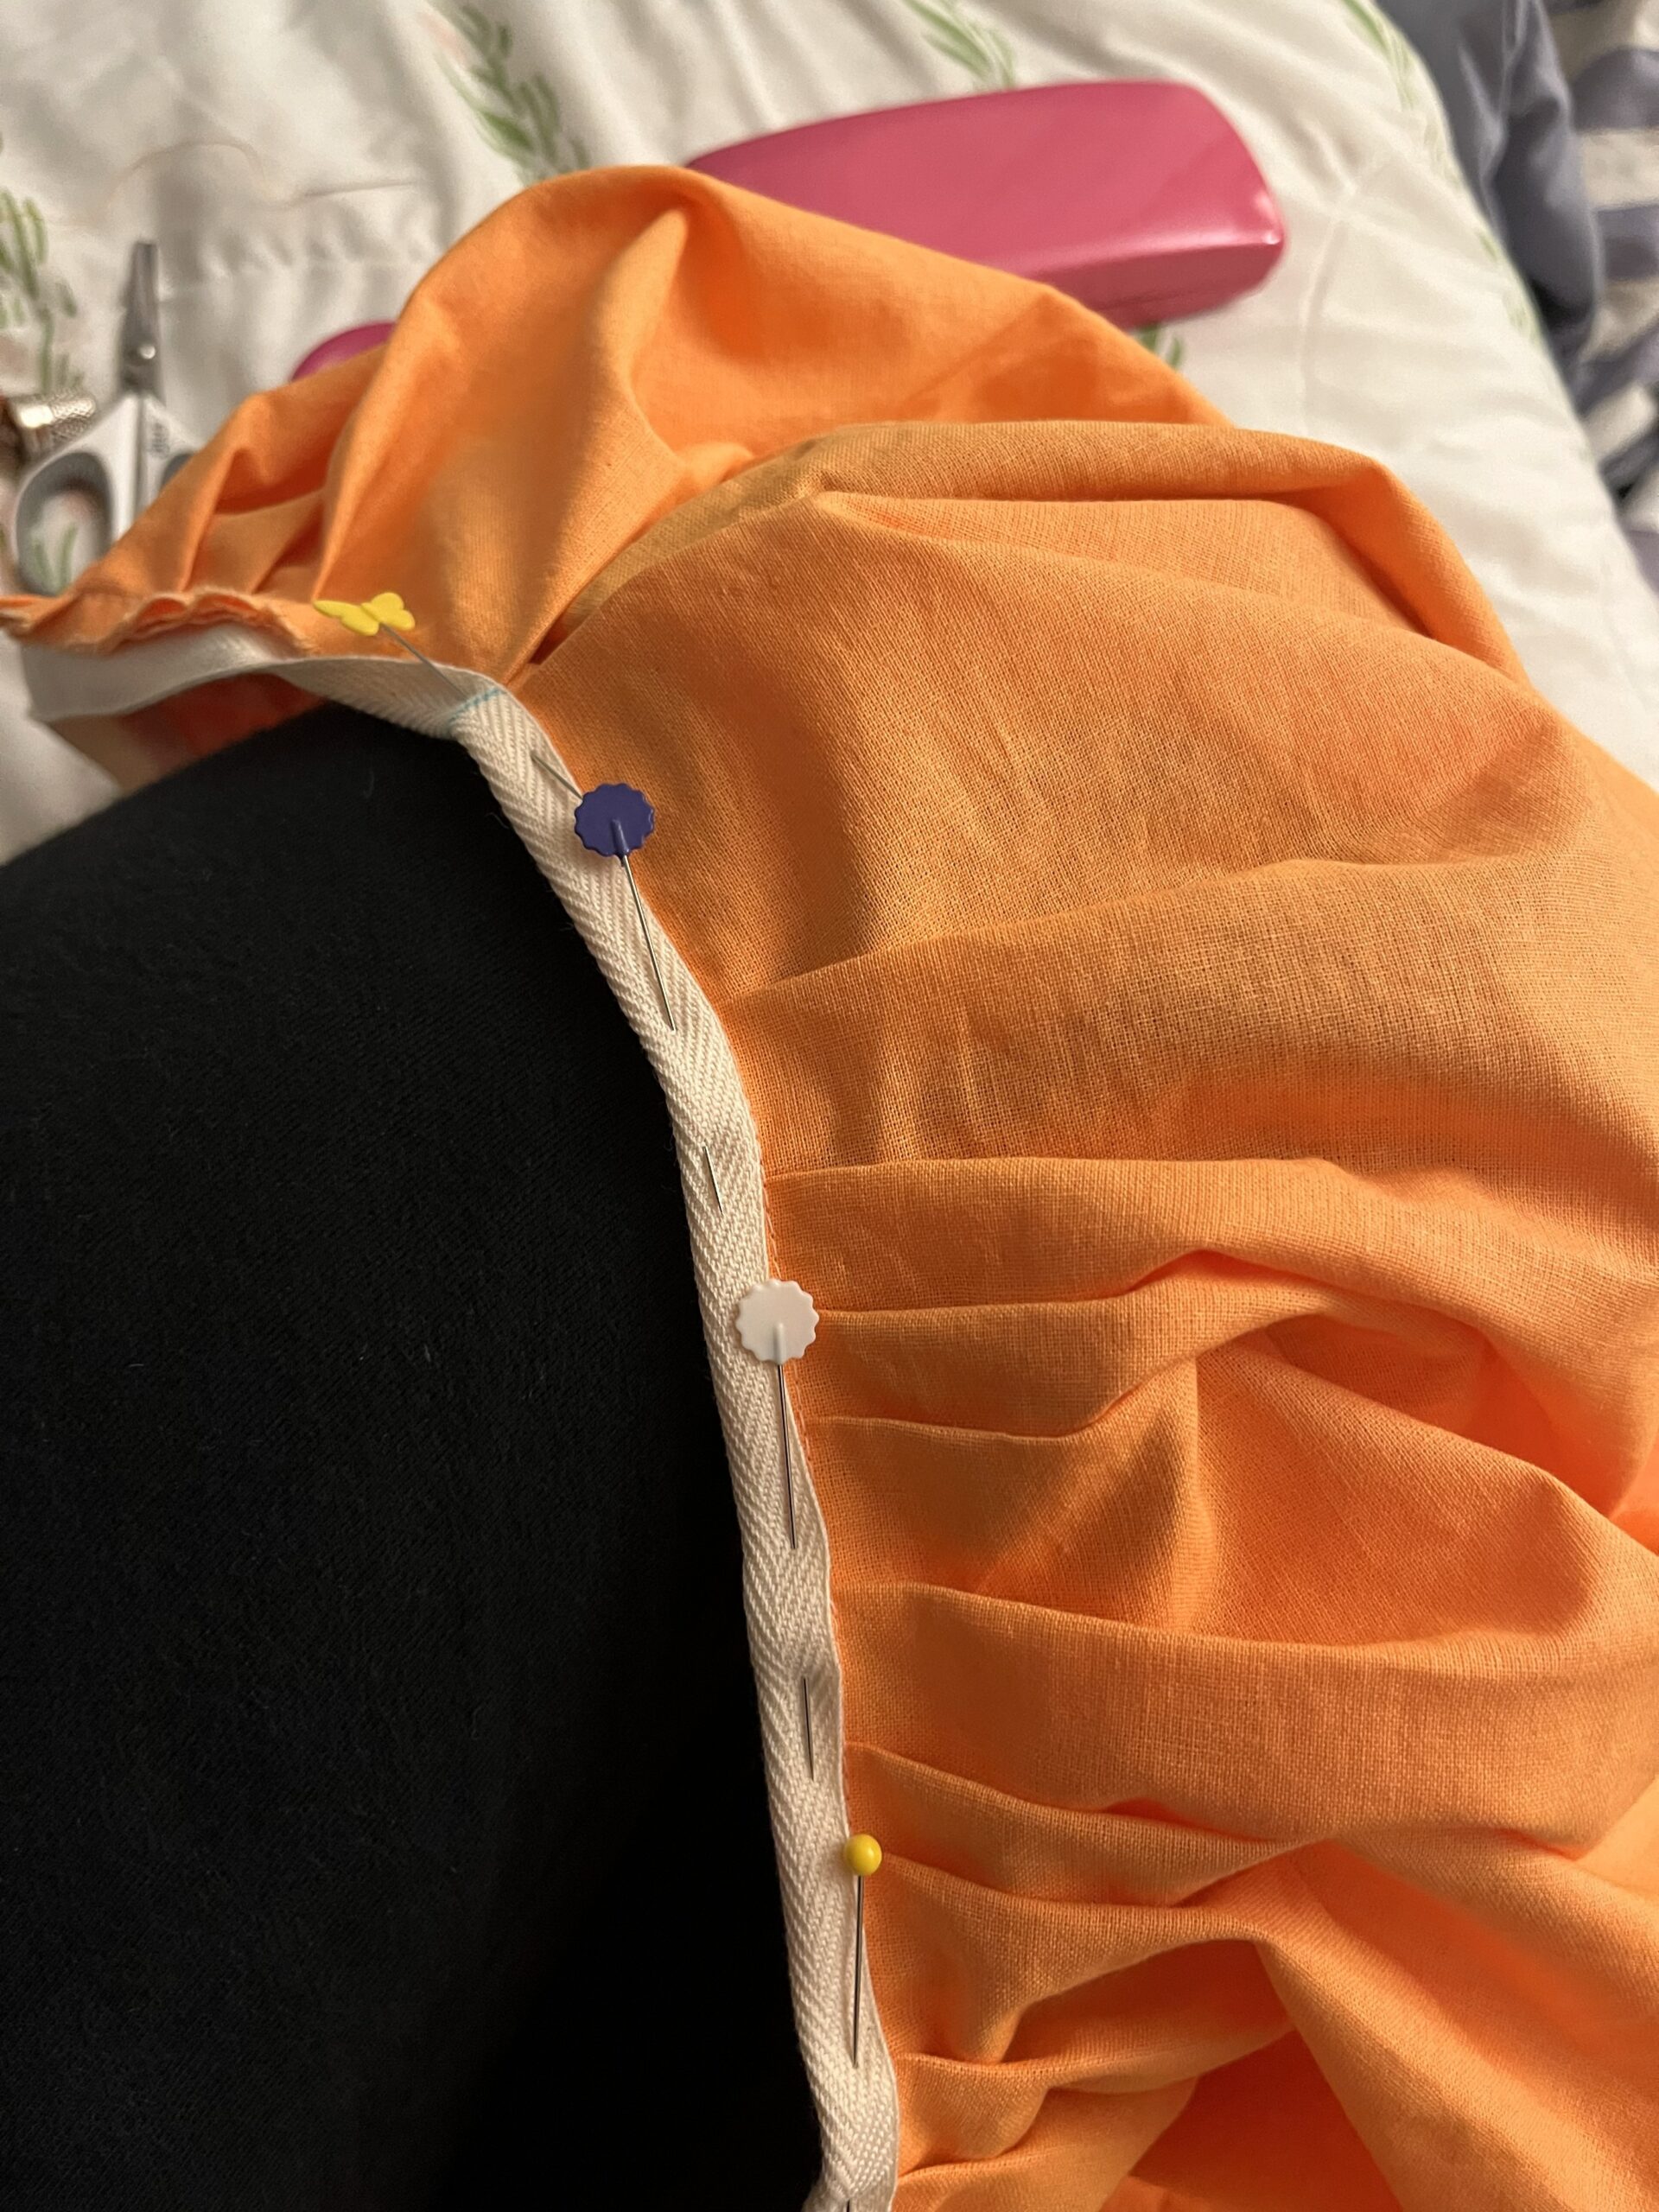
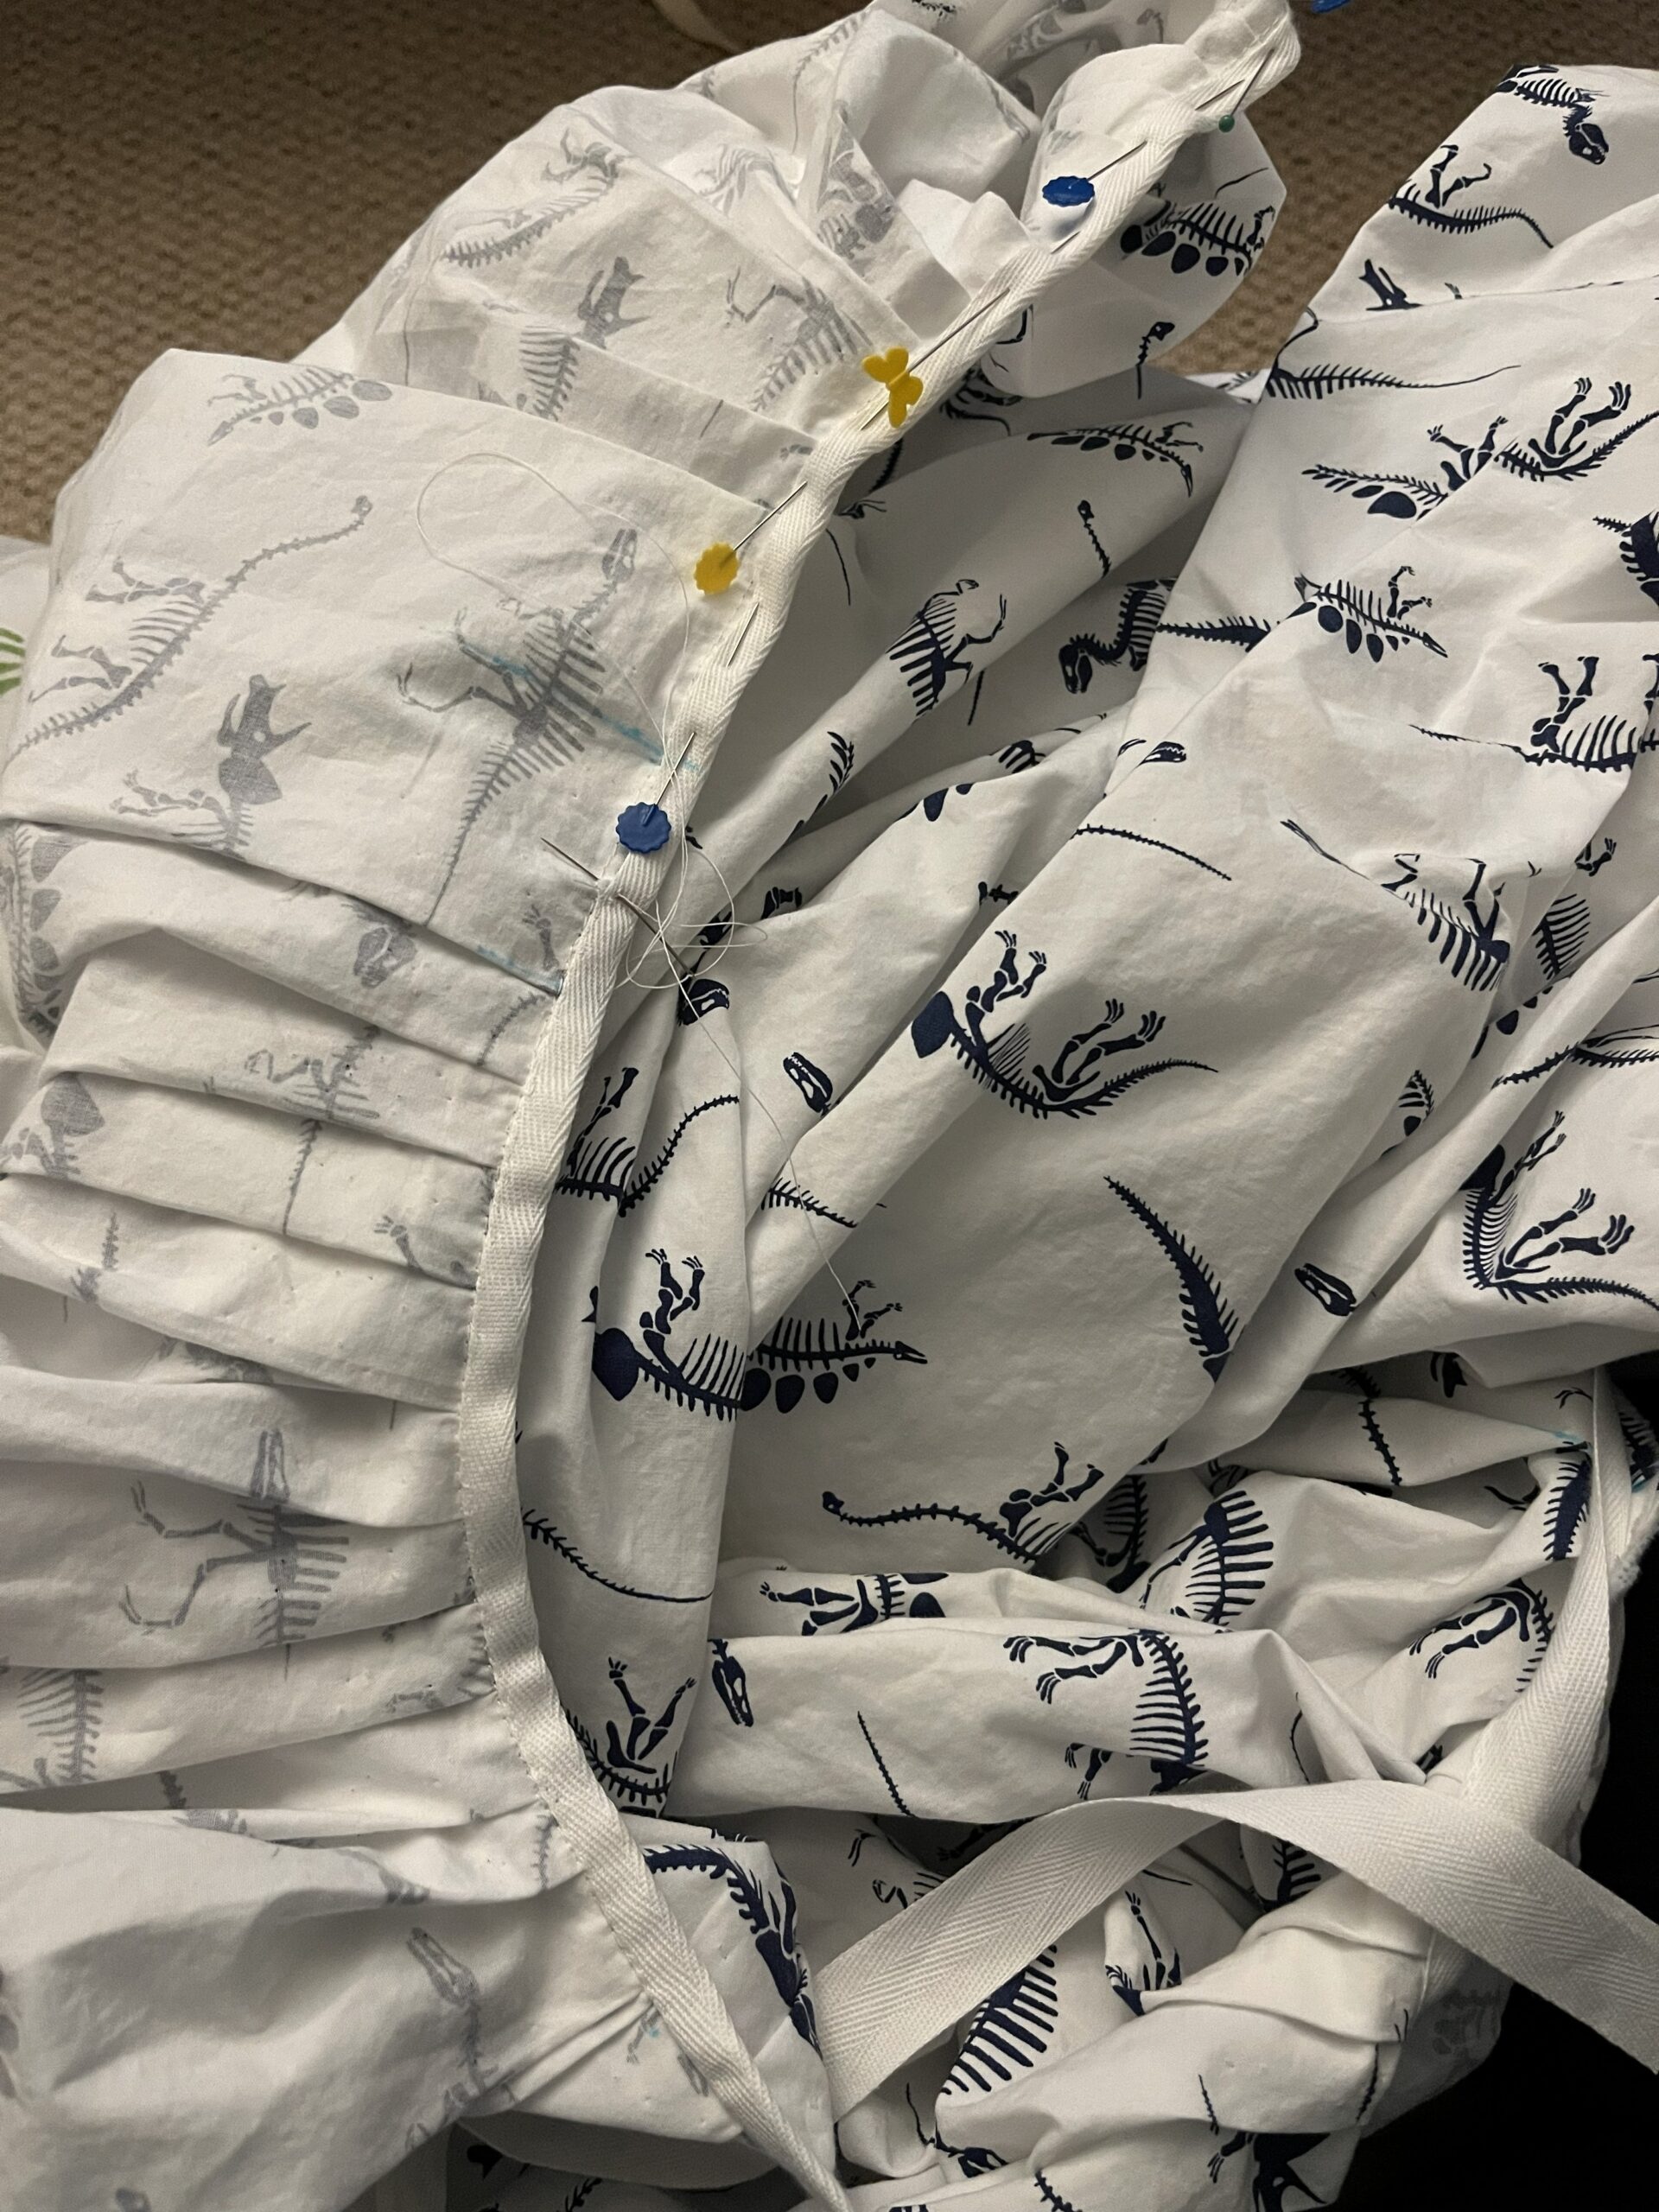
Once you have your pleats pinned into rigid submission, baste across the top of your waistline, about 1/4 inch from the top edge of your fabric. This can be done by hand or machine.
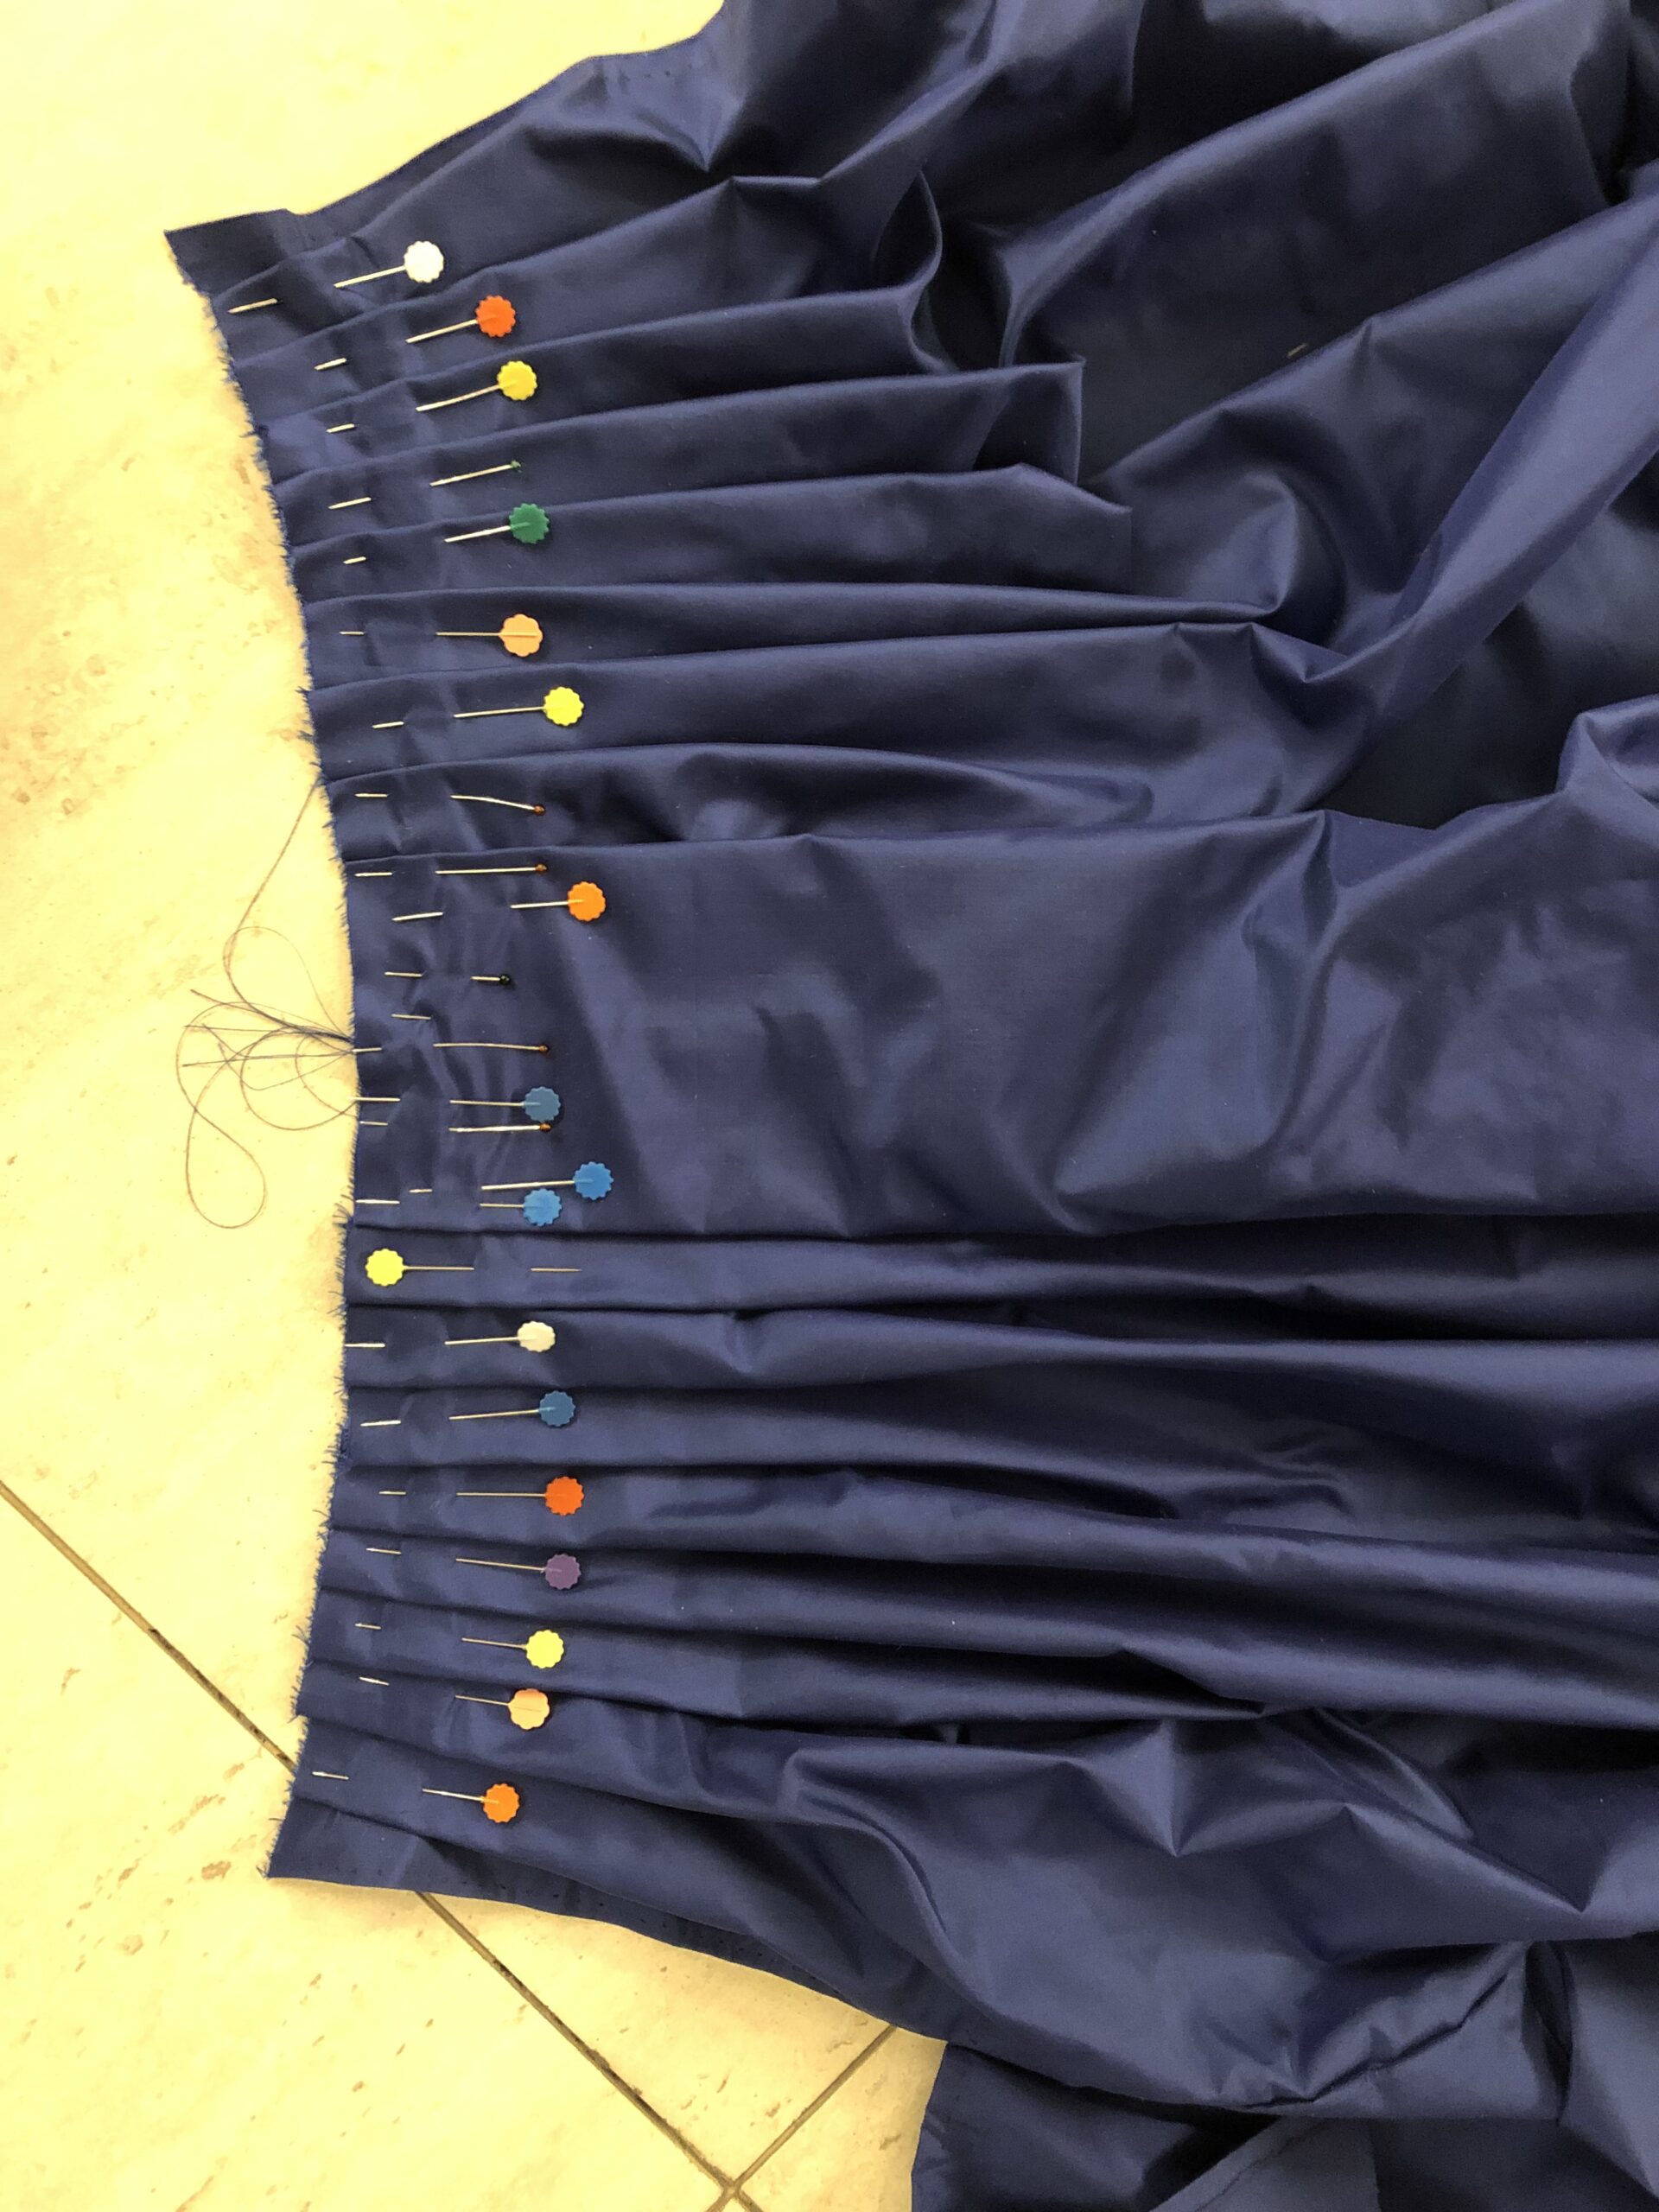
Pleating the front Panel:
The front panel is done in exactly the same manner as the back panel, except that the pleating will be done in the OPPOSITE direction. The box pleat at center front faces outward instead of being inverted, and all knife pleats face OUTWARD to the SIDE EDGES of the panel.
Note: Somehow i have no construction photos of the fronts of my Halloween petticoats, so here is the front panel of a blue cotton petticoat.
Attaching the Waist Tapes:
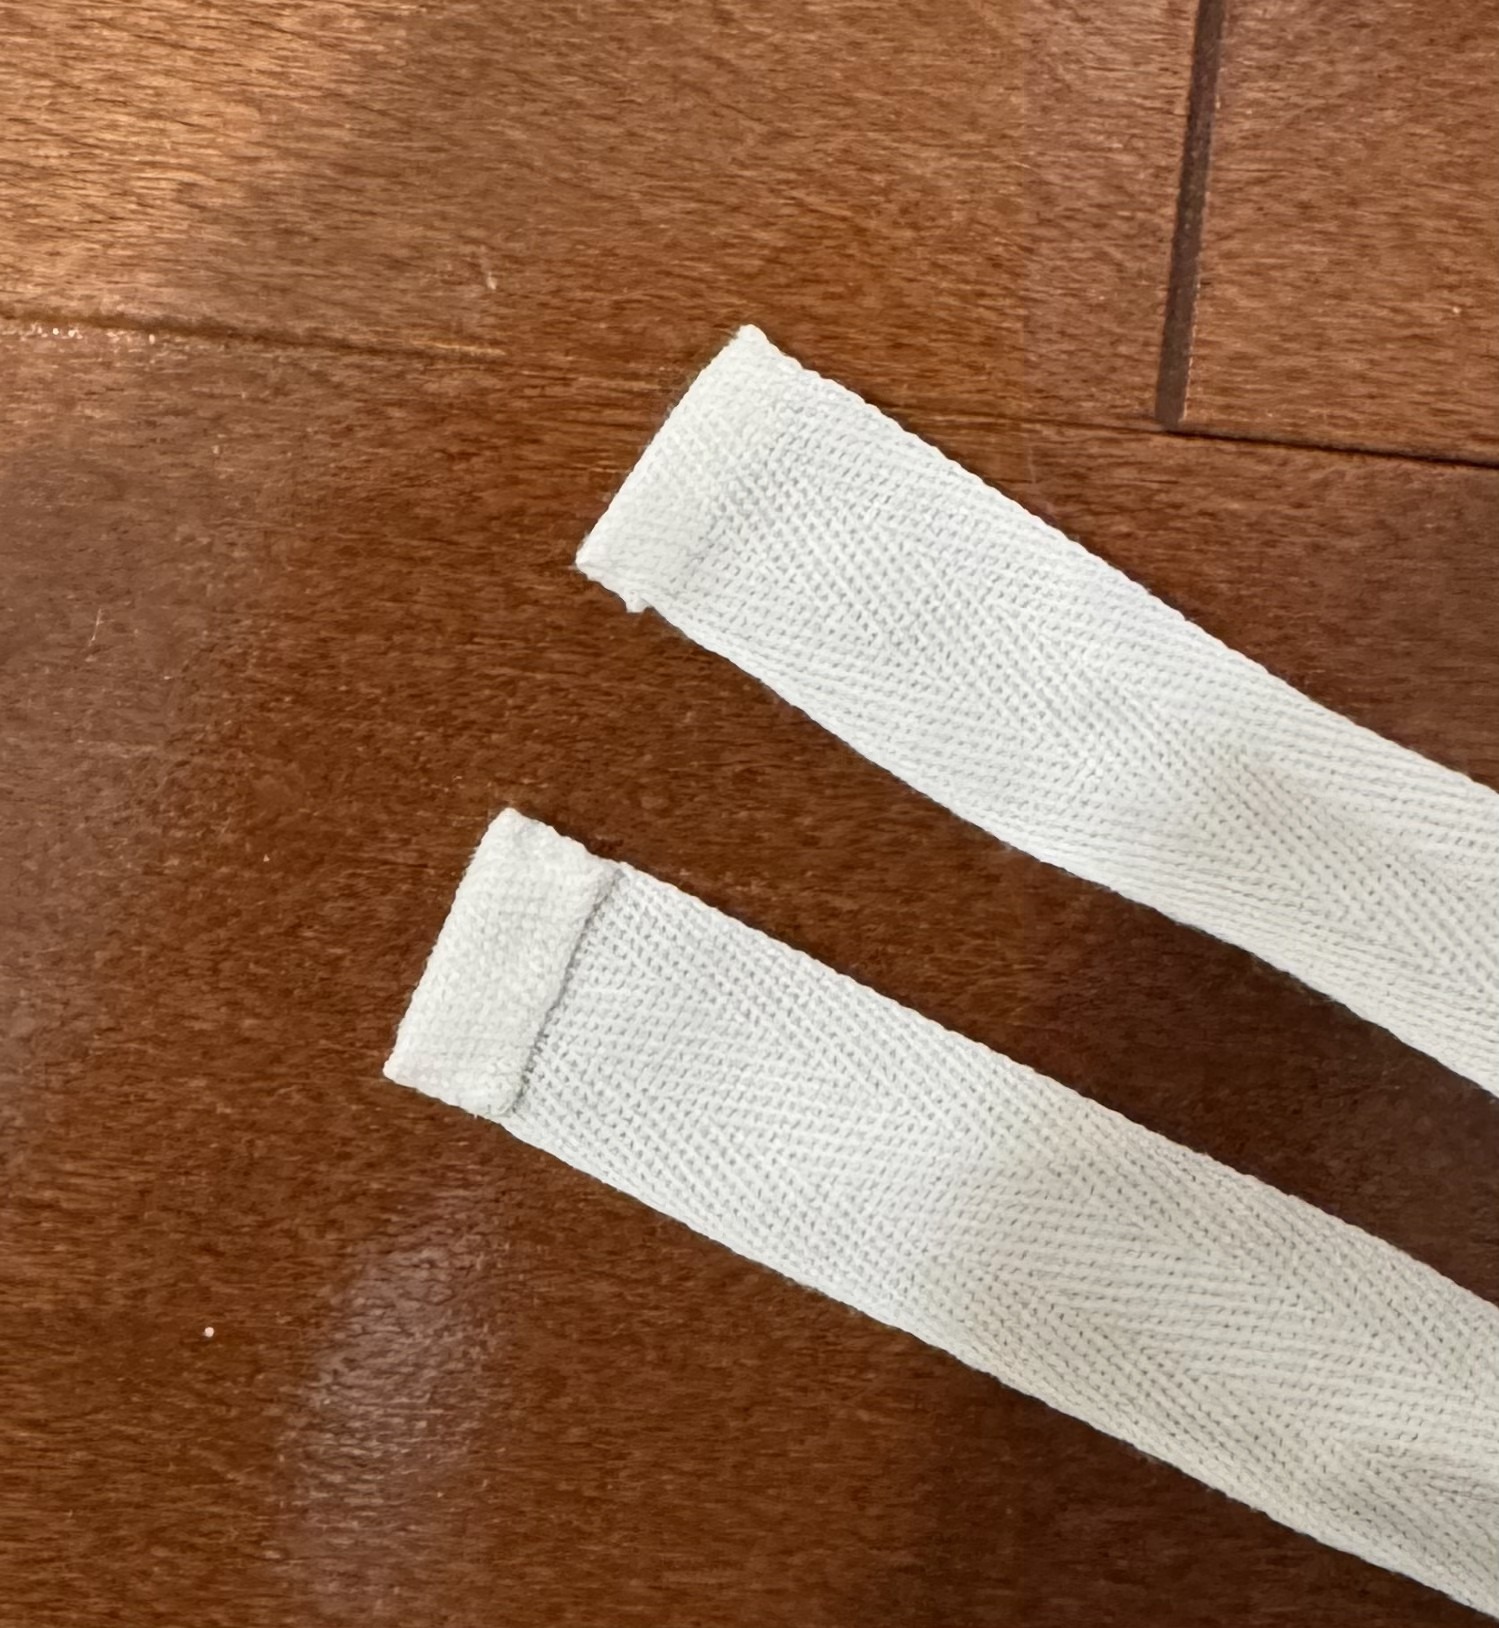
For your waist tapes, cut 2 lengths of 5/8 inch wide cotton or linen tape at double your initial waist measurement.
(Aka: Tape length = Total Waist Measurement x 2)
Hem the ends to stop them unraveling.
Mark the midpoint of one of your tapes, and align it with the midpoint of a panel, setting the edge of the tape against your sewn basting line. Pin or baste the tape to the panel along the length of the half waist.
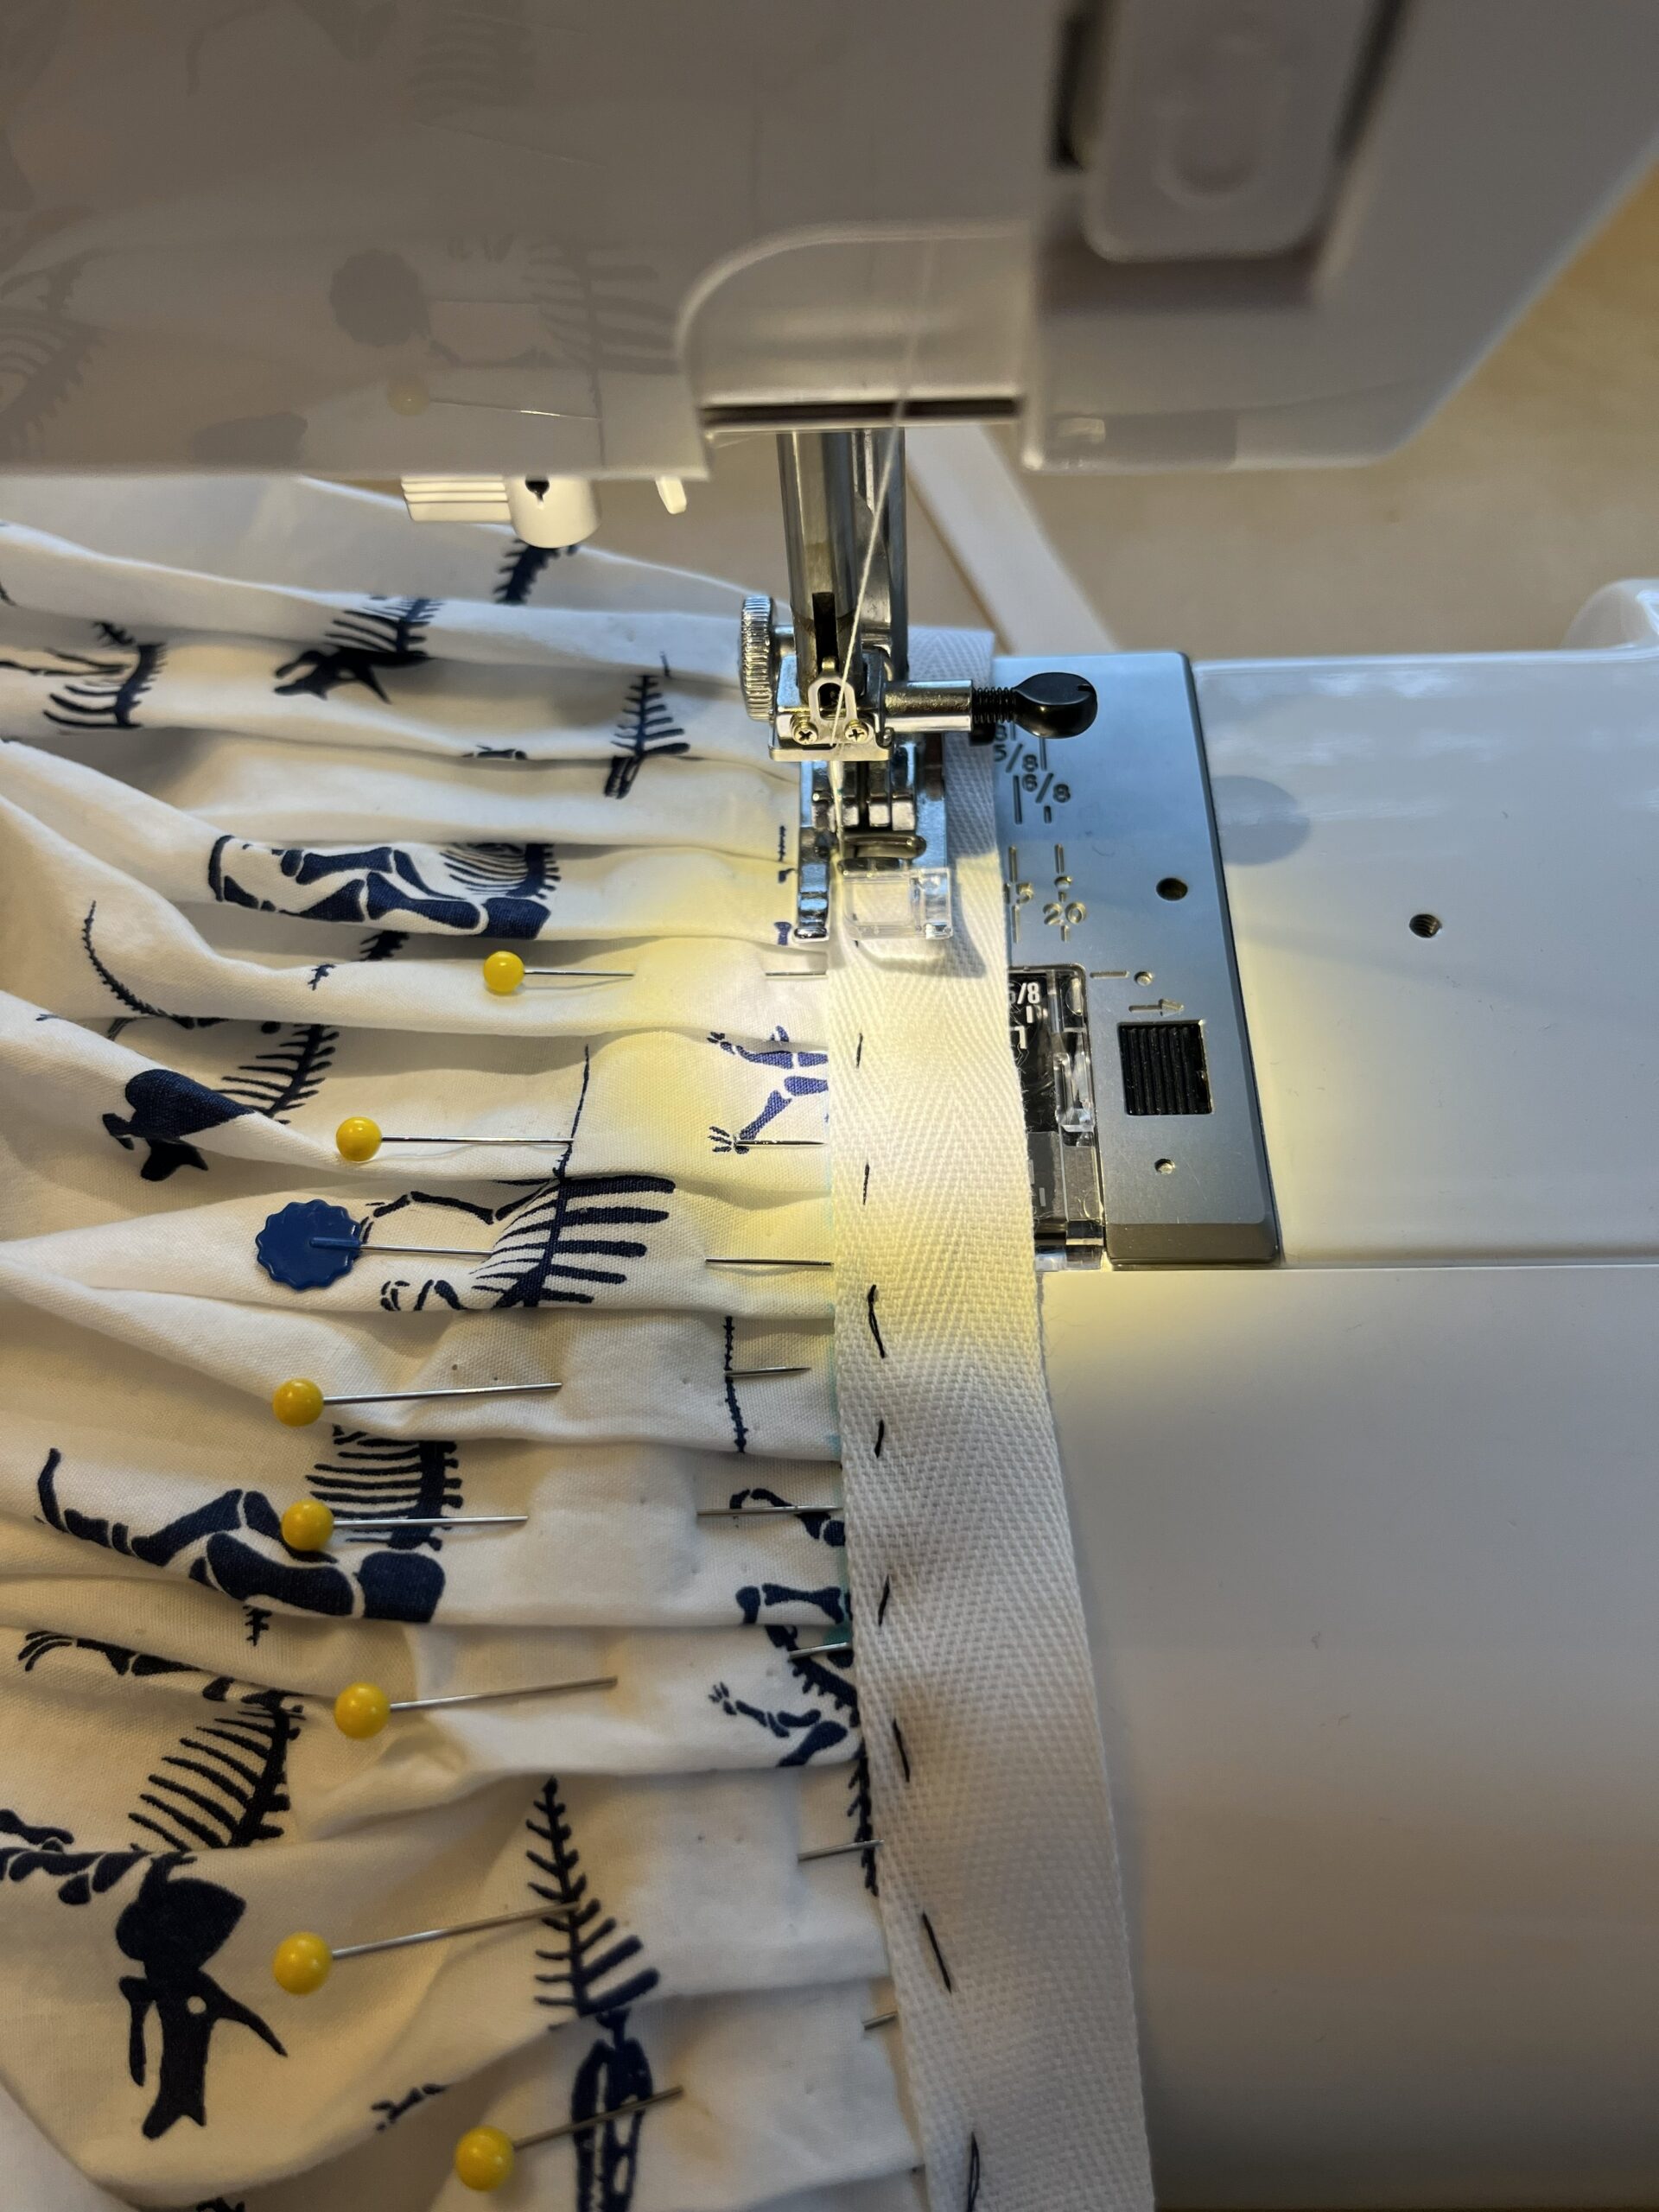
If you’re sewing by hand, sew the tape to the skirt panel with a tight whip stitch, making sure to go through ALL of your layers of fabric.
If you’re using a machine, sew the tape to the skirt panel as closely as possible to the edge of the tape as you can.
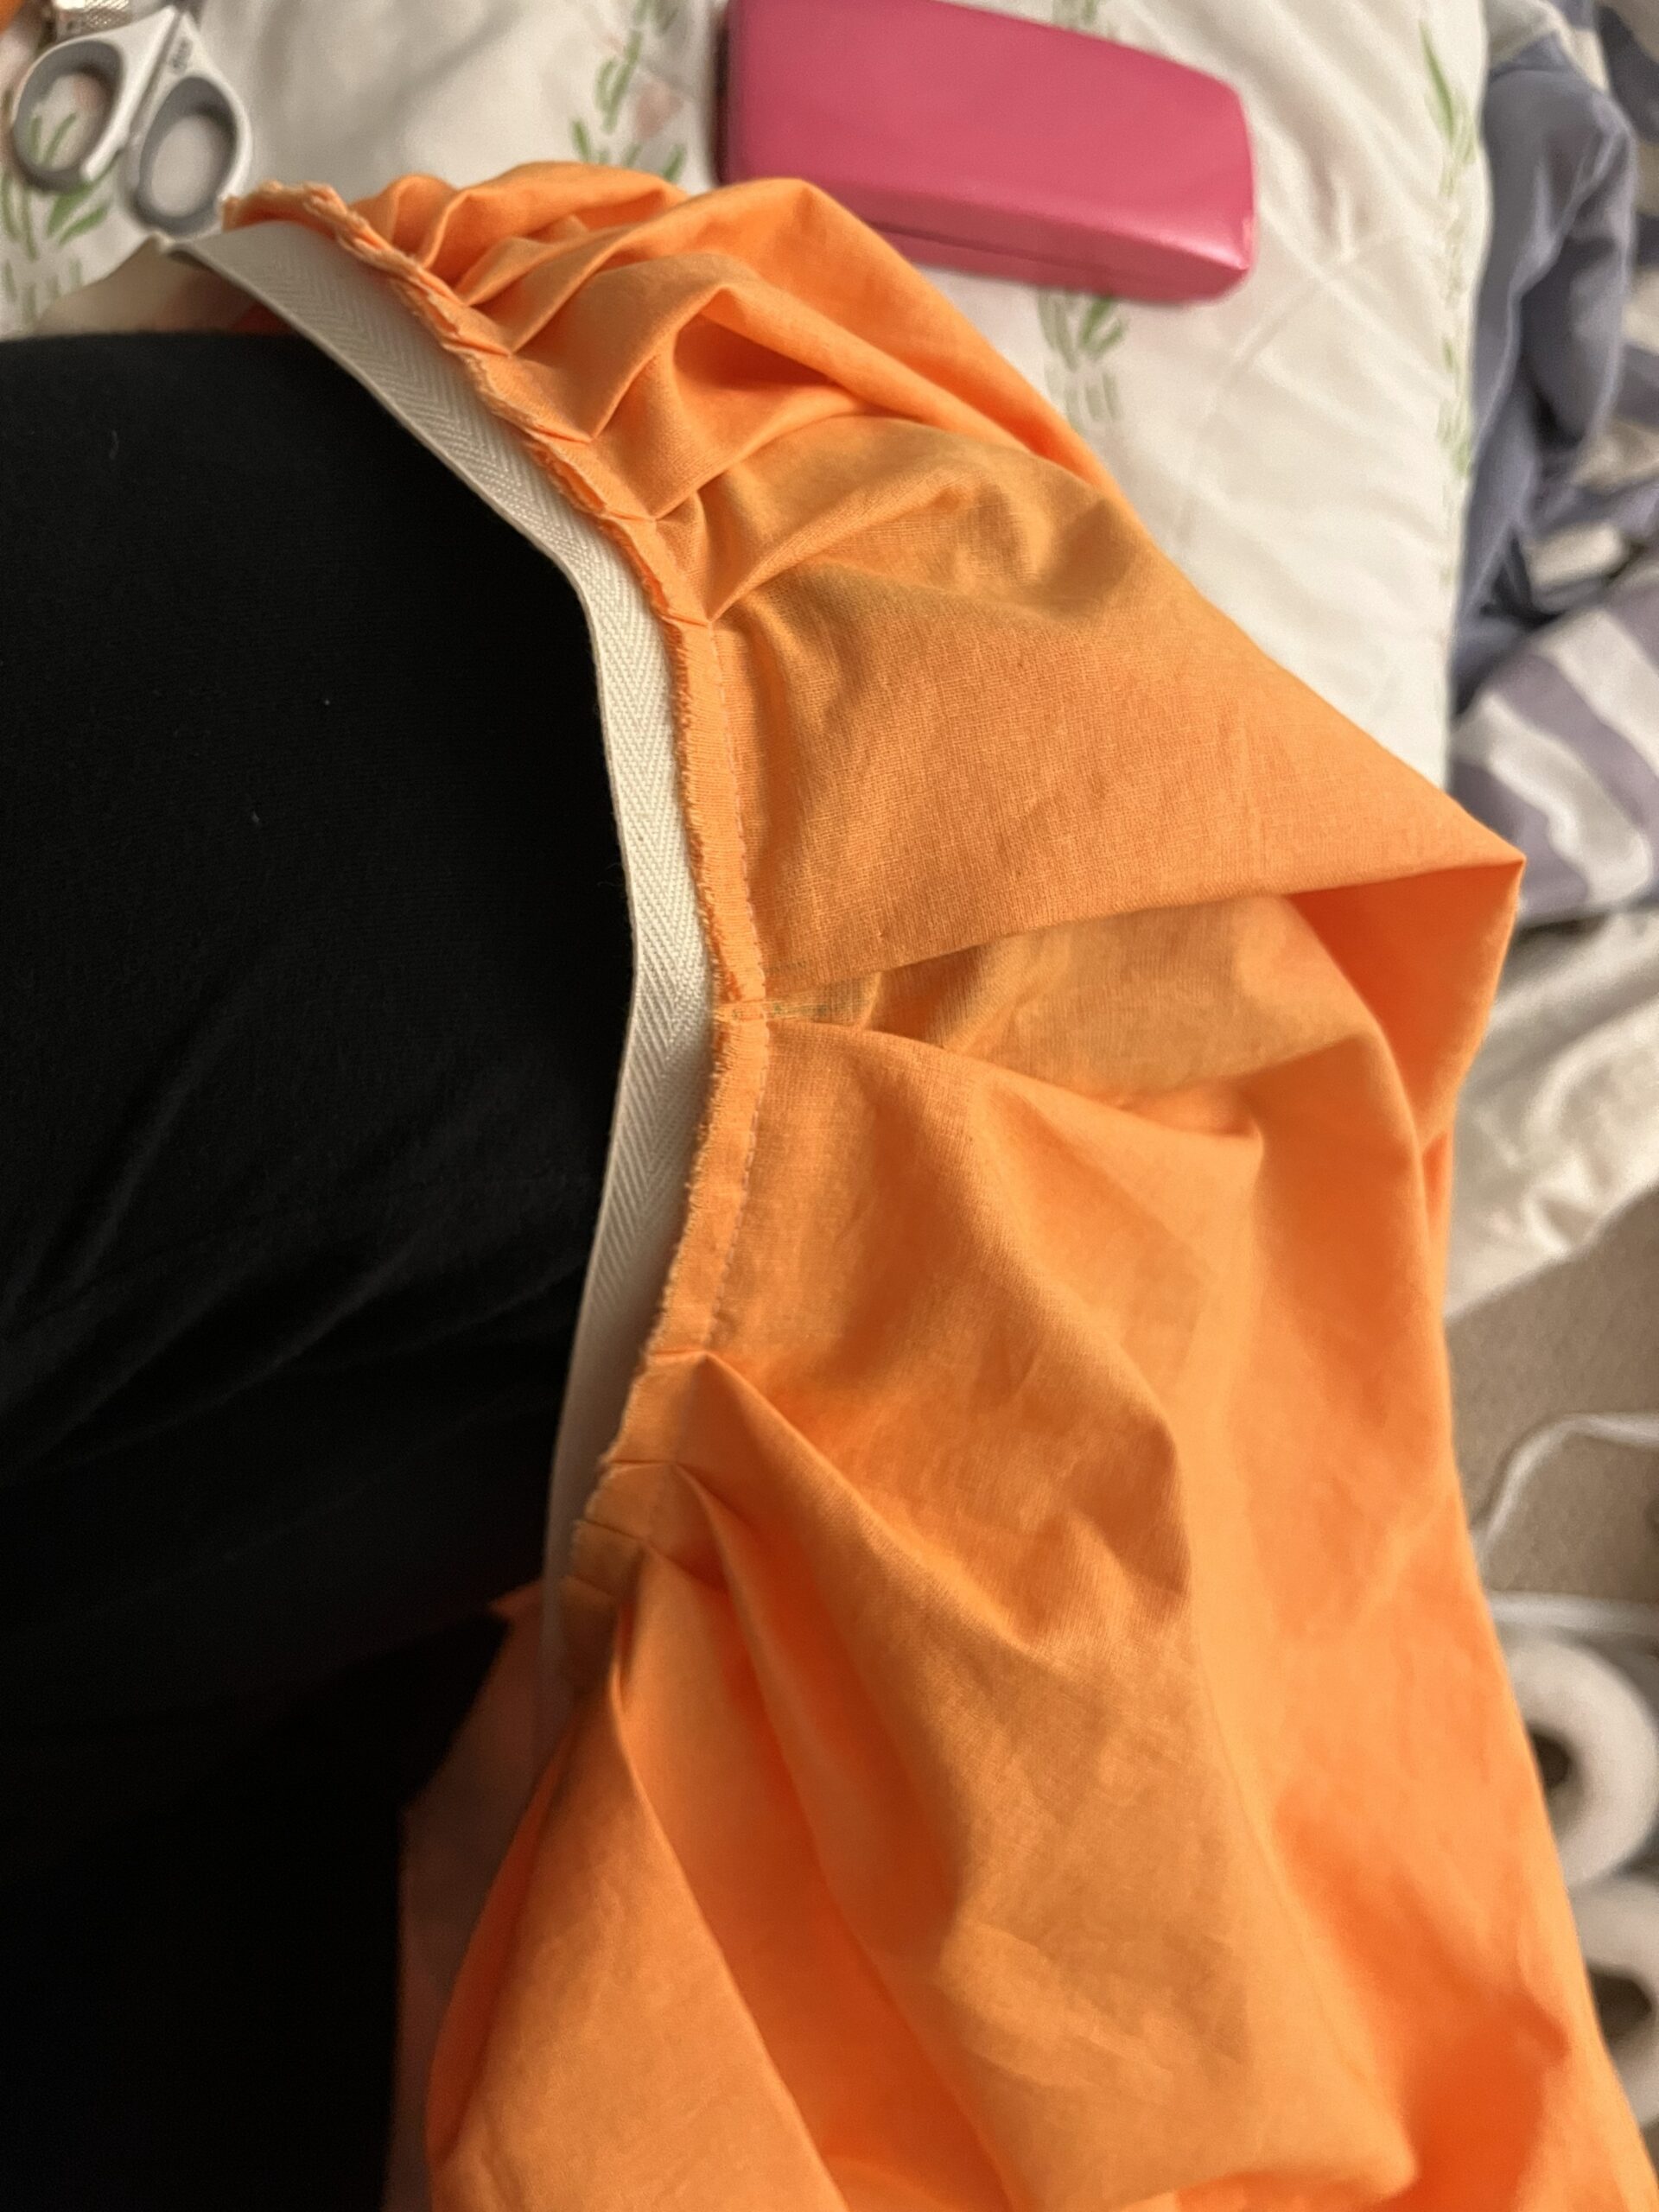
Fold the tape over the raw edge of your fabric and whip it down on the inside of the petticoat
Joining the panels:
Starting at the bottom of the hemmed pocket slits, pin and sew your panels together. You can sew this seam by hand, by machine, with an overlocker… from the outside you can’t tell the difference!
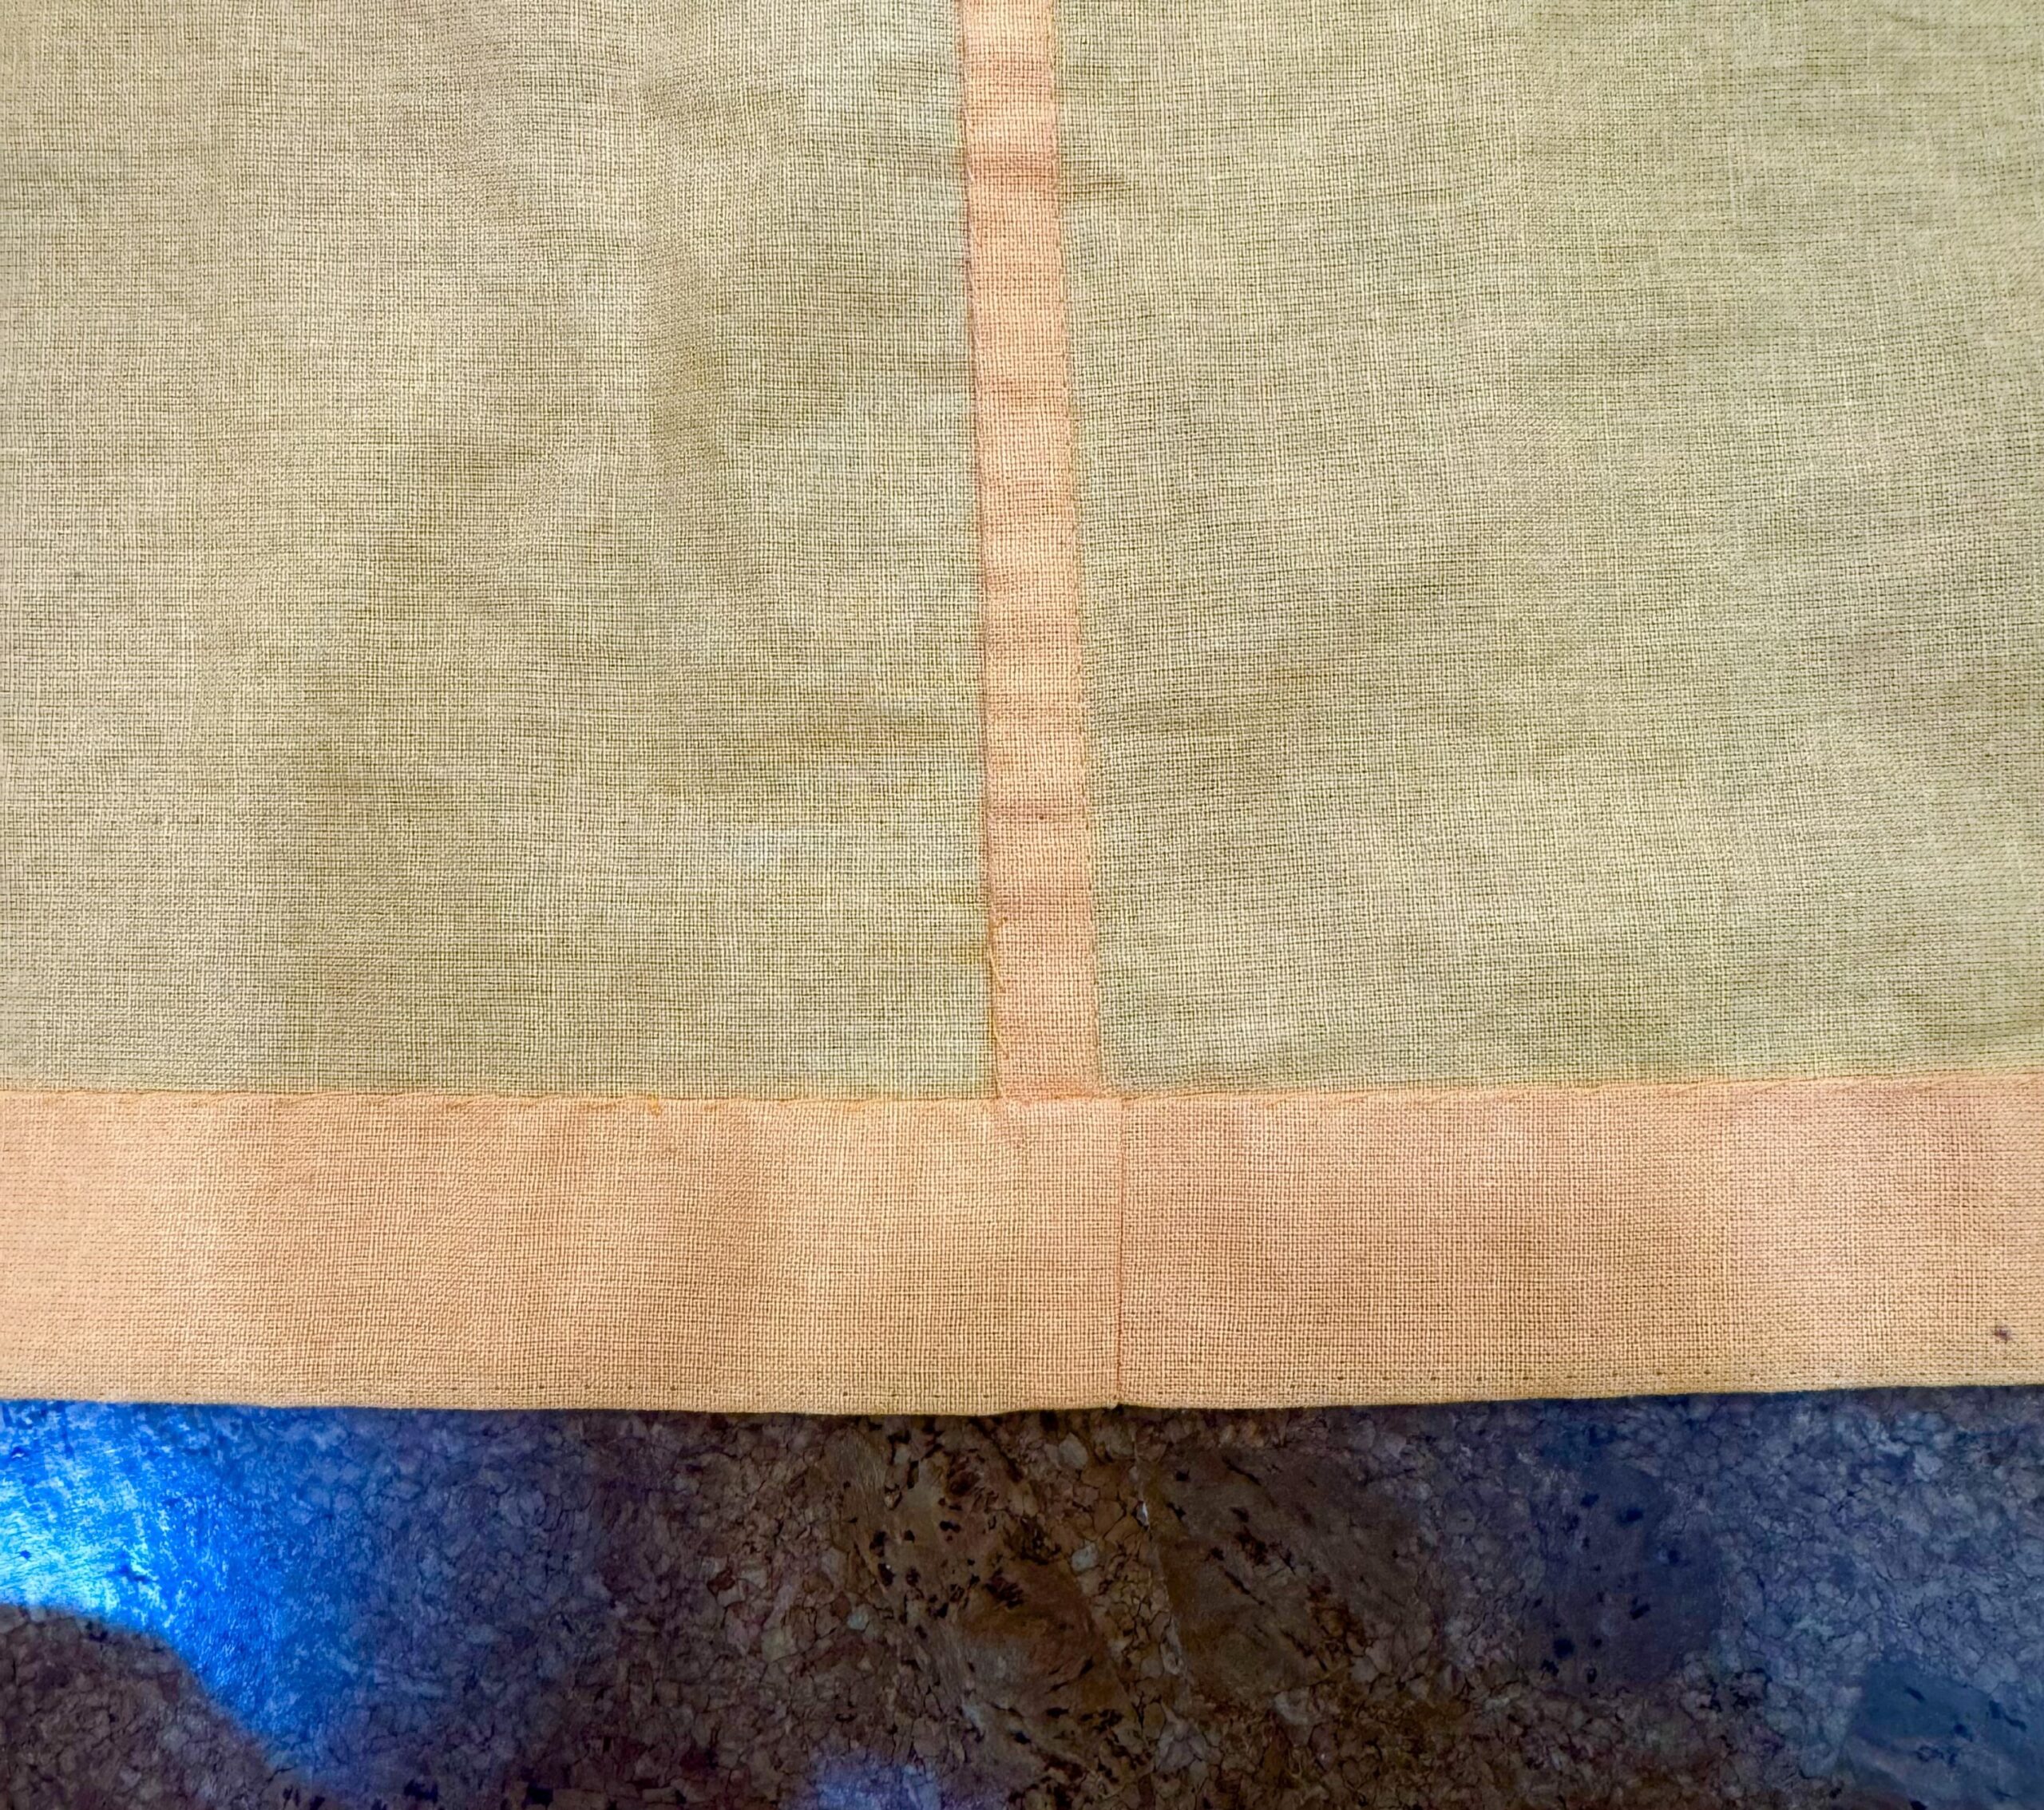
Hemming the petticoat:
I like to hand-hem my 18th Century Petticoats. I fold the fabric up , then press, then fold again, press again, and whip the hem with a whip stitch!
Your pleated 18th century petticoat is now ready for every sort of historical adventure. I wore mine to a Halloween party at the Roedde House Museum in Vancouver, where I wench-ed historically all evening!