
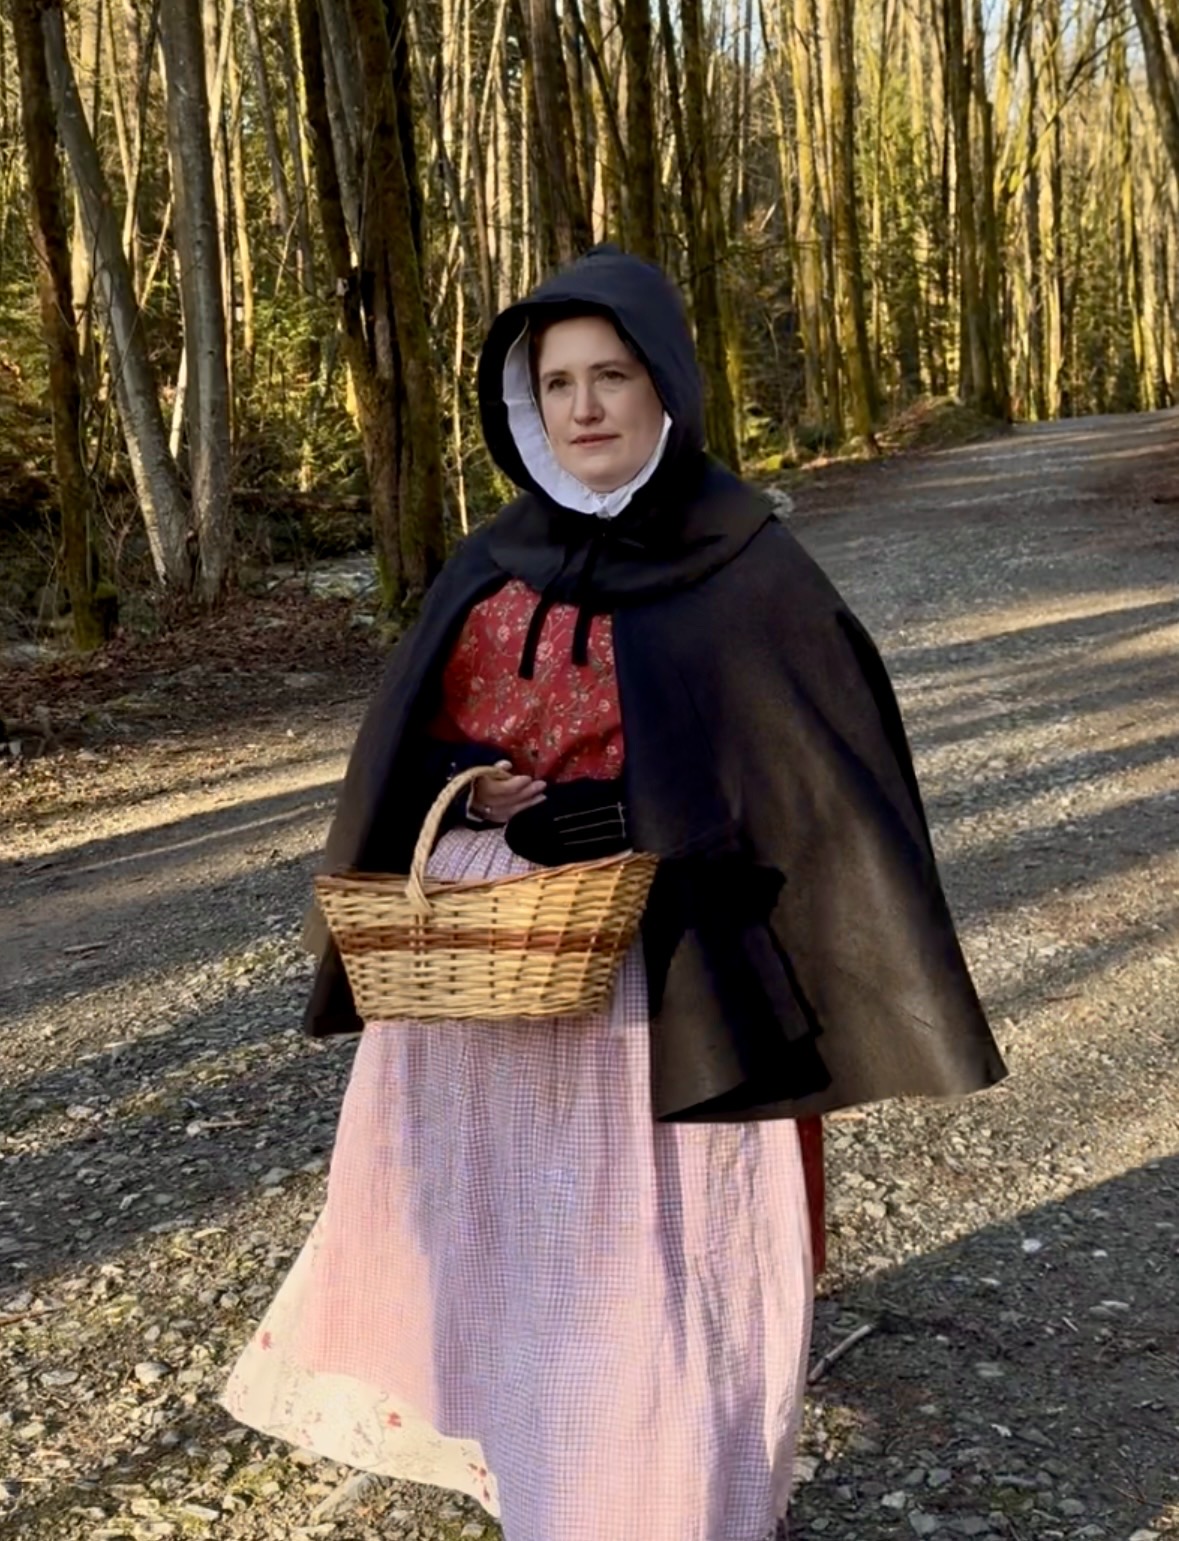
I had used my gorgeous grey boiled wool to make an 18th Century short cloak (you can read about that short cloak here) but the short cloak did not have a hood. How would I be keeping my ears warm? In the 18th Century, the answer for a woman would be a separate hood! In period prints, engravings and portraits, you see a lot of these hoods, generally in silk or velvet. Some were collarless, and some had little capes attached to keep the winter wind from sneaking in around your neck. Color-wise, they seem to have been mostly black. I had some black cotton velvet in my stash, so I reckoned this would be a simple project – I would make myself a mid 18th Century velvet hood to go with my short cloak!
Examples of Silk Hoods:
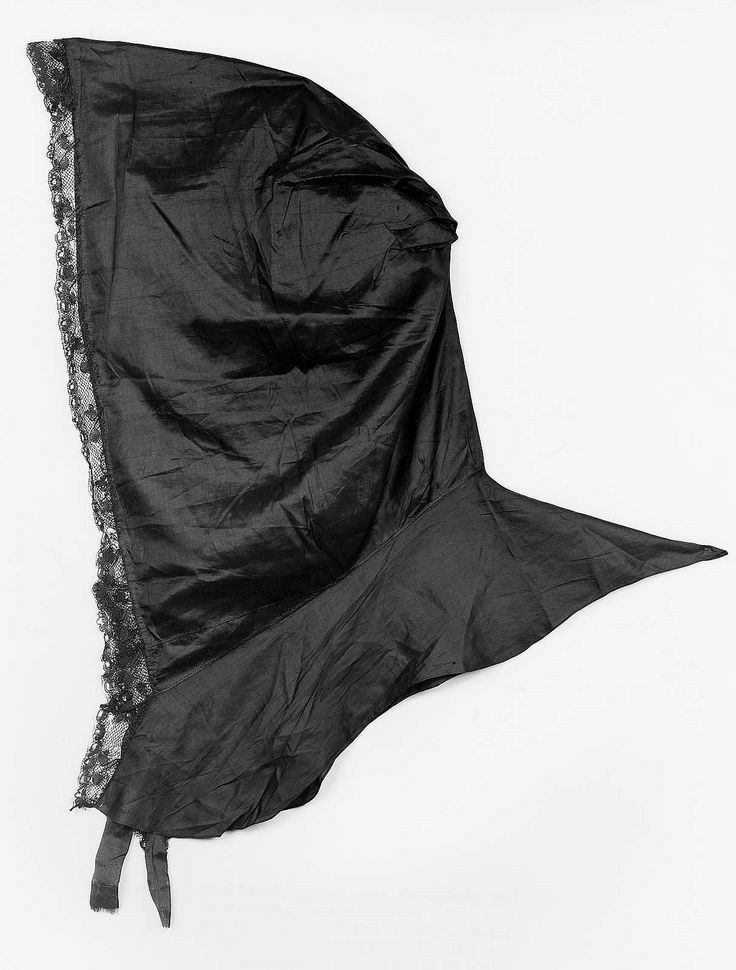
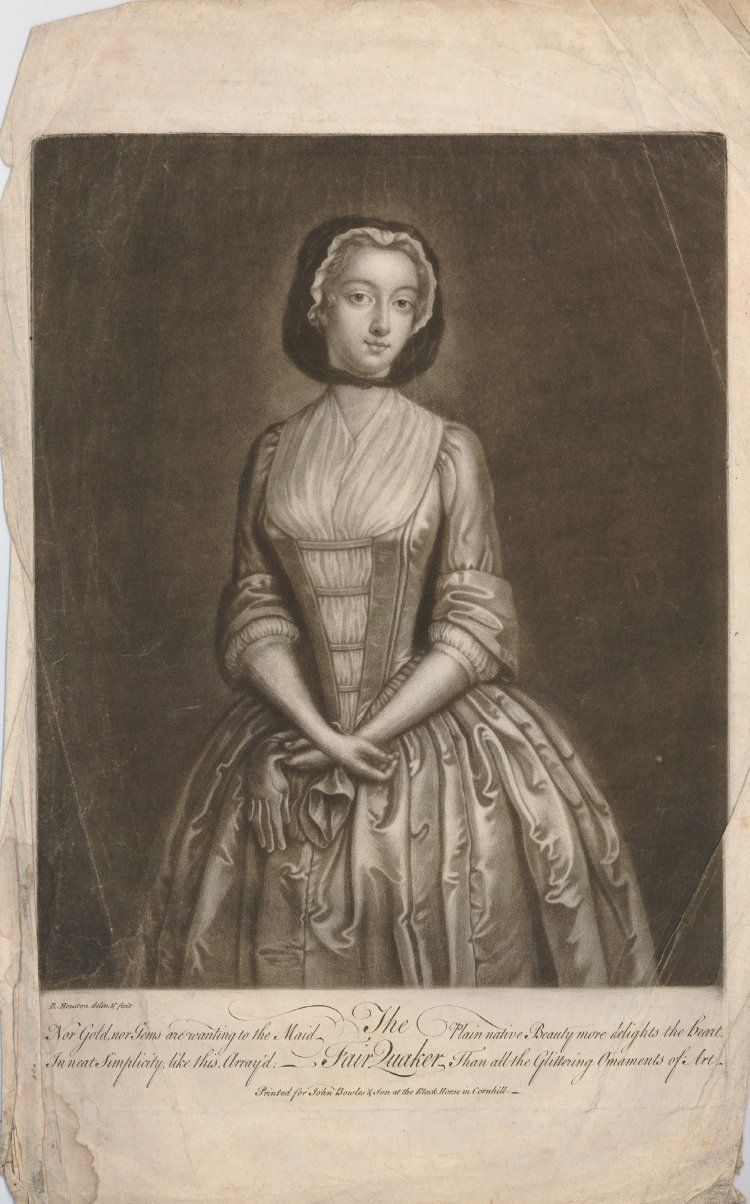
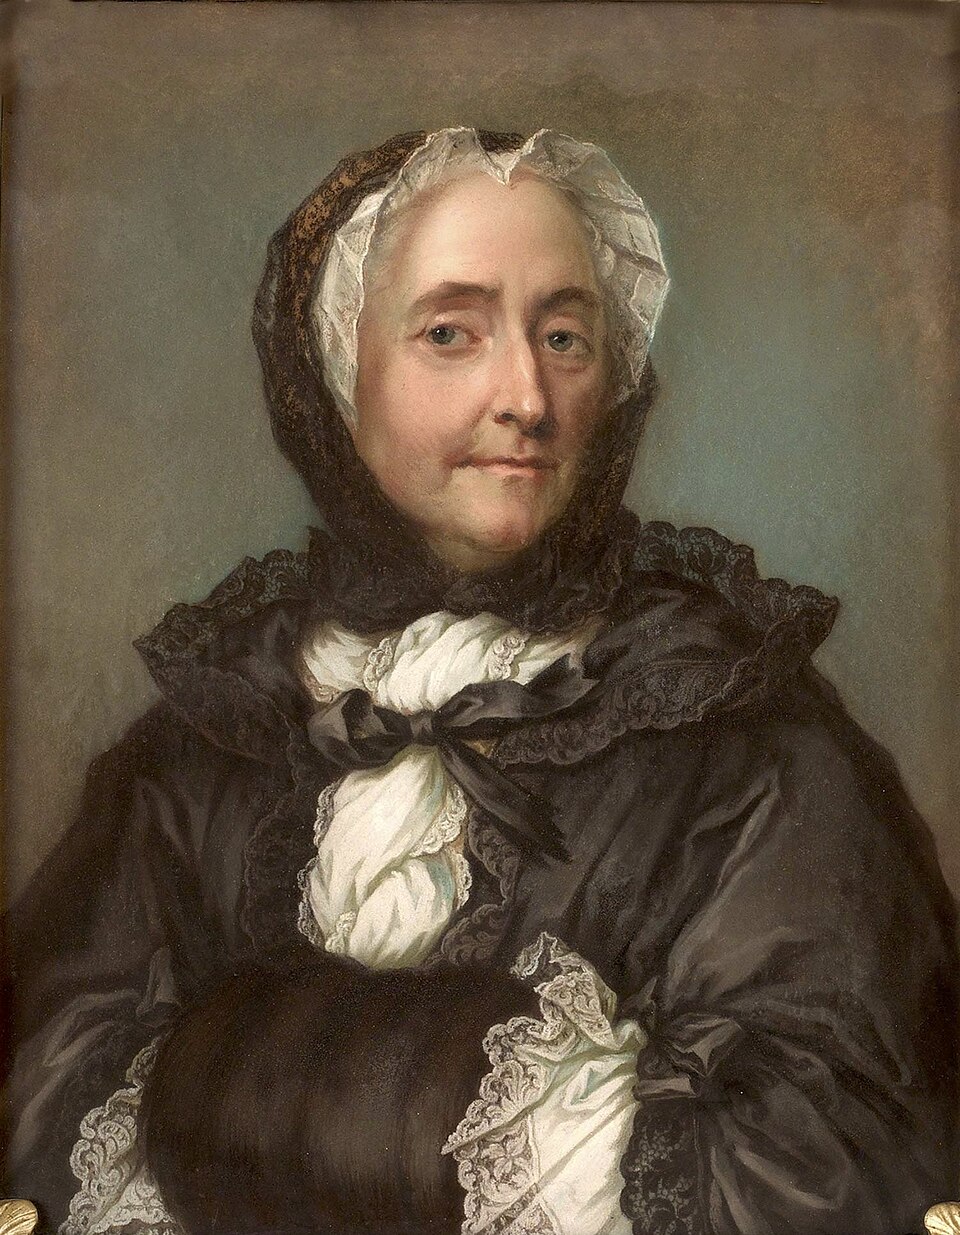
(above: Black silk velvet hood, second half of the 18th Century via the MFA, ‘The Fair Quaker’ by Richard Houston c. 1753-1766 via the British Museum, portrait of Kristina Sofia Sack by Gustaf Lundberg mid 18th Century via Wikimedia Commons)
Examples of Velvet Hoods:
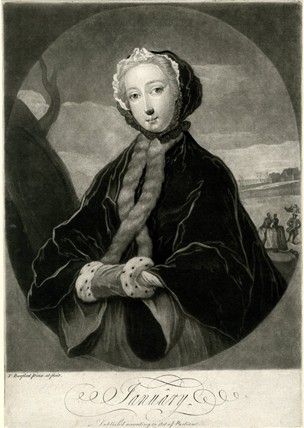
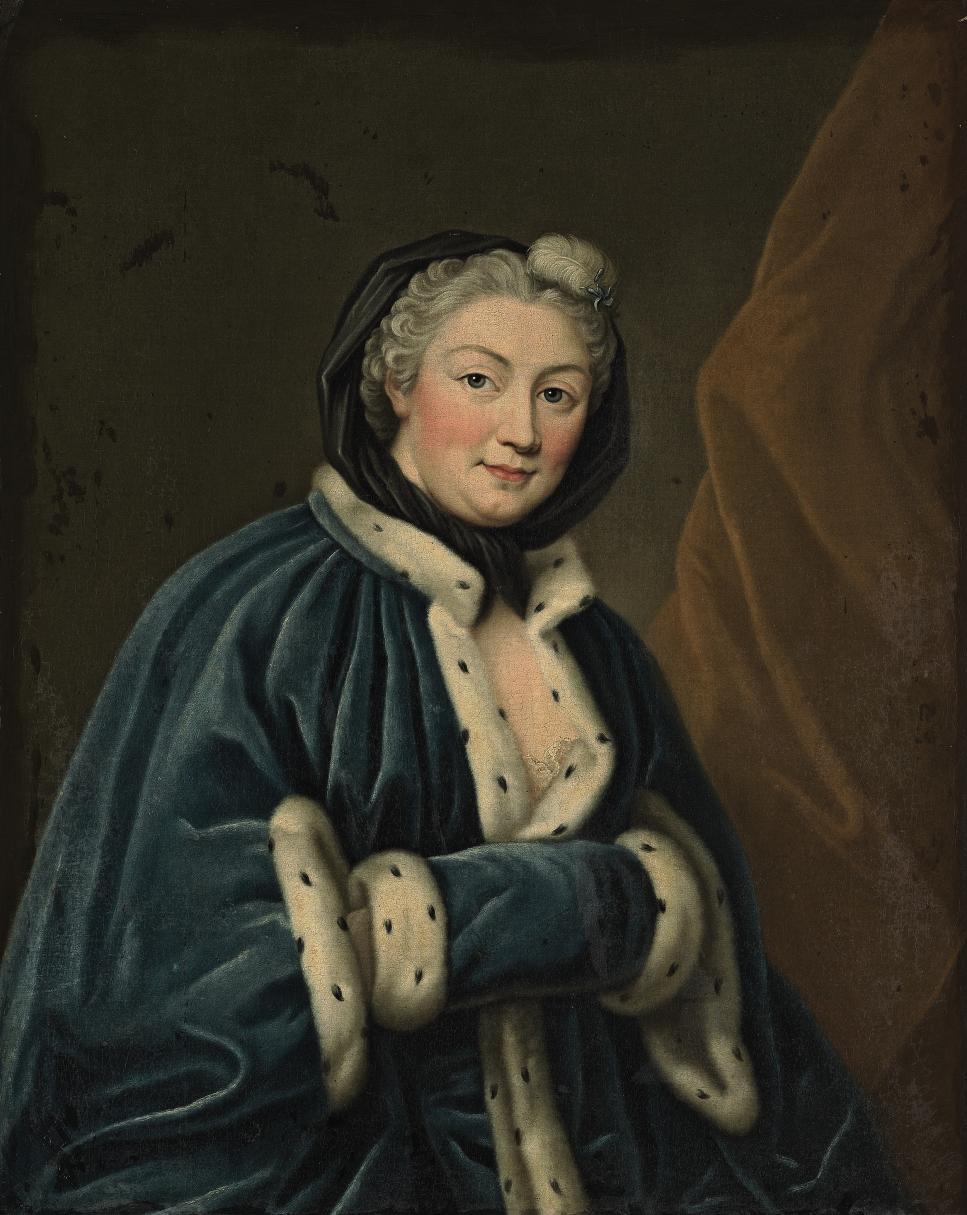
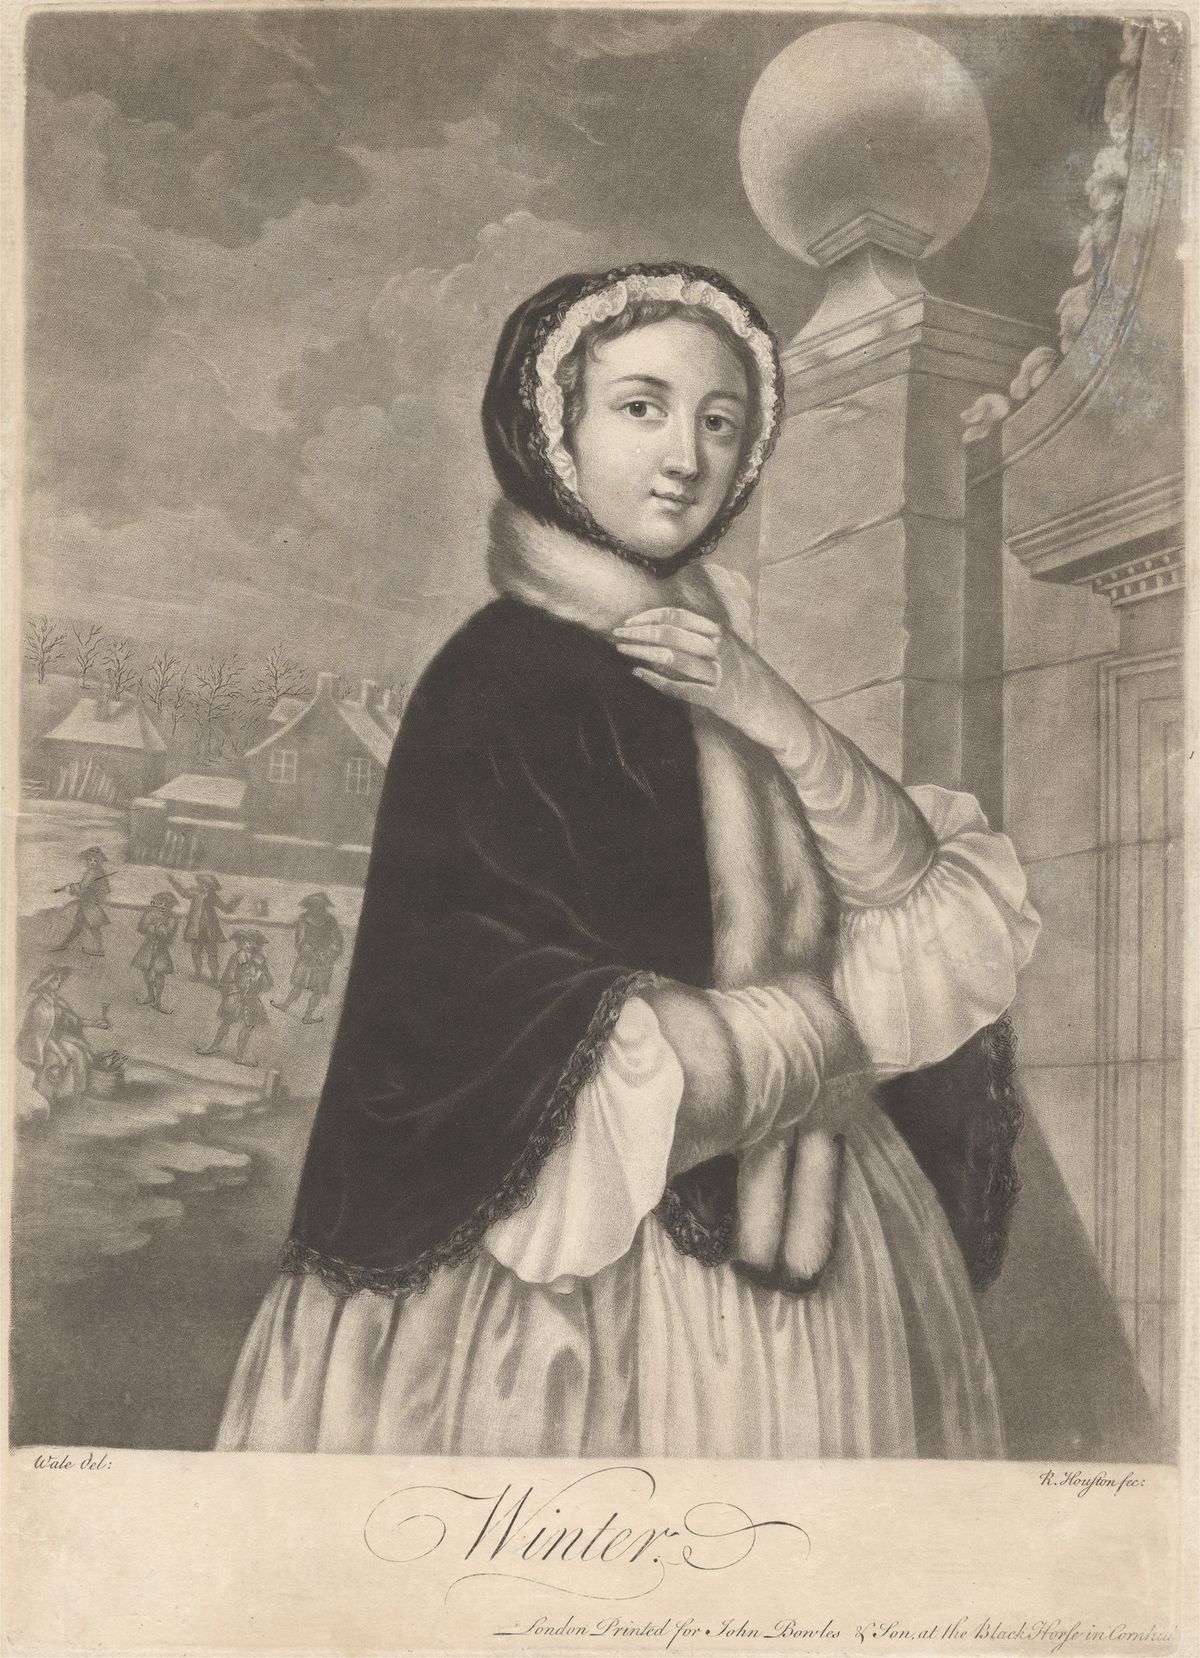
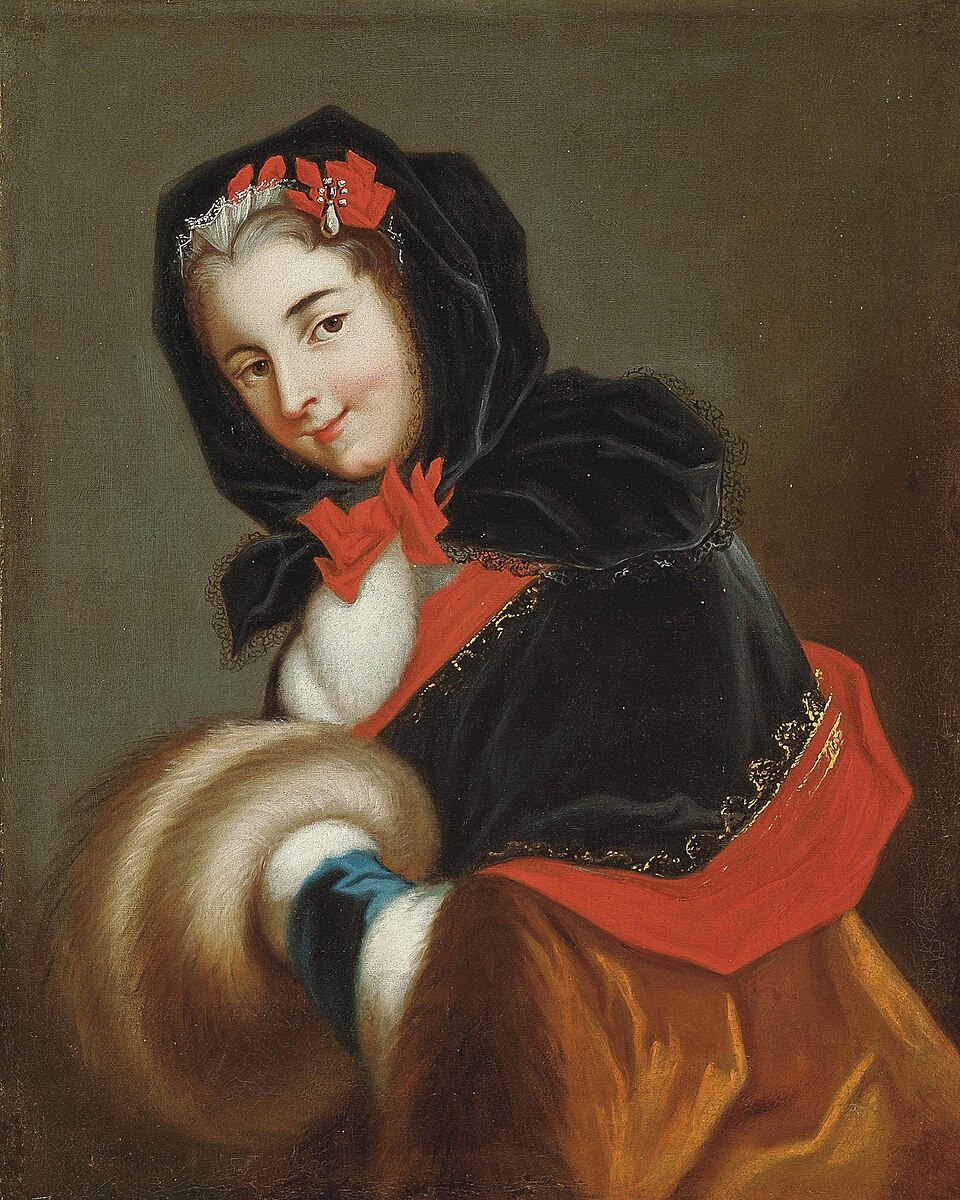
(above: ‘January’ by Thomas Burford’ 1749 source unknown, ‘Portrait of a Lady’ Circle of François-Hubert Drouais via Christies, ‘Winter’ by Richard Houston via Yale Center for British Art, portrait of Louise Henriette de Bourbon artist unknown via wikimedia commons)
Kitty Calash has done an excellent write-up about 18th century hoods HERE, talking about their provenance in the American colonies, and showing a cape-less hood that she has made for herself.
Kozy Kitty has also done an excellent write-up on 18th century hoods, HERE, with several period portraits and newspaper descriptions, as well as an extant example. She has made a pair hoods for herself – in both lined velvet and unlined silk taffeta. Her versions have capes attached. I have a long neck and don’t fancy the idea of winter winds sneaking in around my collarbones, and when I saw that she had uploaded the pattern she had drafted for herself, I was absolutely delighted!
I wanted a warm, thick hood hood with a cape. In fact, I wanted it lined and interlined. In my stash I had a length of cotton velvet, a bundle of silk taffeta scraps and a small piece of ice wool interlining. I was set.
Kozy Kitty’s hood pattern has a couple of variations for cape shape. I liked both of them, and I had quite a bit of the cotton velvet, so what if I made two 18th century velvet hoods?
While I was using Kozy Kitty’s pattern, I didn’t specifically follow her sewing instructions. To make the hoods, I lined and sewed the capes and the hoods separately, then joined them at the neck and covered the seam with a silk neckband.
I started with the capes. While I would be interlining the hoods, I chose not to interline the cape sections. I a) didn’t have enough ice wool, and b) I wanted the capes to drape prettily, and c) I figured that with the hood coming down to the level of my cloak collar, the cape would be acting more as a flange seal between the hood and cloak than as an insulating layer in its own right!
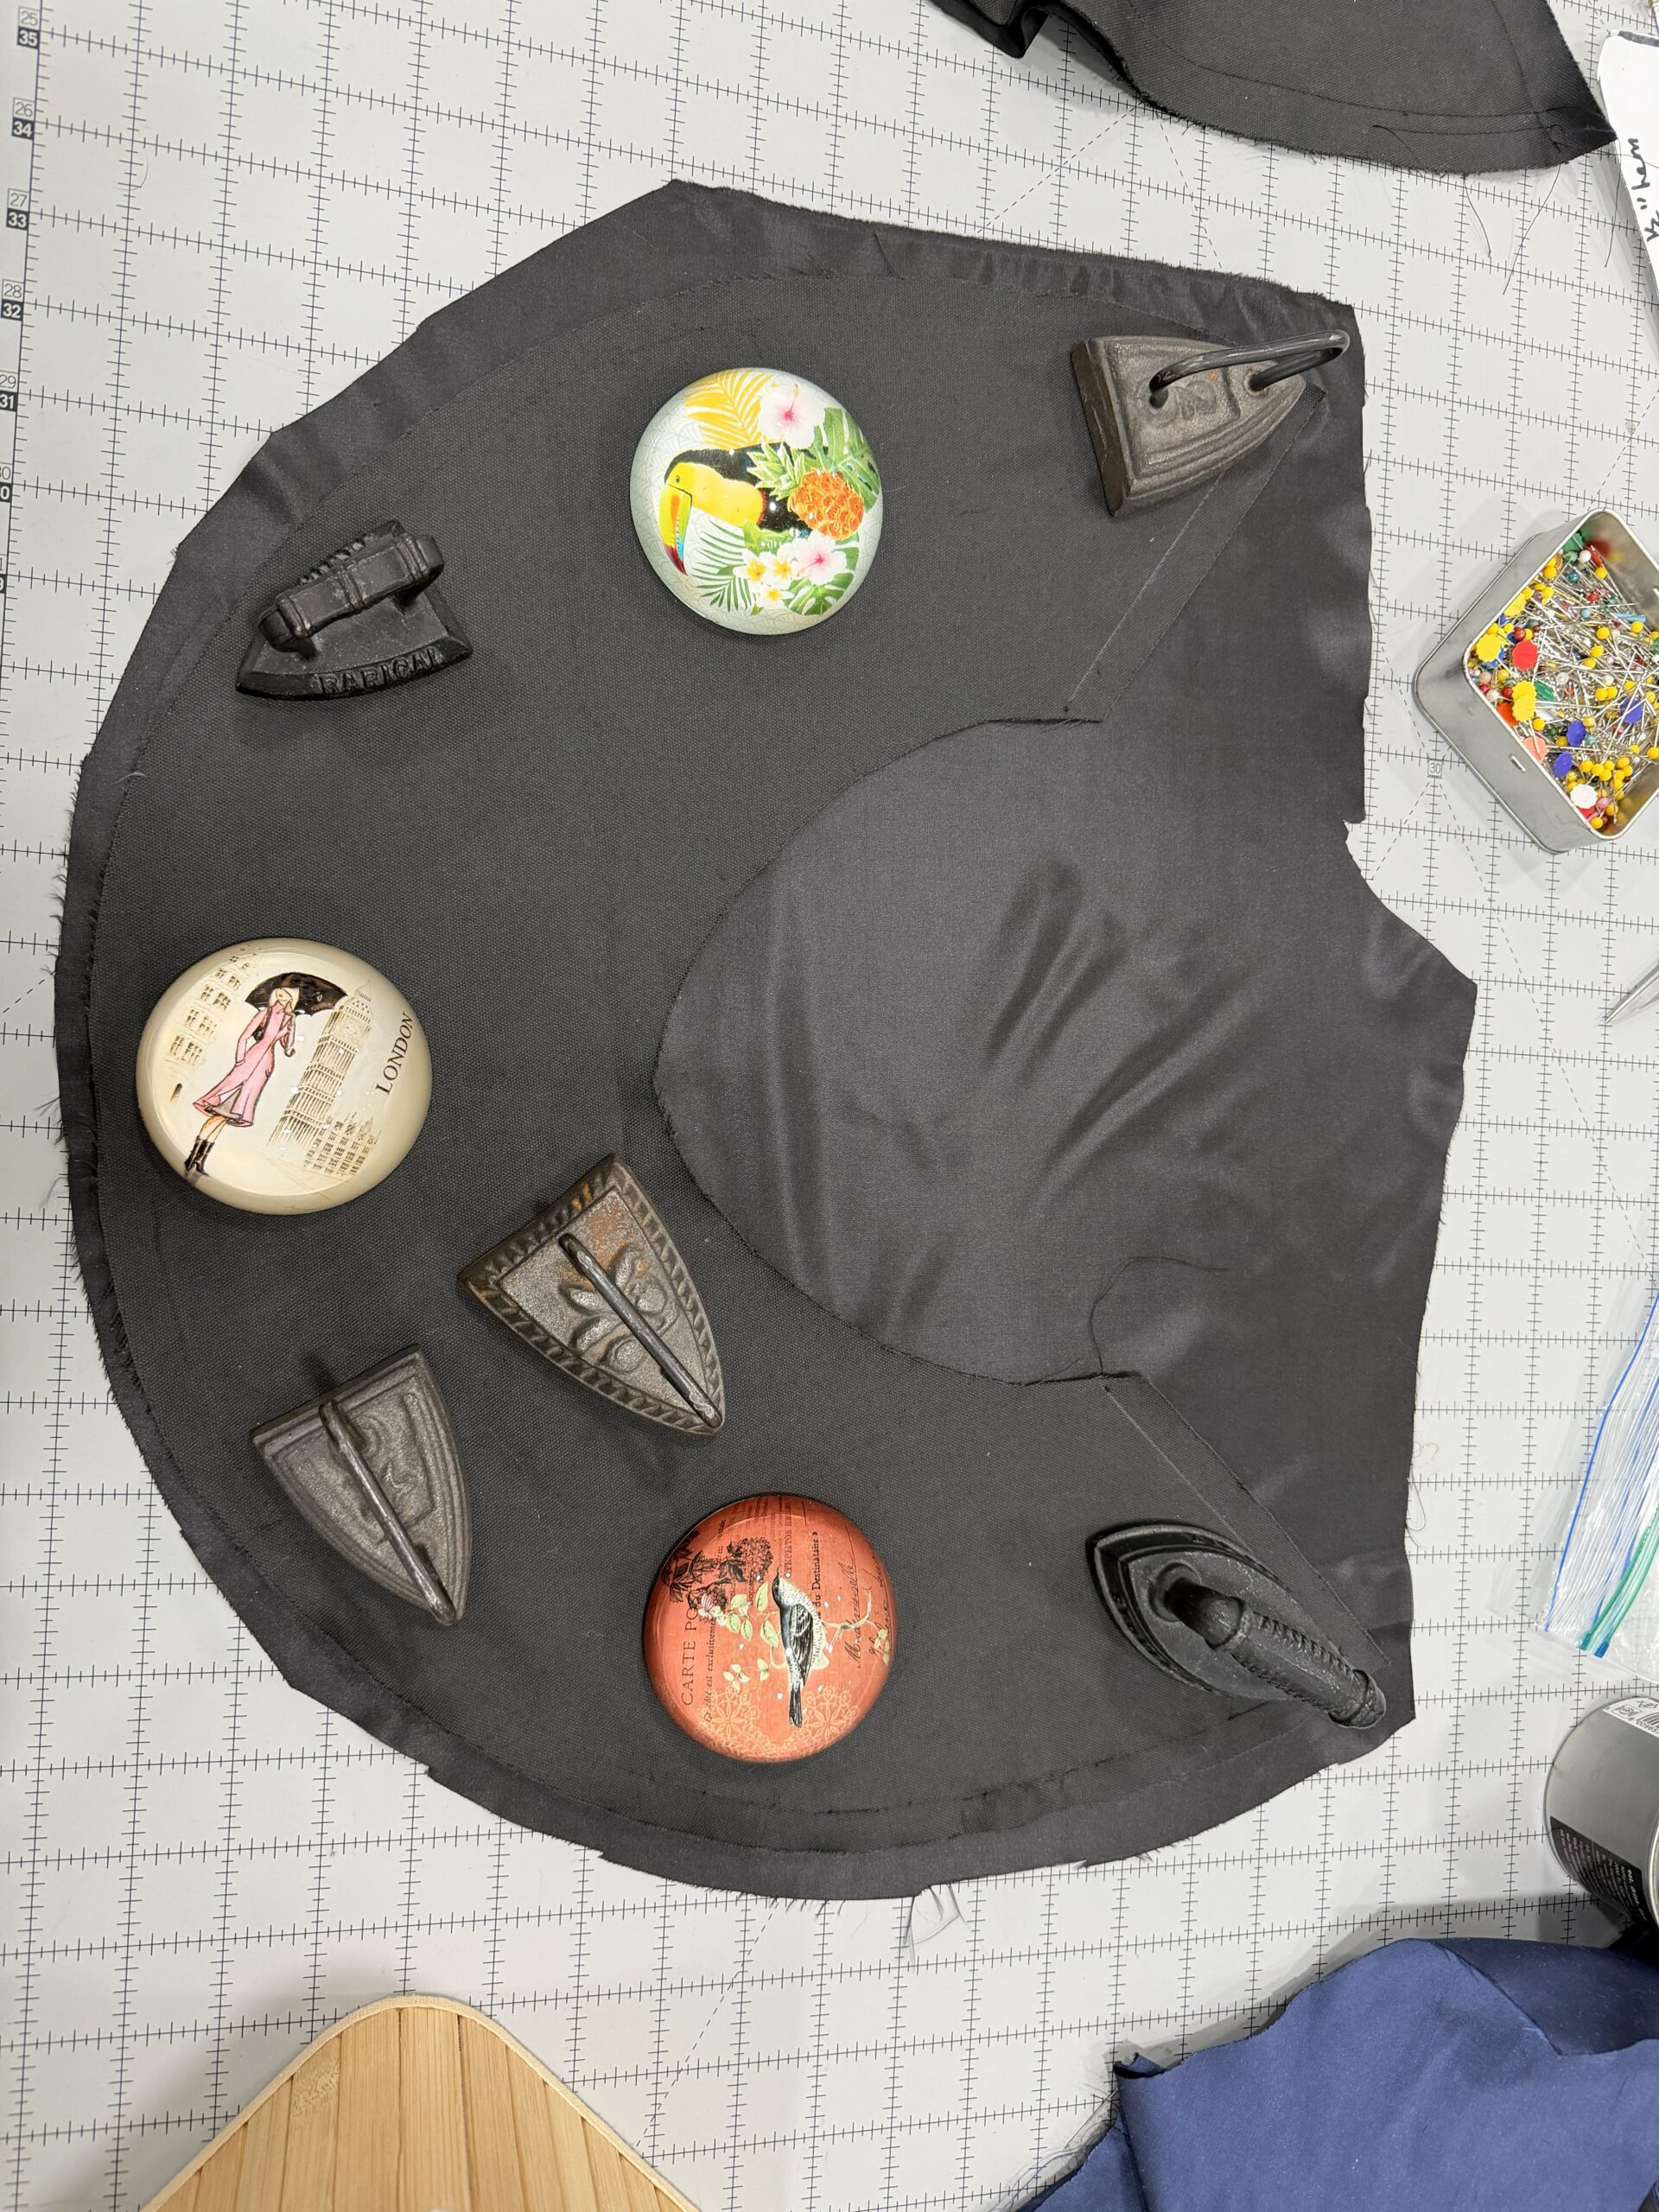
This was my first time working with cotton velvet and i did find it a bit fiddly. Initially I cut my velvet and my silk lining cape layers separately, but the velvet shifted about so much when I cut it that the two layers really refused to line up. I ended up laying the cut velvet collar pieces plush side down against larger, uncut pieces of lining silk (using a lot of fabric weights to get the velvet to stay put). I pinned like blazes, and then I sewed the two fabrics together and trimmed the lining silk down to size afterwards.
Once I had the lining trimmed down, I graded the seams and clipped the curve all the way around.
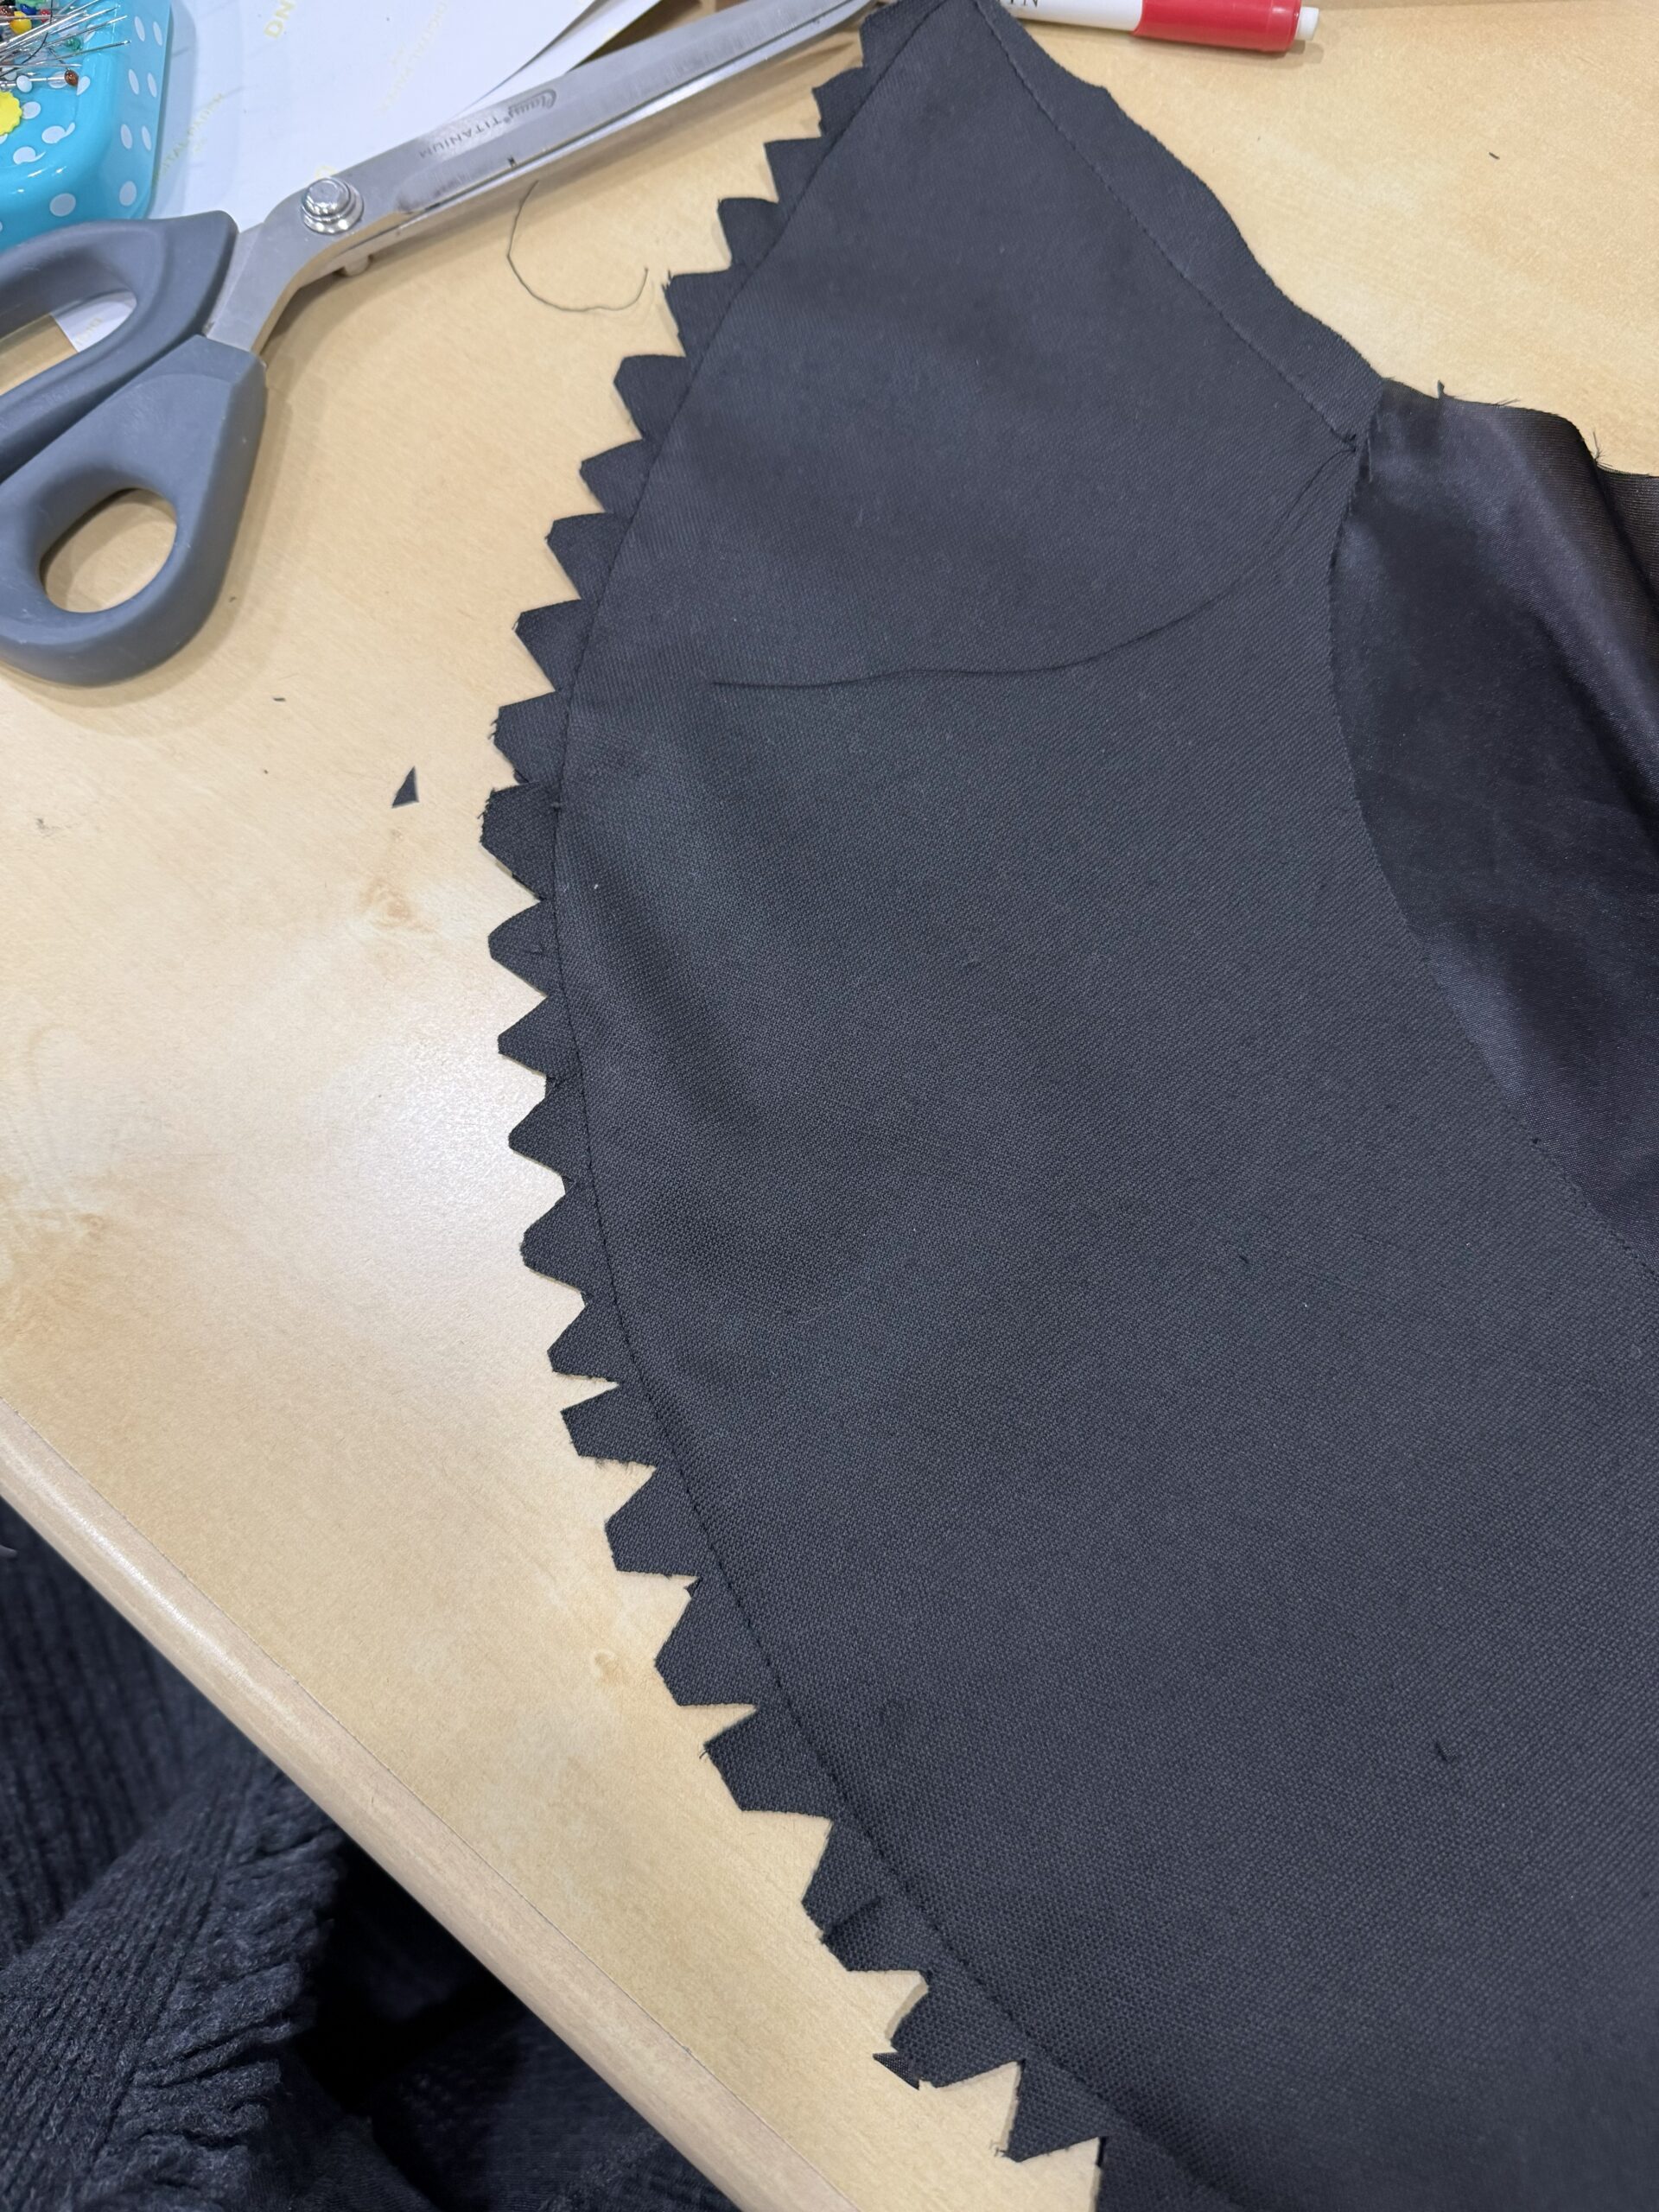
Then I turned my capes. So that the shiny silk would not peep out unbecomingly when the cape was worn, I finger-pressed the seams, rolling the silk lining to the inside about 3/16 inch, pinned the HECK out of it all, and prick-stitched it in place.
I had my two capes. Now it was time to sew the hoods.
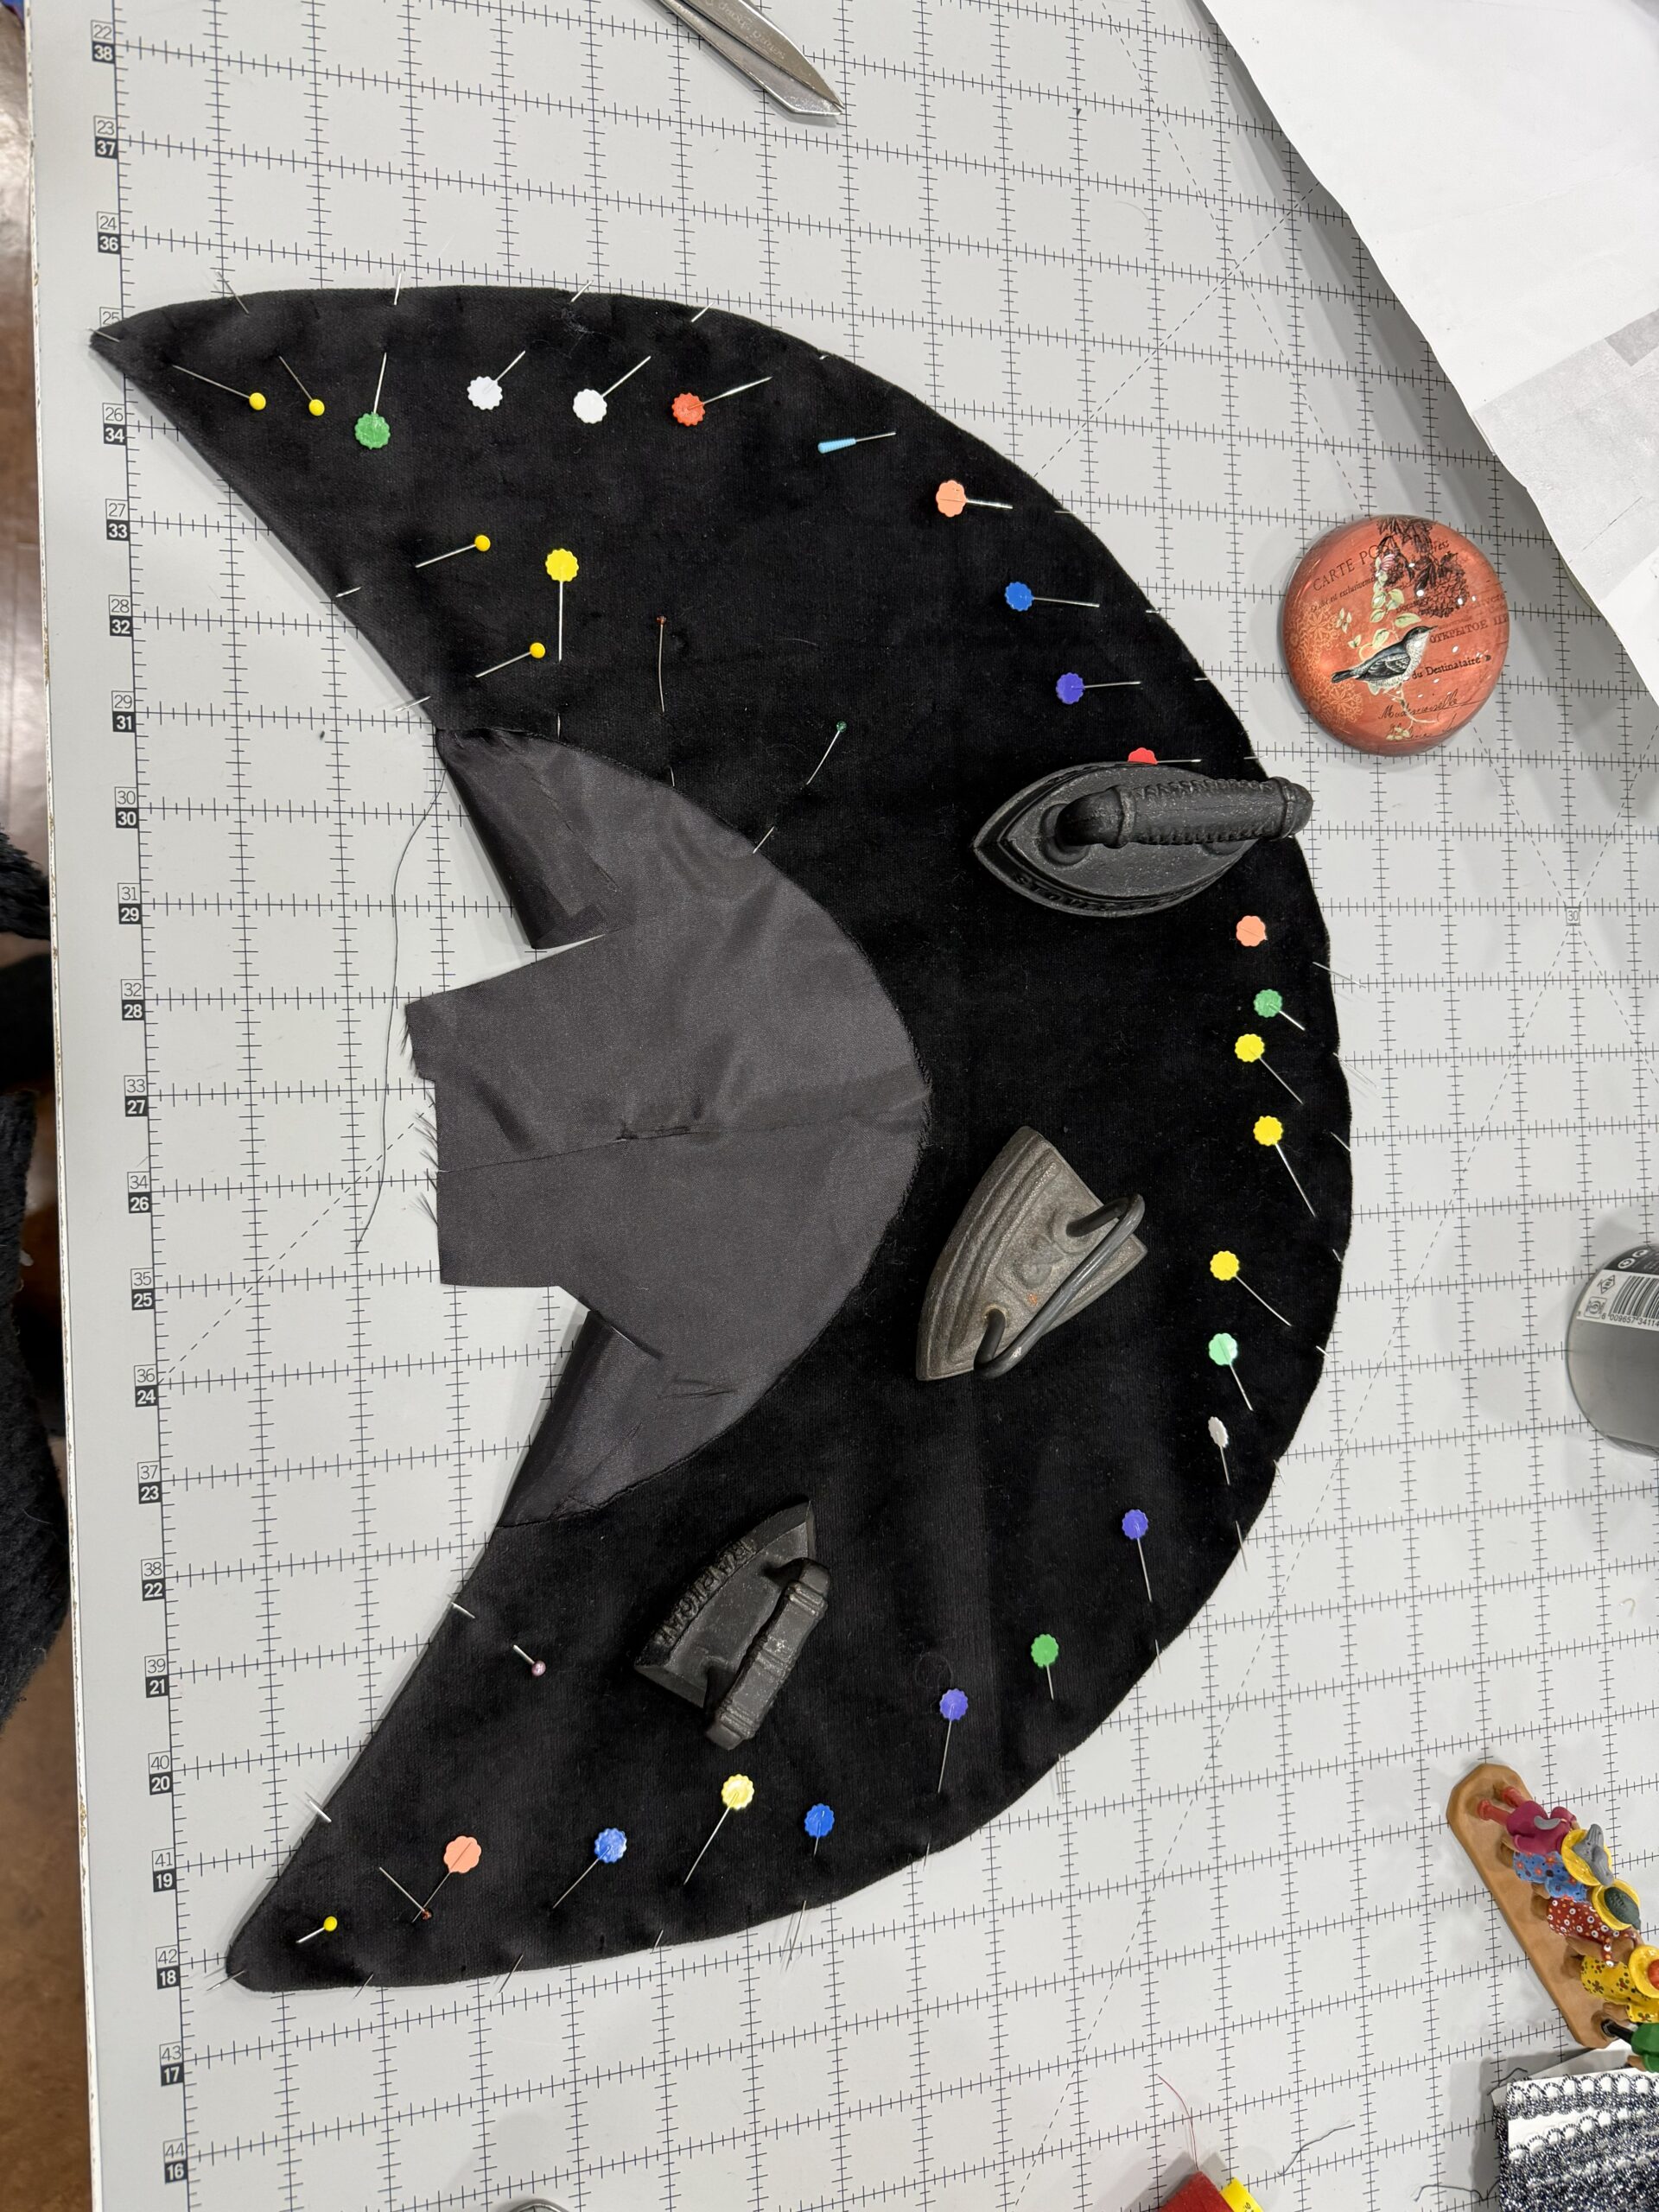
I started with the hood for the rounded cloak. I laid my ice wool interlining flat against the wrong side of the velvet and basted it into place. Then I folded the seam allowance of the front side of the hood over the ice wool and basted it down.
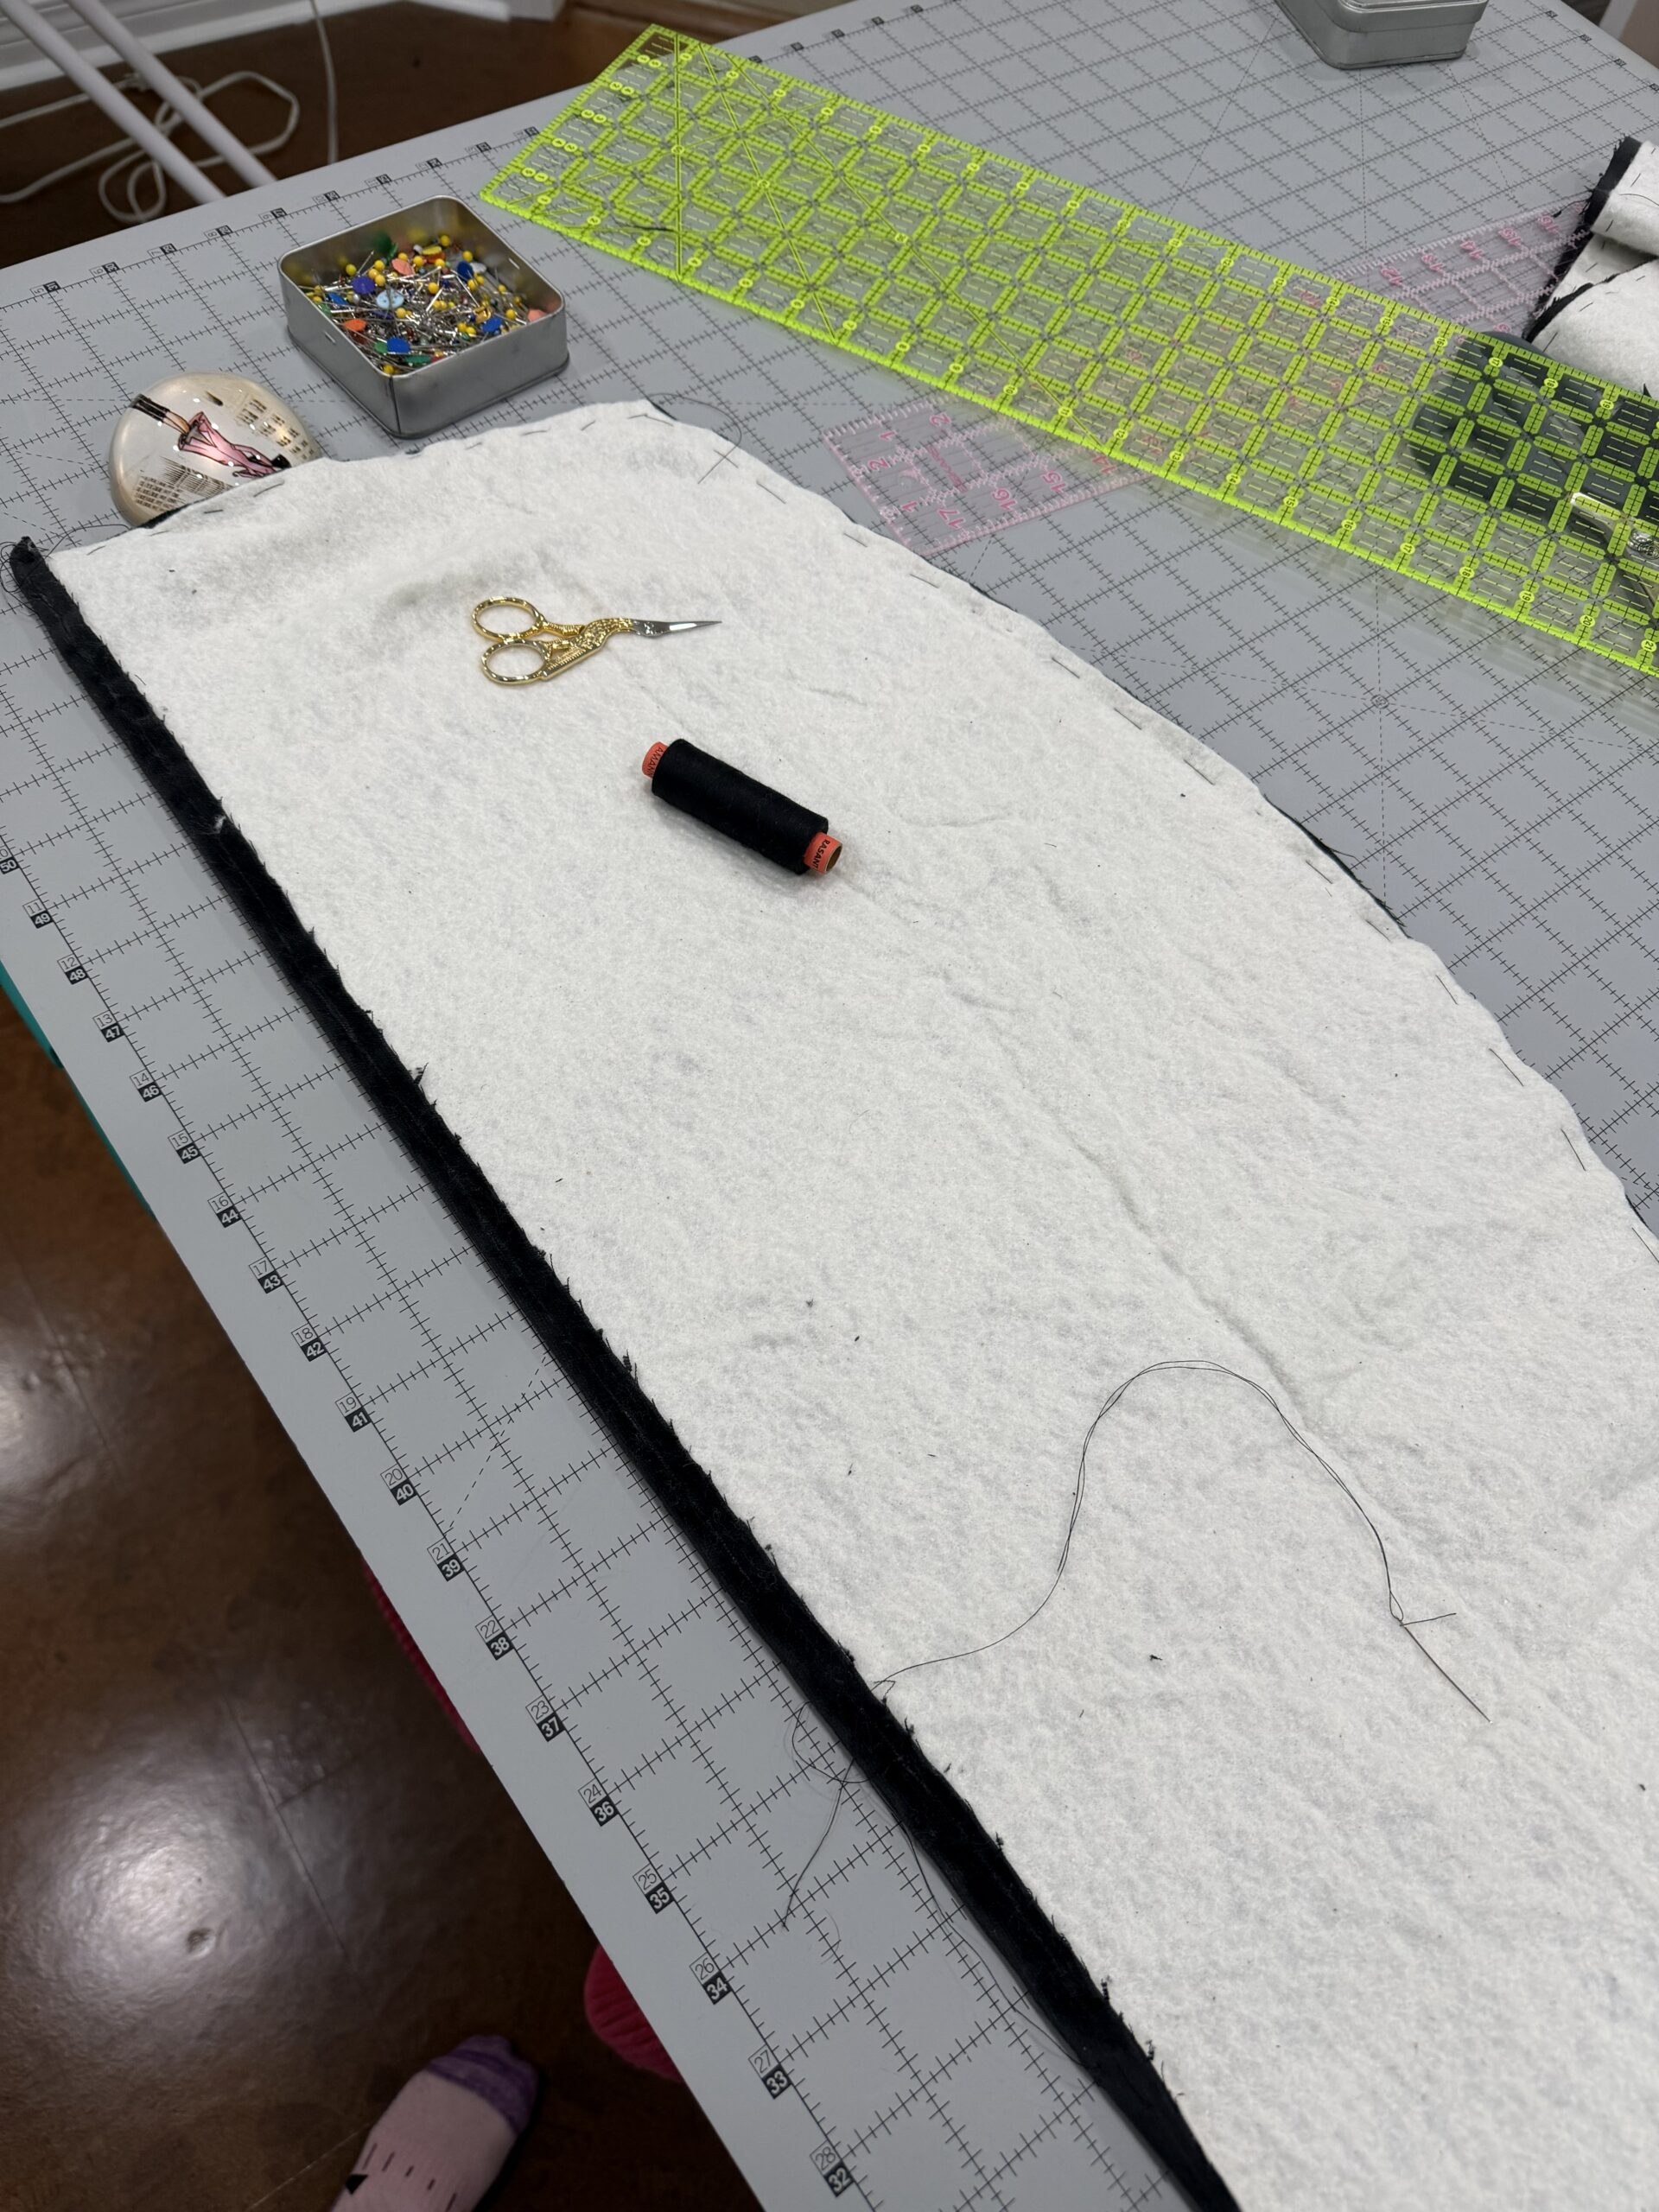
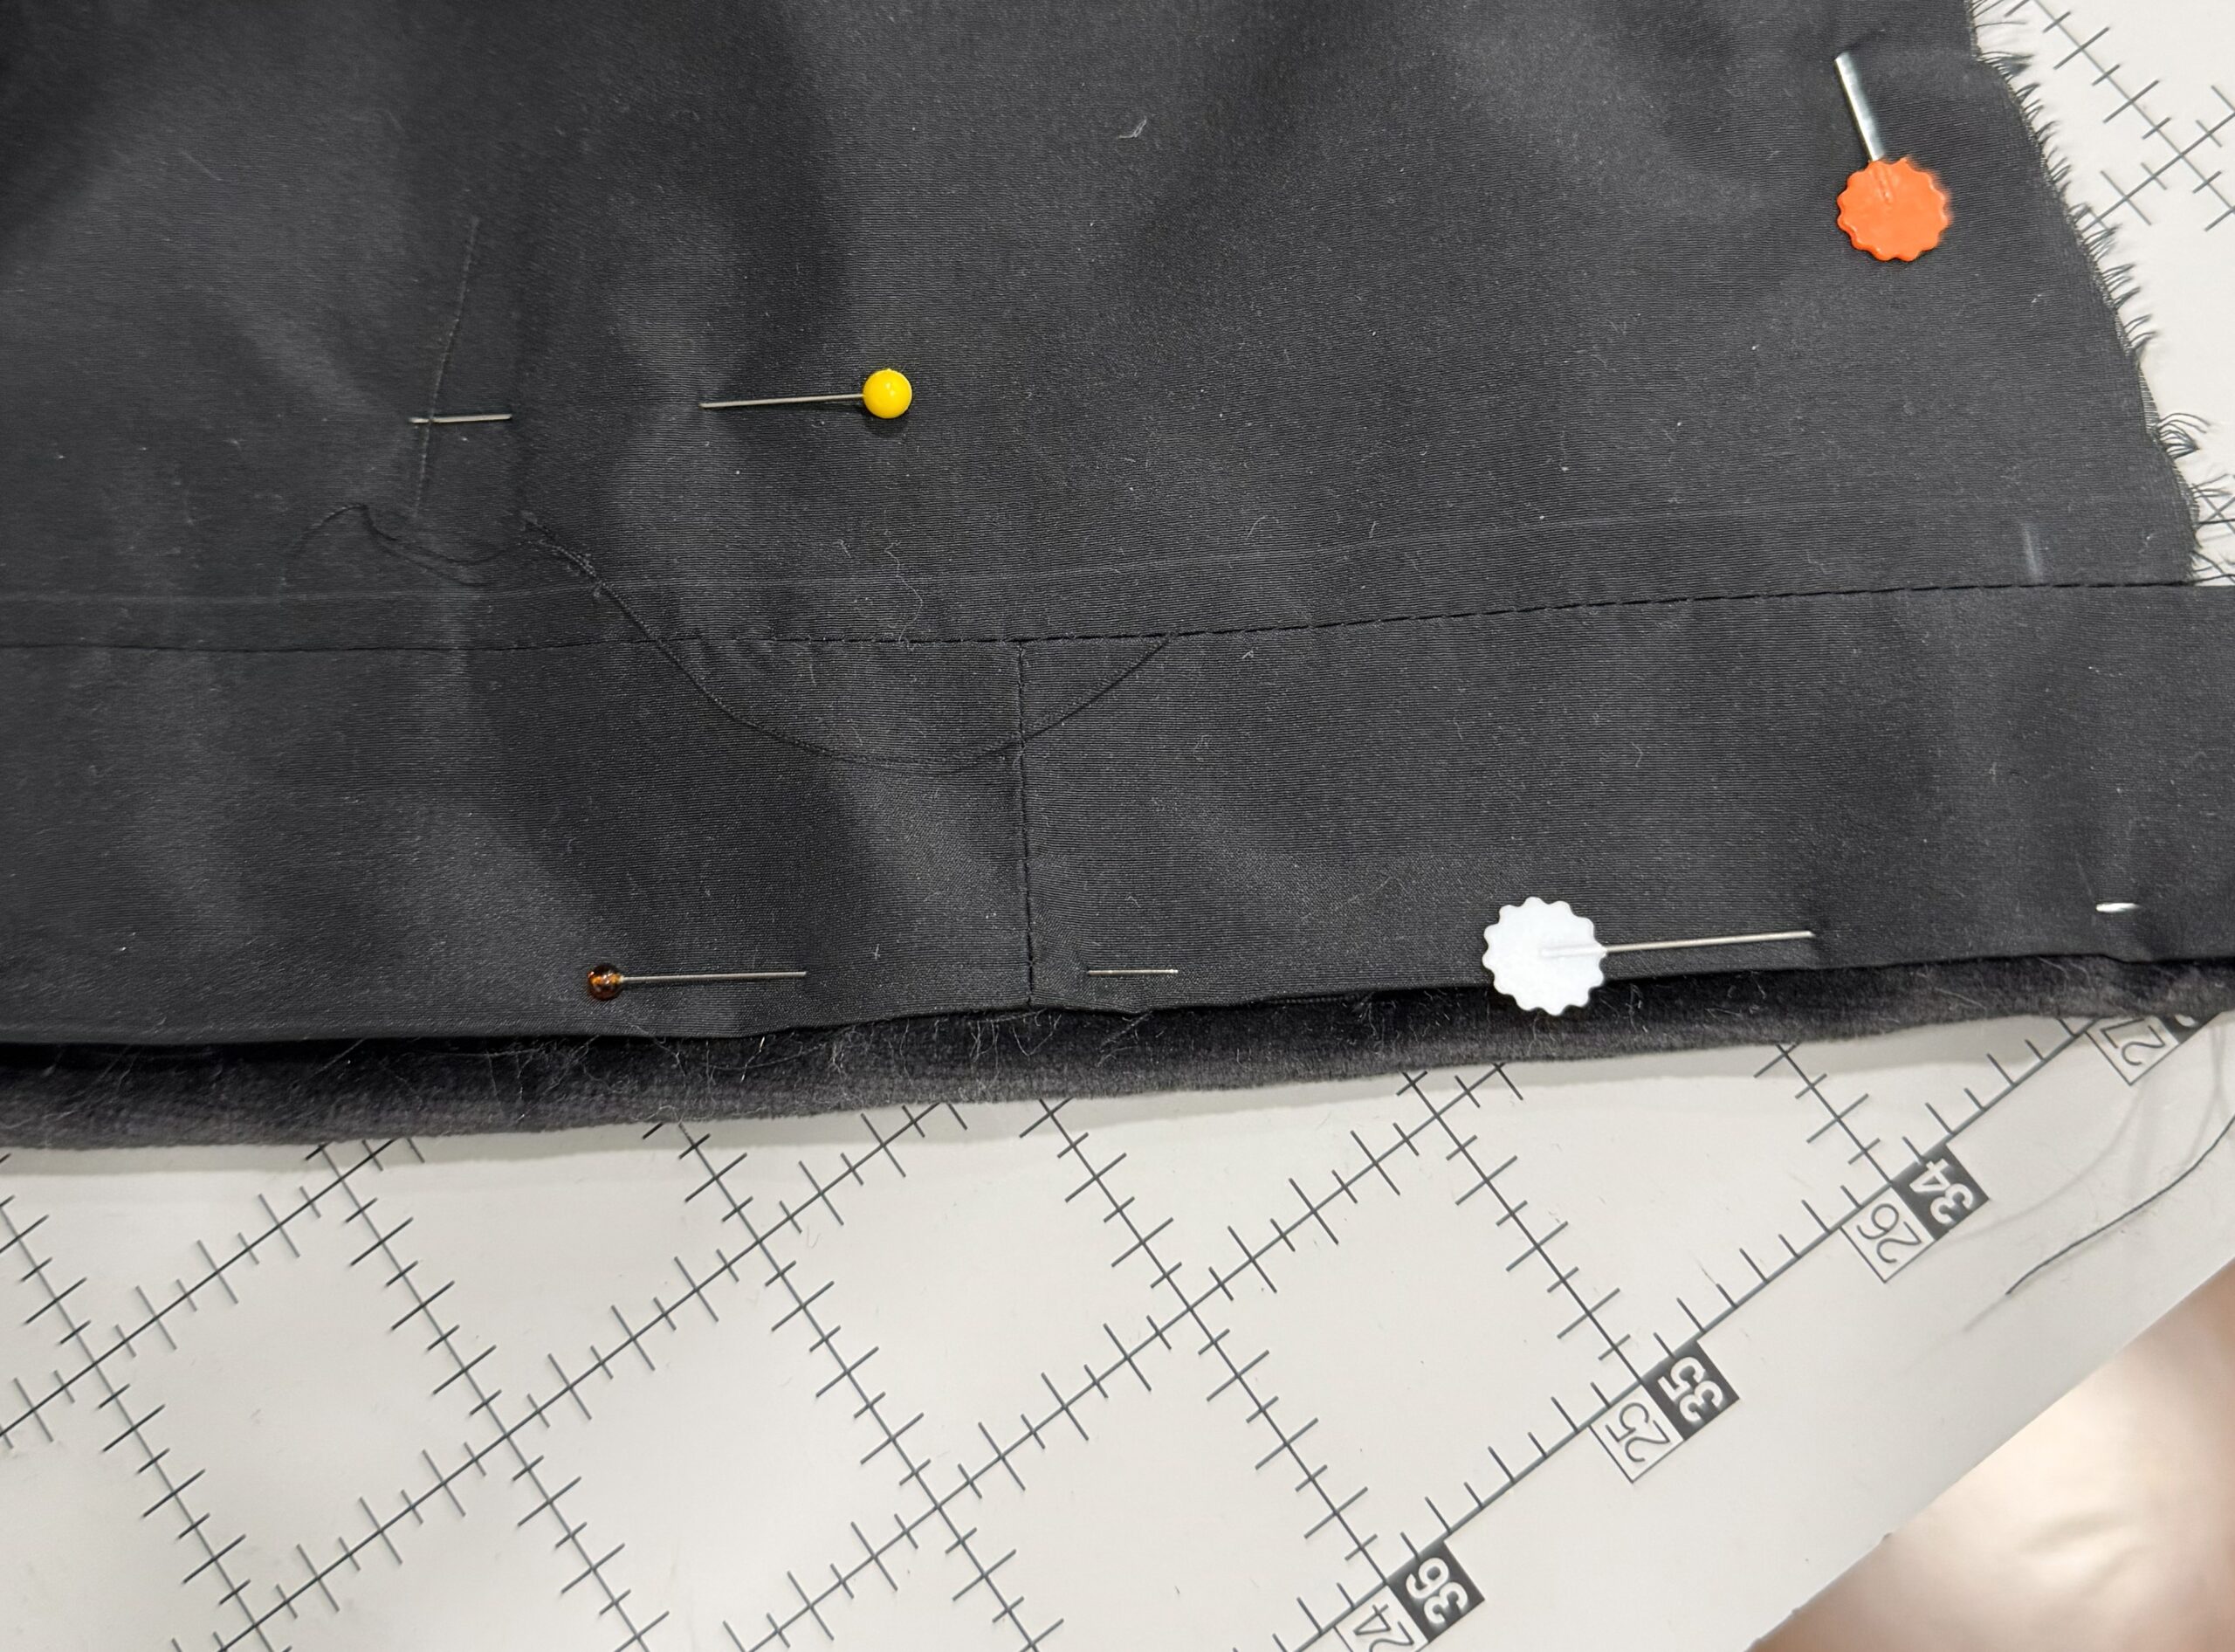
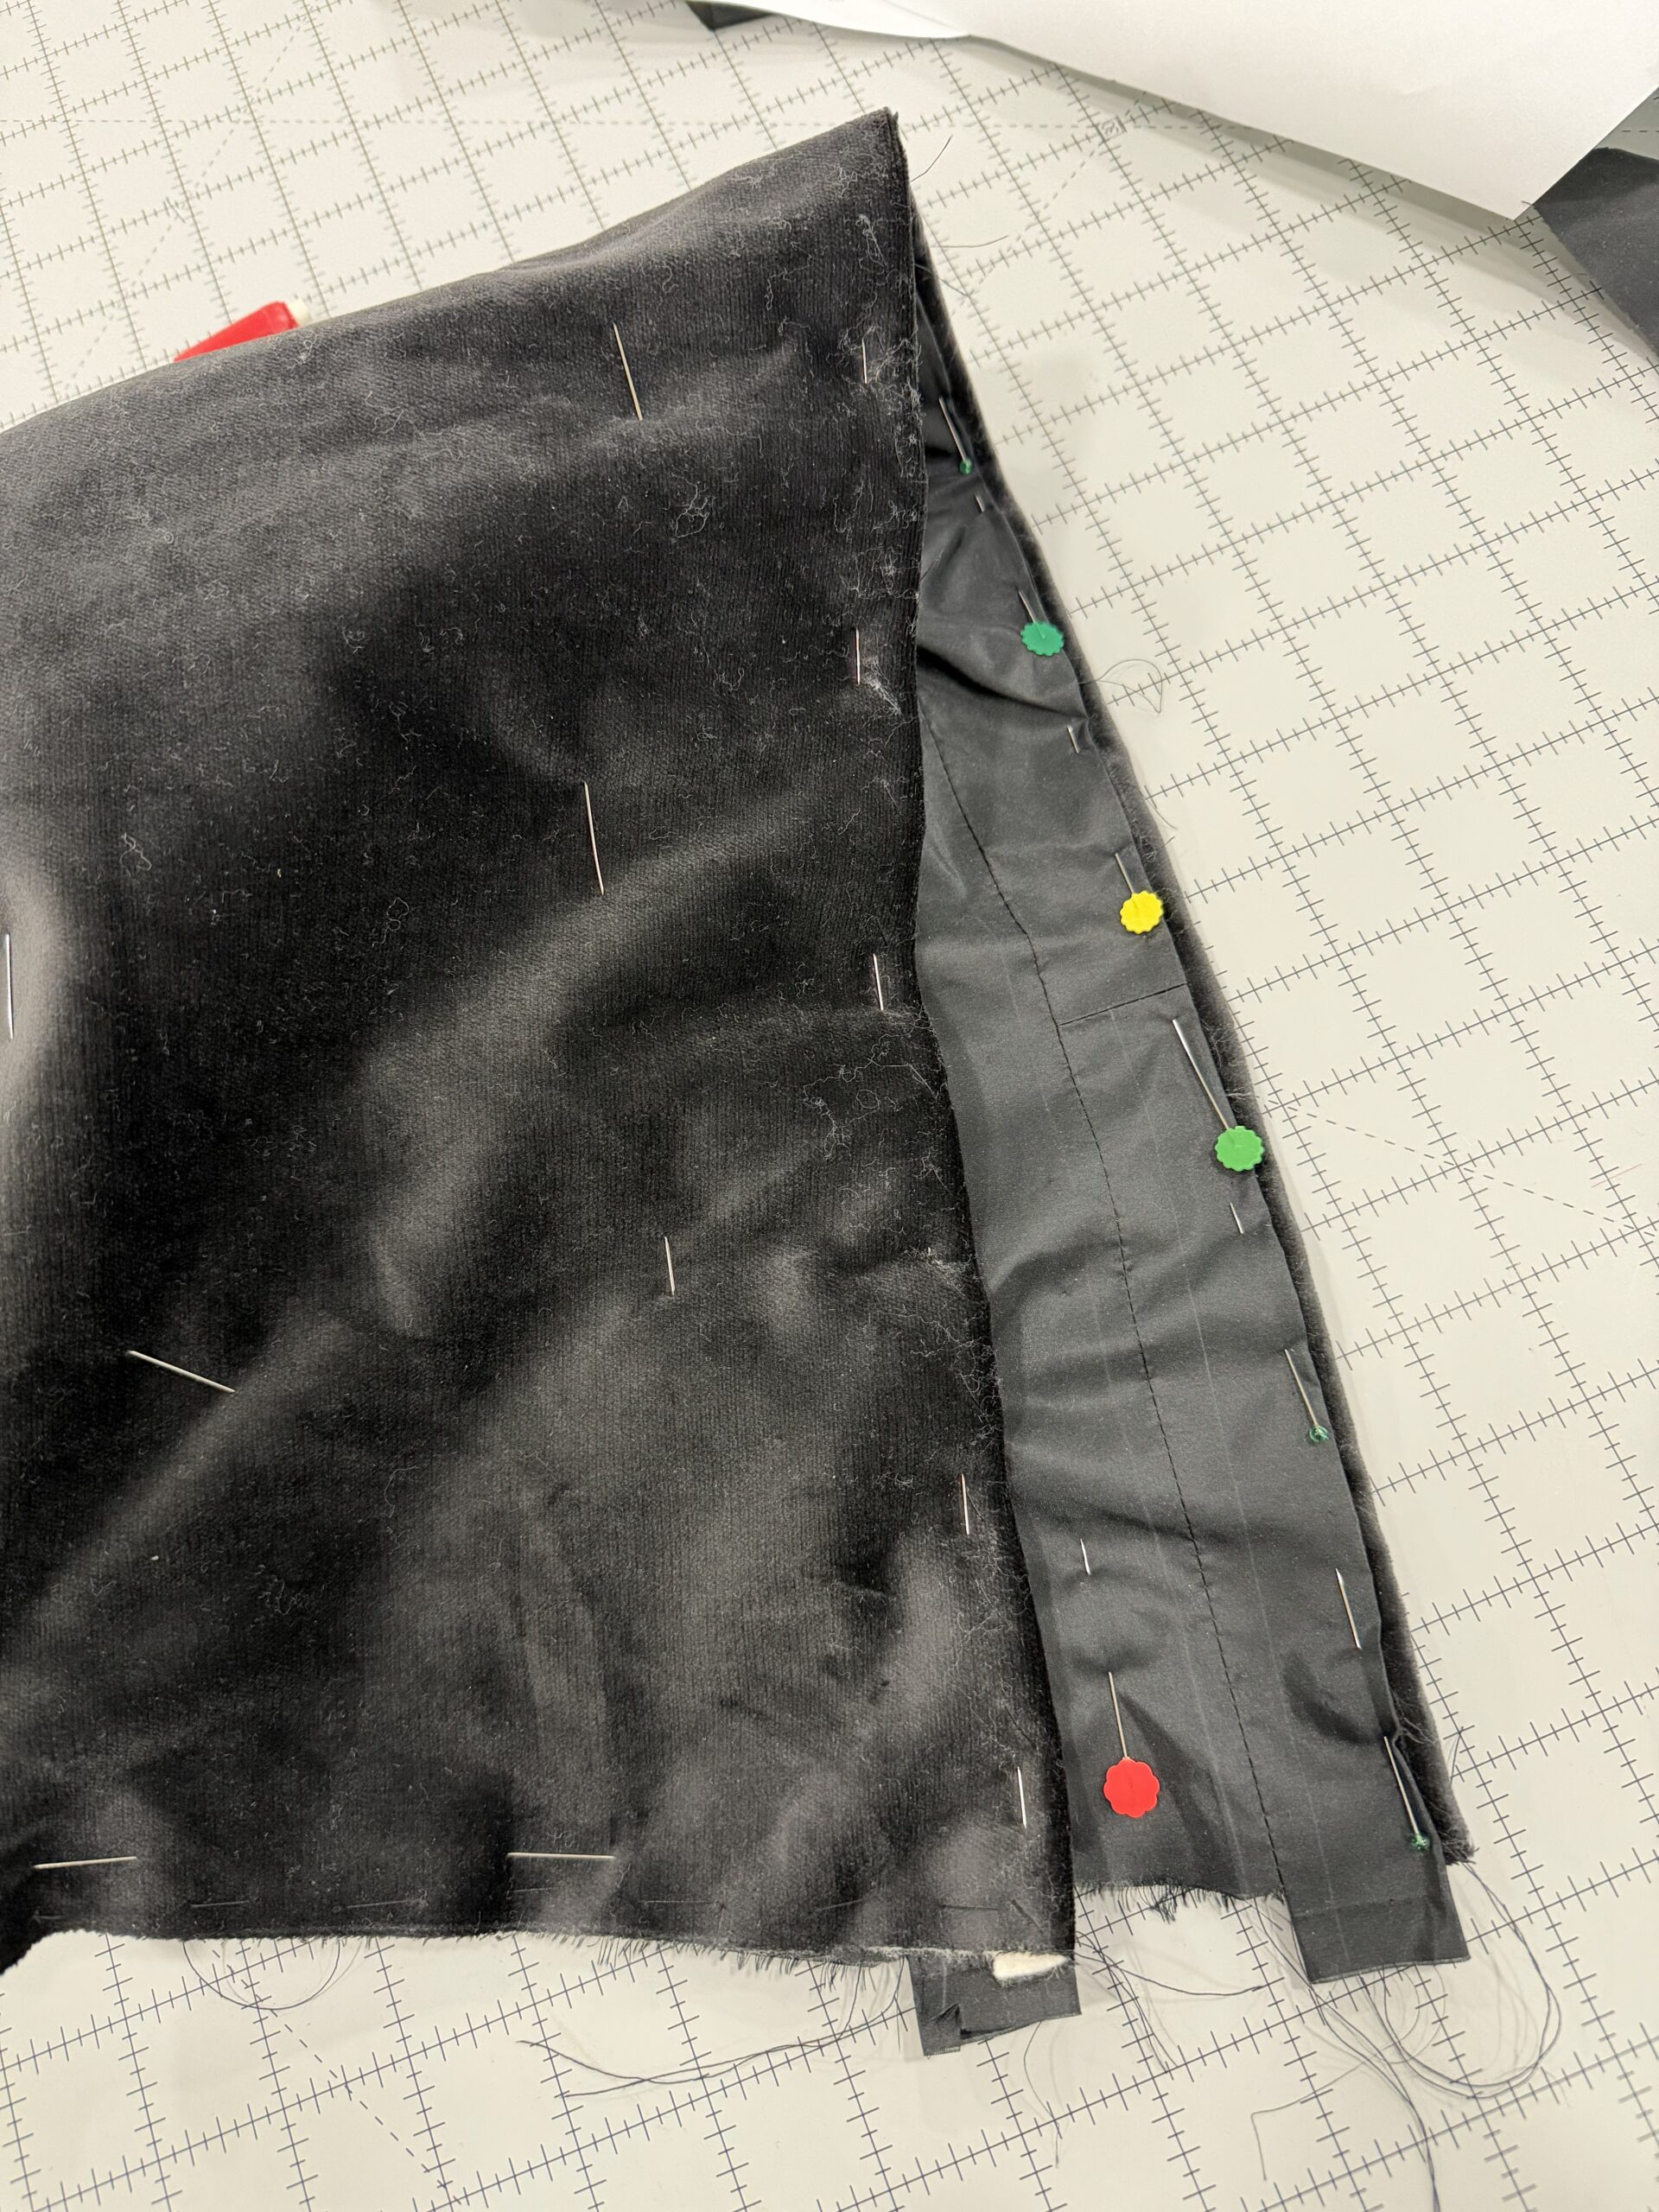
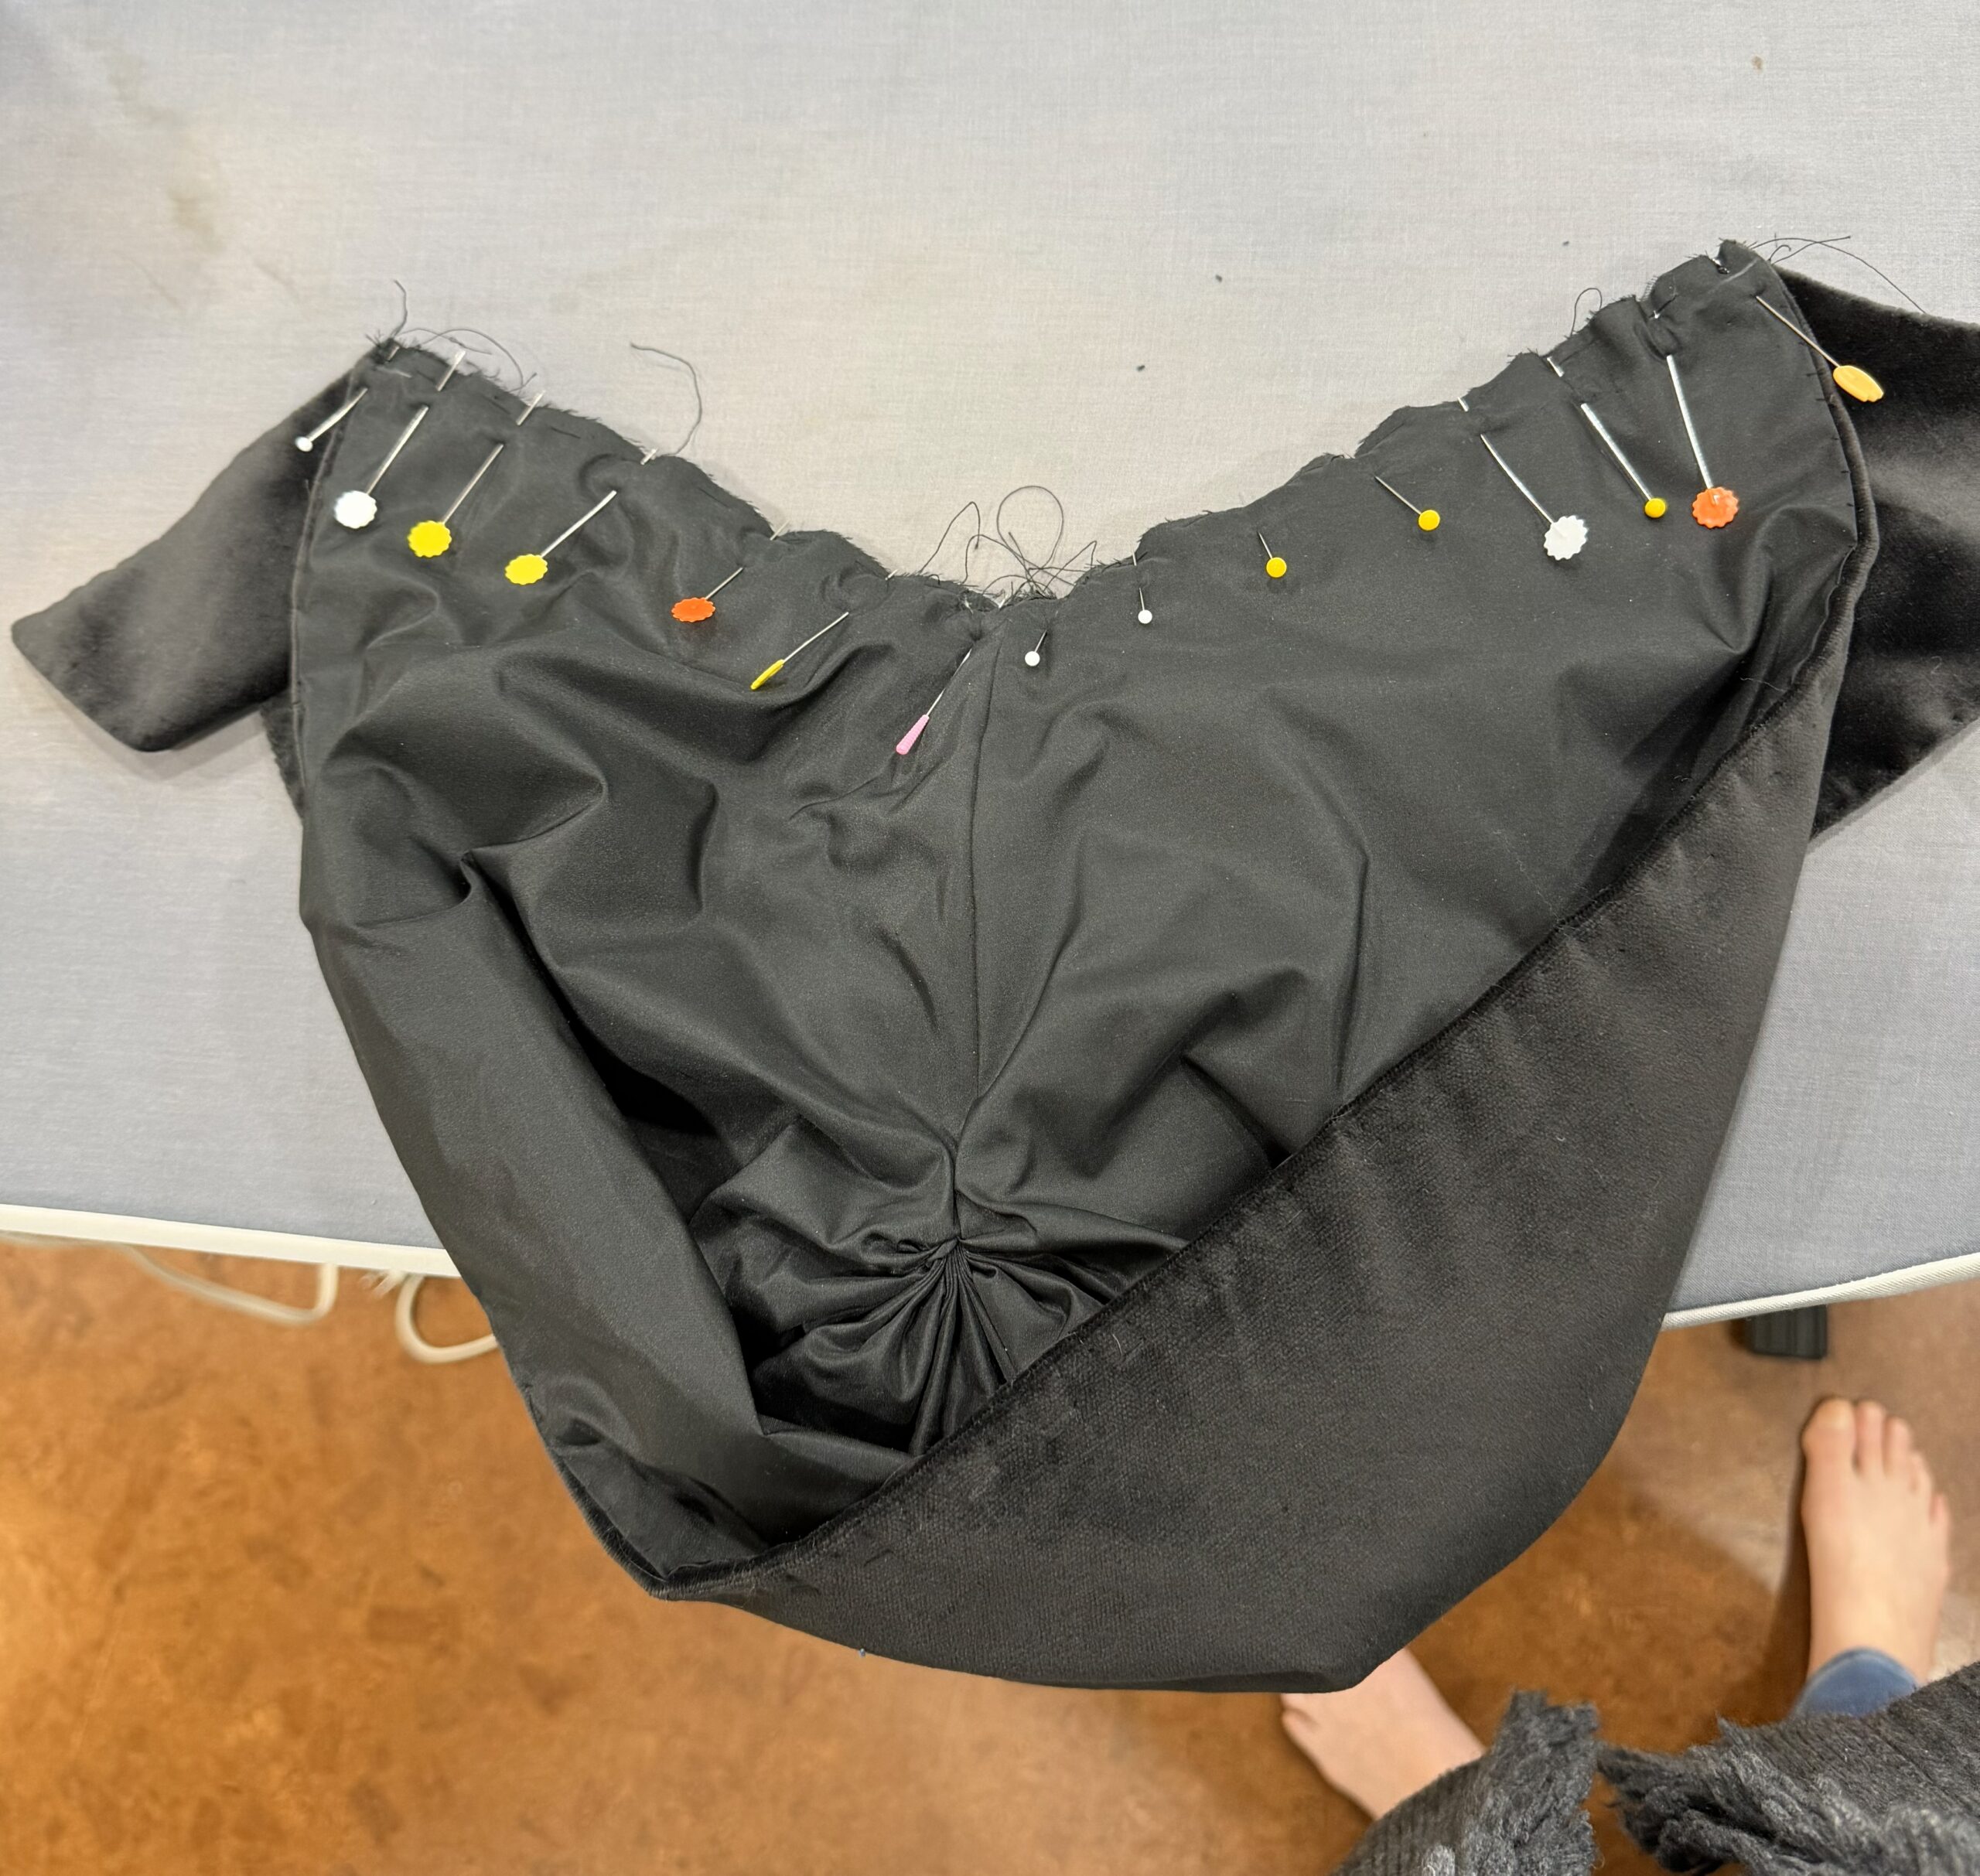
When I sew hoods for mantelets, I sew the lining to the hood body and pleat the back finished back edge afterwards. Kozy Kitty had done it differently. She had sewed and pleated the velvet and the lining layers of the hood separately, then laid them together afterwards and I wanted to try her technique. Pleating the individual layers went quickly, but bringing the hood and the lining together was quite fiddly and involved a lot of pinning. Once I finally had the layers aligned, I adjusted them so that the front edge of the lining sat 1/4 inch back from the front edge of the hood, and then I prick stitched it into place.
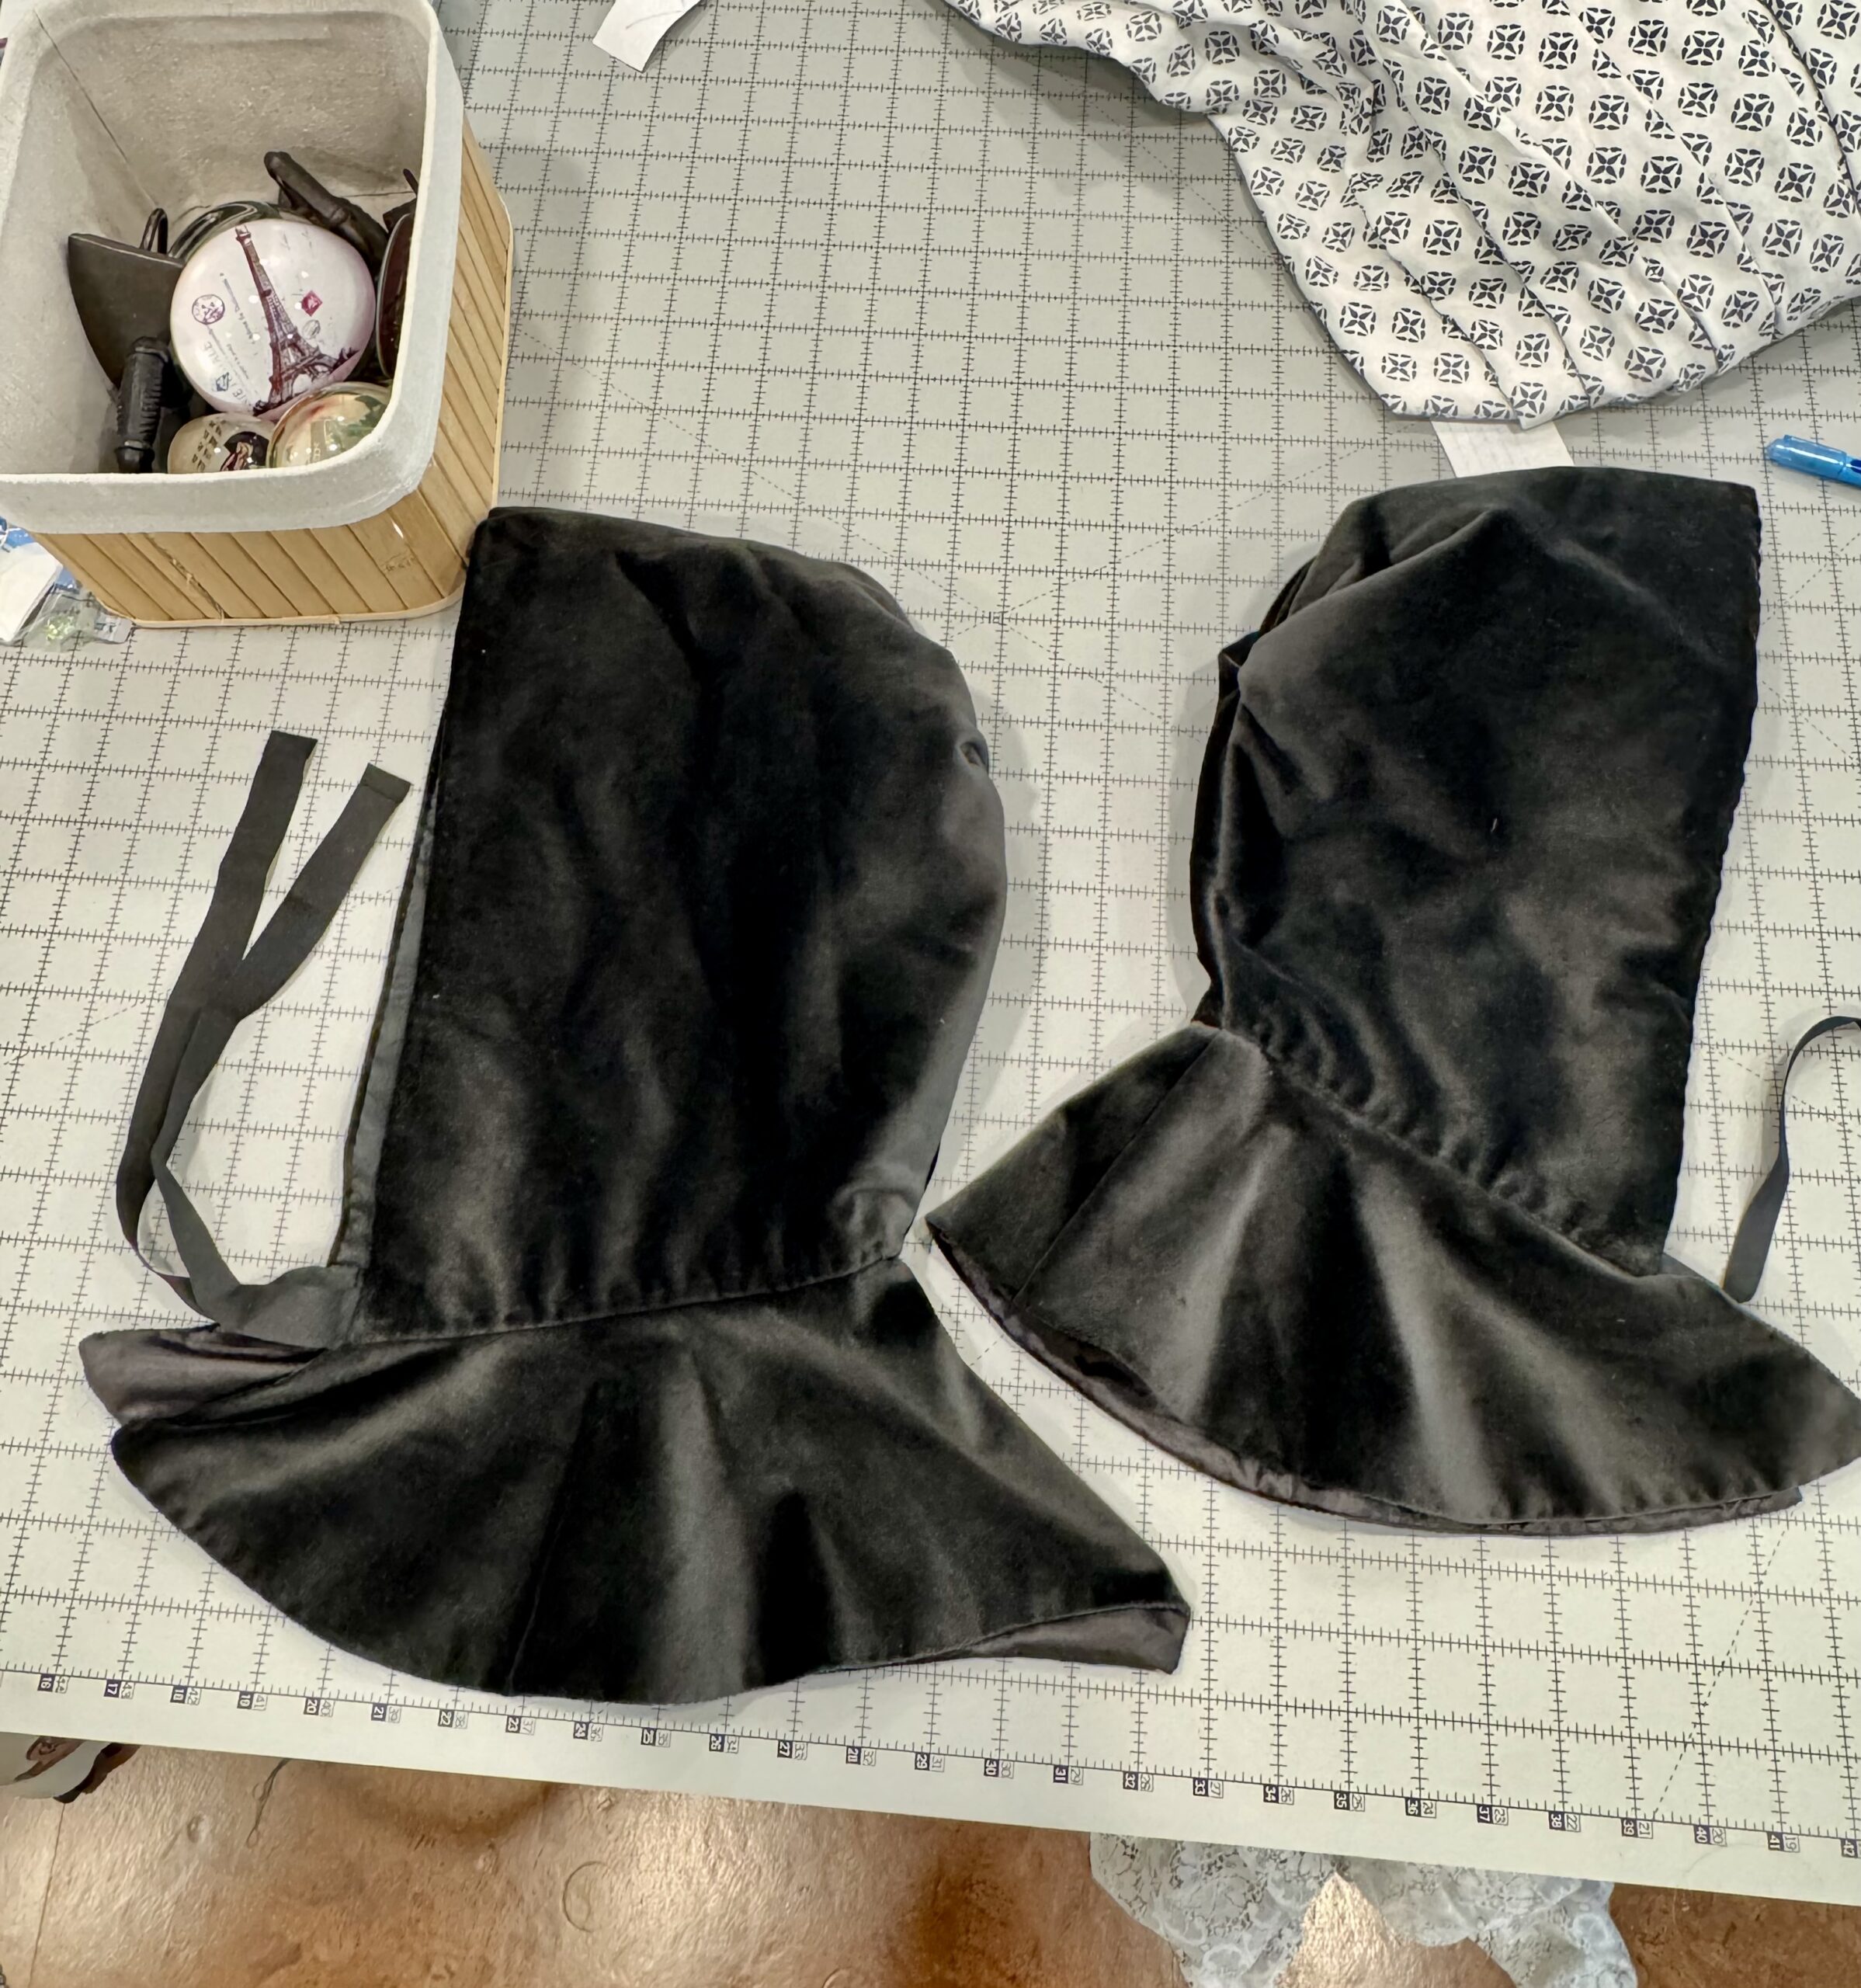
(above: these photos are actually of the second hood with its pieced lining)
First hood complete, I laid it against the round cape and found that the necklines didn’t match. The cape’s was about 1.5 inches longer than the hood’s. I went back to the paper patterns. They matched correctly. I shrugged and took a tuck at center back of the cape and sewed the two pieces together. The hood fit around my head nicely, but the circumference of the neck was so tight that it barely met in front! Somehow in cutting, I had cut the hood short. This little 18th century velvet hood project was becoming a bit more frustrating than it should have been.
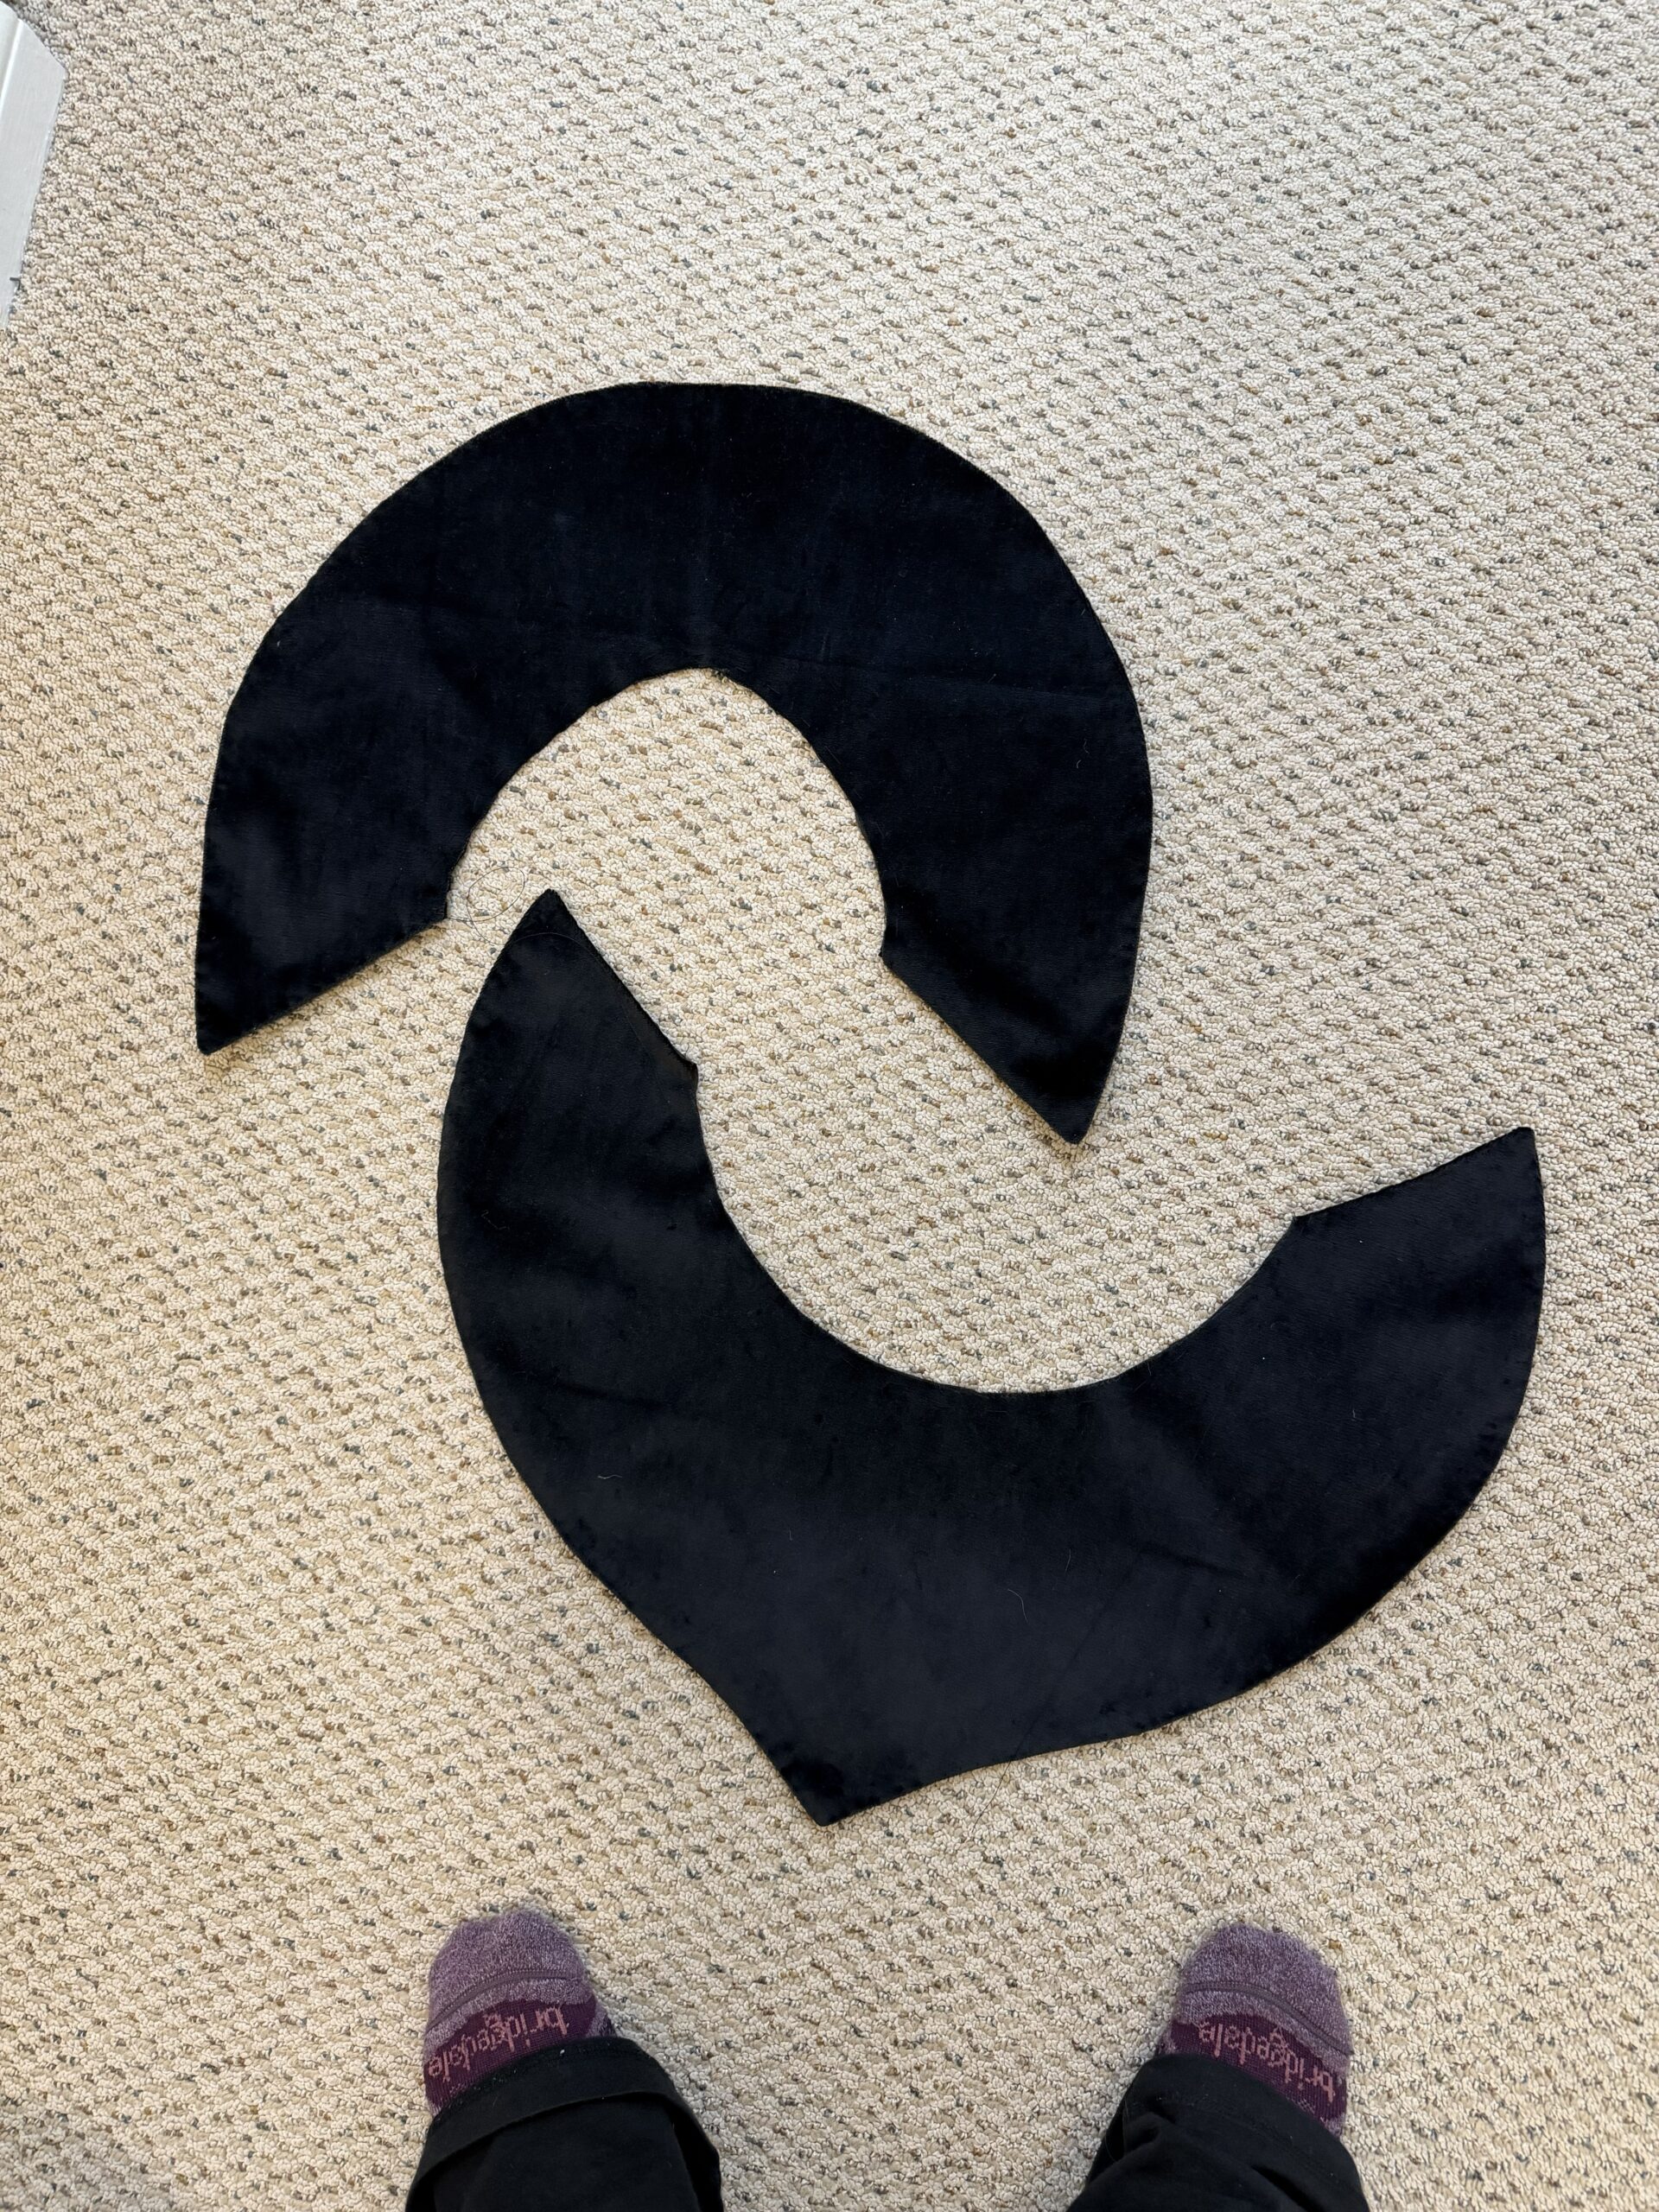
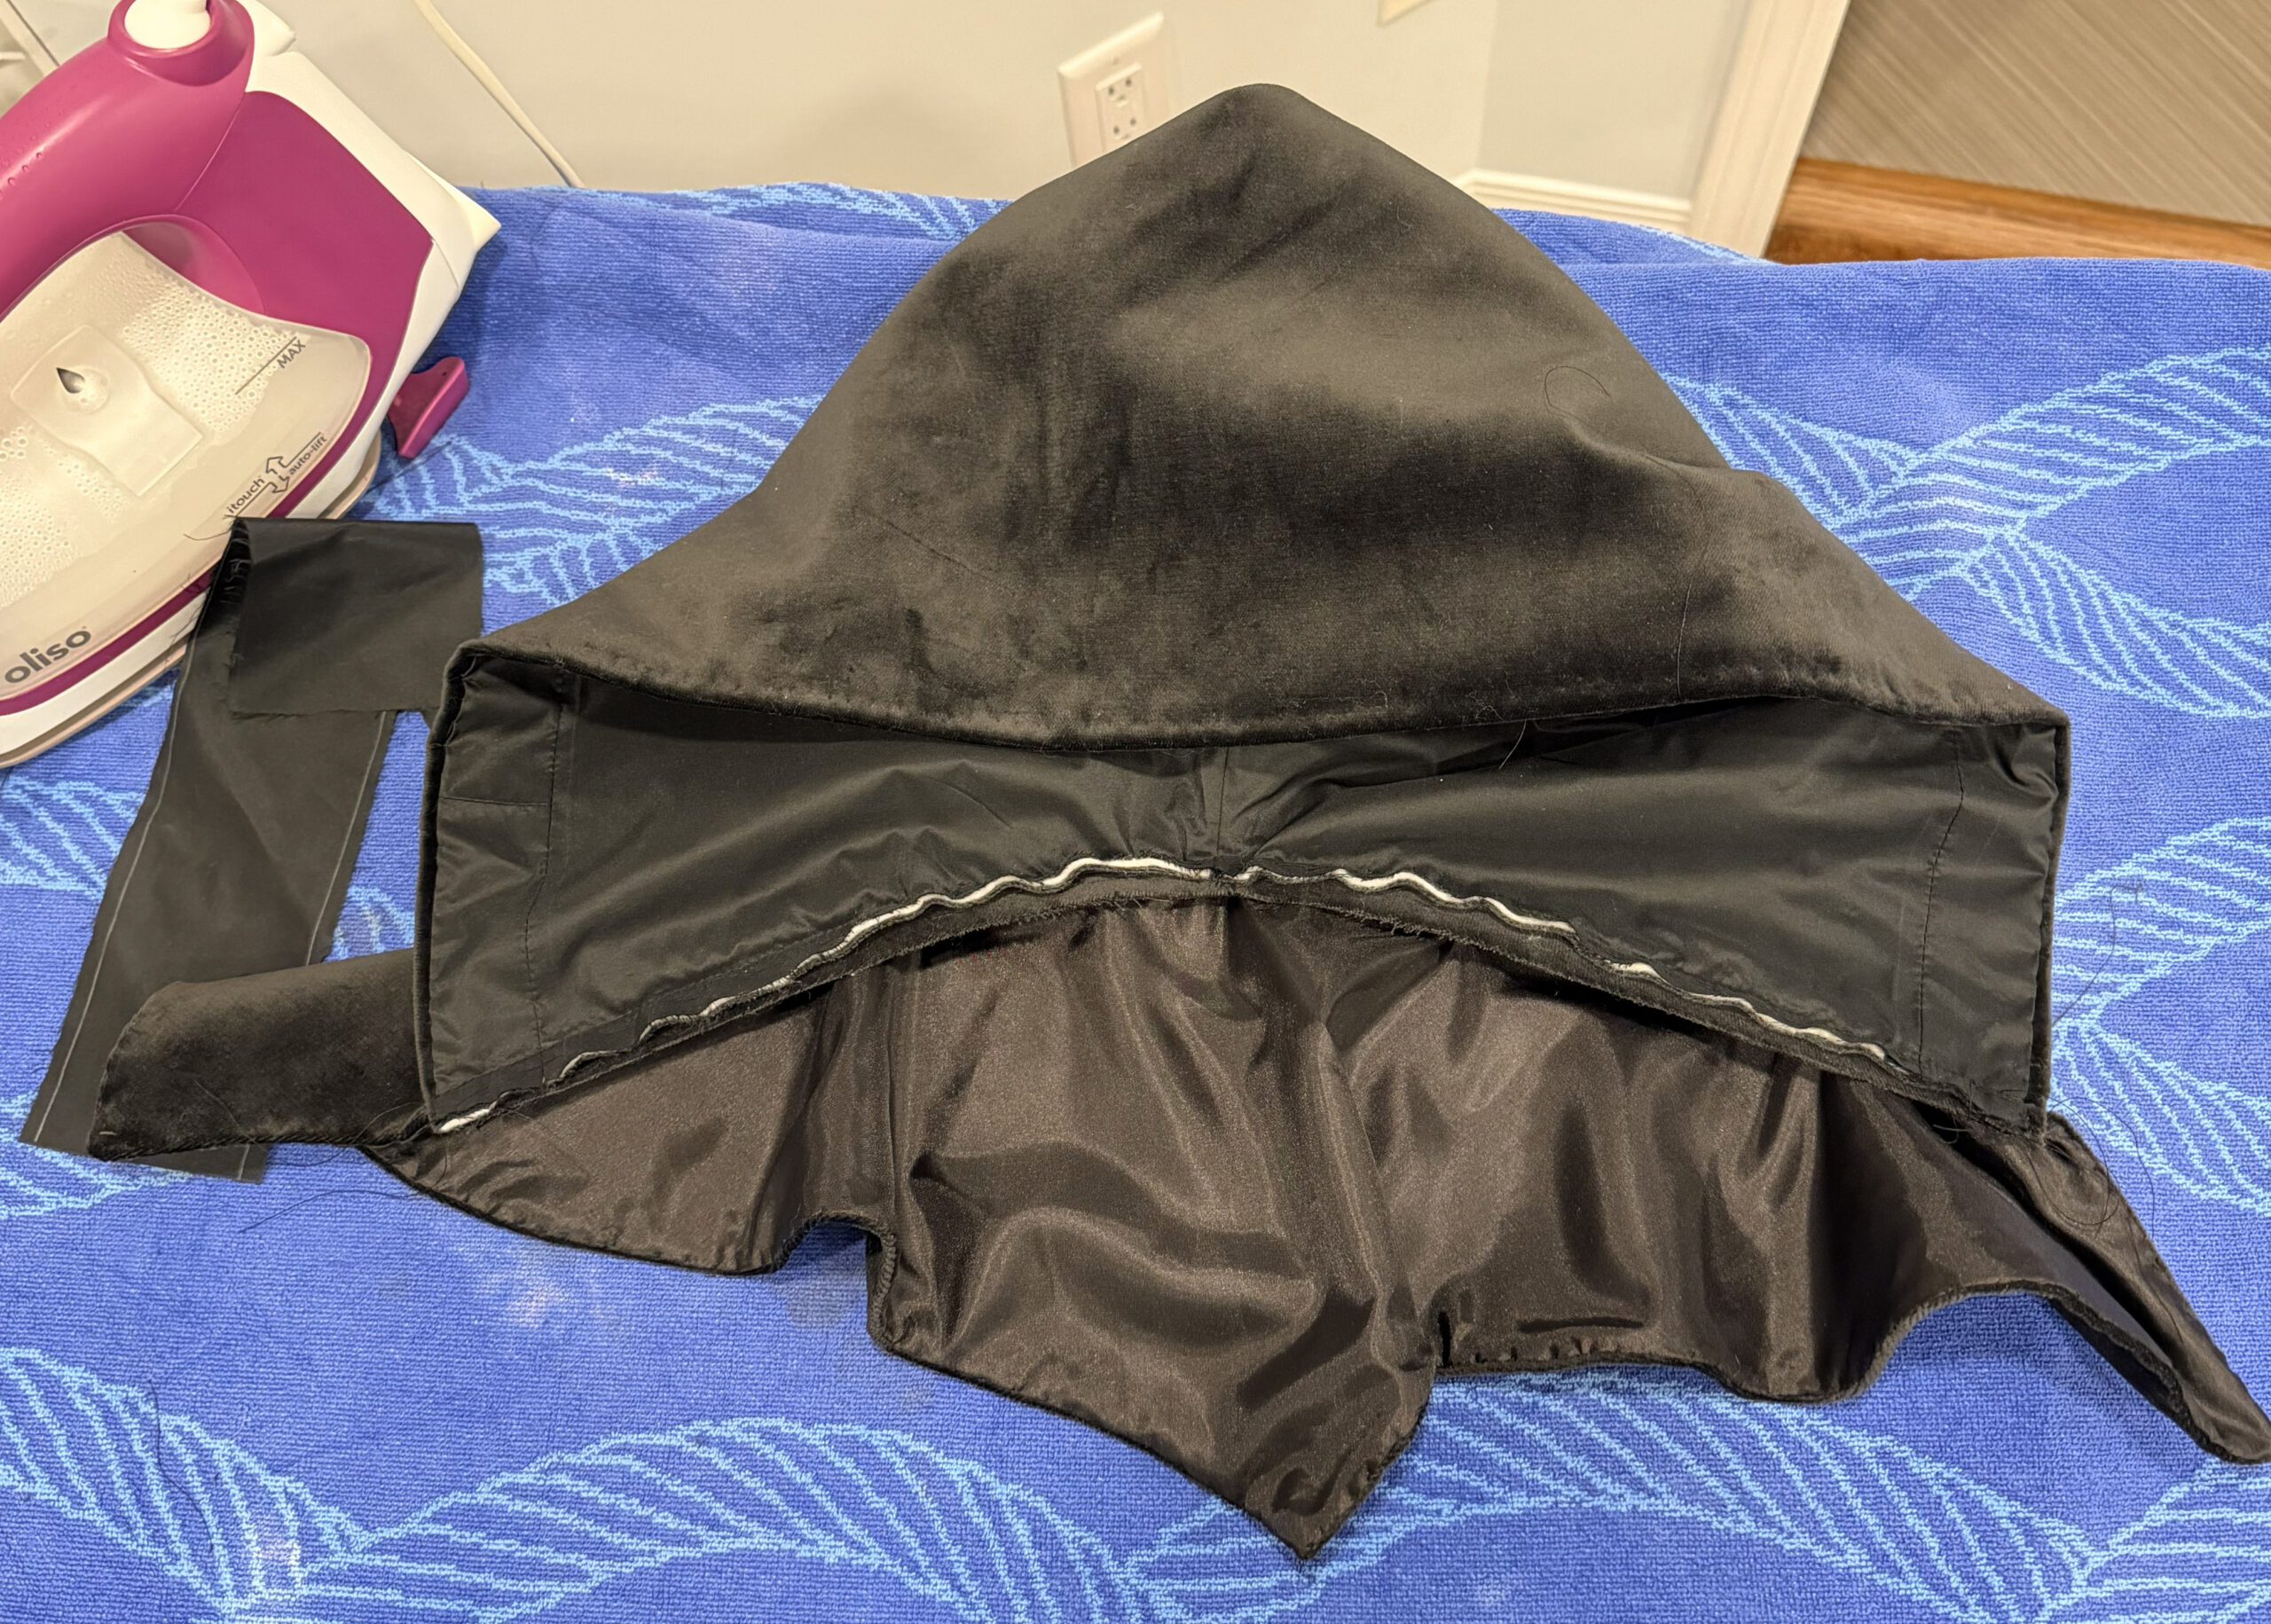
Fortunately, I had lots of cotton velvet left. For my second hood, I cut my velvet 2 inches wider than the first time around. I wanted more than enough, and where I had excess, I would simply pleat the neck of the new hood down to fit my collar.
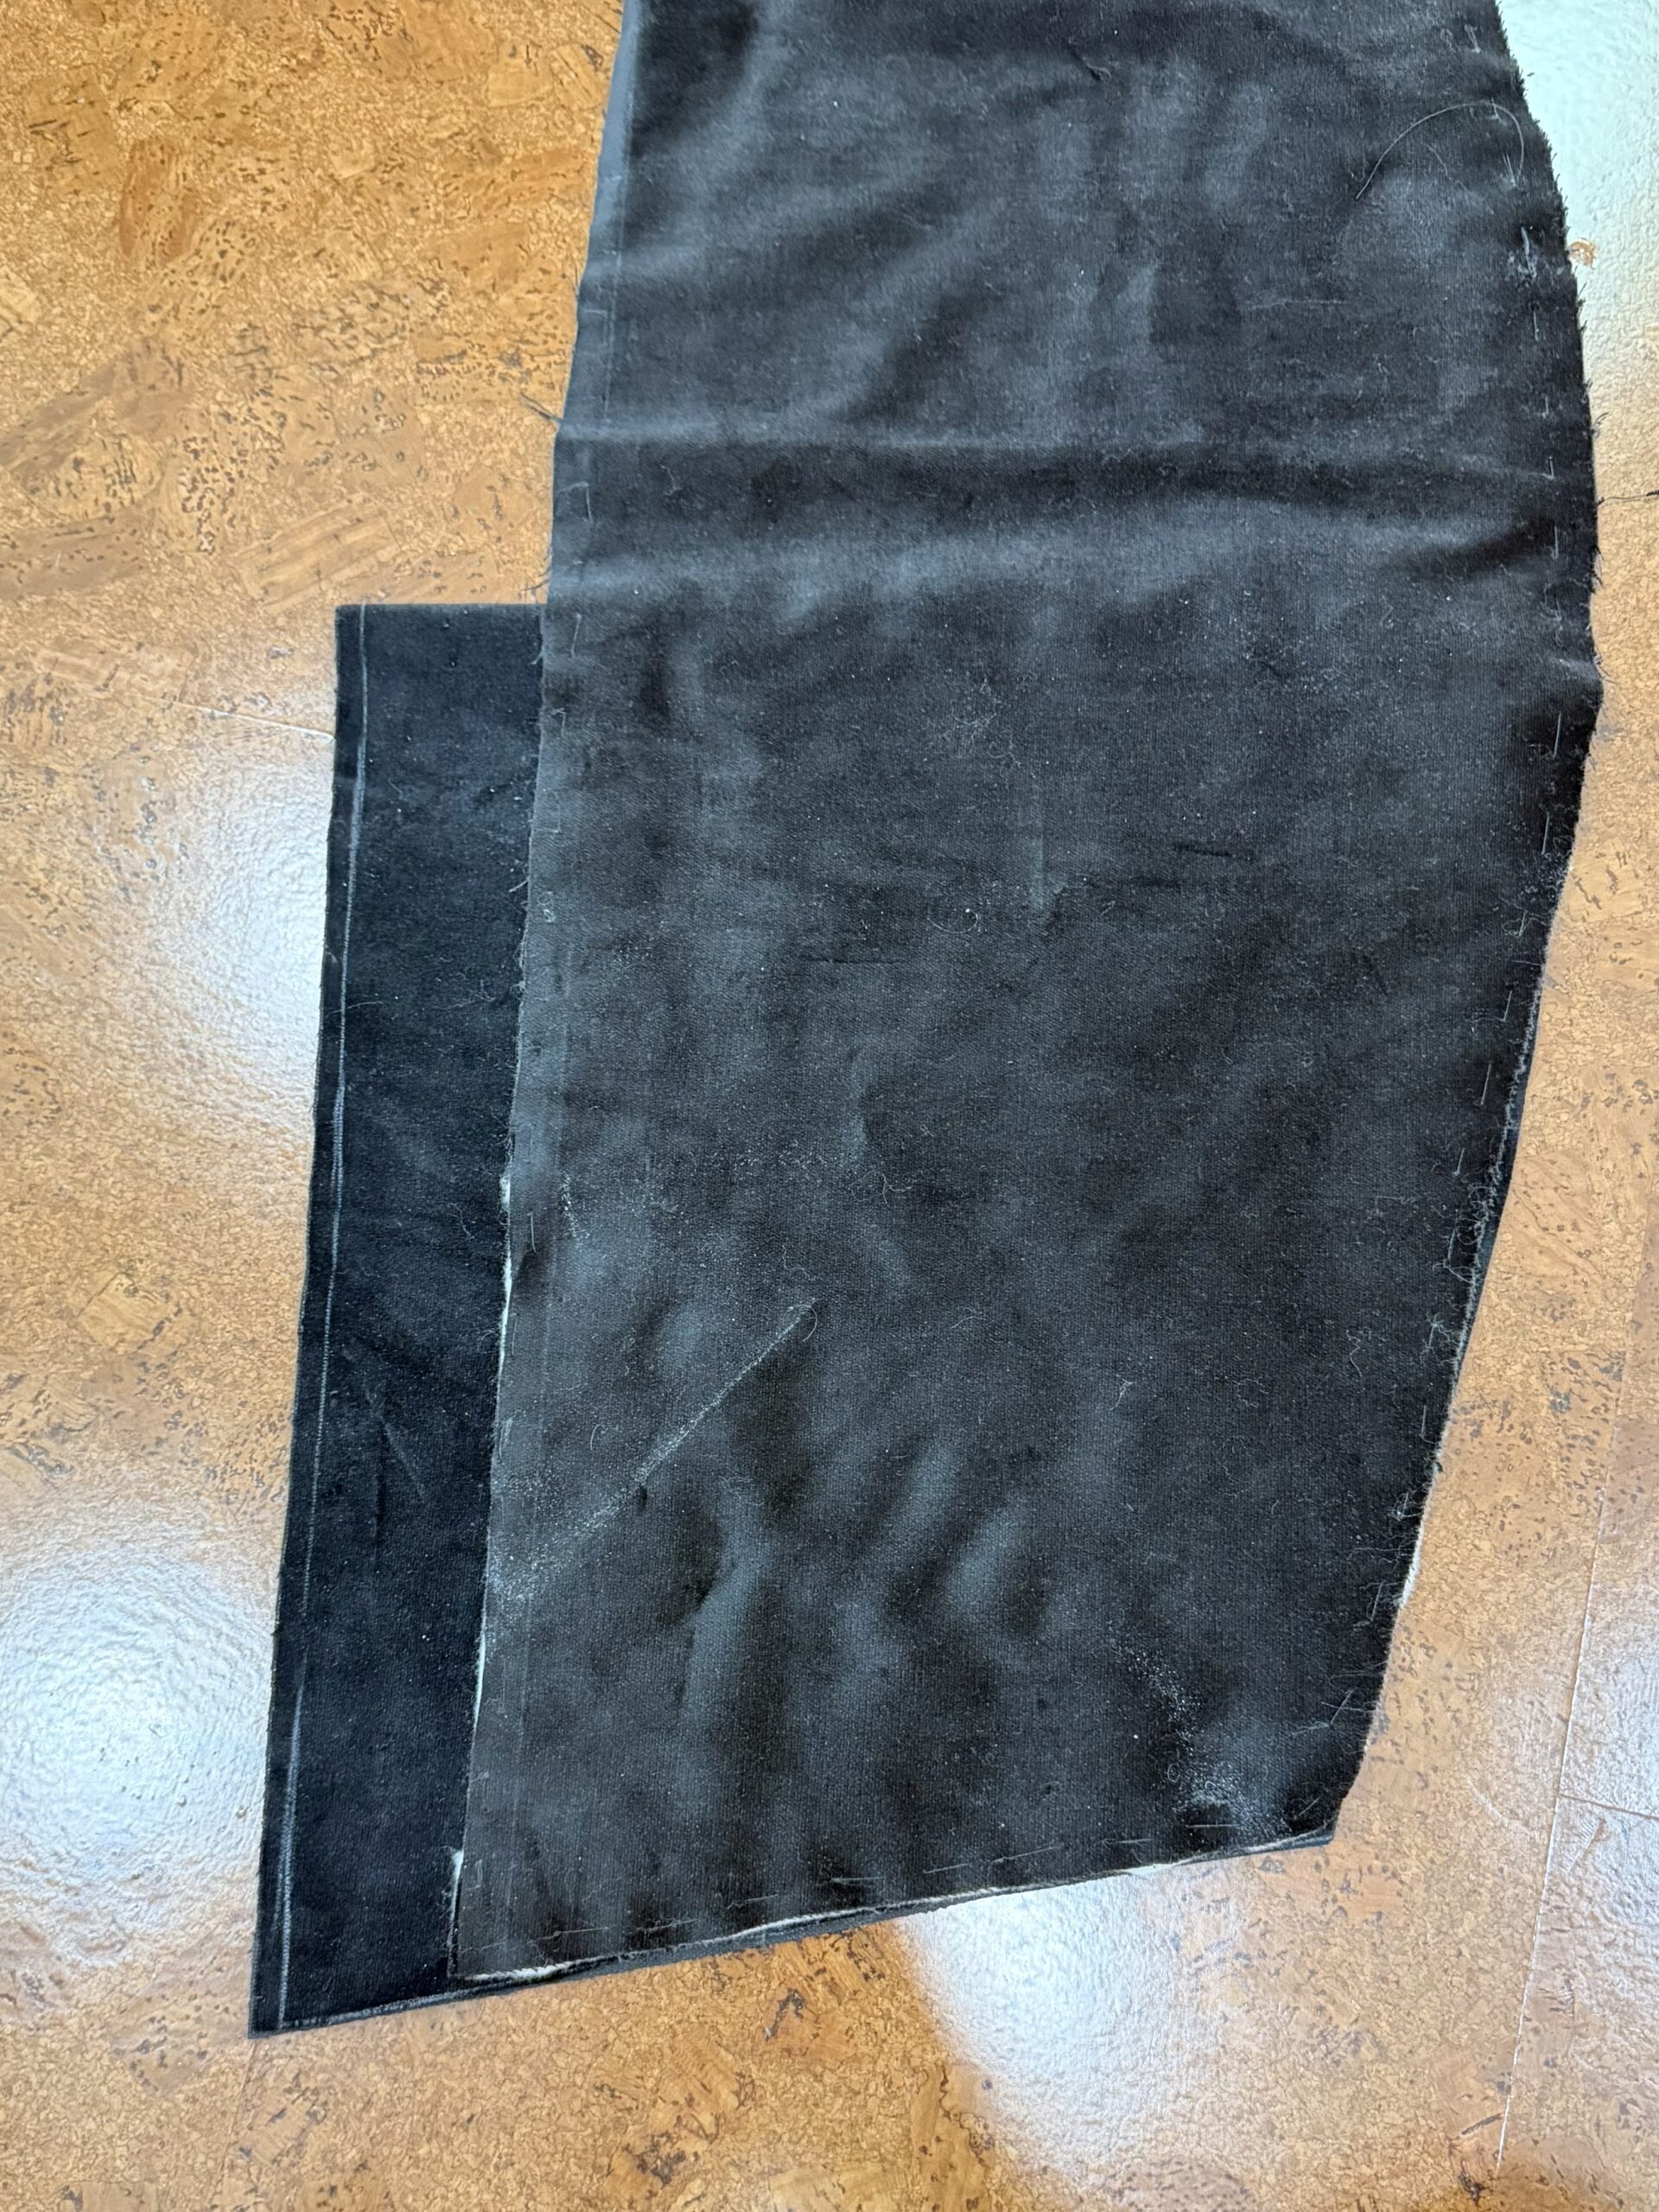
(above: the new hood layered against the original hood.)
My hood linings had been cut at the same time as the hoods, so the second lining was far too small for the new hood. Fortunately I just enough silk scraps left to piece together a band to extend the depth of the lining!

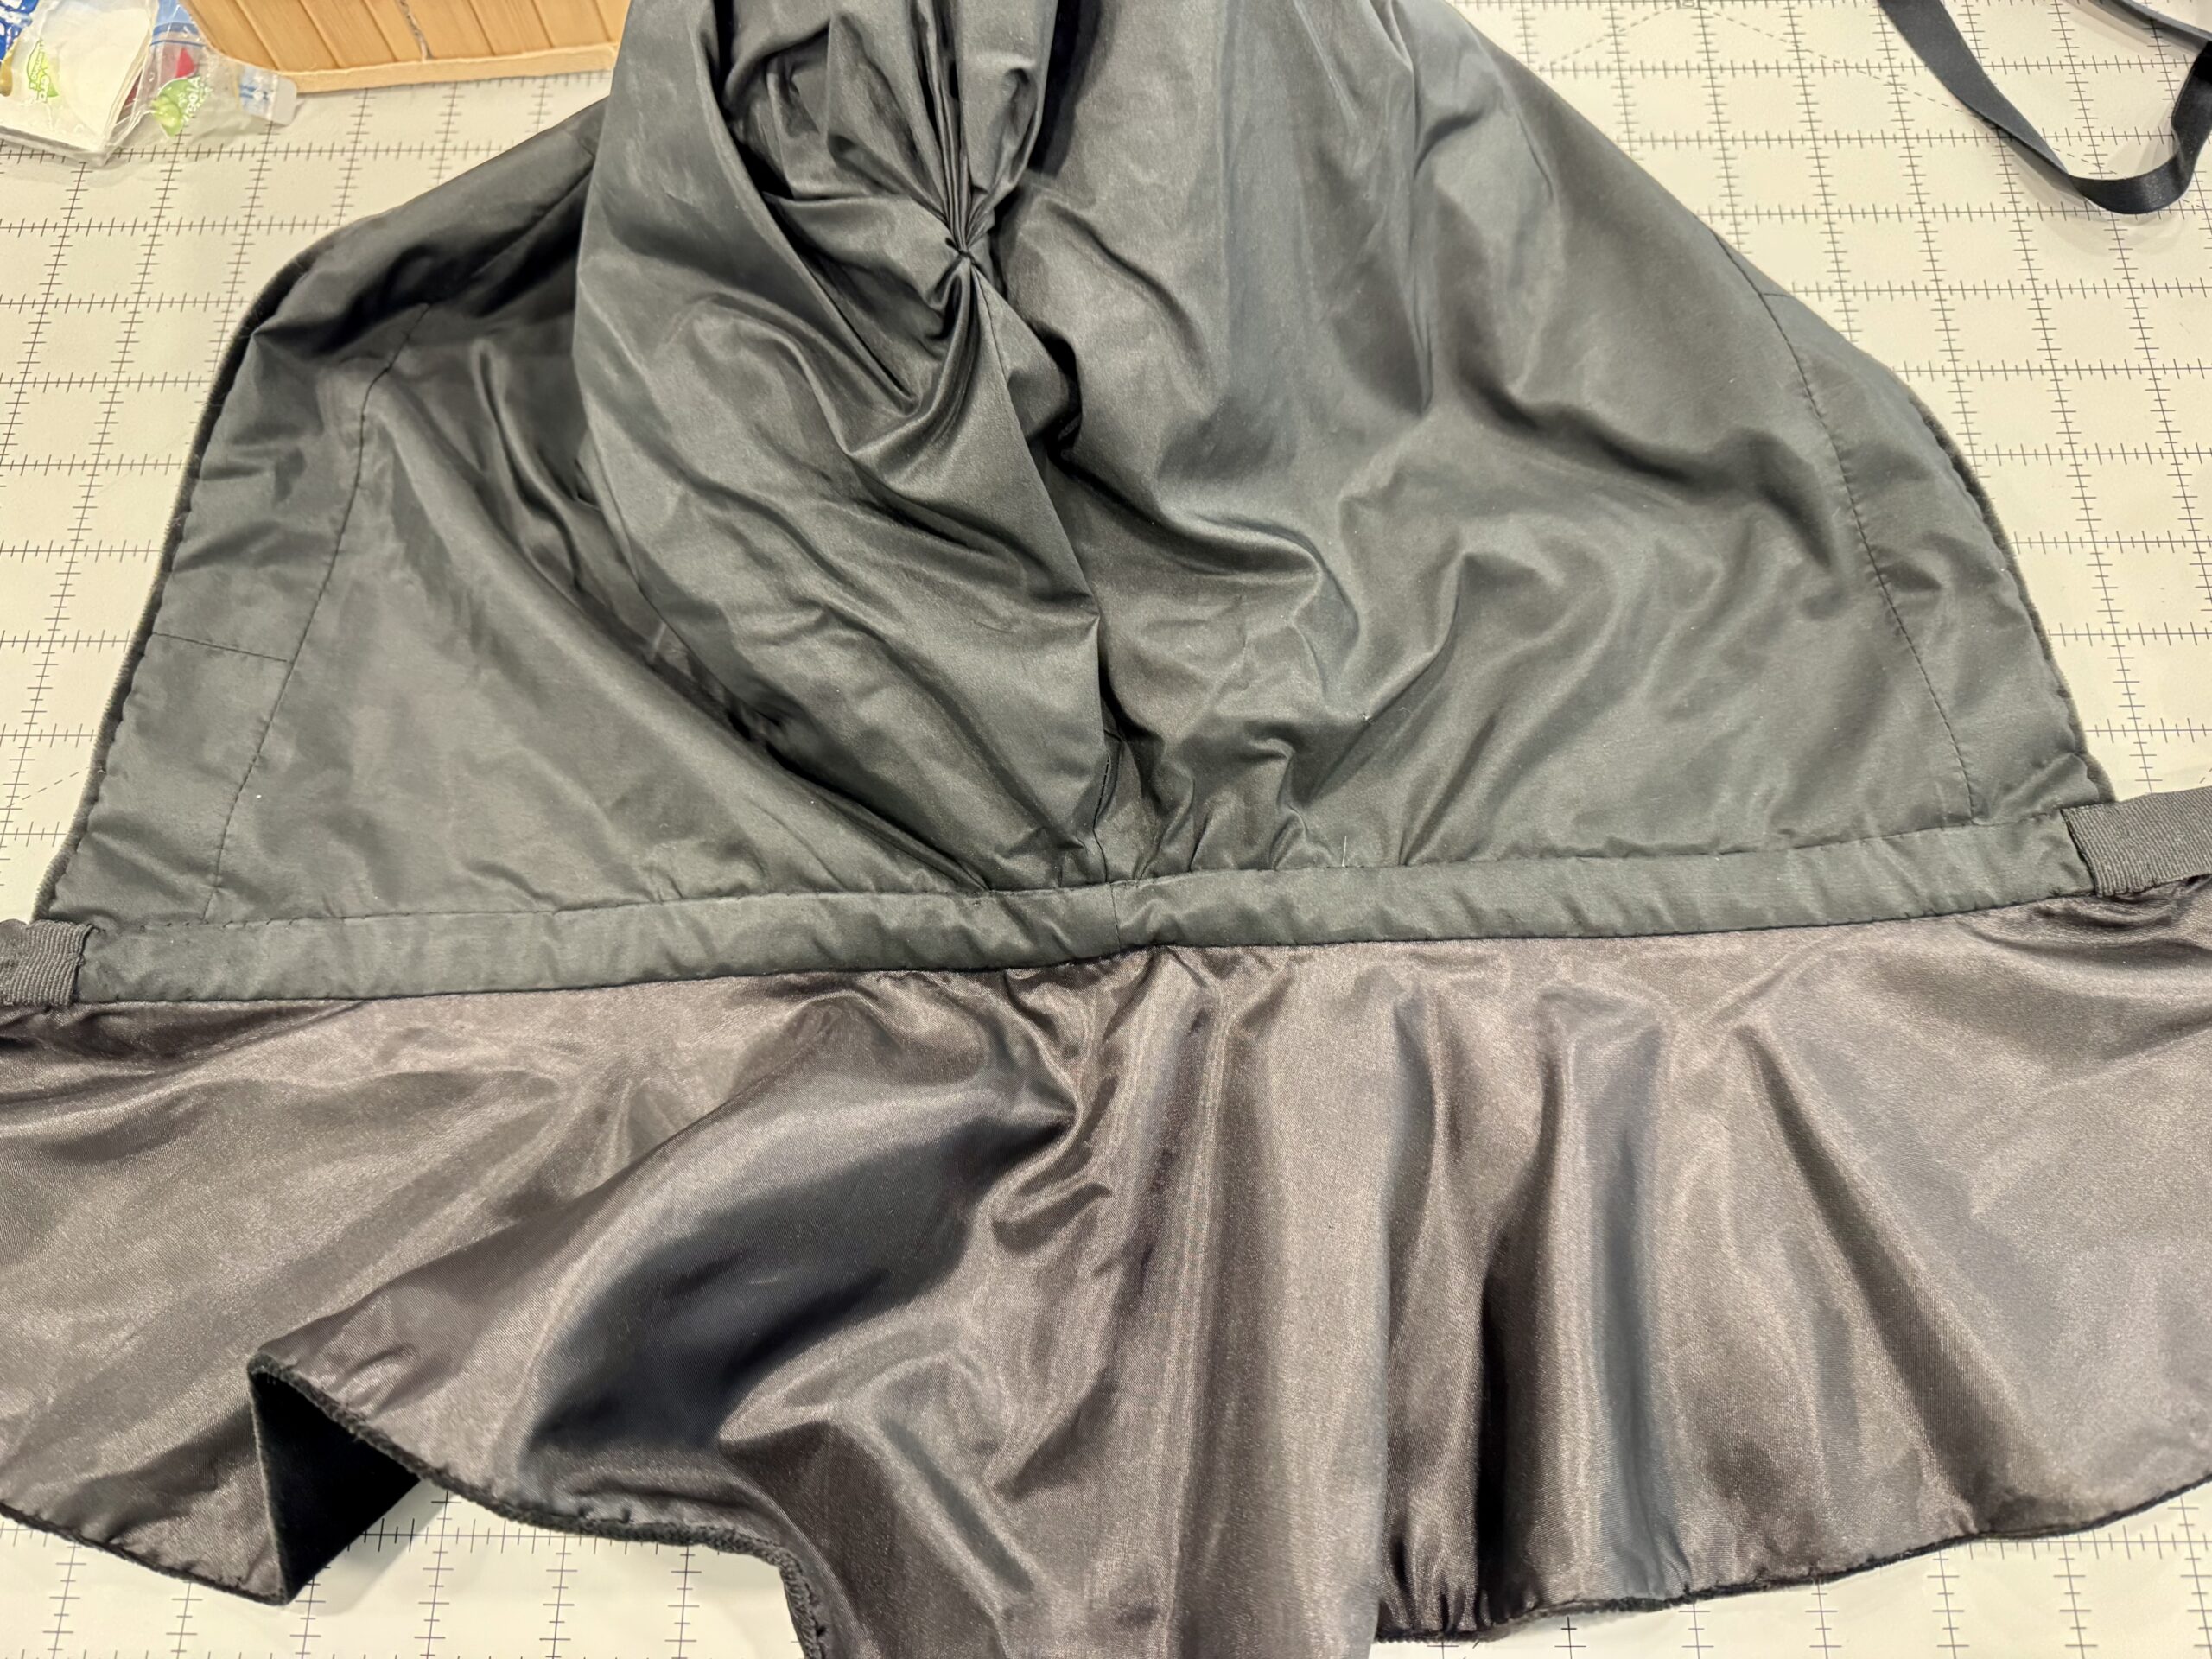
I assembled my second hood the same way as I had the first one. Kozy Kitty’s construction method ispurposeful: when pleating interlined or padded velvet, the thickness of the fabric leaves a small hole in the center of the pleated circle. In contrast, the fine taffeta of the lining closes completely, and pleating both fabrics separately ensures that there is no gap at the back of the hood for the cold or wind to come whistling through!
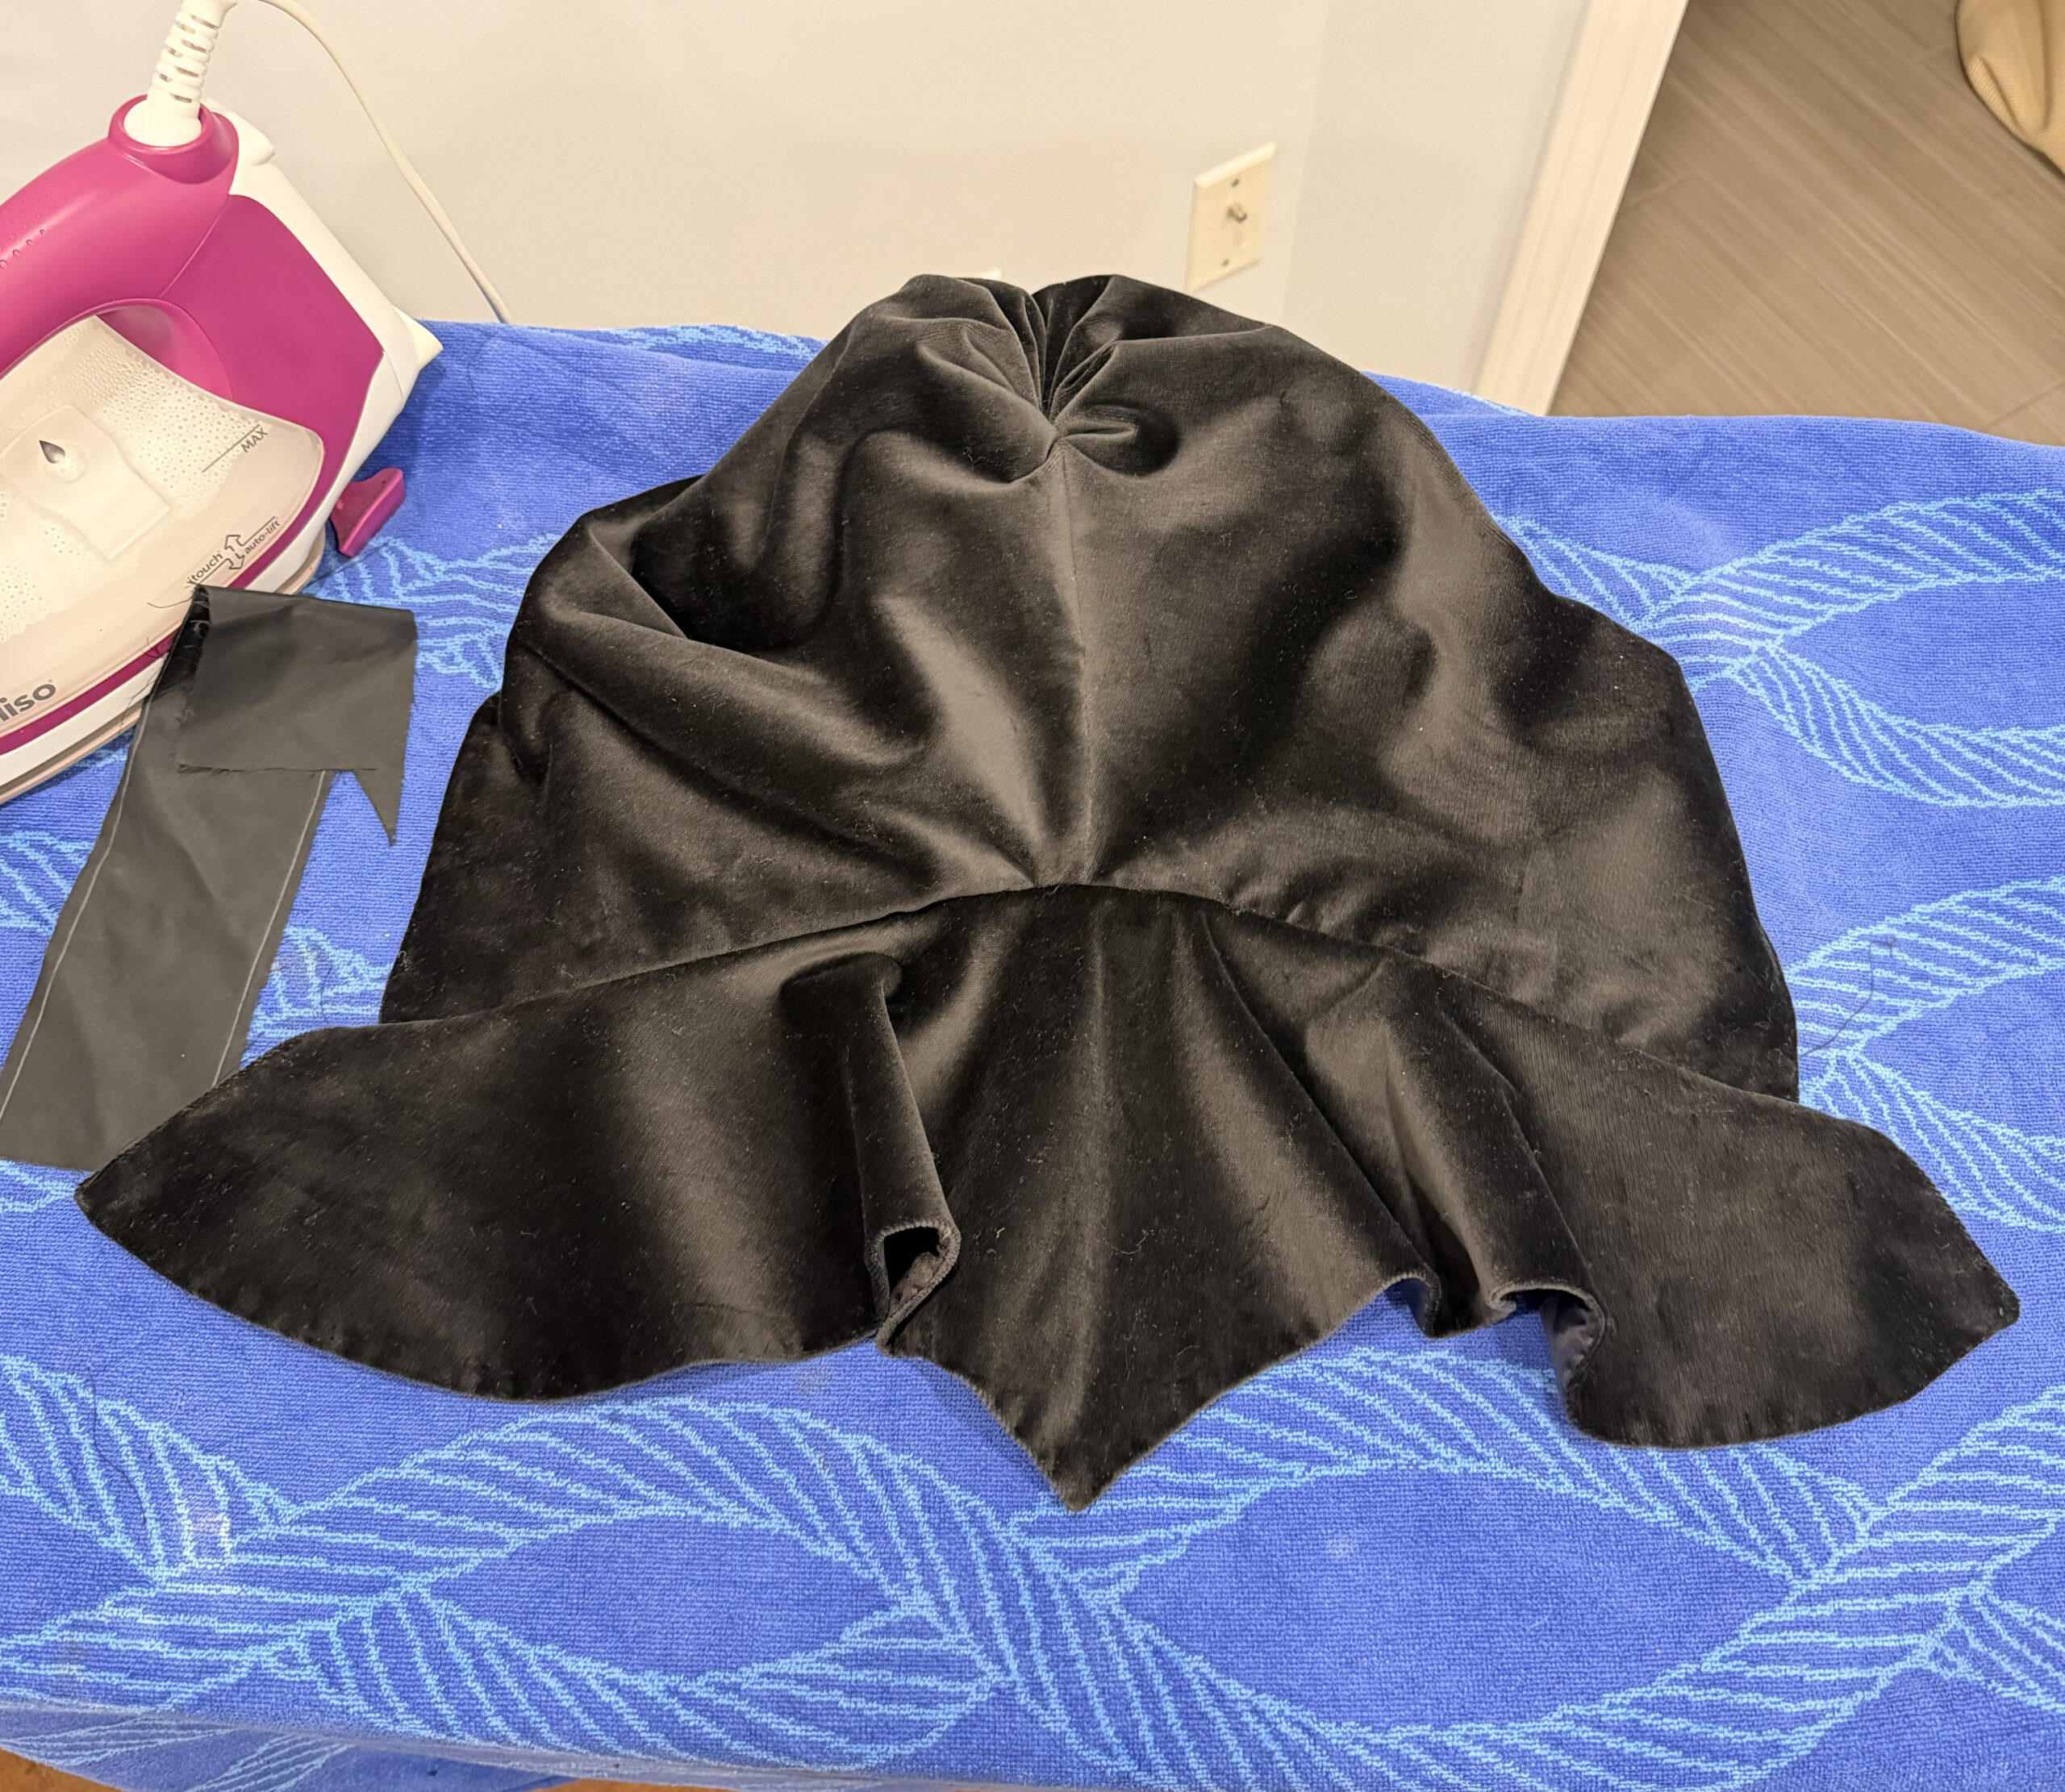
I laid my extra-deep hood against my pointed collar, aaanddd…. it turned out that I didn’t have to pleat my the neck of my hood at all. They matched perfectly. While I had cut my hoods too small, I had cut one of my capes too large, which, I suppose, is a sort of consistency.
I sewed my second hood to my pointed cape, grumbling under my breath.
Once I had my two hoods assembled, I went back to my silk scraps, and pieced together two narrow neckbands to cover the neck seams between hoods and capes. I didn’t want the bulky seams to bulge outward, so I basted the seam allowances down, and whipped my neckband over everything
The last step was to add ribbon ties. Scrounging in my stash I dug up a bit of black grosgrain for one, and a length of satin for the other –

And now I have two 18th Century velvet hoods: a nice wide one for myself and a narrow one that… well, I’m sure it will fit someone!