
I have never really focused much on winter-wear. Santiago was temperate. Brisbane was warm. The Atacama Desert was dry. But here in the Pacific Northwest, things are different. We experienced an atmospheric river a few weeks ago. Right now we’ve got what they’re calling an arctic outflow. The terms are very romantic and picturesque, but what they mean is that Vancouver is wet.) I am, however, nothing if not adaptable, so my first 18th Century priority here in the Northern Hemisphere was a cloak – an 18th Century Cardinal cloak long enough and thick enough to protect me from the cold and my costumes from the wet when the arctic outflows start running like atmospheric rivers all through Vancouver.

Possibly, in the fullness of time, I will need several cloaks. But to begin, I wanted a simple red cardinal cloak that would cover my 1790s costumes and anything else that didn’t have extra biggity skirt supports.
The Cloak:
I sewed this 18th Century cardinal cloak from a fine red wool melton from Atex Fabrics in downtown Vancouver, and I lined the hood with a faintly blush-pink silk dupioni from Dressew. (Dressew is located directly across the street from Atex. It makes for very convenient historical shopping.)
I took the proportions of this 18th Century Cardinal cloak from the cloak in the Costume Close-up book – the shape is a half-circle with straight-edge rectangle added in at the center back. Measuring was simple – dropping a tape measure down to the floor from my neck over my shoulder, I measured 62 inches from neck to floor, and that was pretty much that. I reckoned to start with a cloak 62 inches all around and mark the actual hem when the cloak was done.
My fabric was sold as 60 inches wide, but actually came in at 58 inches. There was a good half-inch-wide brown stripe along each selvage, and when you took into account the depth of the neck-hole in the cloak, I knew I would have to piece.
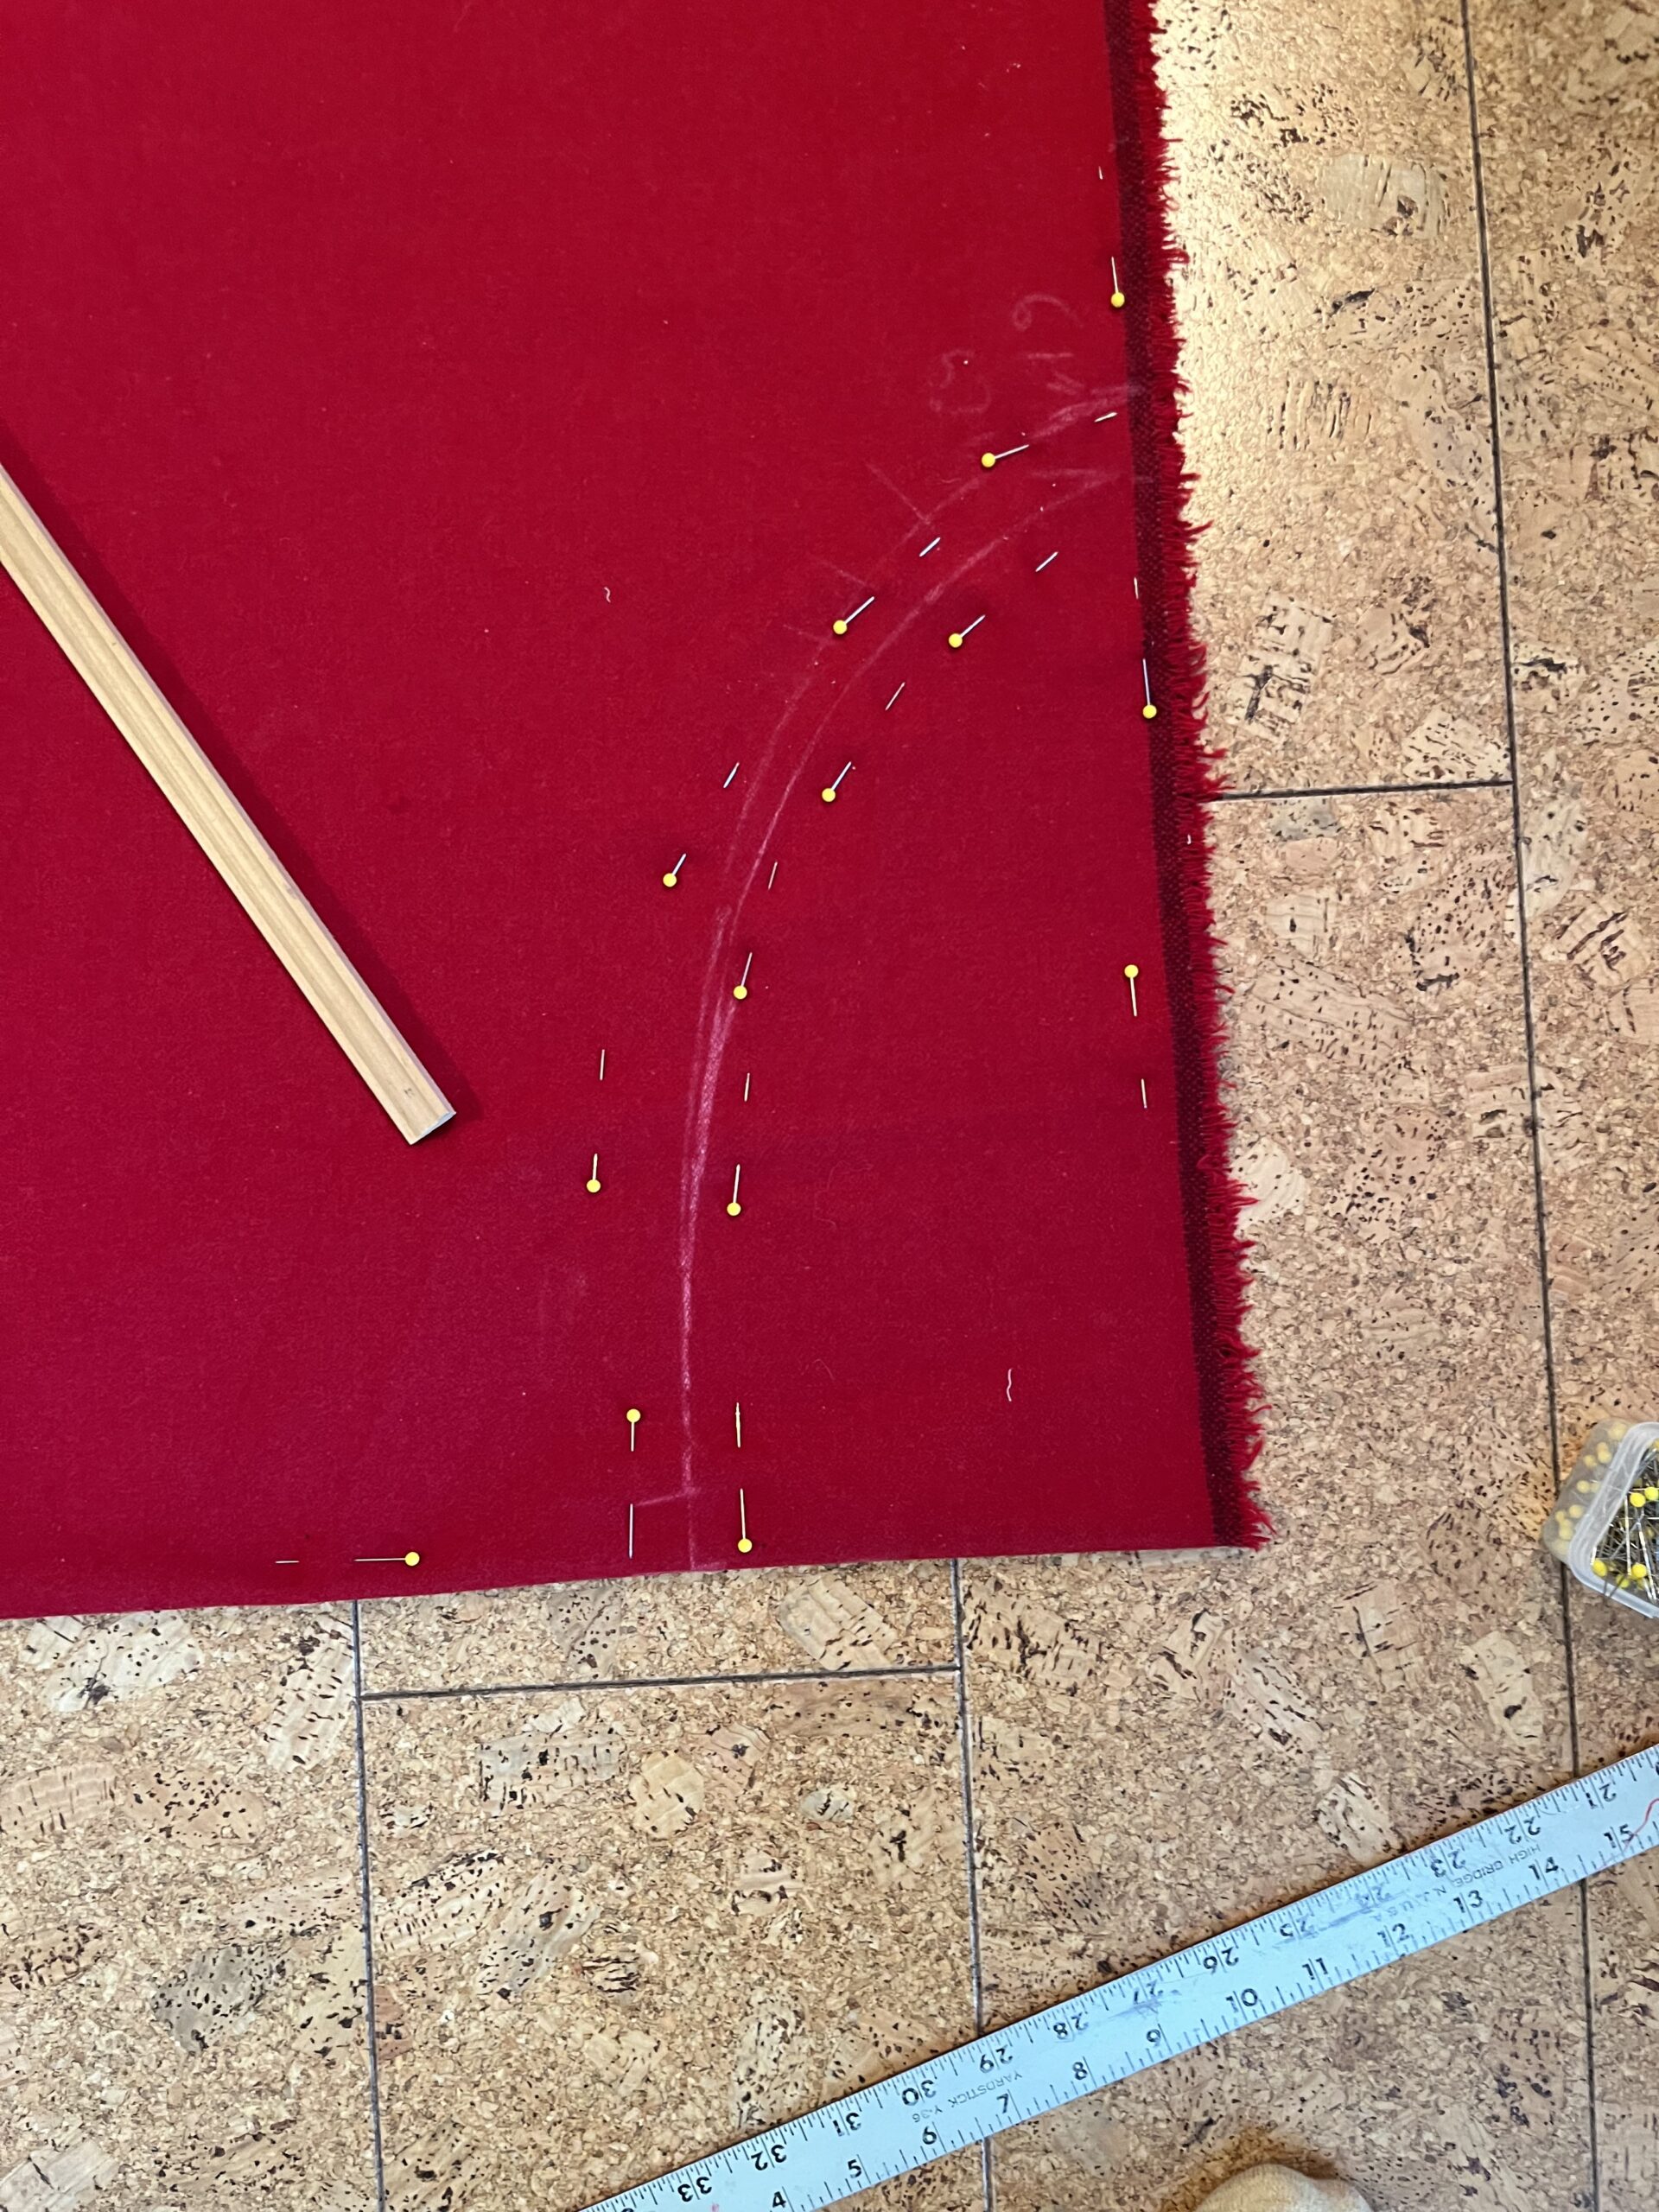
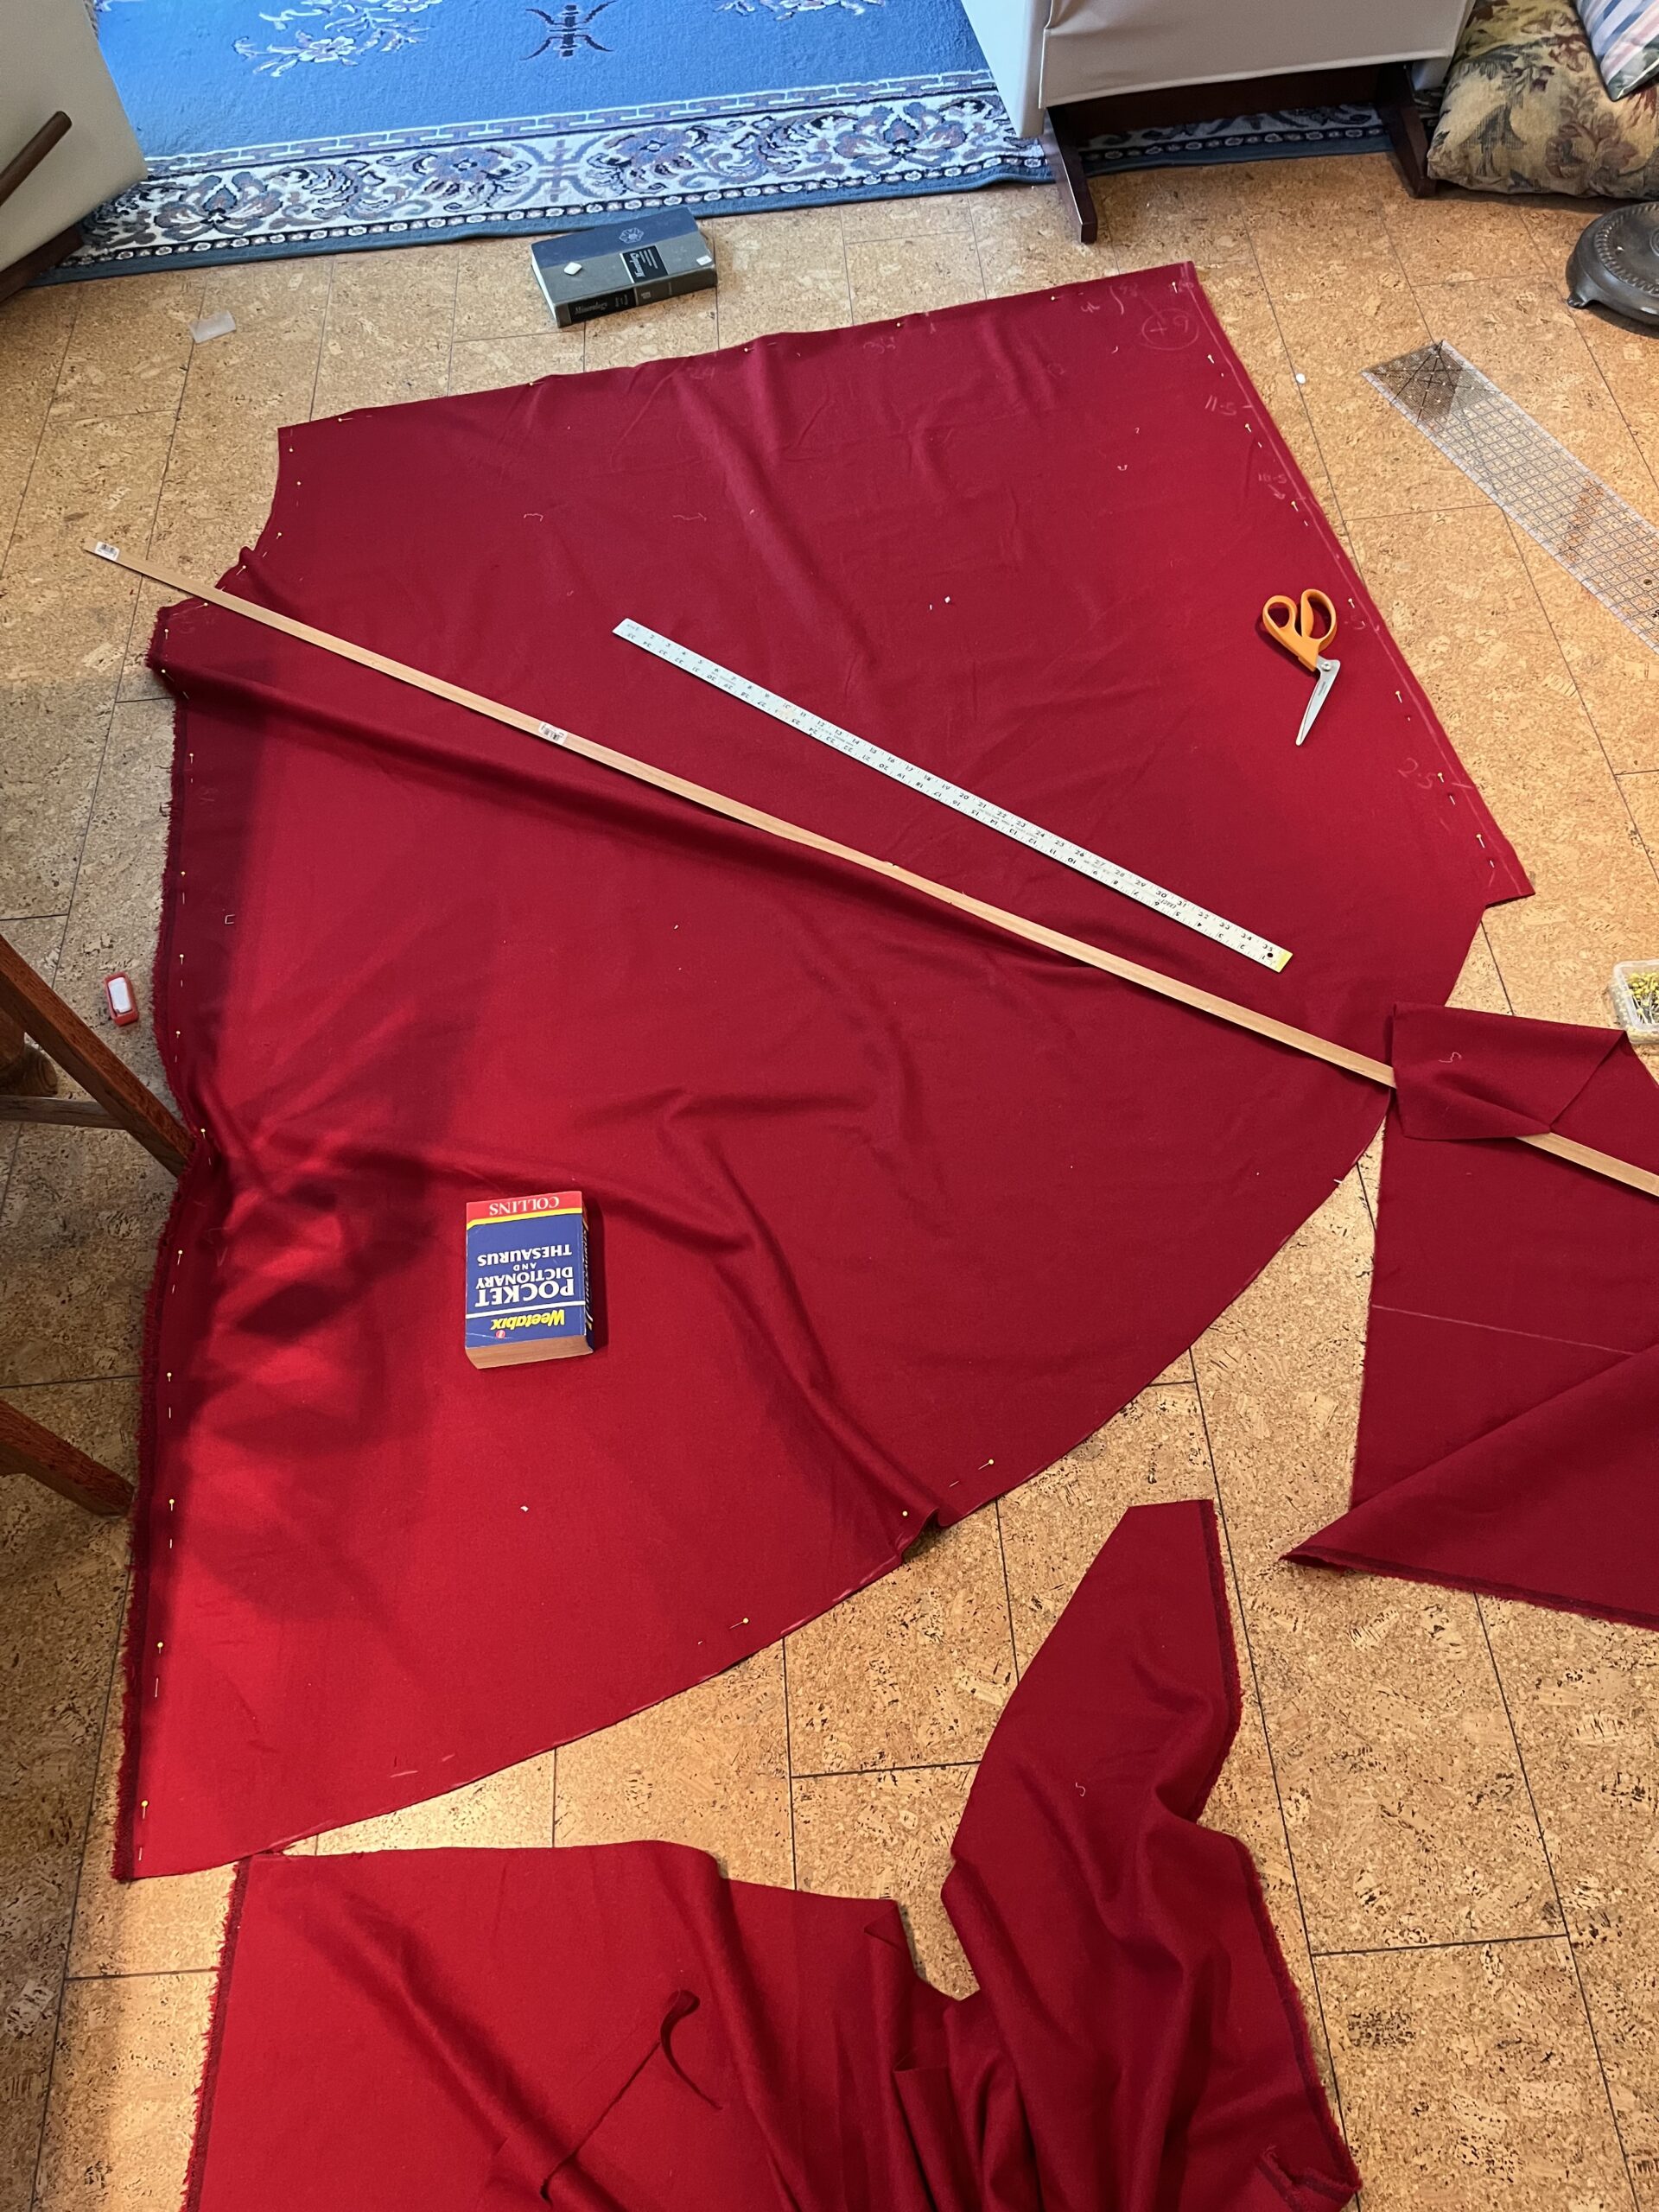
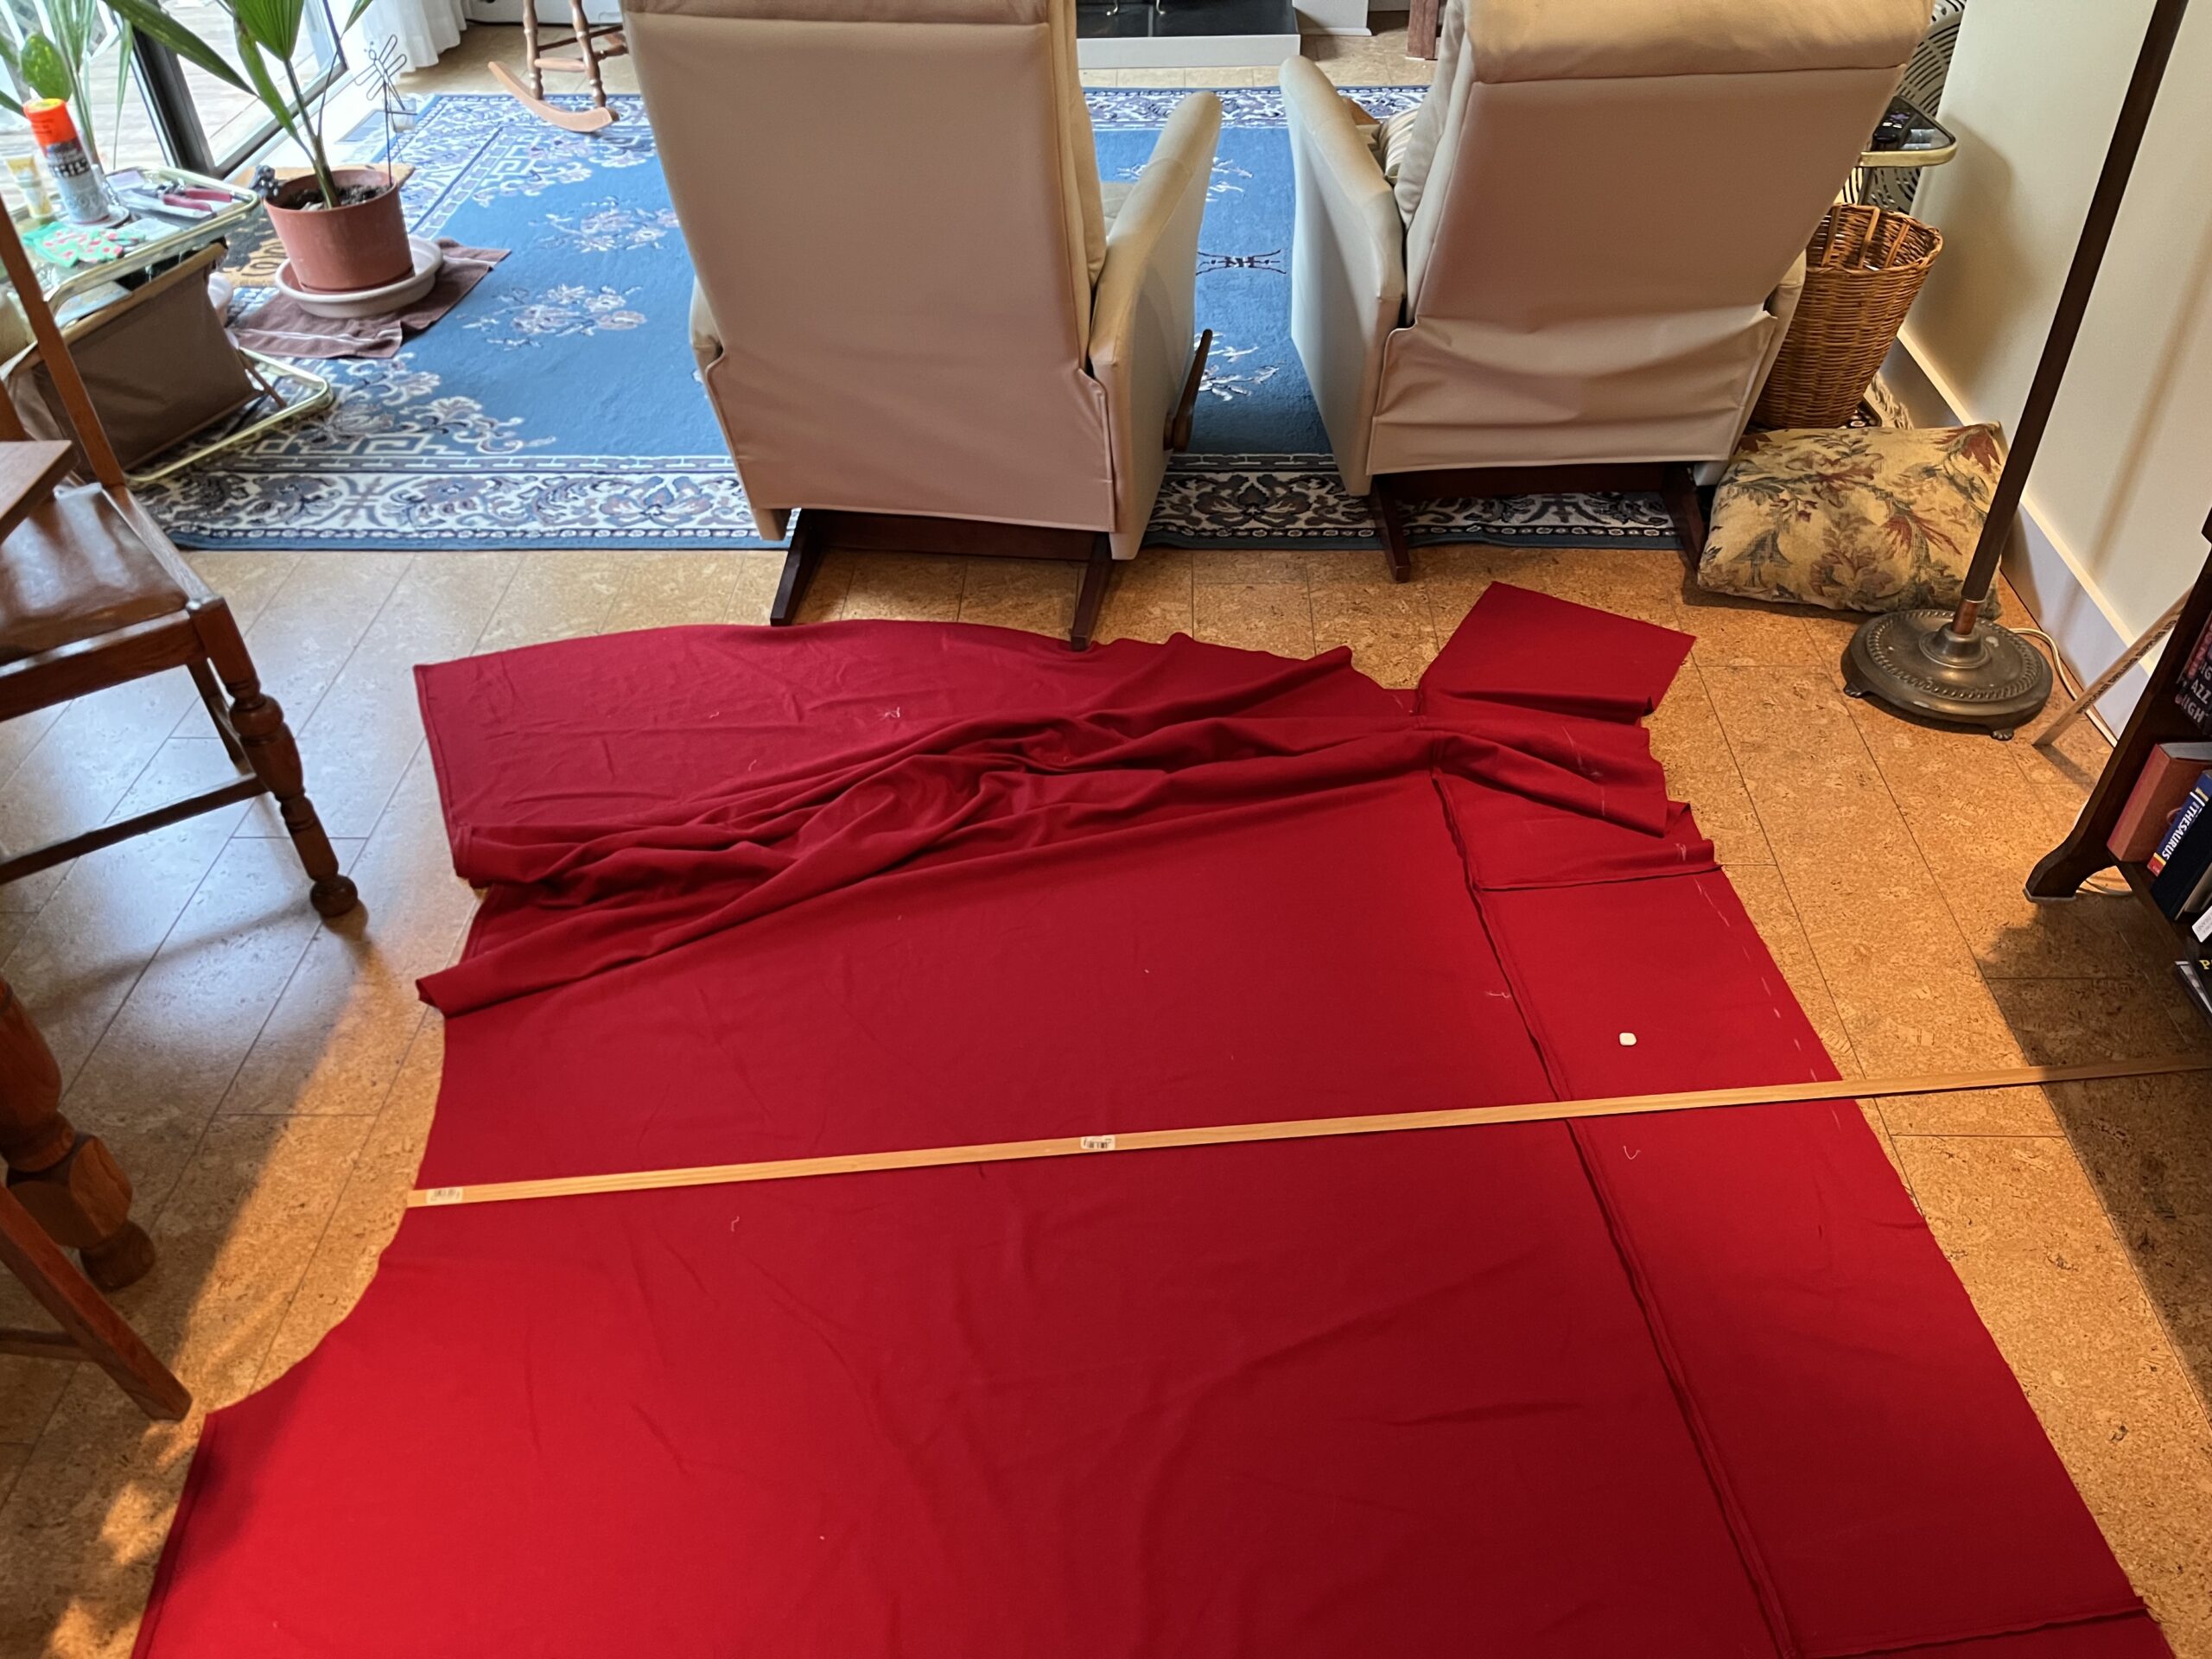
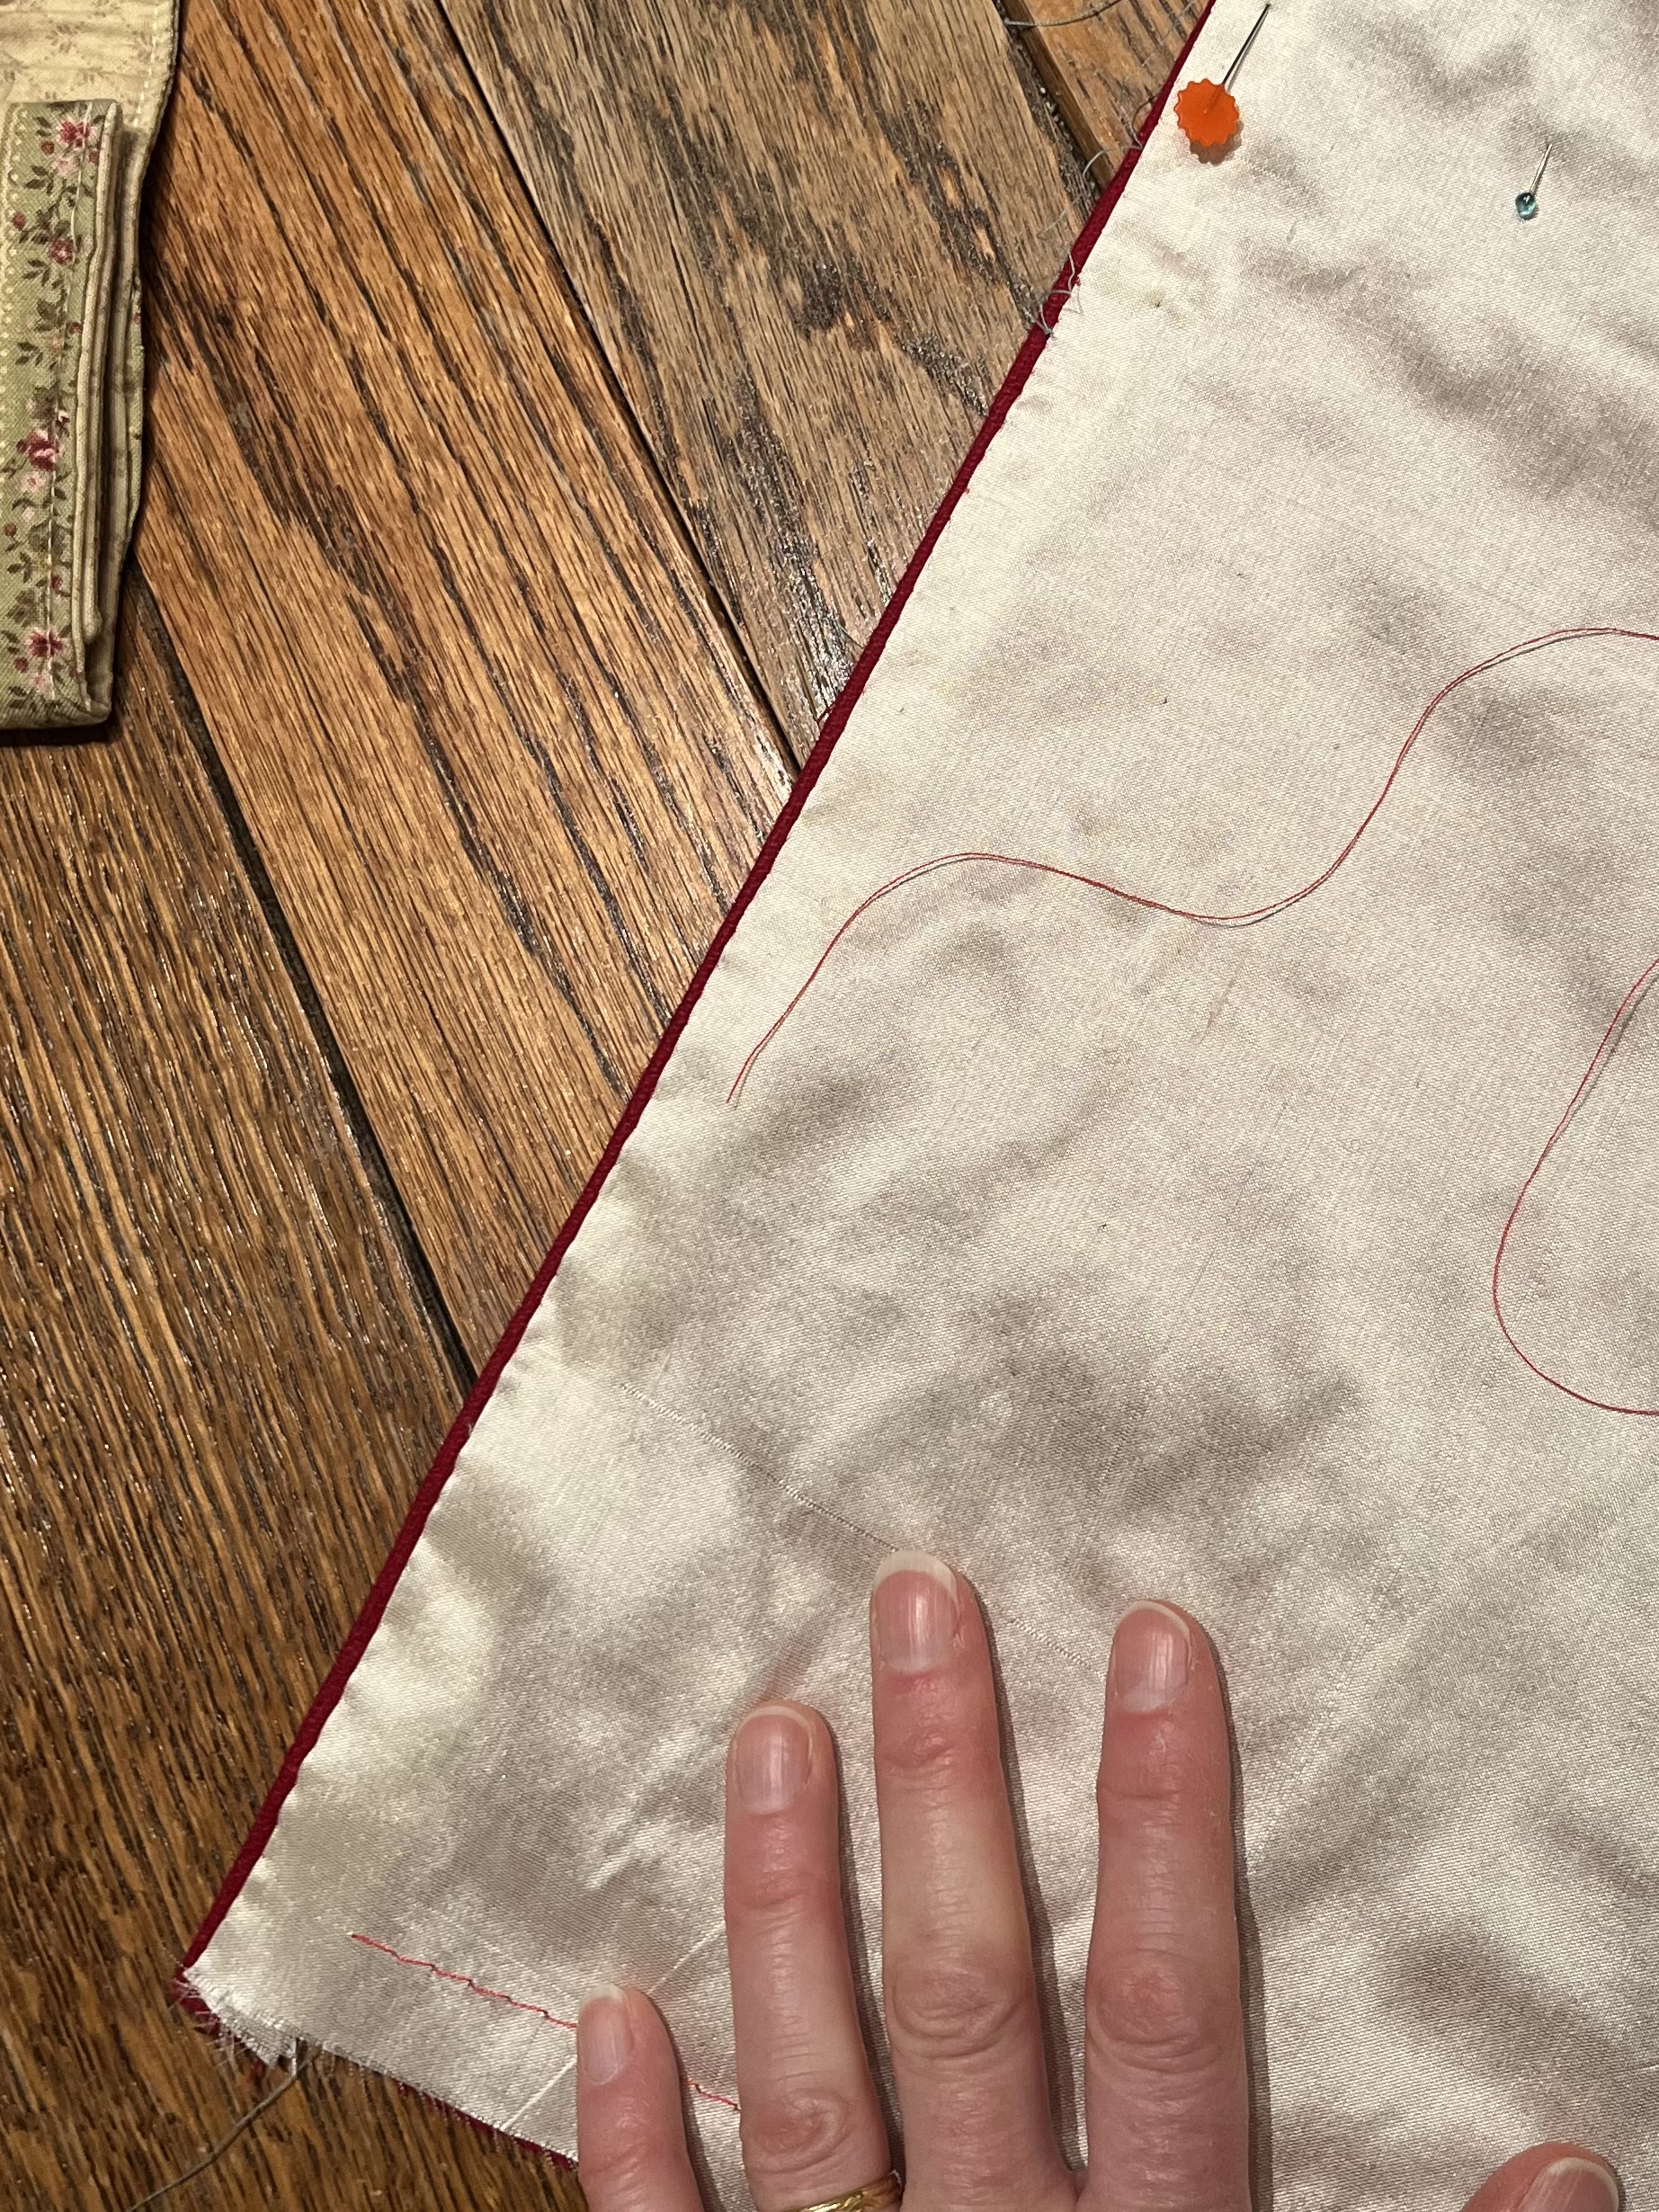
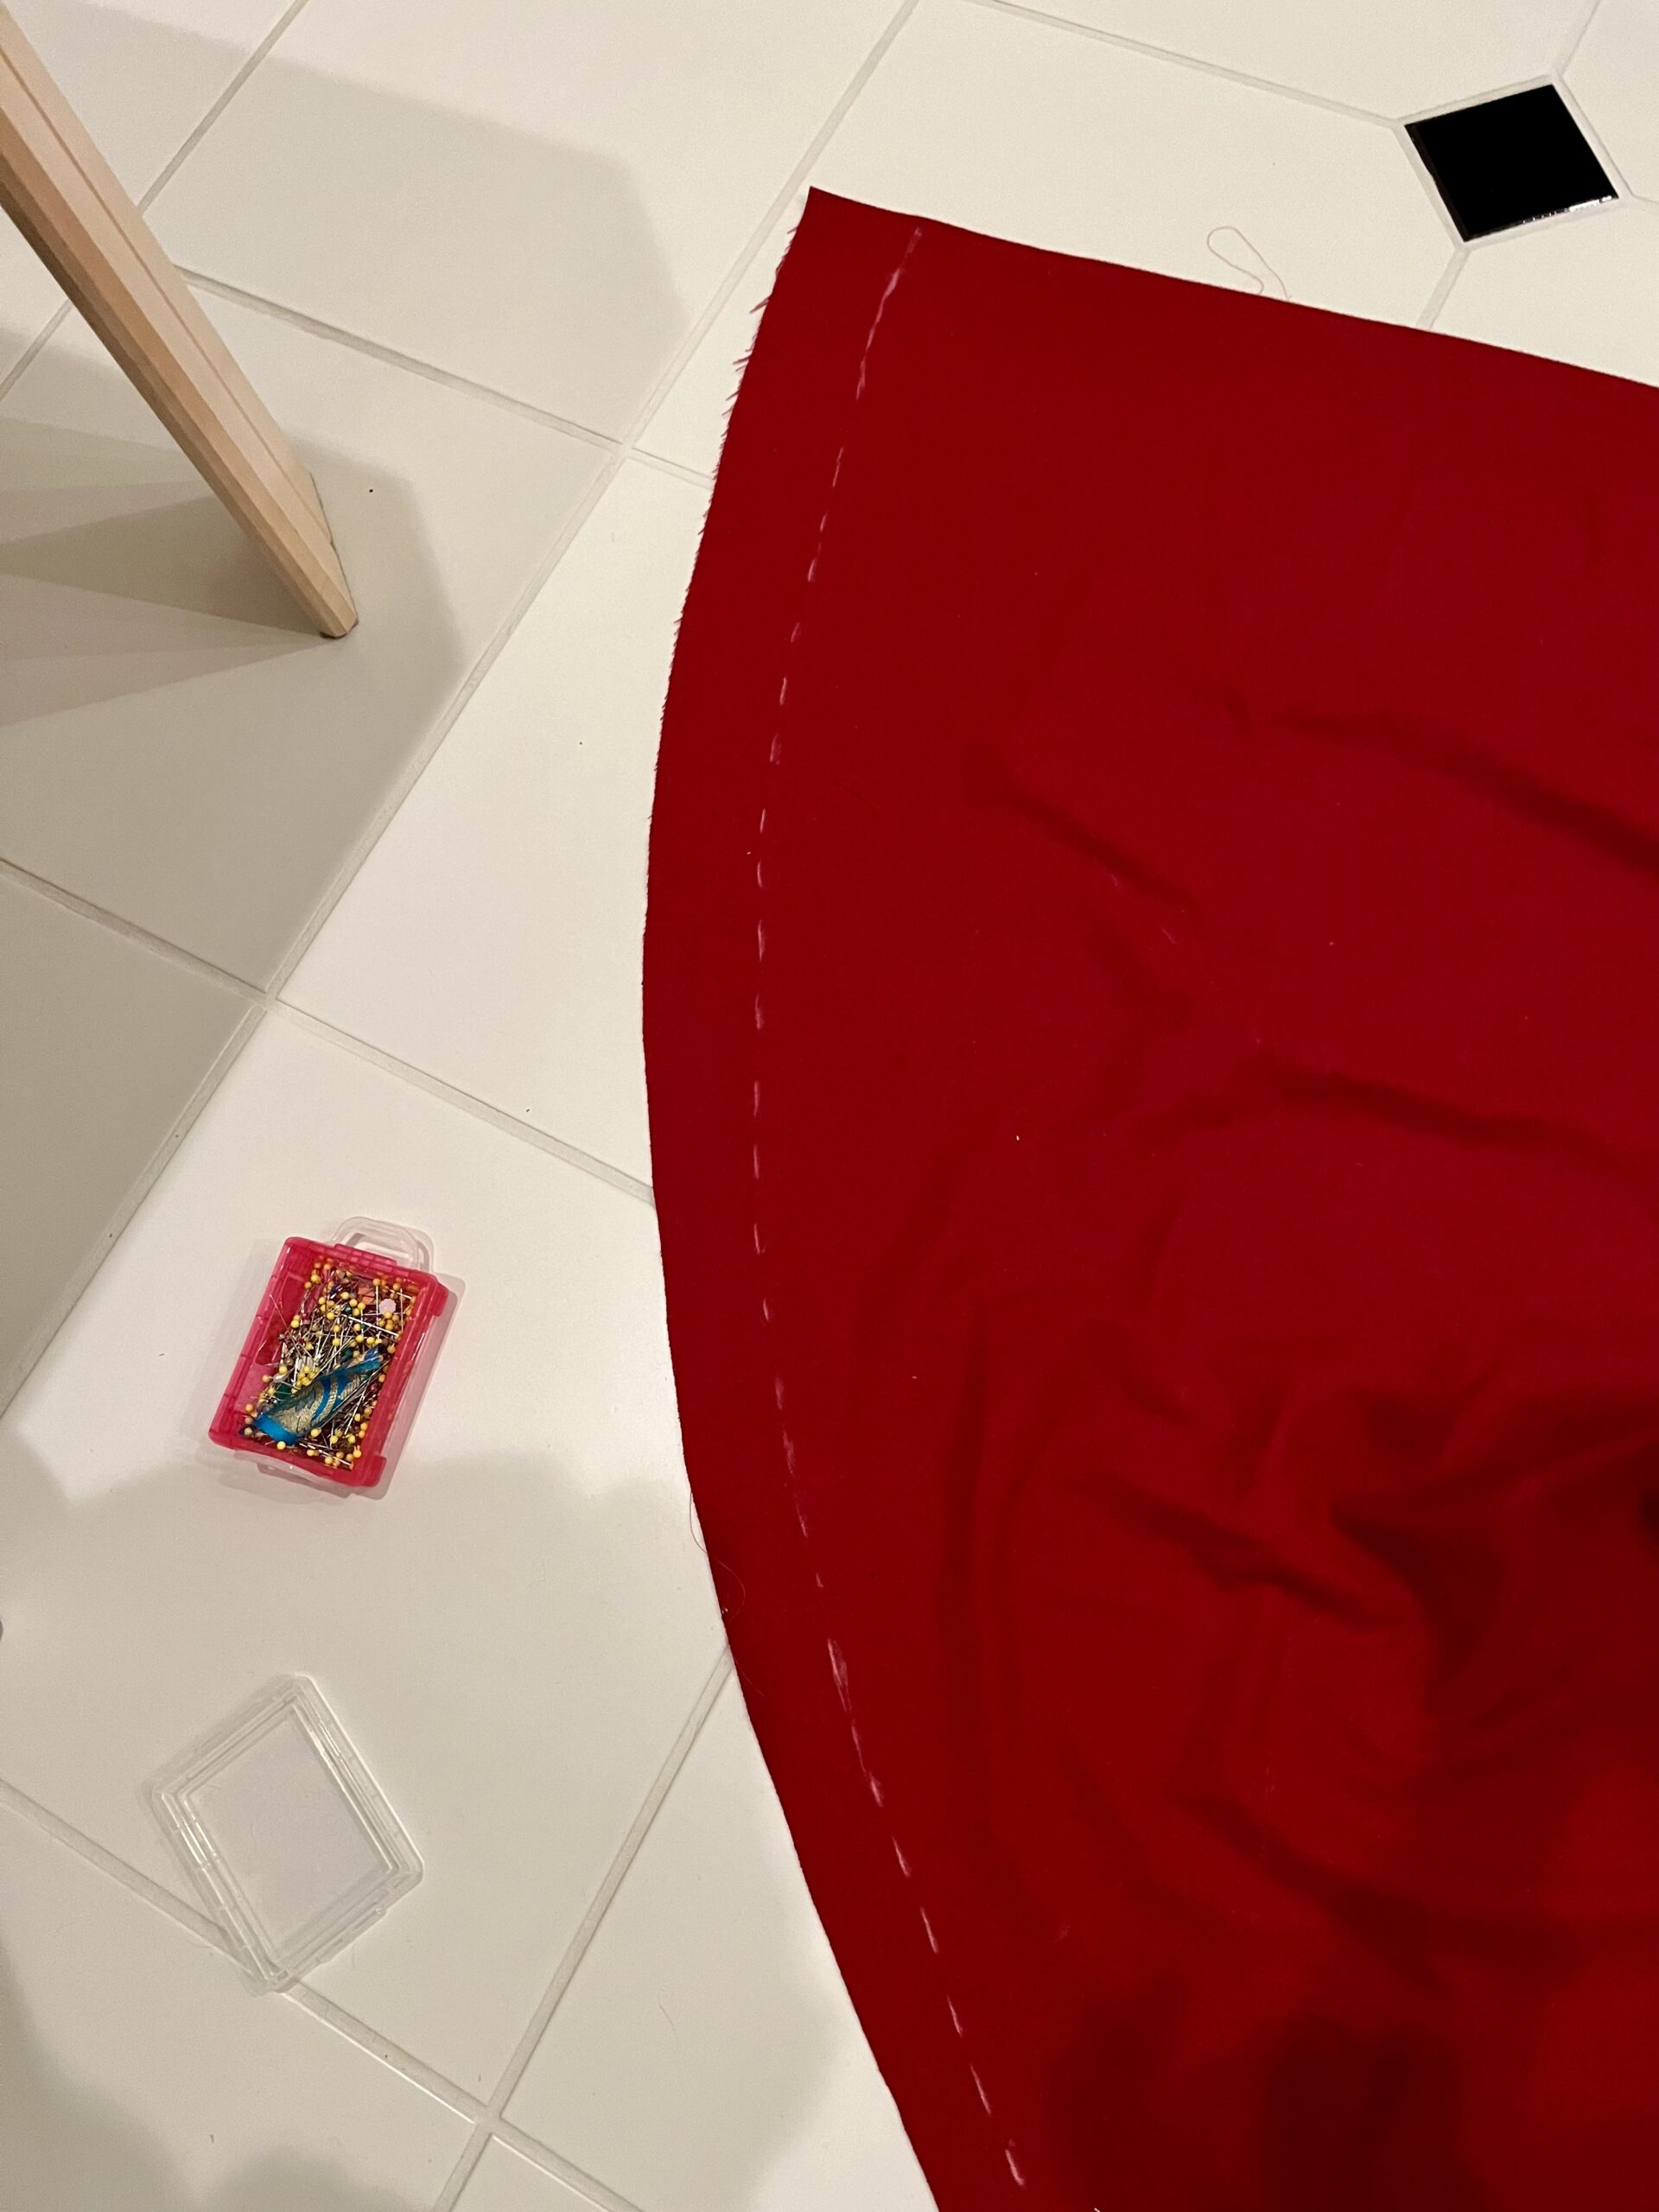
As the cloak is made up of a very large half-circle, the best way to mark the curve of the cloak was with a very long straight-edge. Strangely, I don’t own a 70 inch ruler, but a friend came to the rescue with a very long piece of slender wooden molding!

Marking my lengths on the very long stick, I used it to mark my big long curves onto the wool.
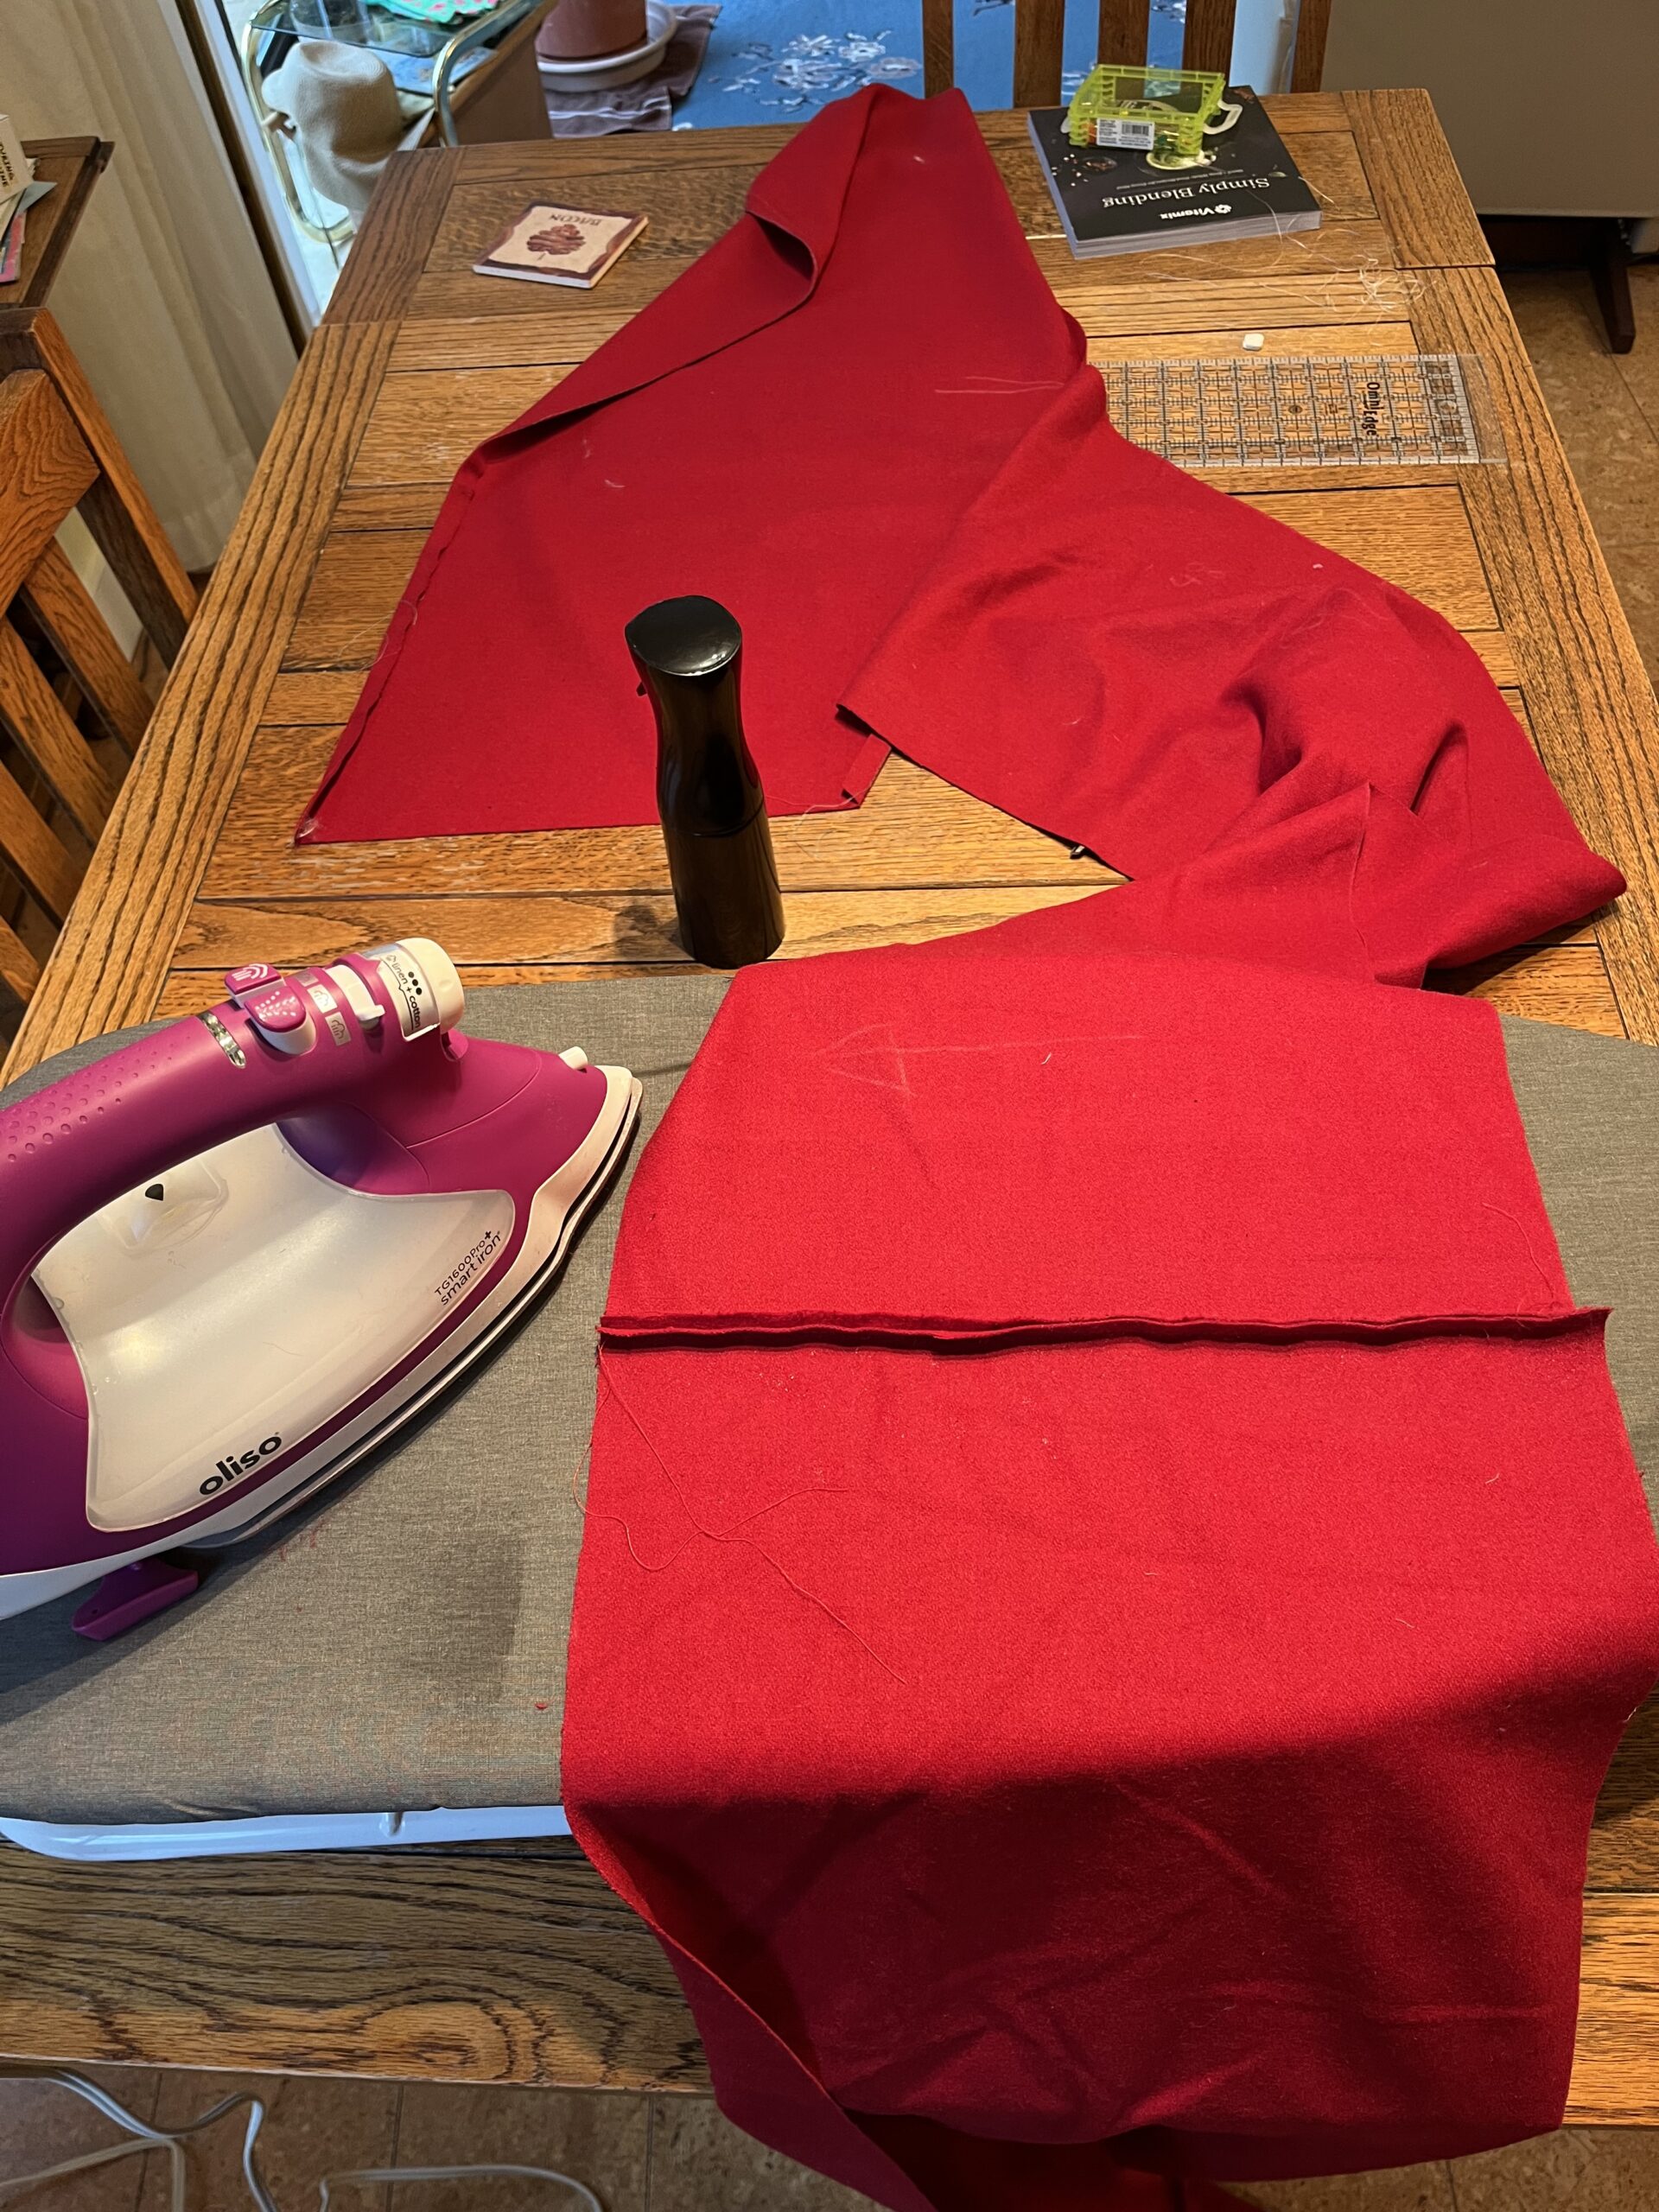
I managed to restrict the piecing to a band across the lower hem – three pieces, joined together, and sewn as a long panel to the bottom of the cloak.

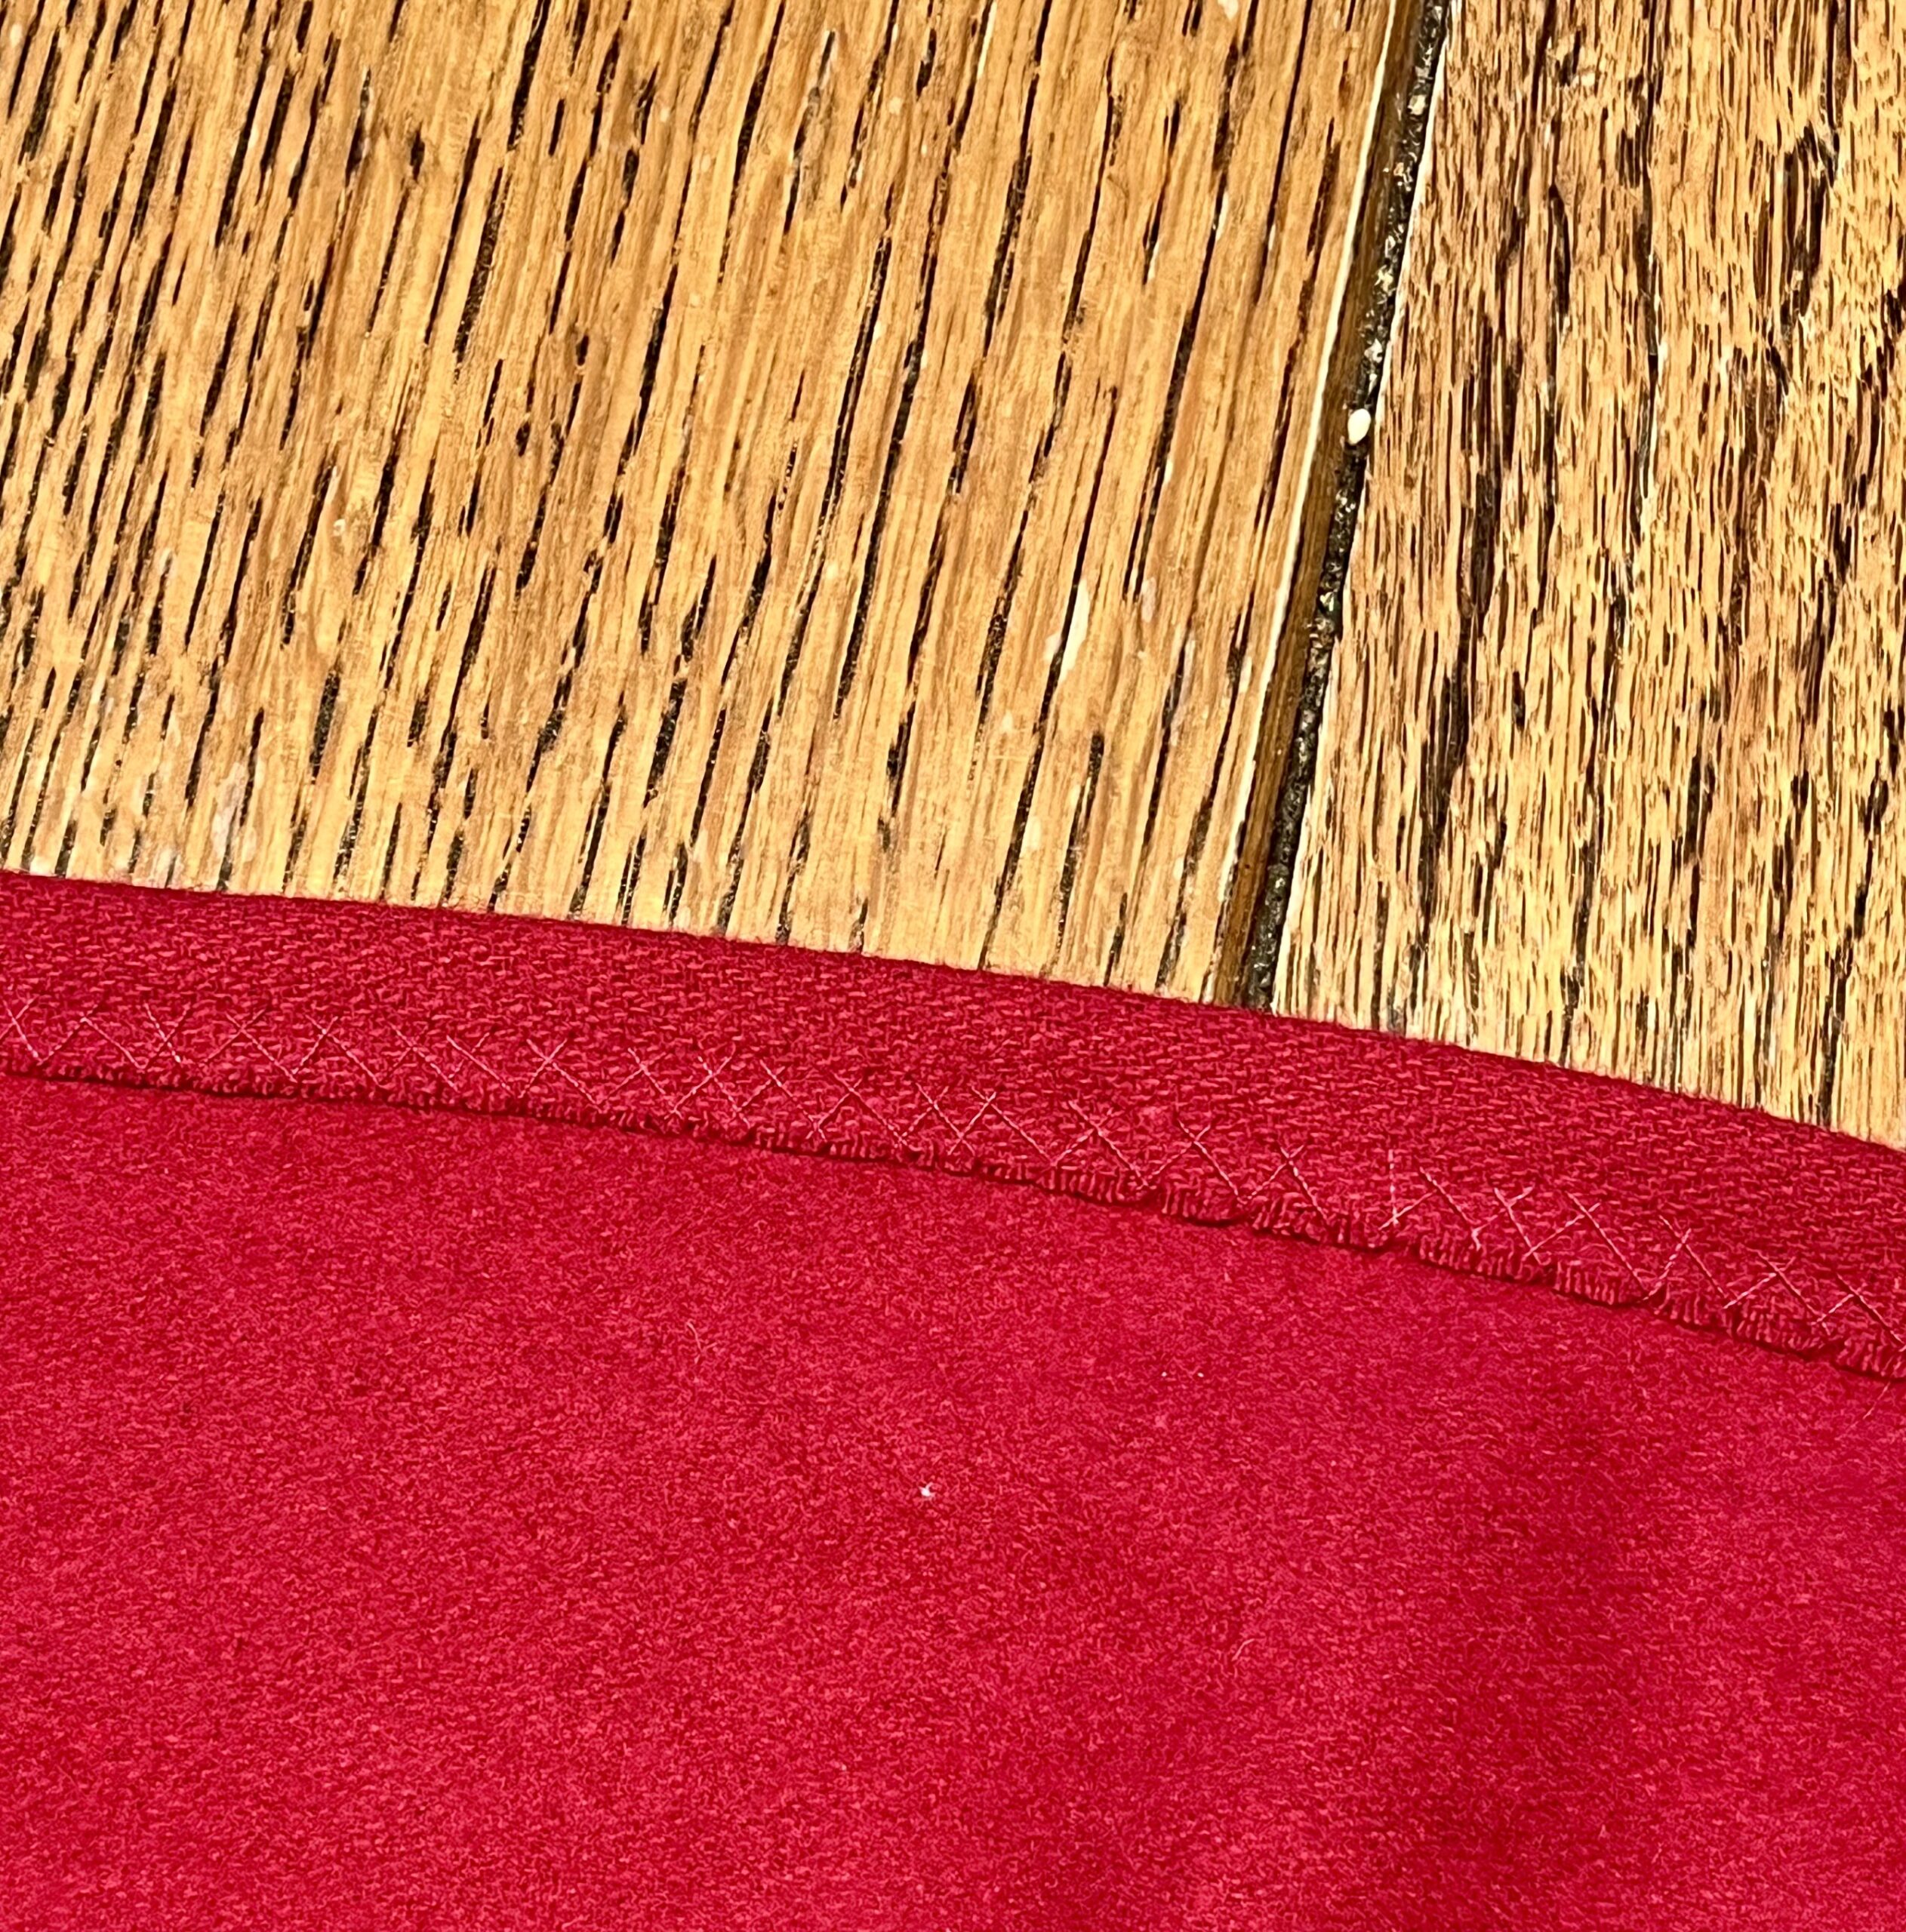
The wool melton was mildly prone to fraying, so I folded a half-inch hem down both center fronts. I basted the hems down, and then secured them with a line of herringbone stitch. I have seen this technique used by the Dreamstress on her Red Riding Hood Cloak – like her, I don’t know that the method is strictly accurate for the period, but it does seem like a sensible way to both bind and secure a rather heavy wool!
The Hood:
I took the hood for the cardinal cloak from the Cardinal Cloak pattern by With These Hands I Dream. This hood was pretty large, but I wanted something that would be large enough to go over the highest 1790s hairstyle I might ever wear underneath it, so I made it extra big, and then kept embiggening until I had a hood that was 36 inches from collar to collar.
After cutting my hood and hood lining, I pressed down the seam allowances on the two long edges of both pieces. I then laid the two layers against each other, raw sides together, and secured the silk to the wool with rows of whip stitching.
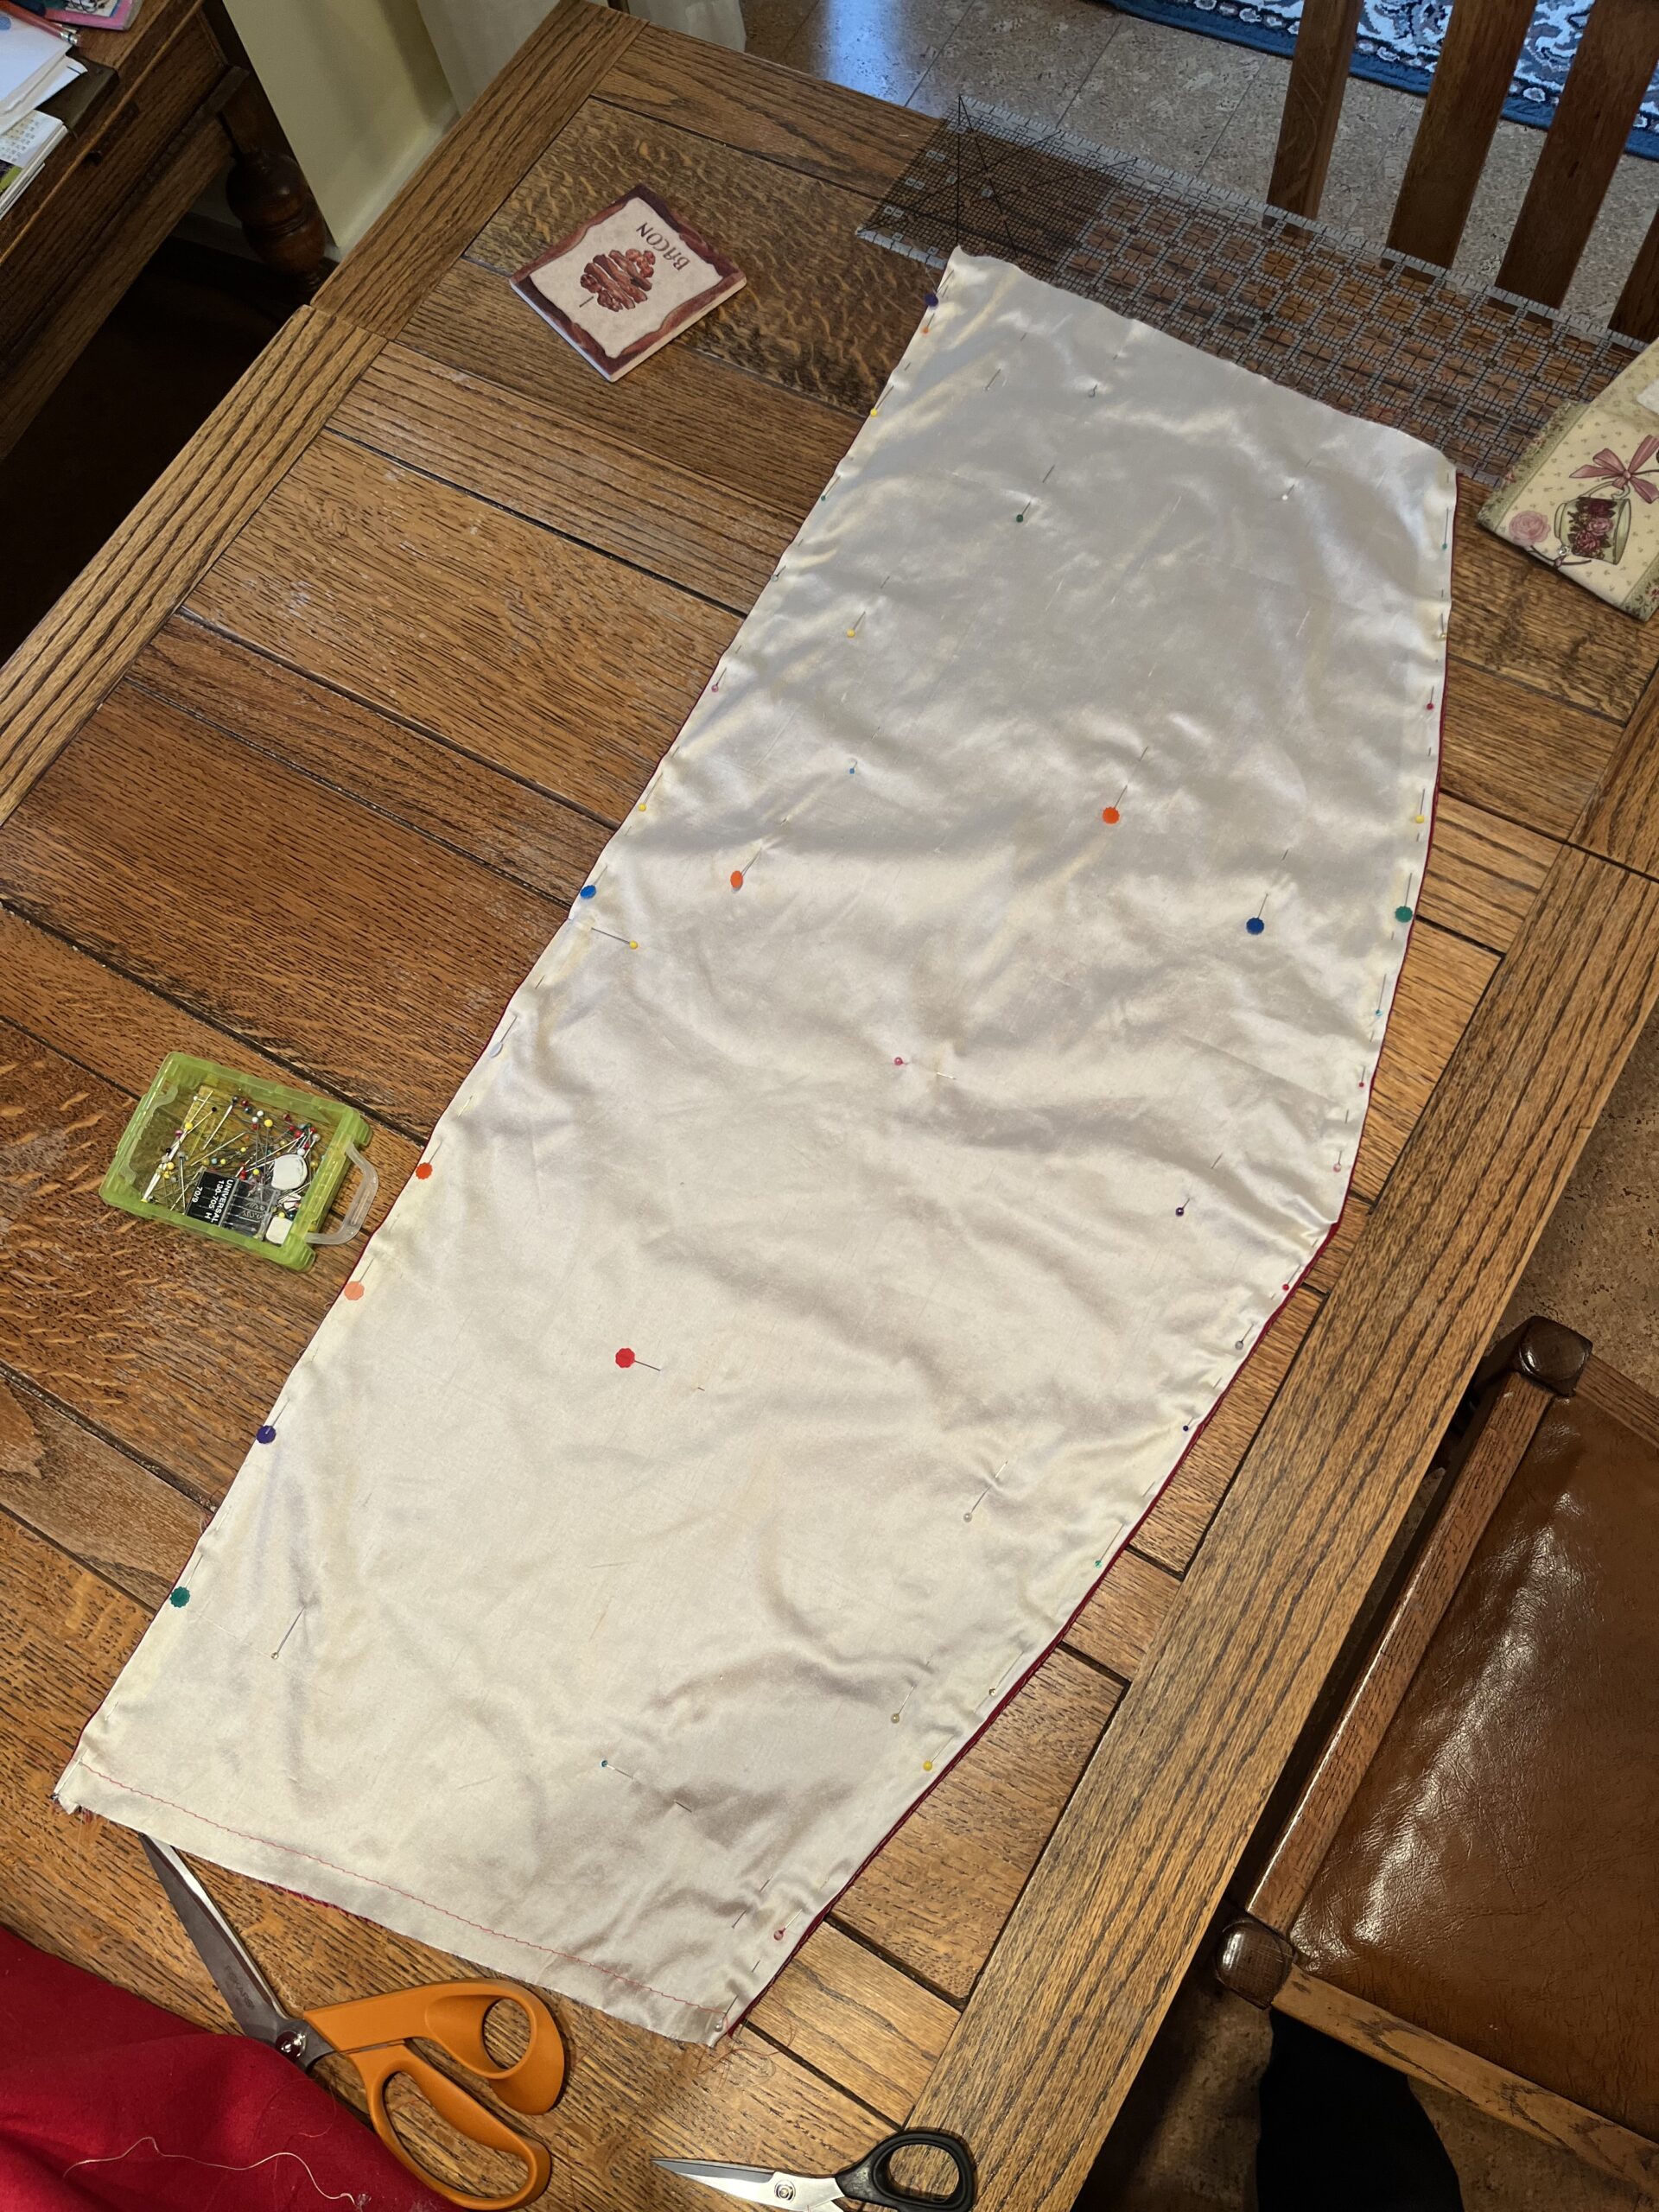
I made sure to fold a slightly wider seam allowance on the lining than on the wool, so that the pale silk would not overhang the wool layer. A small 1/8′ set-back looks elegant and neat.
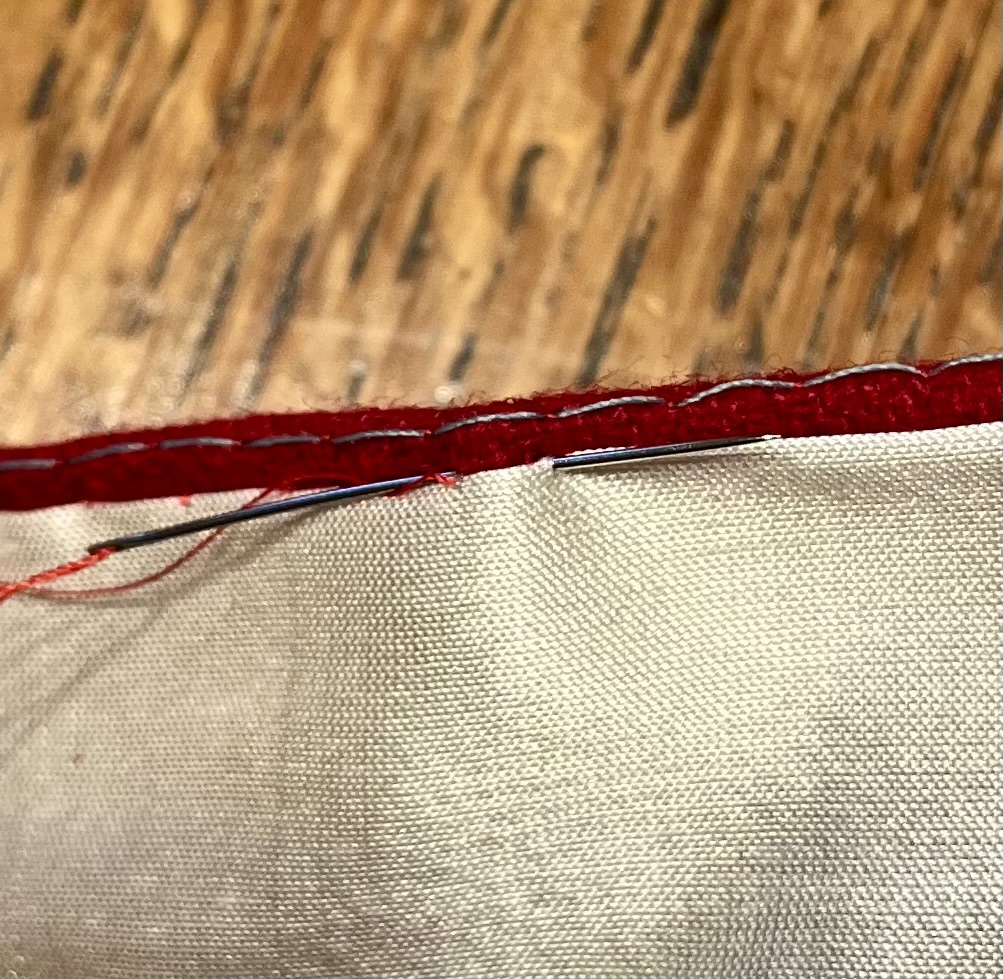
Along the front edge of the hood I took care to take very precise stitches, burying the float thread between the layers of fabric and making sure that the absolute minimum of red thread showed against the pale silk.
On the center back seam, however, I took fast and rough quarter- inch stitches. I didn’t fret over this stitching- it would be buried in the center back seam and as long as it was tidy, I wasn’t particularly fussed.
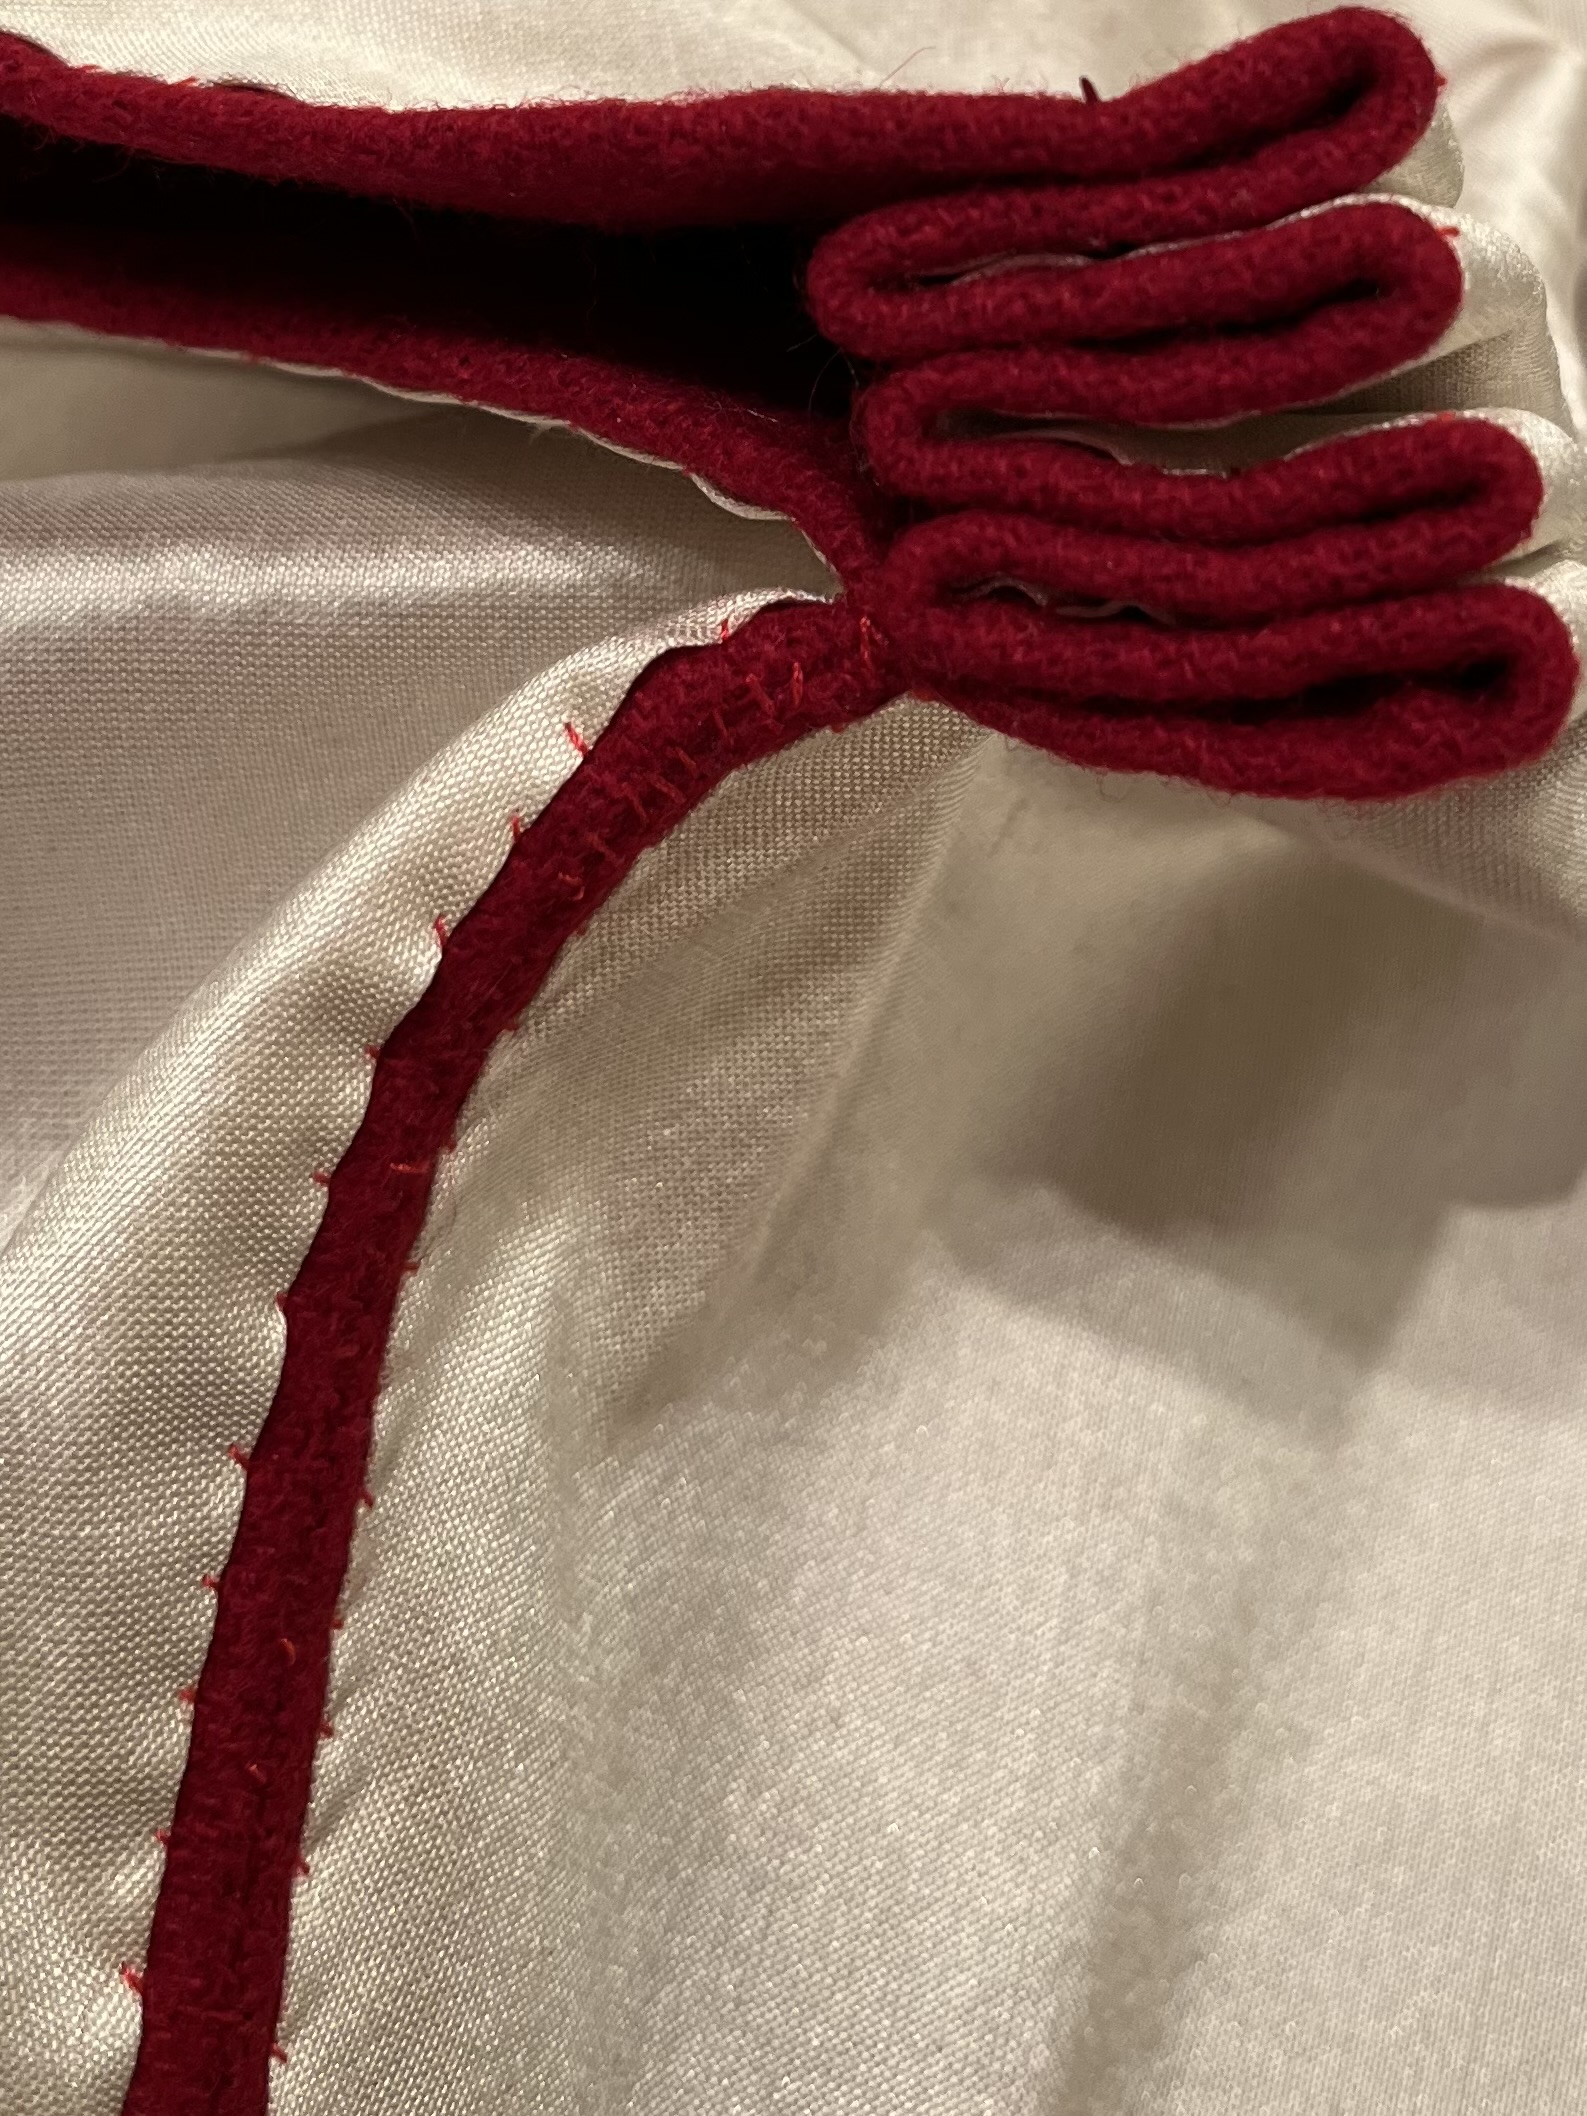
To construct the hood, I joined the two halves of the hood for 9 inches along the center back seam with a tight whip stitch. I folded the rest of the center back into two matched sets of cartridge pleats and secured them.


A 24 inch neckband seemed to be the average consensus between all my sources (both ancient AND modern) and a 24 inch length set the neckband resting where I wanted it on my collarbone, but I was a little worried about the weight of all that wool dragging it down, so I settled on 23 inches. Sodden winters are cold enough. I didn’t want to worry about wind chill on an exposed neck on top of it.
To attach the hood and cloak body to the neckband, I marked the center of each piece, and pinned them together at edges and center point.
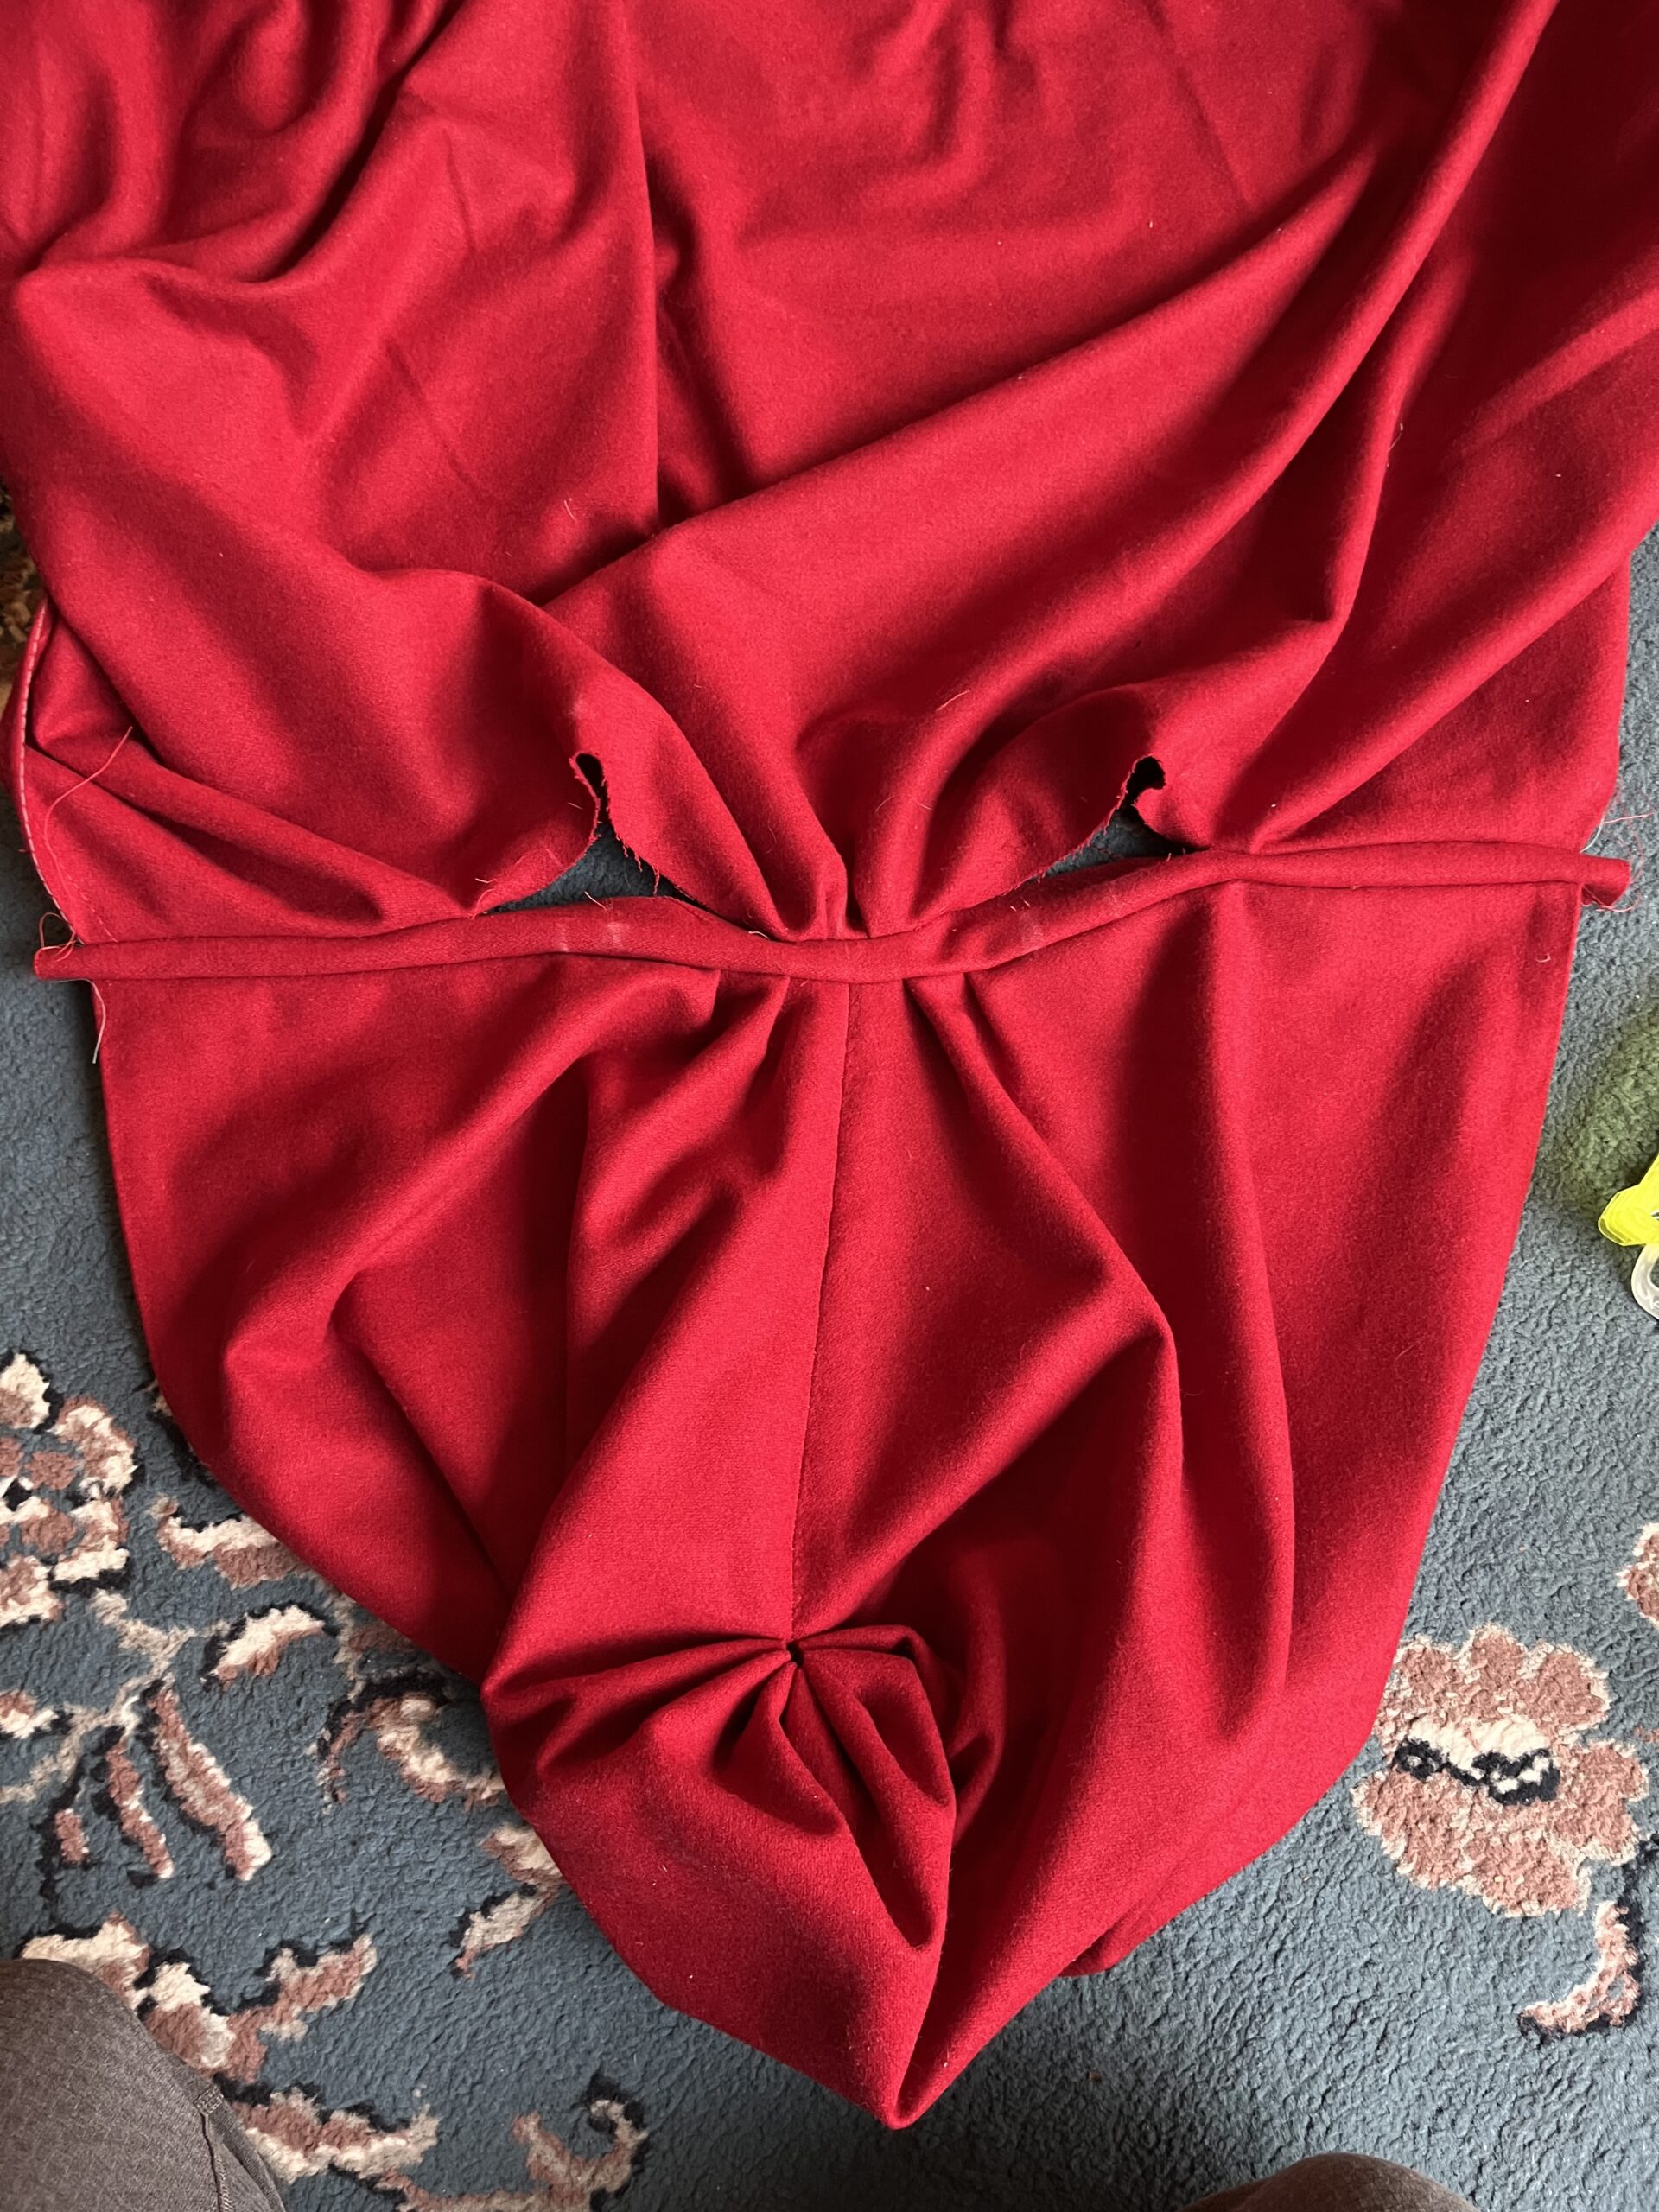
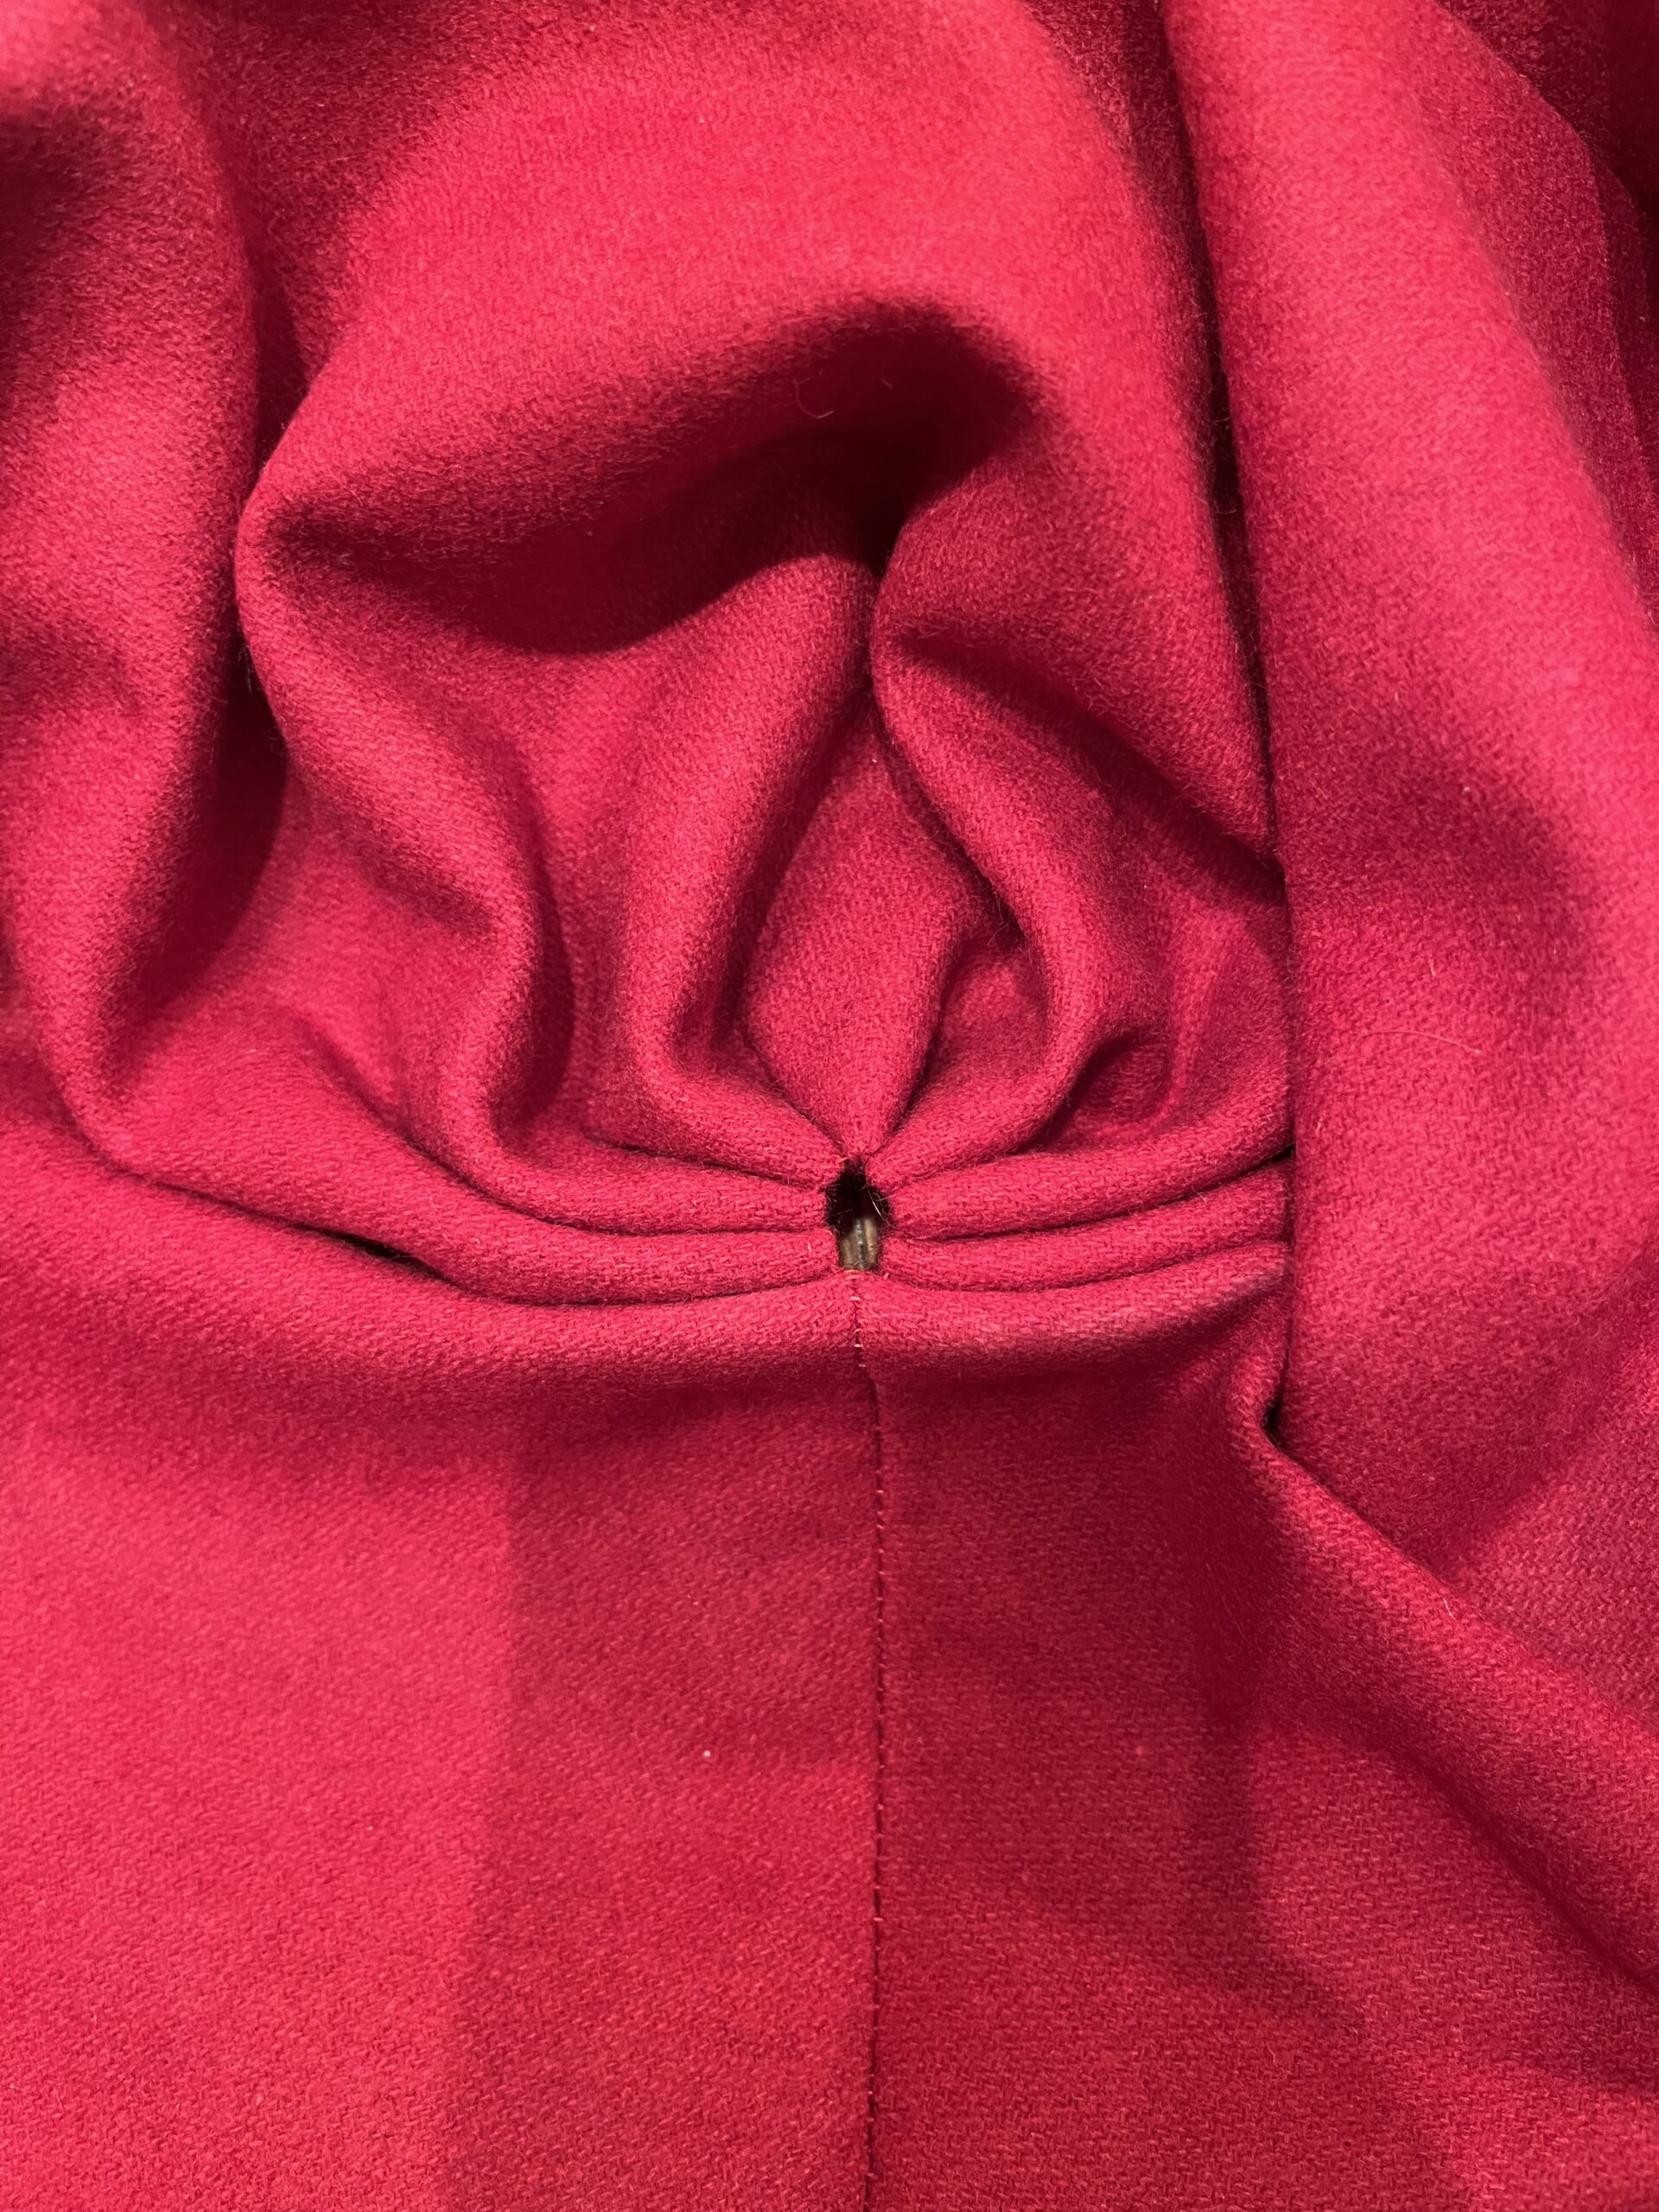
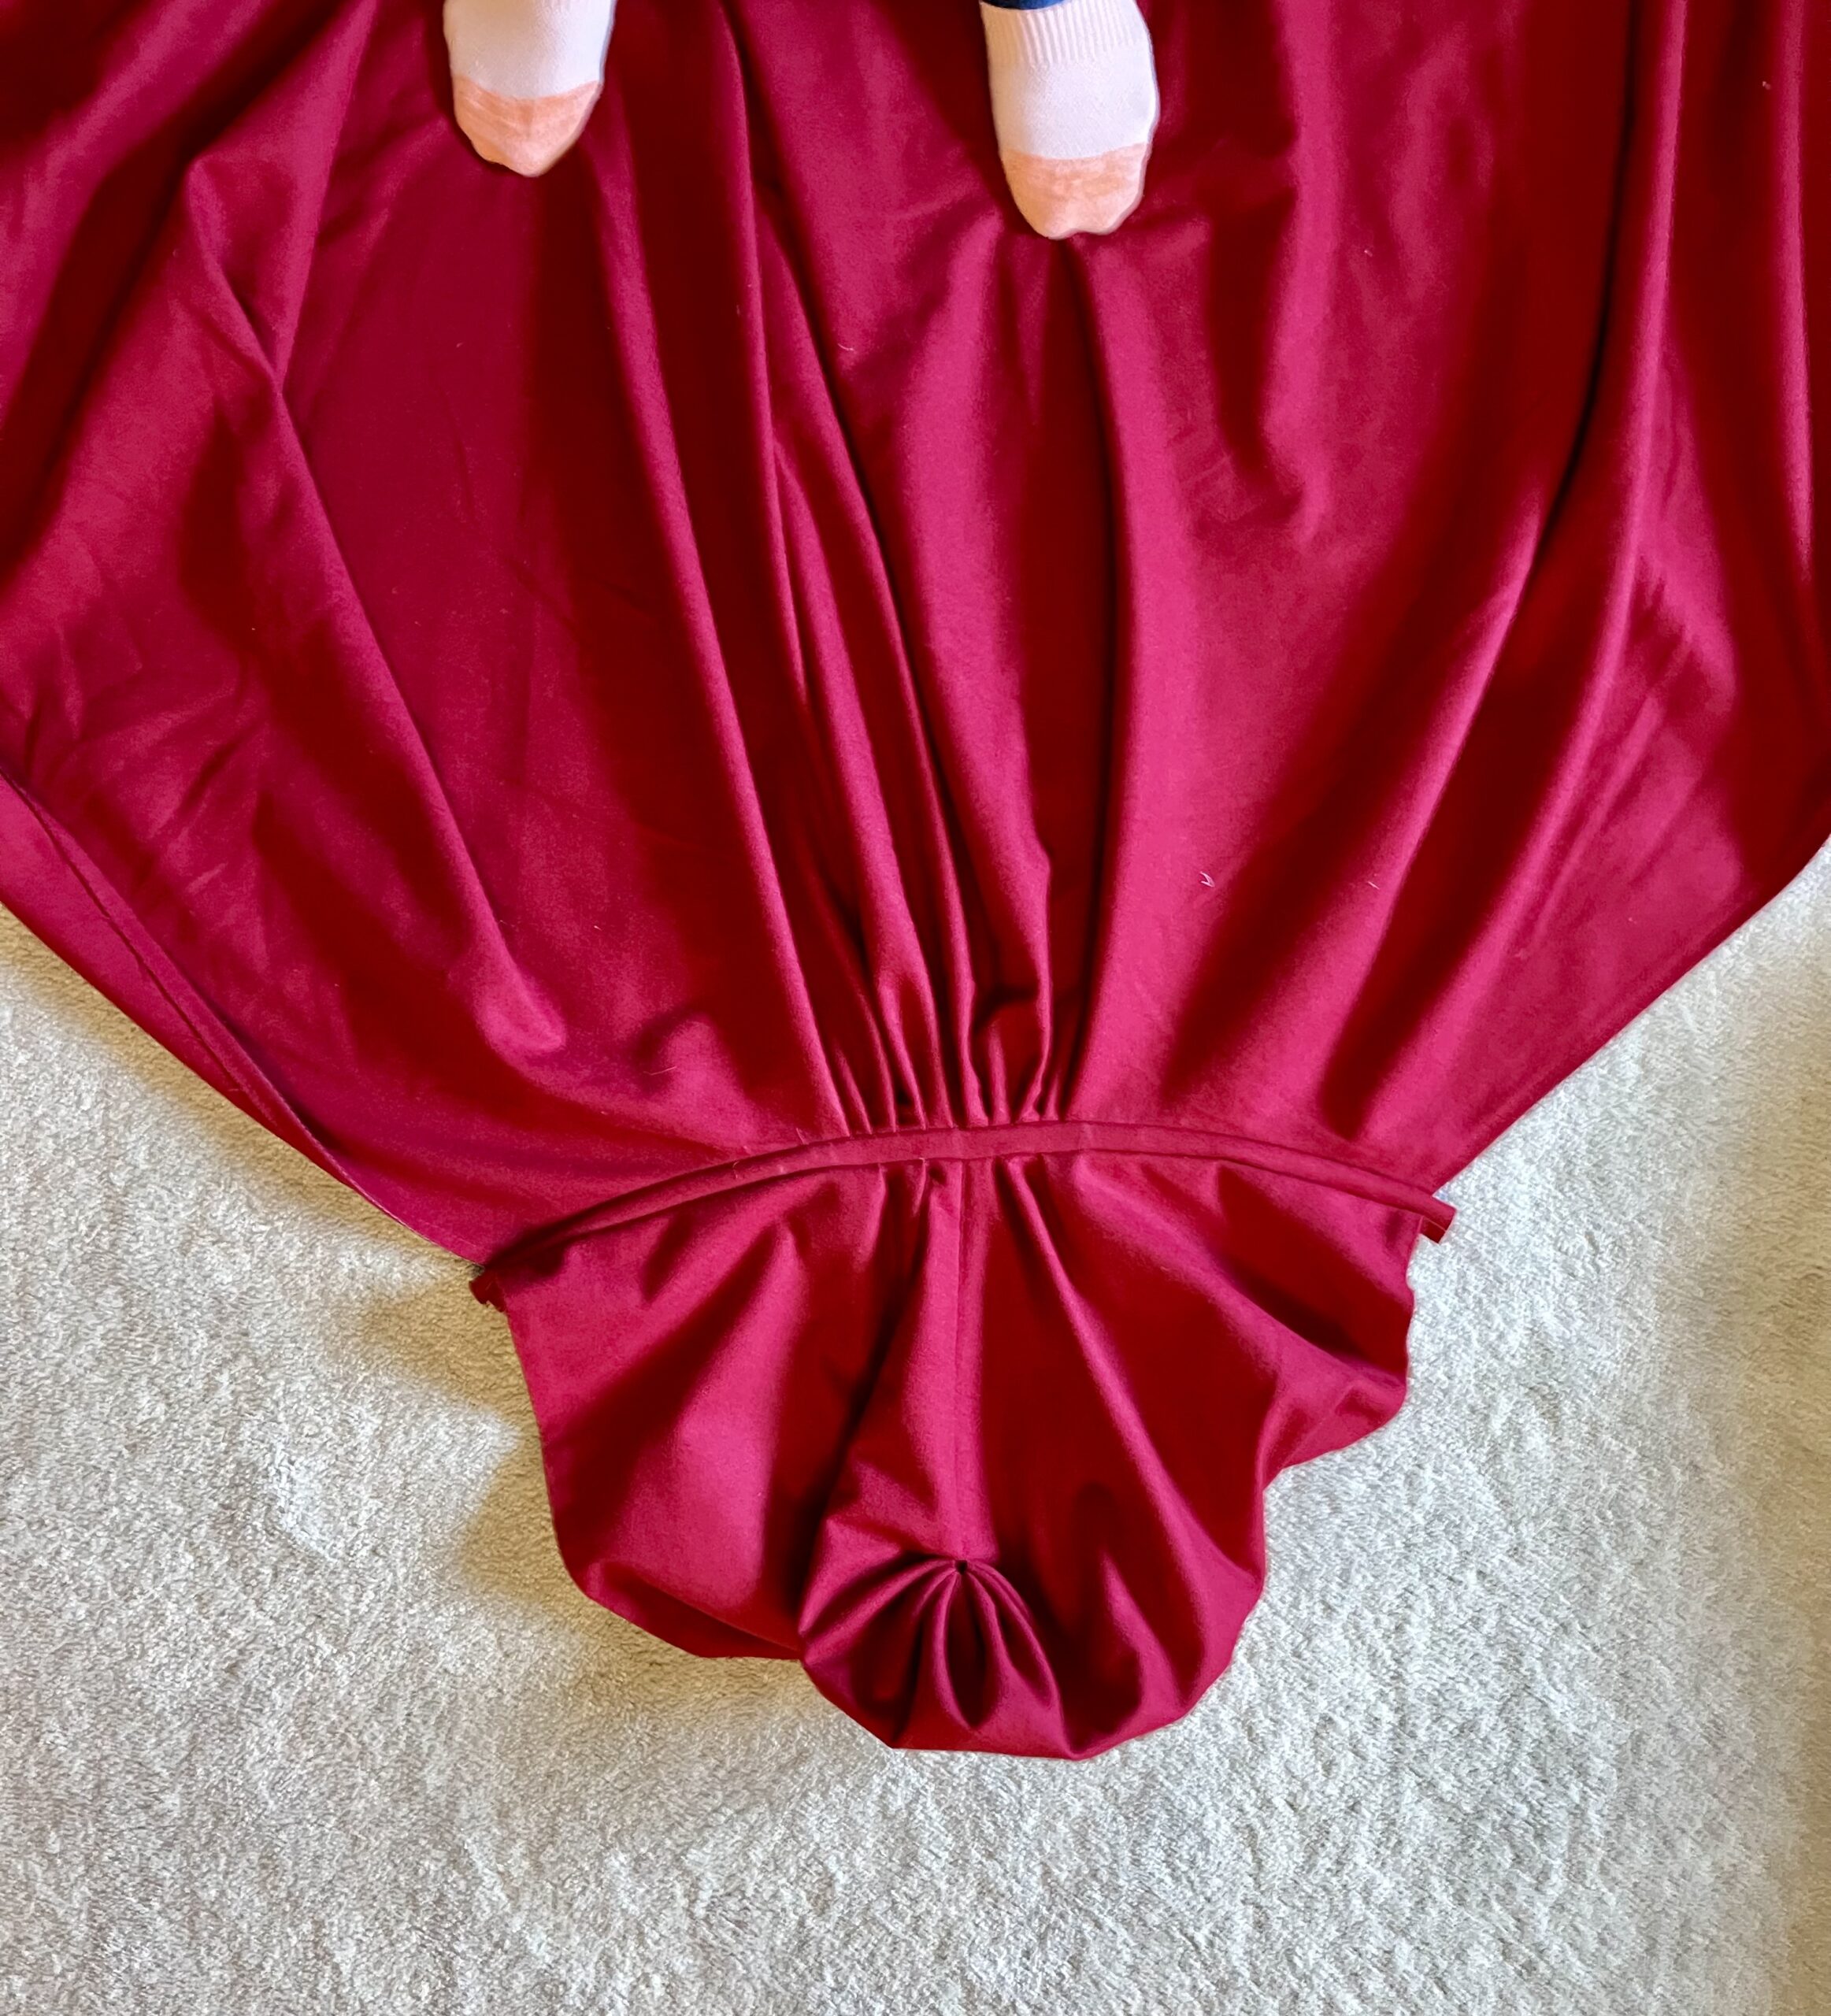
The hood was lighter, so i attached that first. Pinning at the center points, I pinned the hood to the neckband, pleated the excess hood fabric into a couple of knife pleats around the center back point, and stitched the hood down to the neckband.
Next I pinned the cloak body to the neckband. Rather than gathering all the way around, I pleated the excess fabric in the cloak body down into knife pleats for about 2 inches on each side of the center back point.

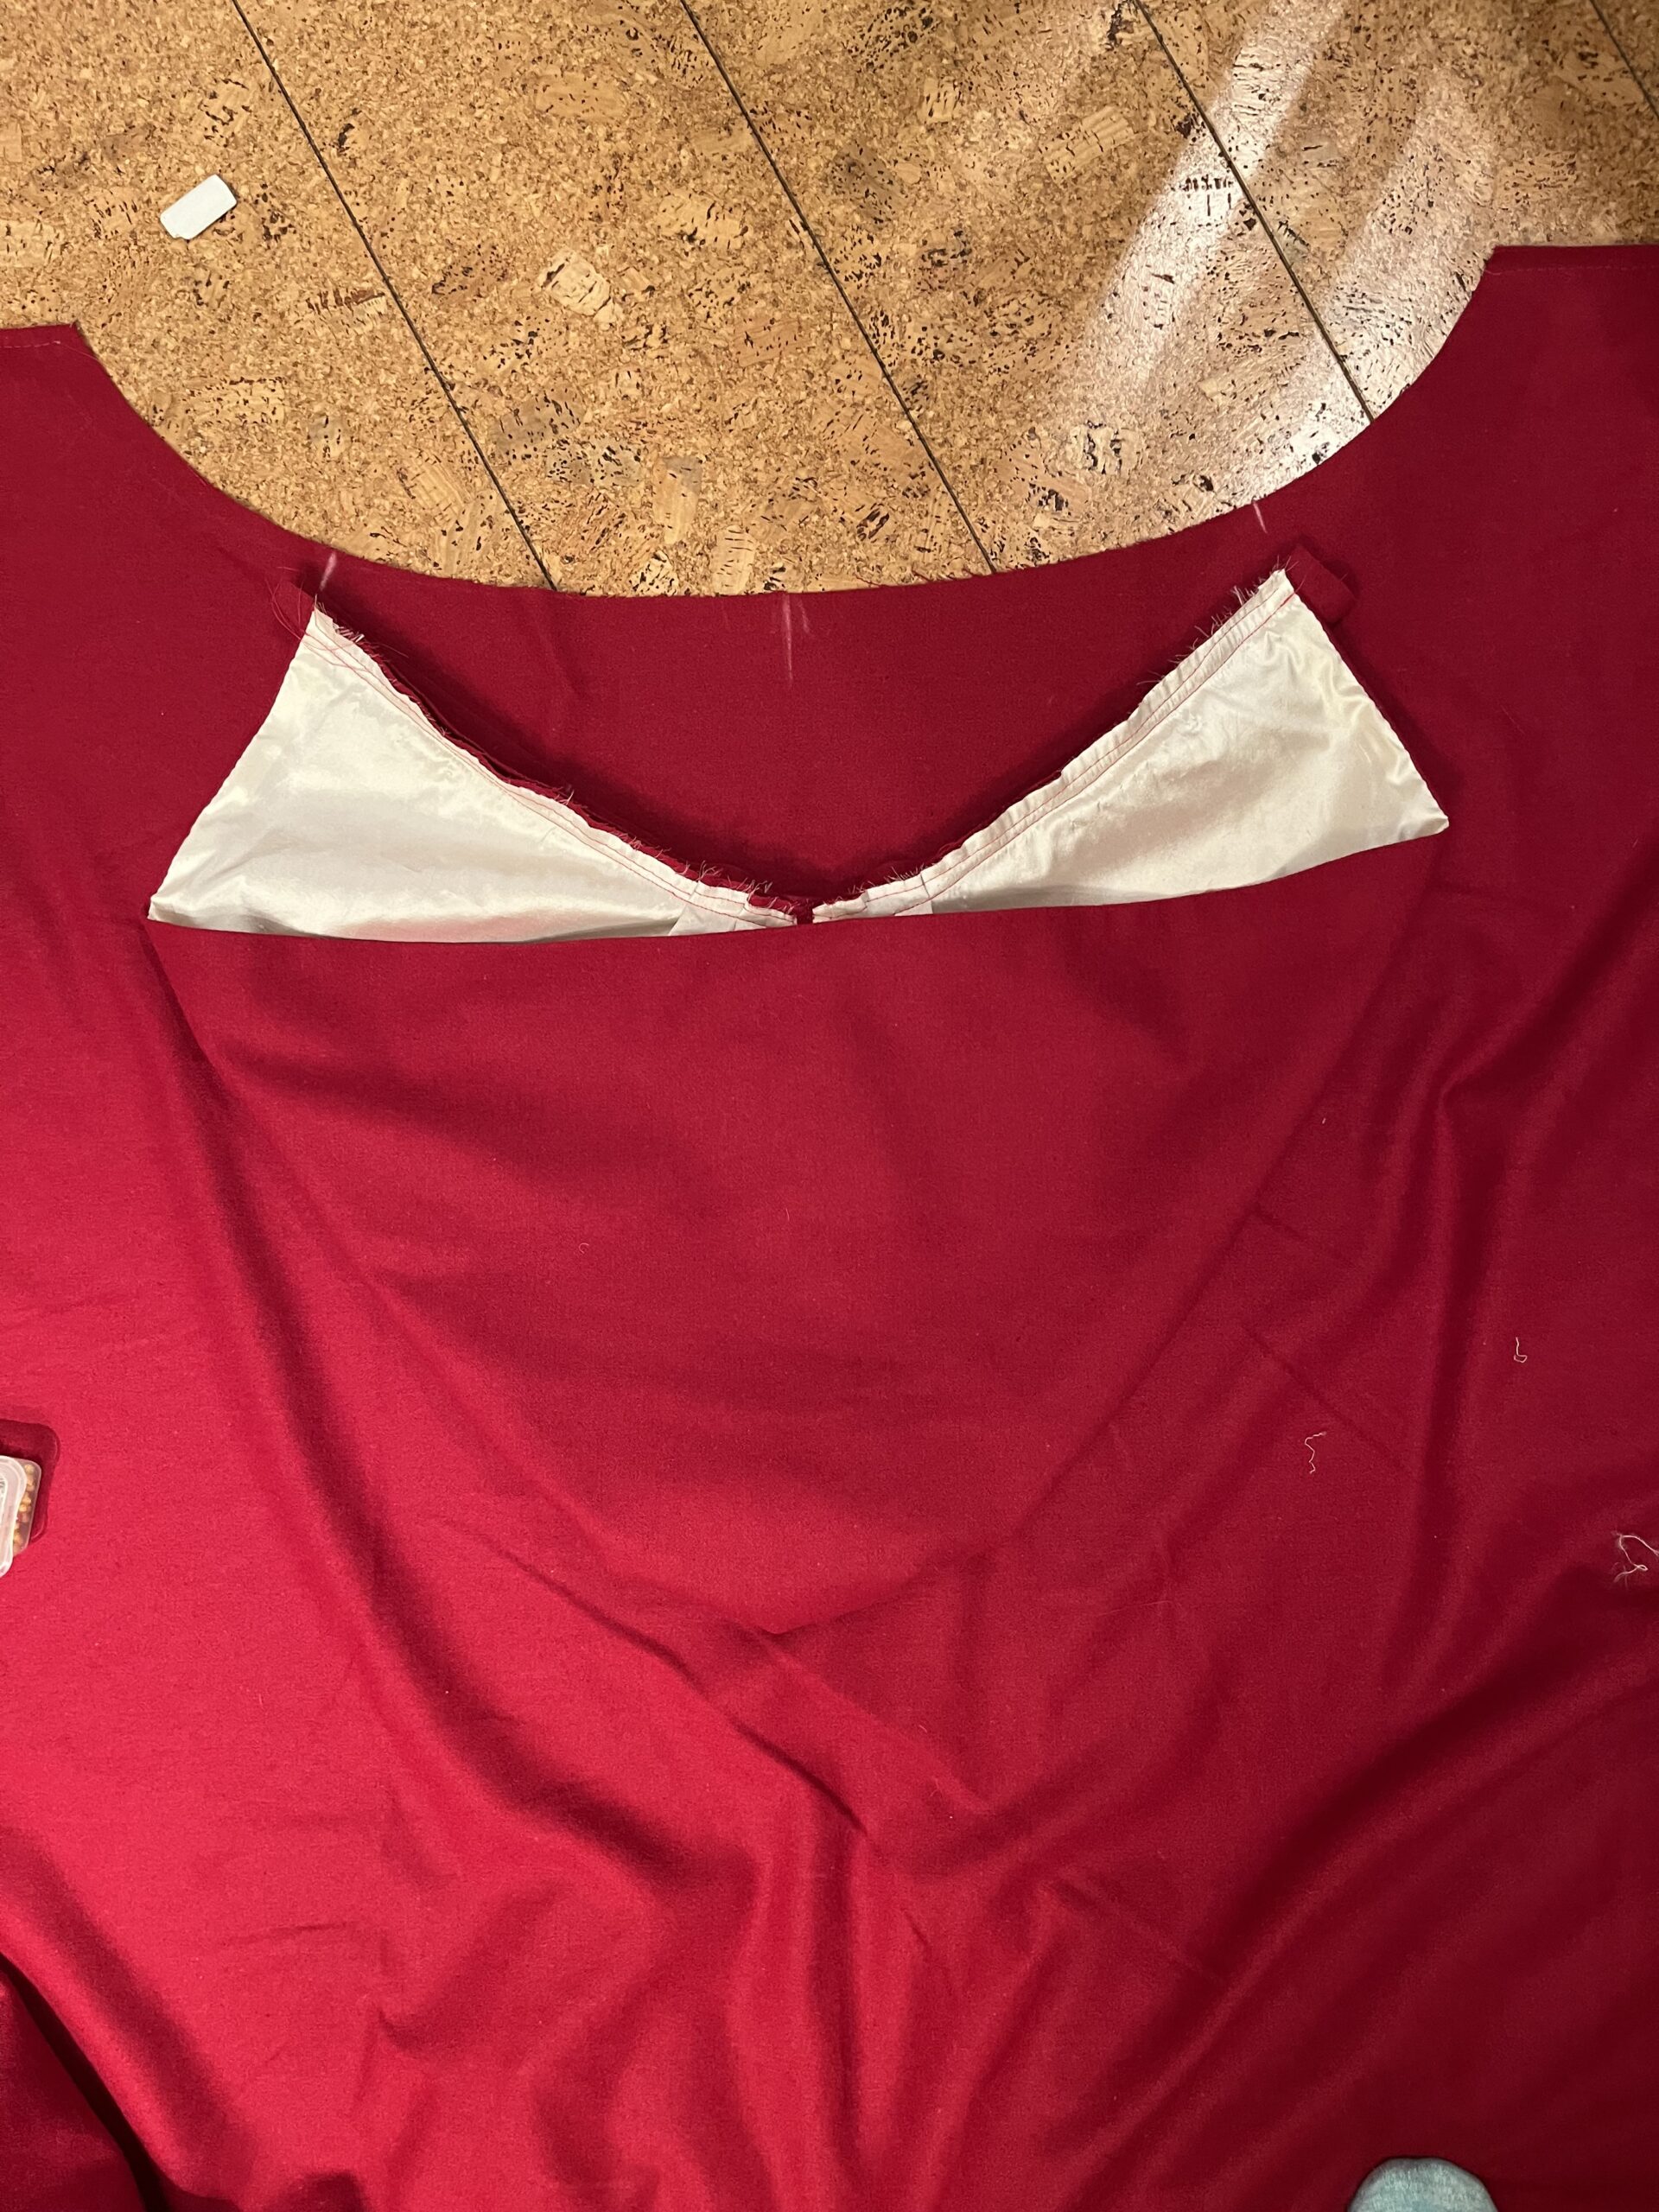
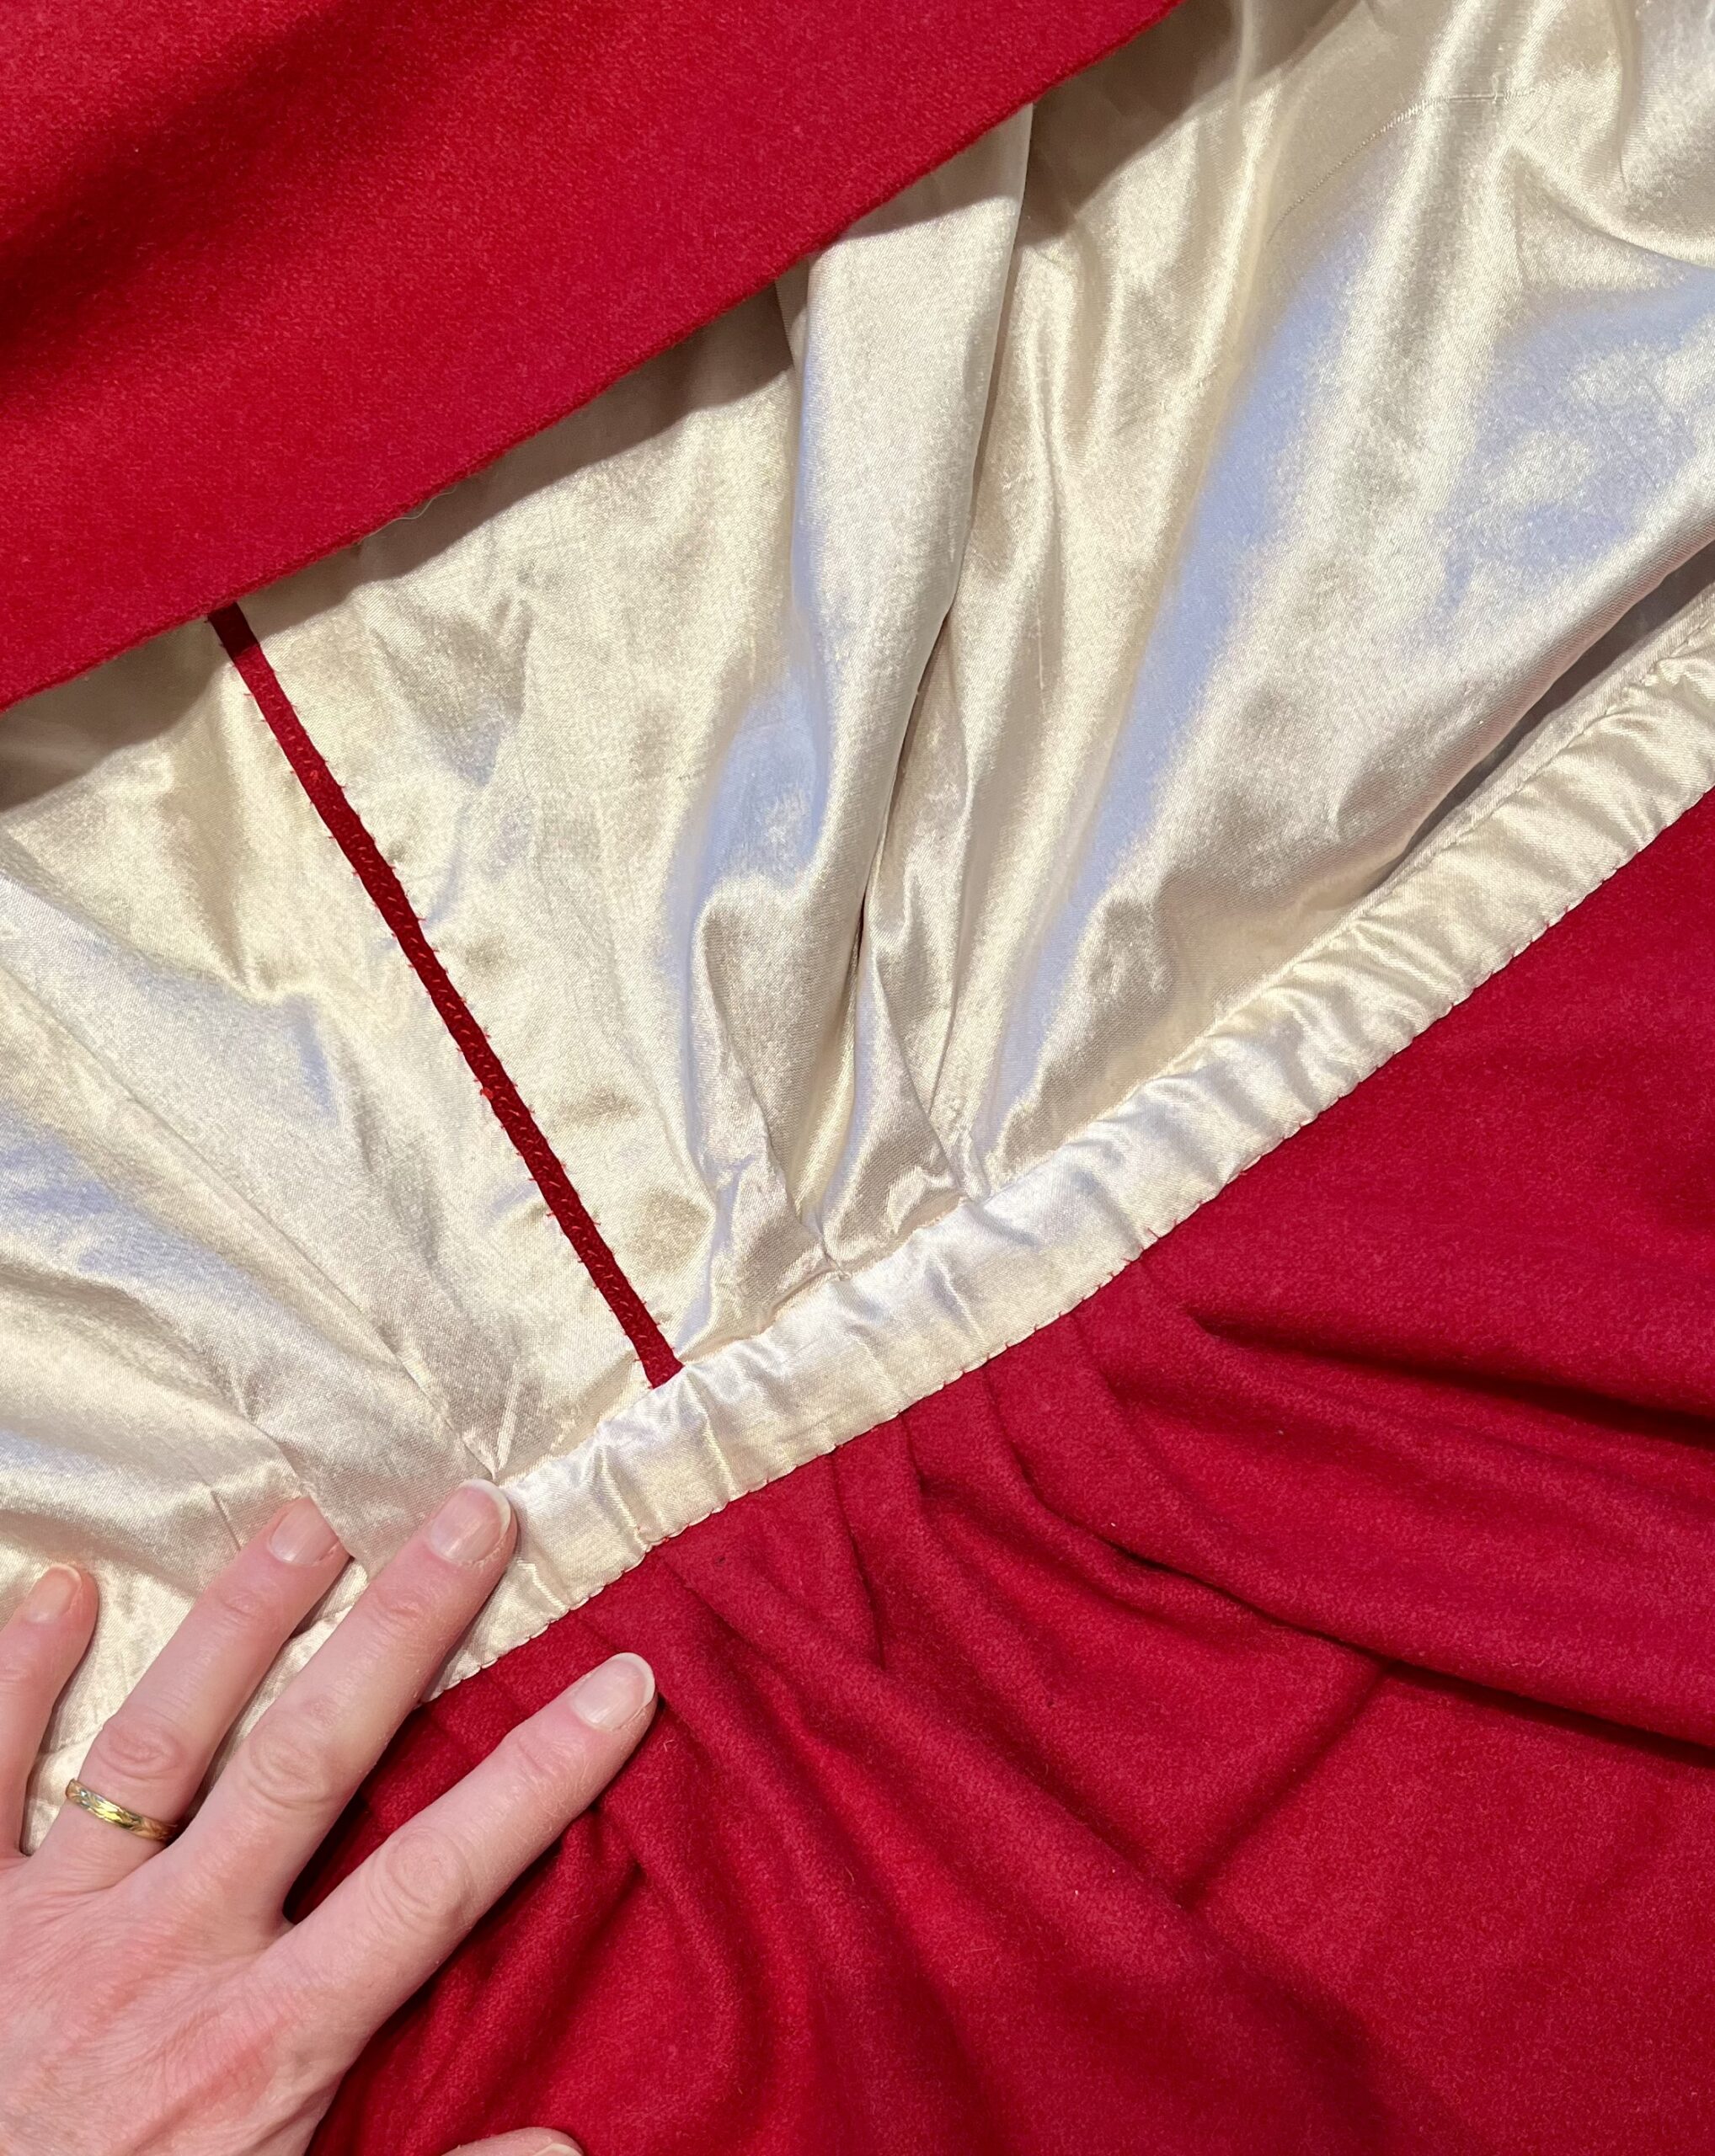
I don’t like the feel of wool melton against my skin, so I cut a strip of the silk dupioni for a neckband lining.

Note: When you’re whipping a neckband lining over multiple layers of thick fabric, pre-measuring often leaves you with a lining that is too small – you haven’t accounted for the bulk of fabric beneath.
So – first I graded the cloak seams and pressed them inward to the center of the neckband
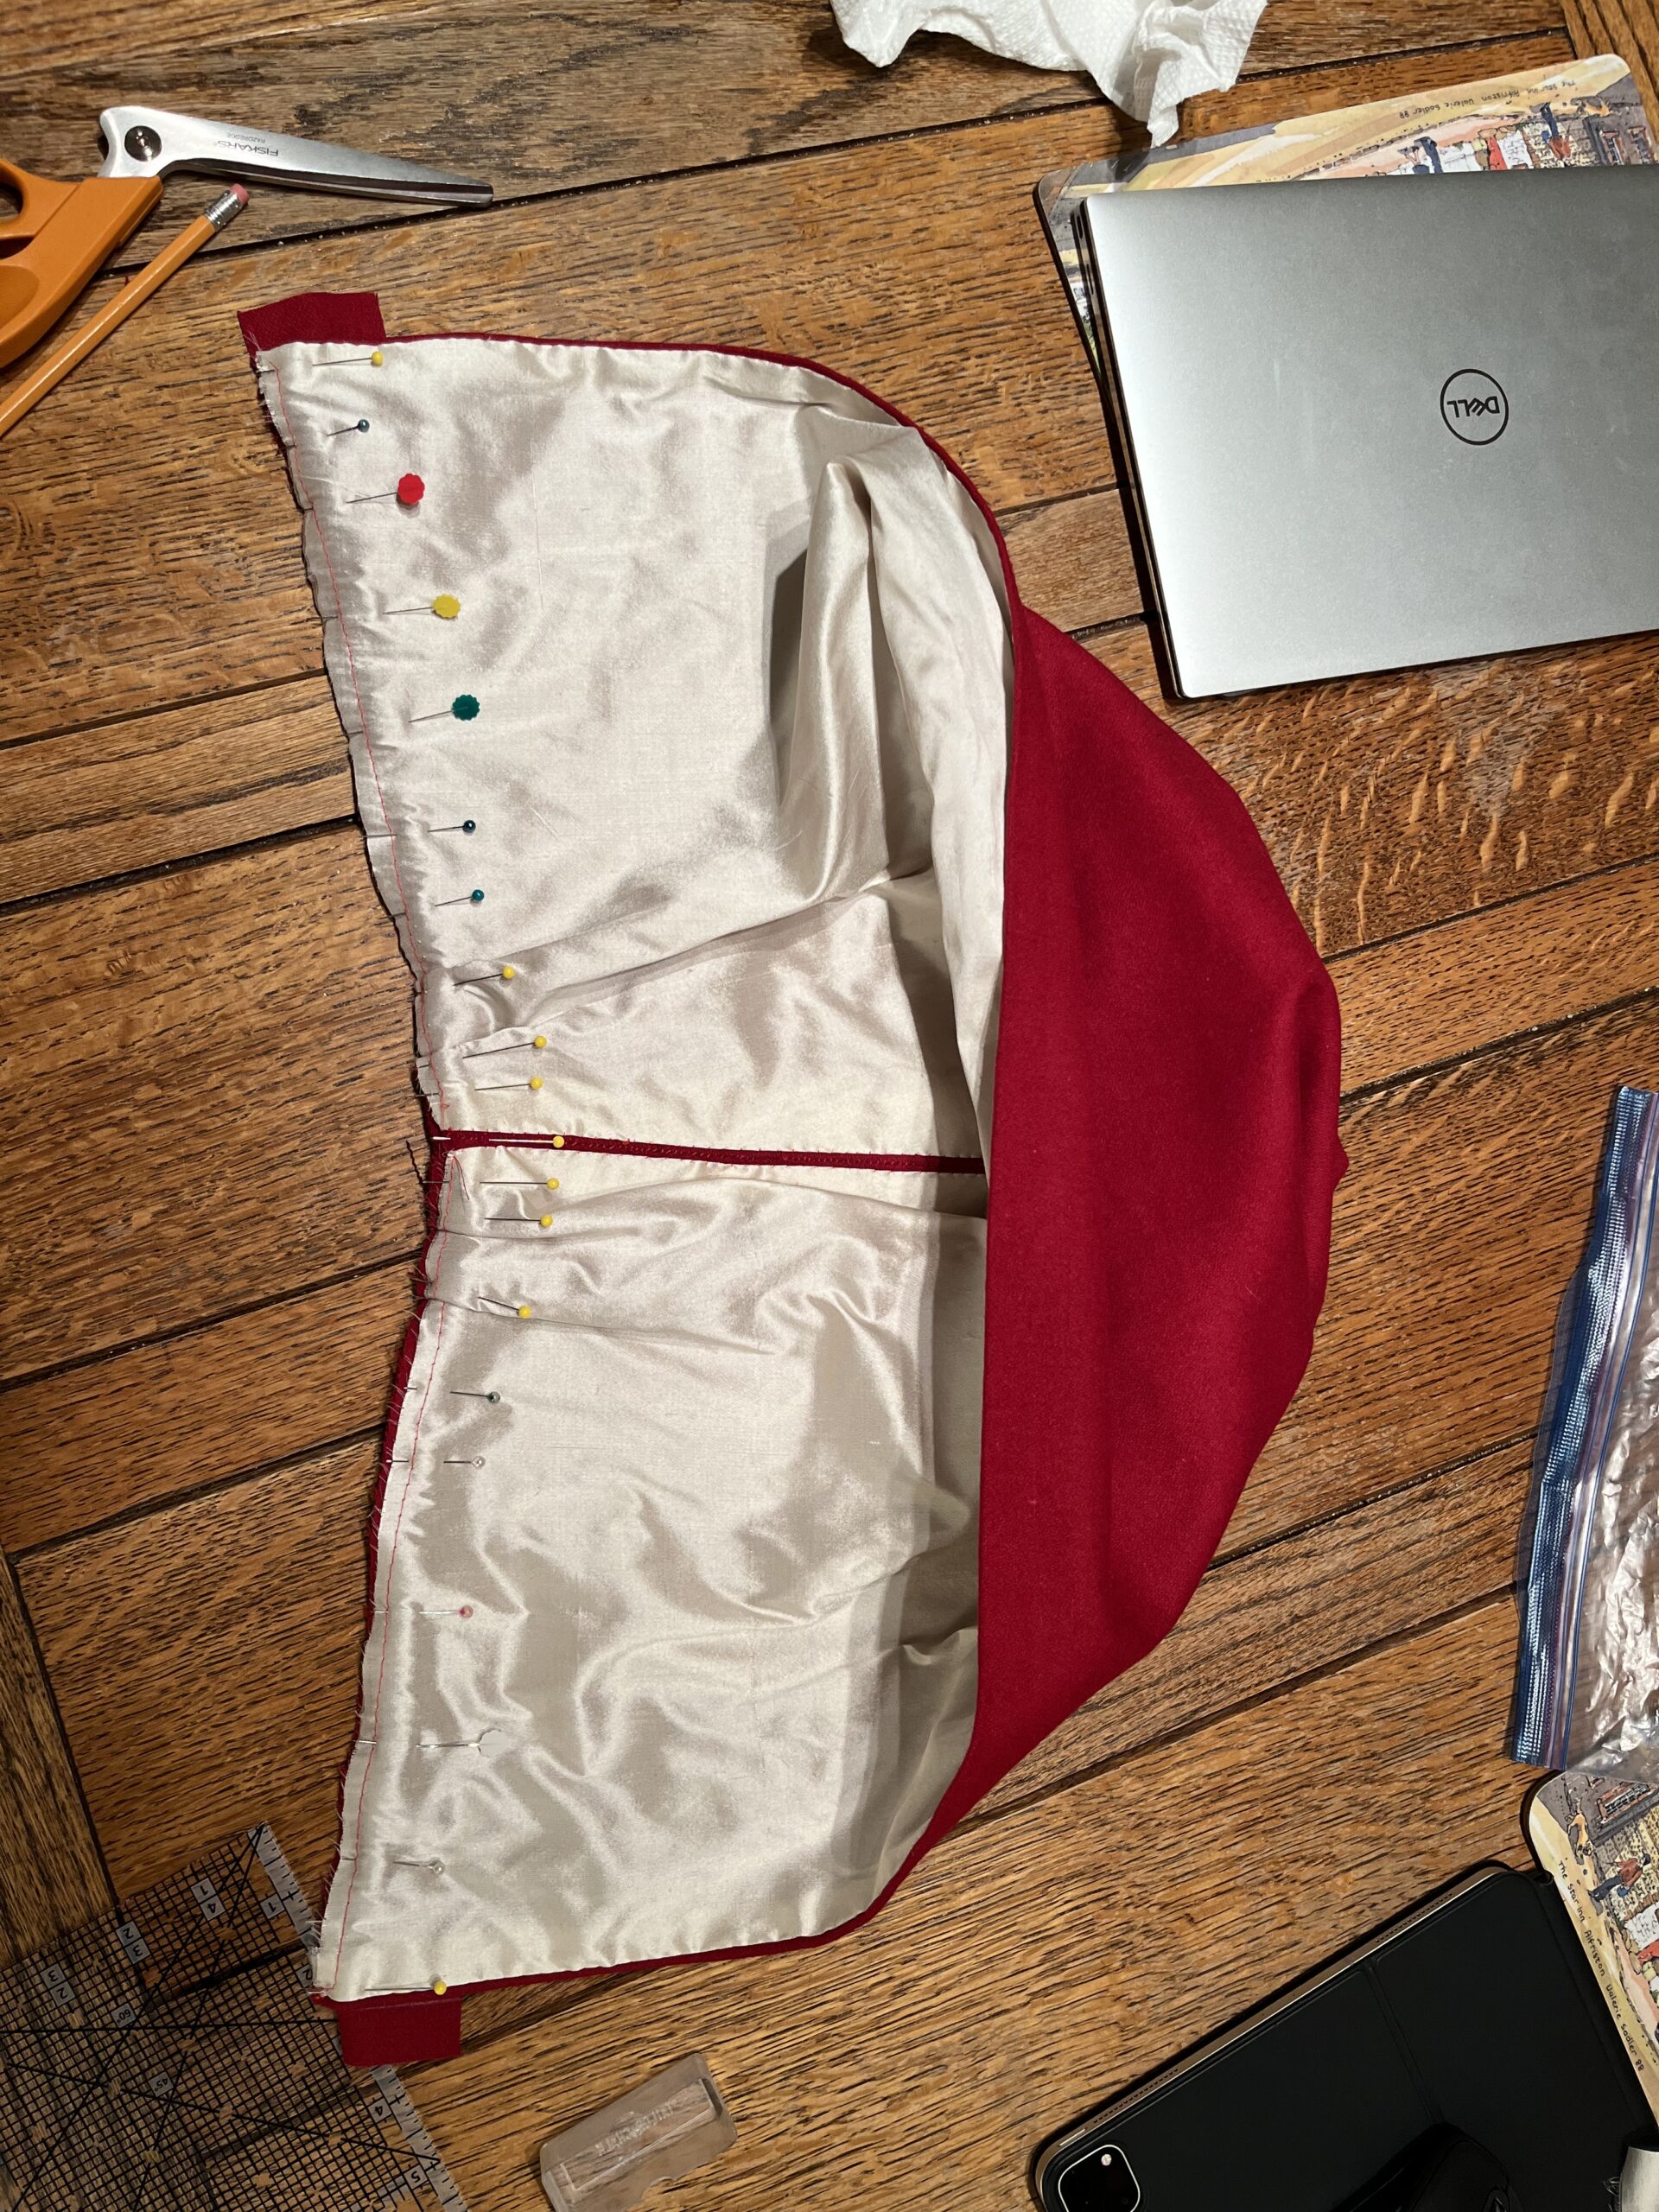
I cut a lining a little wider than I expected to need. I pressed down the seam allowance of one long edge of the lining and whip-stitched it to one of the long neckband seams.
Then I pressed and pinned the lining down over the lumps and bumps of wool beneath, and finger-pressing a fold into the other long edge of the lining, I pinned and fidgeted it until the finger-pressed fold matched up with the other neck seam
I whip-stitched that second fold into place, and then I folded in the seam allowance of the short ends of the lining, and I whipped them down as well.
And there I was. I almost had a cloak. Only two things left to do –
The first one was easy. First I sewed on a heavy-duty hook and eye (Burnley & Trowbridge has a nice selection!) to secure the neck.
Second, I stood on the floor in my flat 1790s slippers while my mother-in-law marked the hem. She marked it where it touched the floor all the way around, and then, at last, this cloak project got REALLY creative.
I smoothed the great cloak out on the floor, and I took all the chalk markings that ran in and out and up and down the bottom of the cloak, and I rationalized them into a regular curve. Anyone who’s taken a physics class in school and has had to create some sort of line graph out of an experiment where you’re bouncing a ball 100 times or rolling a little car down a slope while you’re changing the slope that the little car rolls down –
And then has had to massage a data set that is nothing BUT outliers into something their teacher is going to recognize, or at least give a grudging passing grade for effort –
They’ll know what hemming a circle cloak is like.
I must say, it’s a lot more fun when you’re the one doing the grading. I awarded mine two gold stars, a pint of haagen-daaz icecream and a box of after dinner mints.
And after THAT, I all I had to do was fold the cloak in half and check that both halves matched, and where they didn’t match, make them.

Once I had a curve i was happy with, I adjusted it upwards to just above my ankle bones, added back an inch for seam allowance, and cut the excess off.

I pressed the cloak and hemmed it –
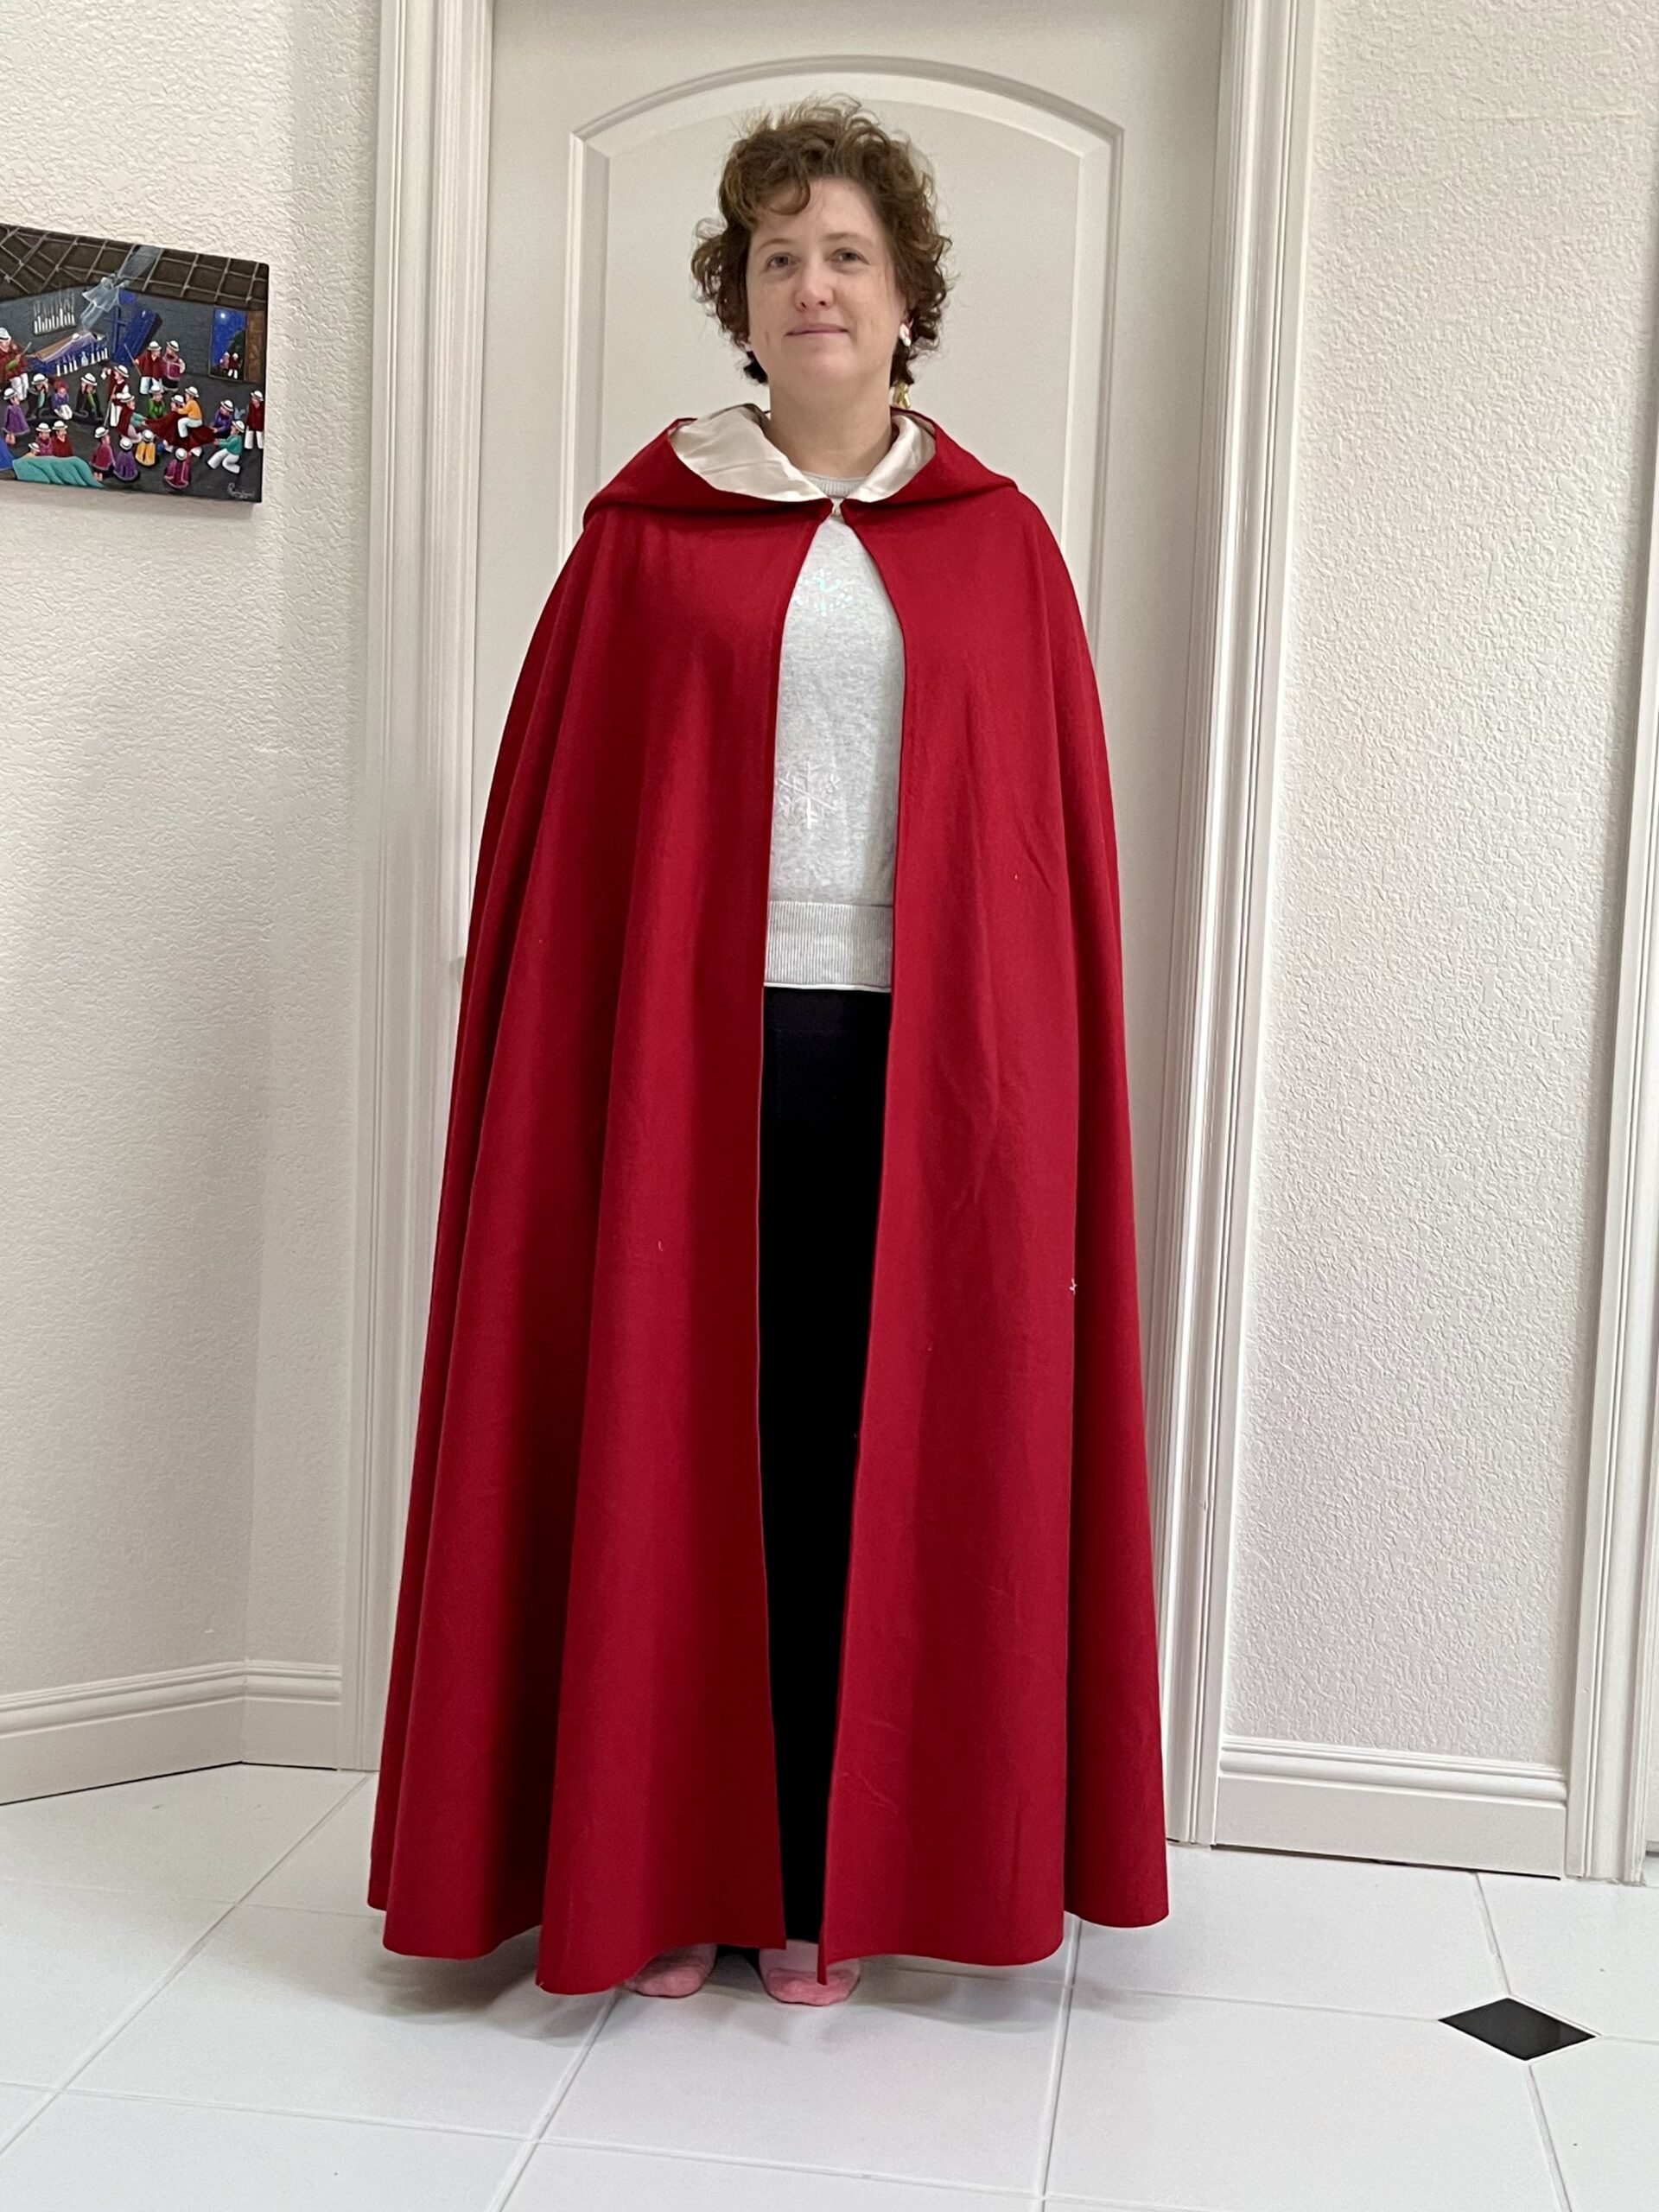
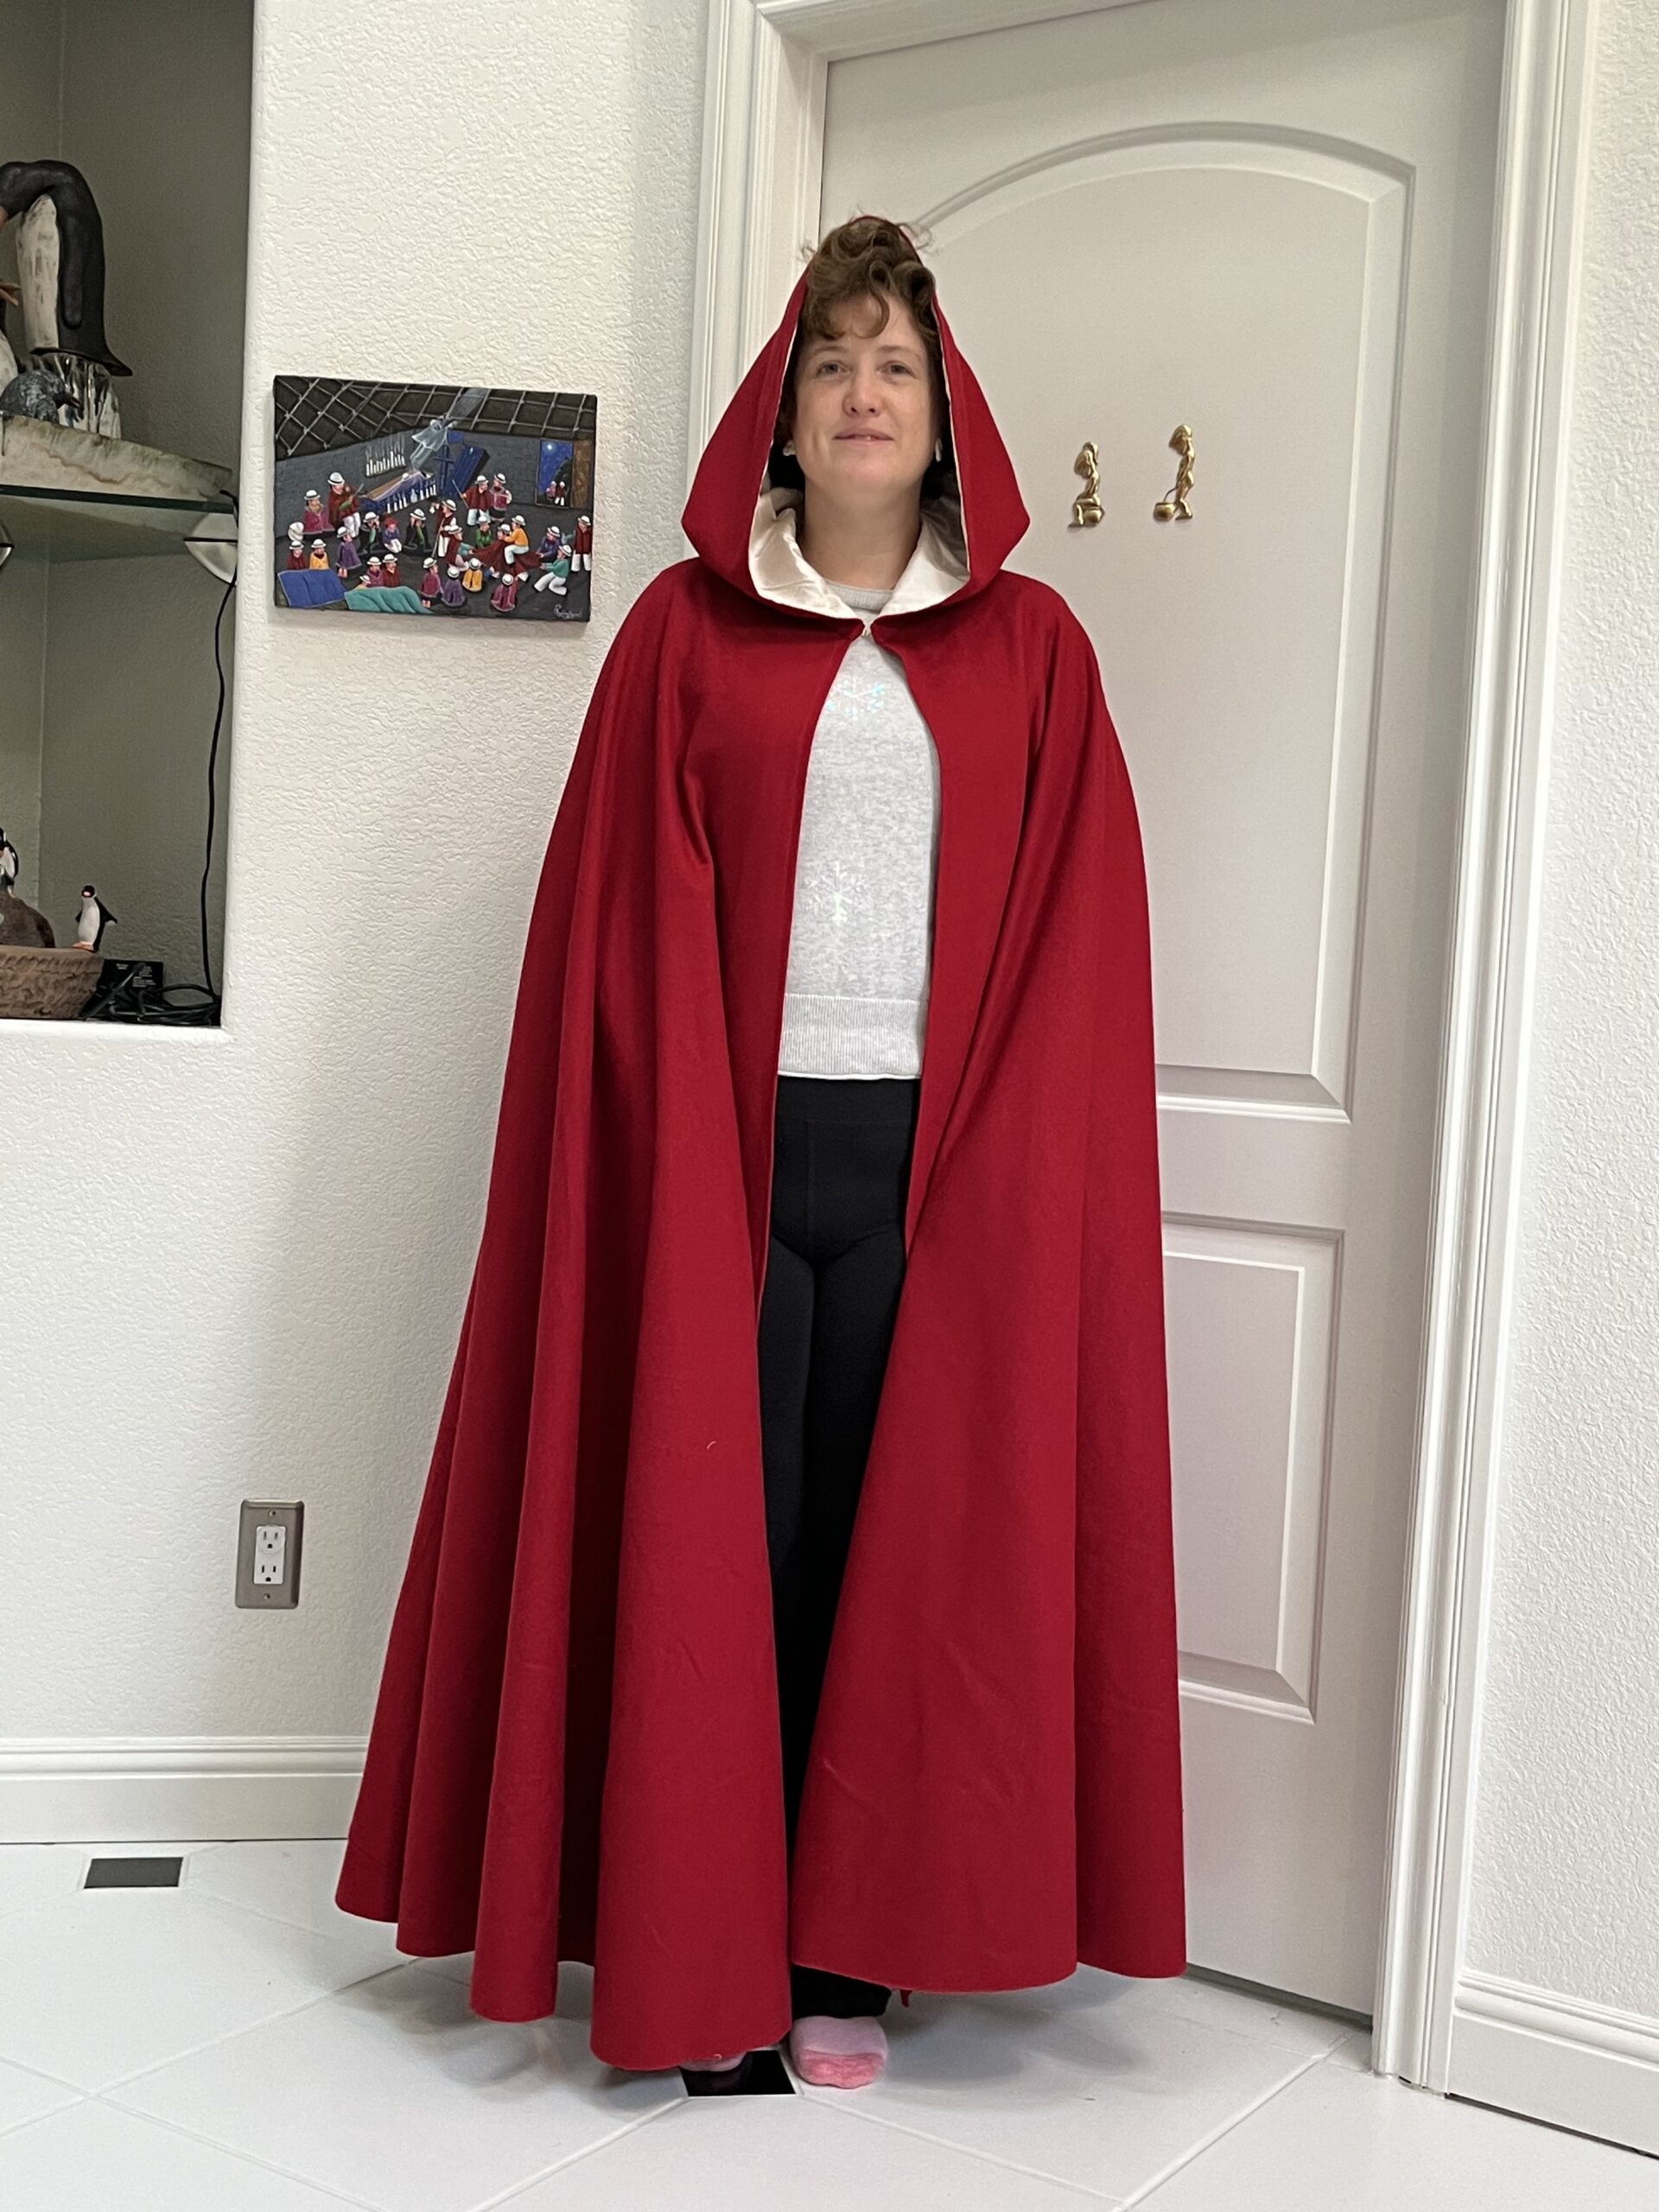
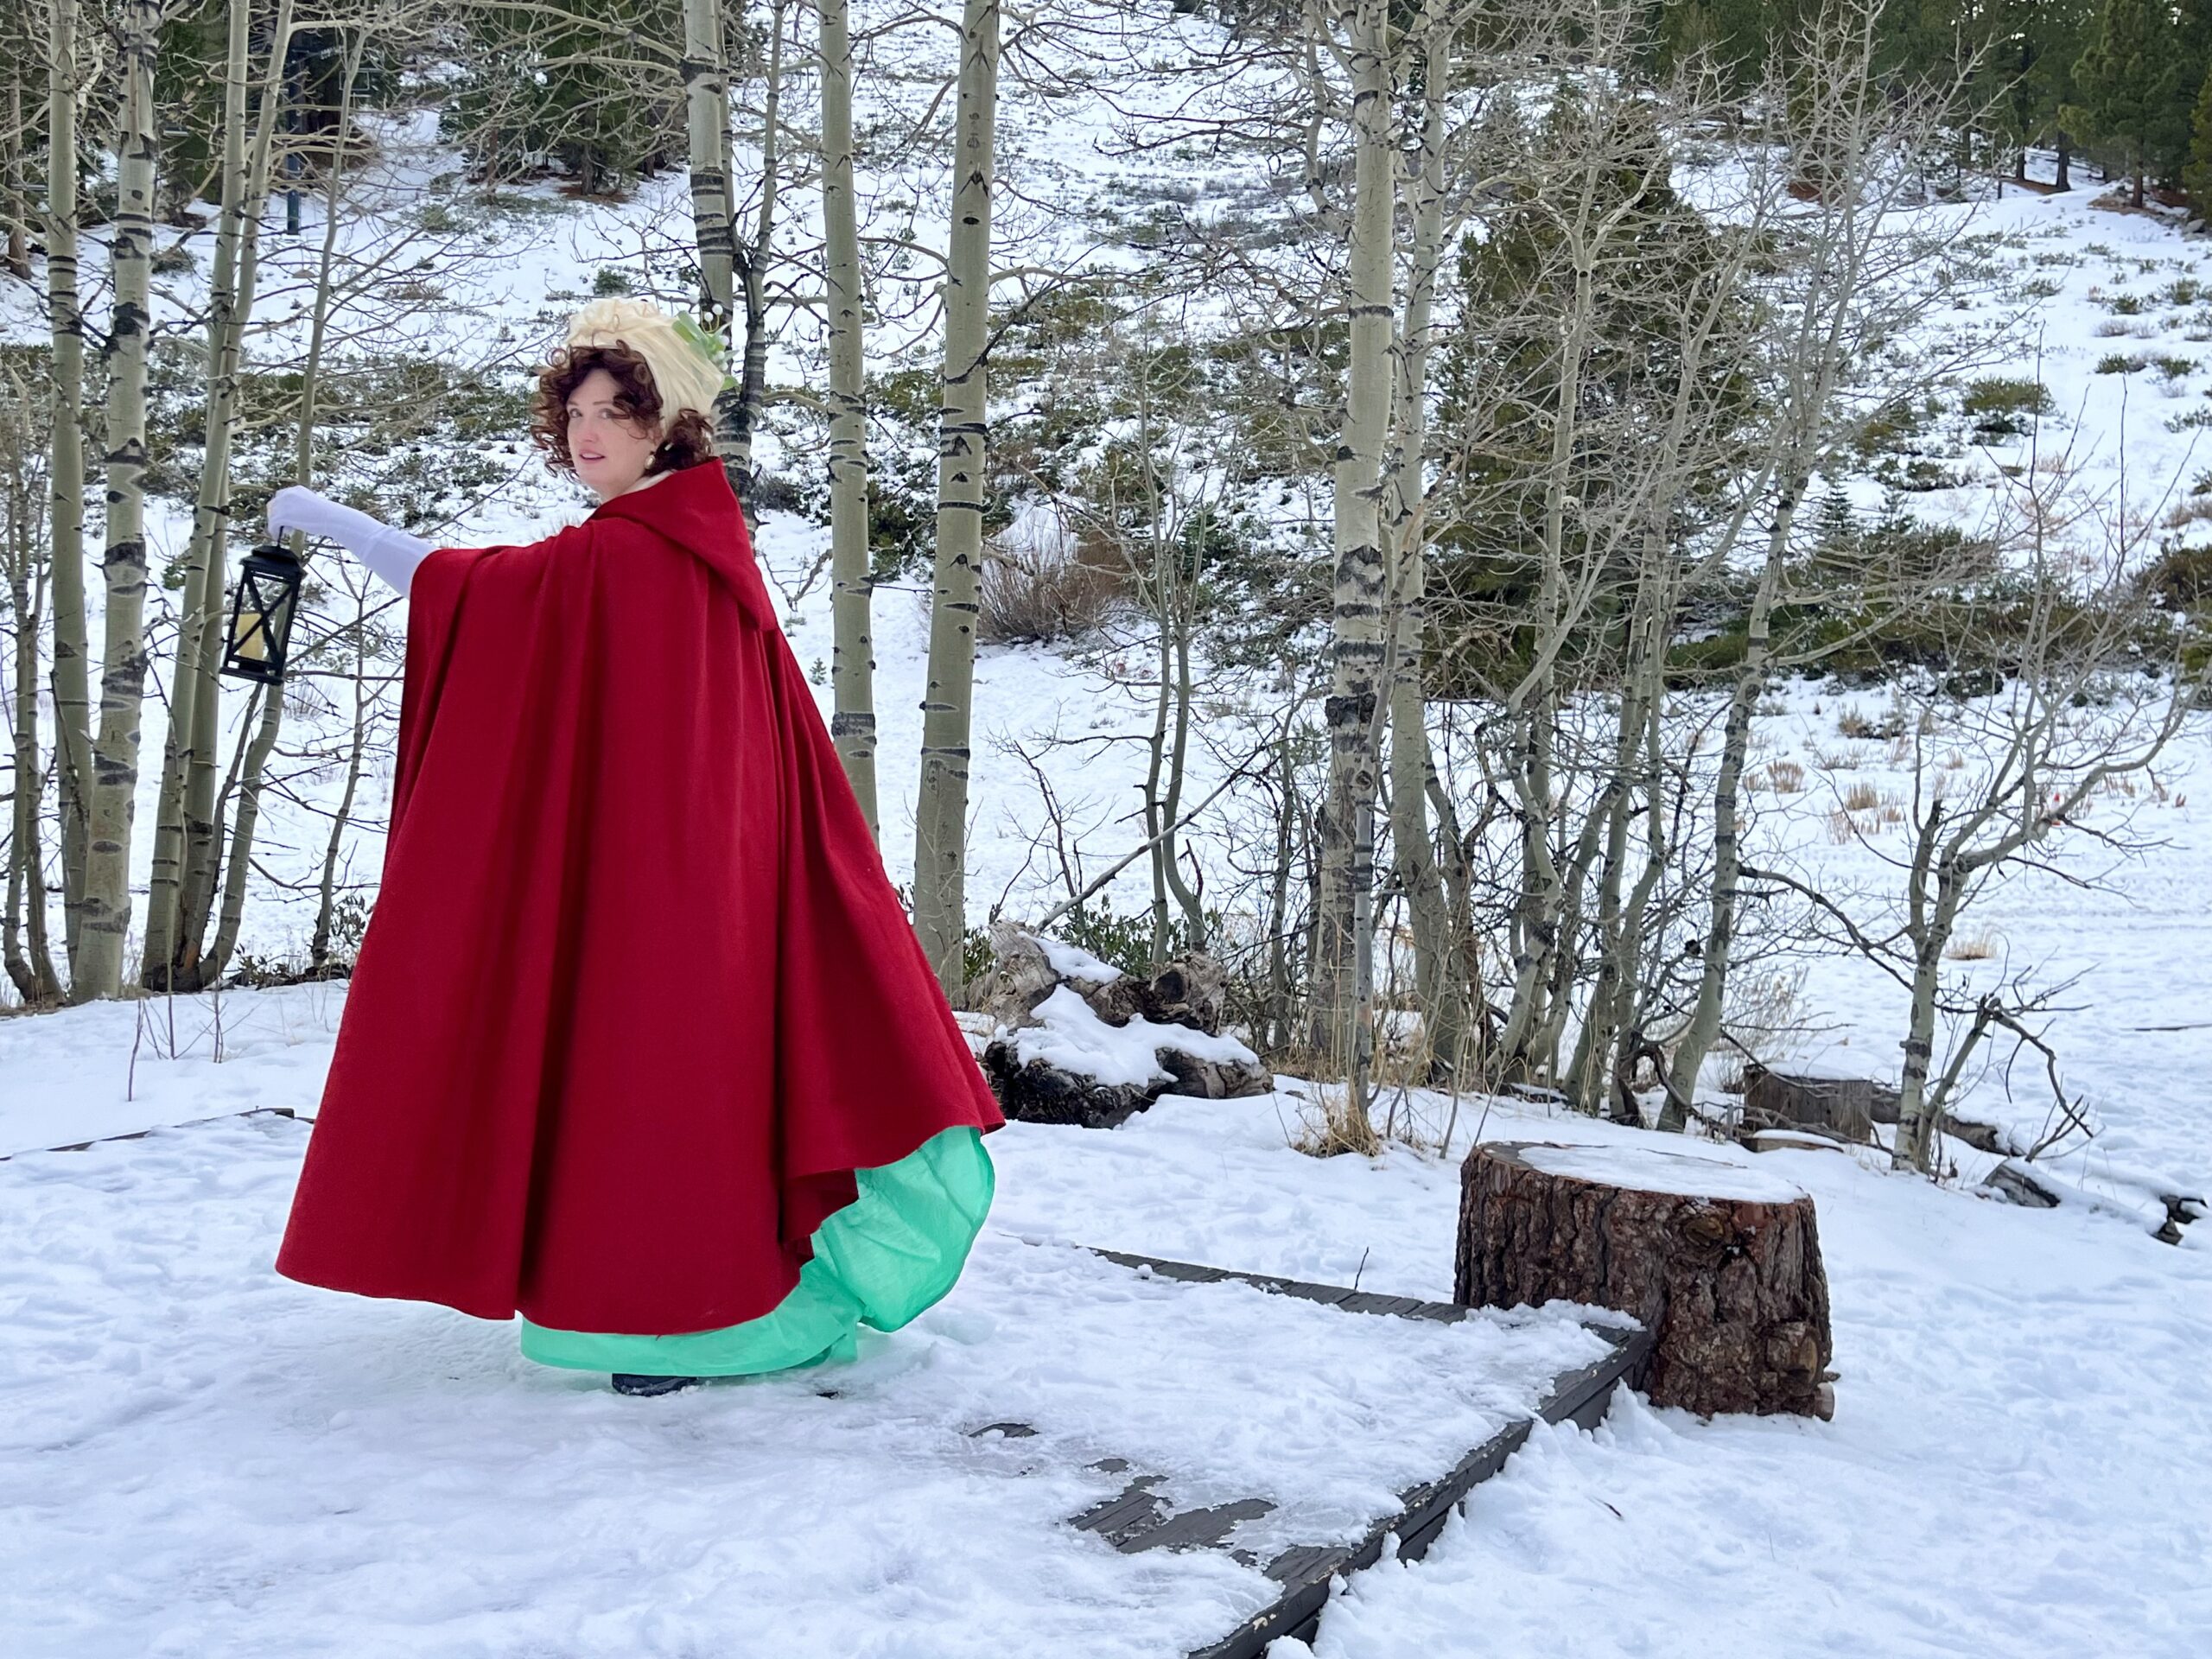
And then it really was done – an 18th Century Cardinal Cloak, just in time for Christmas.

Thank you for this. As a tall woman with broad shoulders, I must make all my own colonial clothing as nothing “off the rack” would ever fit me. I really appreciate your talking about the measurements and how to piece together the fabric to create more length.
I’ve got a few “non-standard” measurements myself – off-the-rack isn’t an option for me either, and most patterns i have to seriously tweak. I’m glad I was able to help!